*This post may contain affiliate links, which means I may receive a commission (at no additional cost to you!) if you make a purchase using any of these links.*
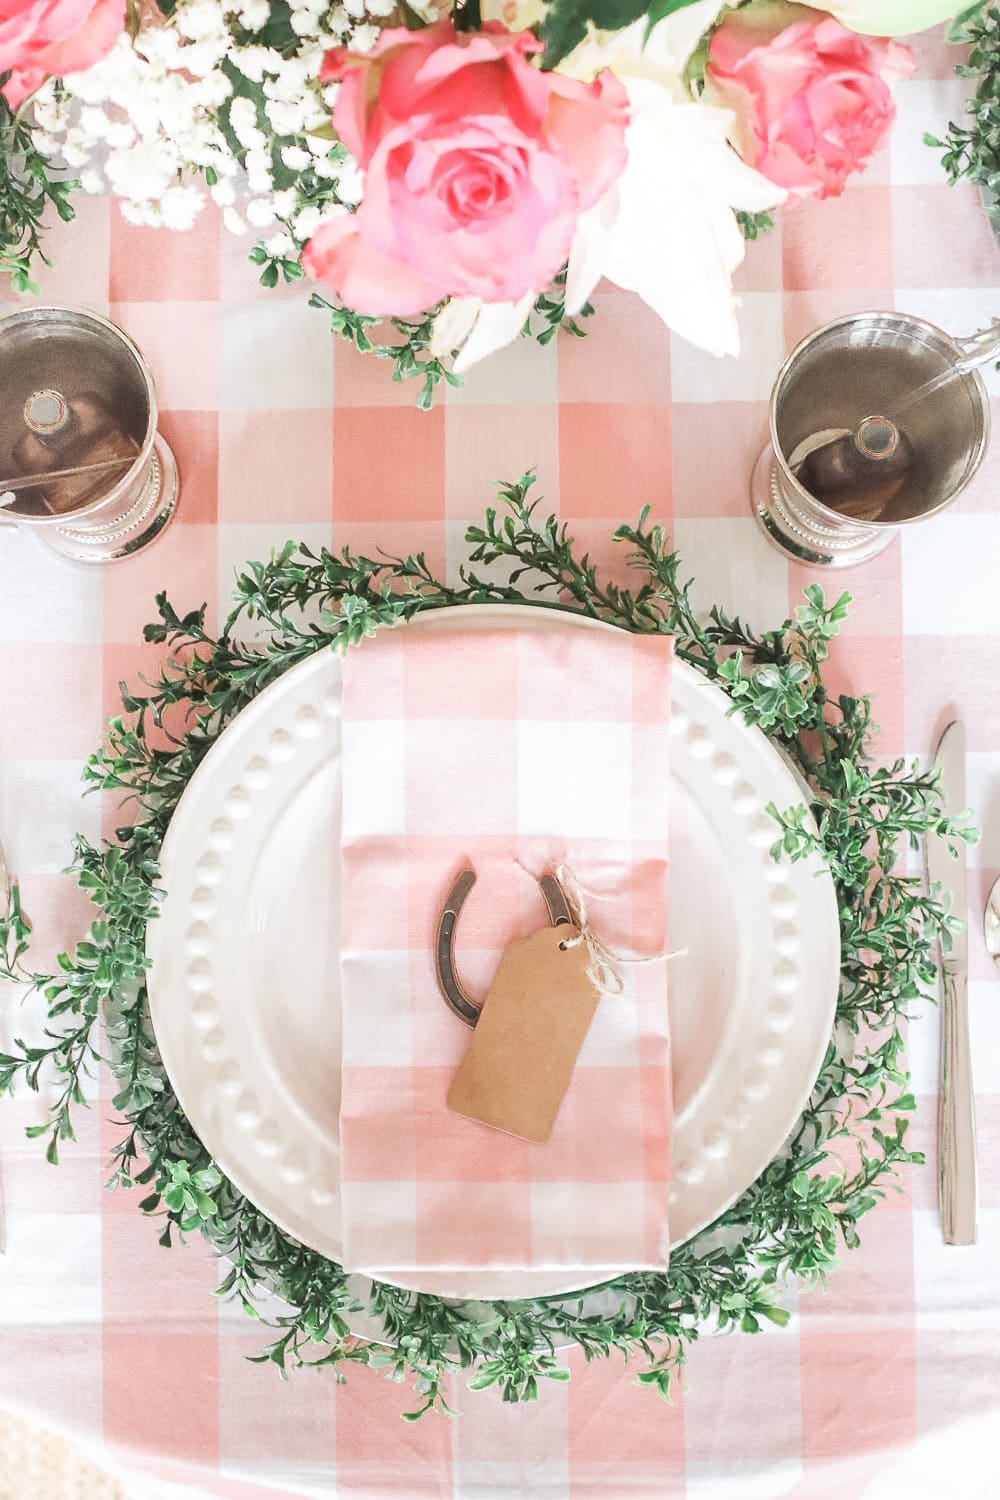
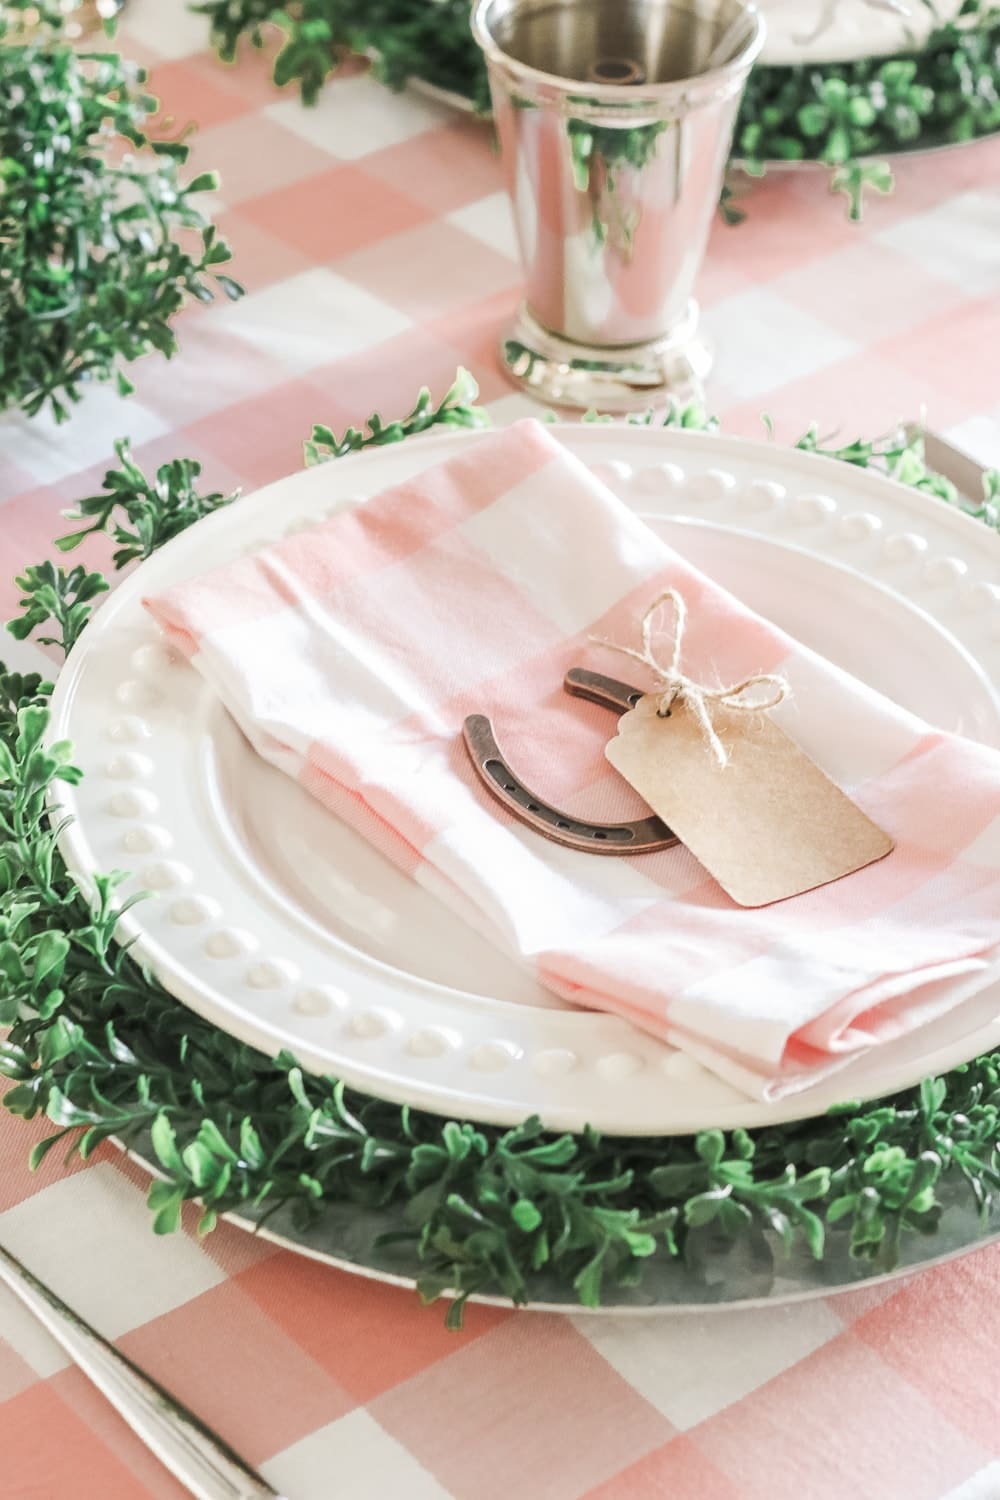
A few seasons ago, I saw some absolutely adorable boxwood placemats at Pier 1, but I couldn’t think of a reason to pull the trigger and buy them. Flash forward to August– I thought it’d be fun to put together a Kentucky Derby-inspired tablescape, and these placemats immediately came to mind. As adorable as they are, though, they’re $15 a pop. We’re on a firm house-hunting budget, so I decided to forego my beloved placemats and figure out how to create something similar at home instead. I found some inspiration on The Rustic Boxwood and realized I could make three DIY chargers for the price of one of Pier 1’s placemats, and yeah. I won’t bore you with more math, but it was a done deal. Keep reading for a step-by-step DIY charger tutorial!
In the meantime, though, here’s everything (yep, all two things) I used to make these adorable DIY charger plates–
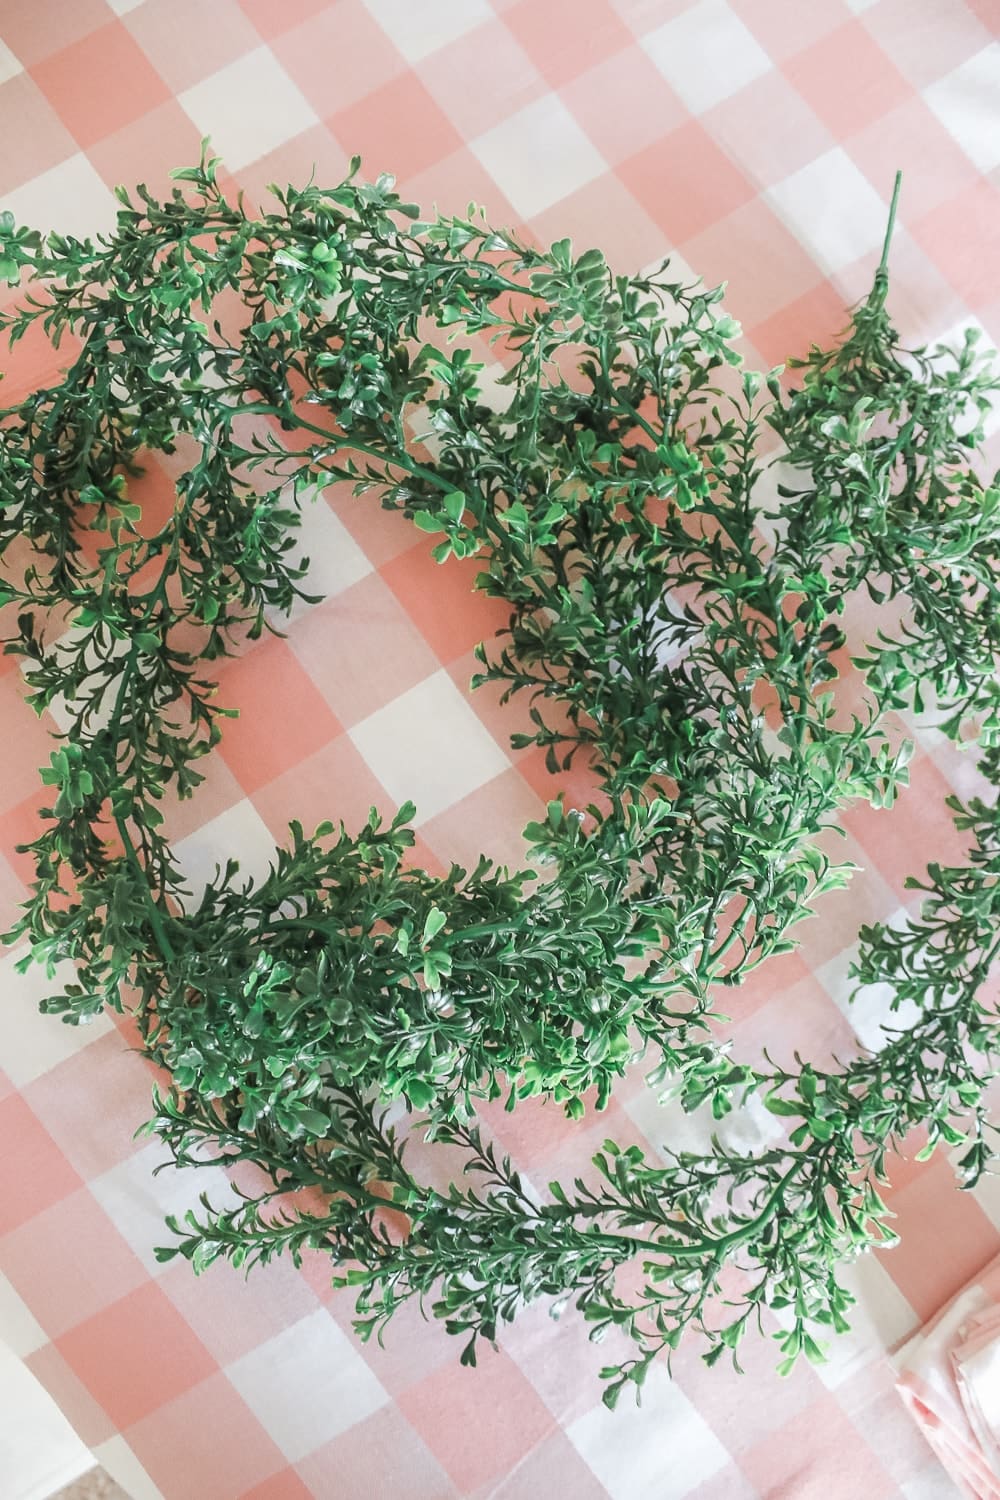
- Boxwood garland– I ordered two of these nine-foot boxwood garlands to make four DIY boxwood chargers. They’re roughly $15 each, and you can easily get three chargers out of one garland.
- Scissors– These are my absolute favorite craft scissors. Not only do they look pretty on my desk, they legitimately cut through everything– greenery, fabric, cardboard, etc.!
- Dark green floral tape (optional)– If your boxwood garland doesn’t have hanging hoops, you’ll need some dark green floral tape (or green twist ties) to connect the ends into a wreath.
How To: DIY Boxwood Wreath Chargers
If you’re a first-time reader, you should know that I’m not a huge fan of super complicated DIY projects. That said, these DIY chargers may be the easiest project you’ll tackle all year. To start, grab some boxwood garland, a pair of craft scissors, and an old charger plate (for size reference).
Next, take the garland and start forming it into a boxwood wreath, using an existing charger plate as a reference. Cut the garland so you’re able to easily connect the ends. The boxwood garland I used has a small hanging hoop on the end, so I made sure the other end could easily pull through to secure each wreath’s size and shape (see step #4 below). If your garland doesn’t have a little hoop at the end, grab some thin dark green floral tape or green twist ties and tie the ends together.
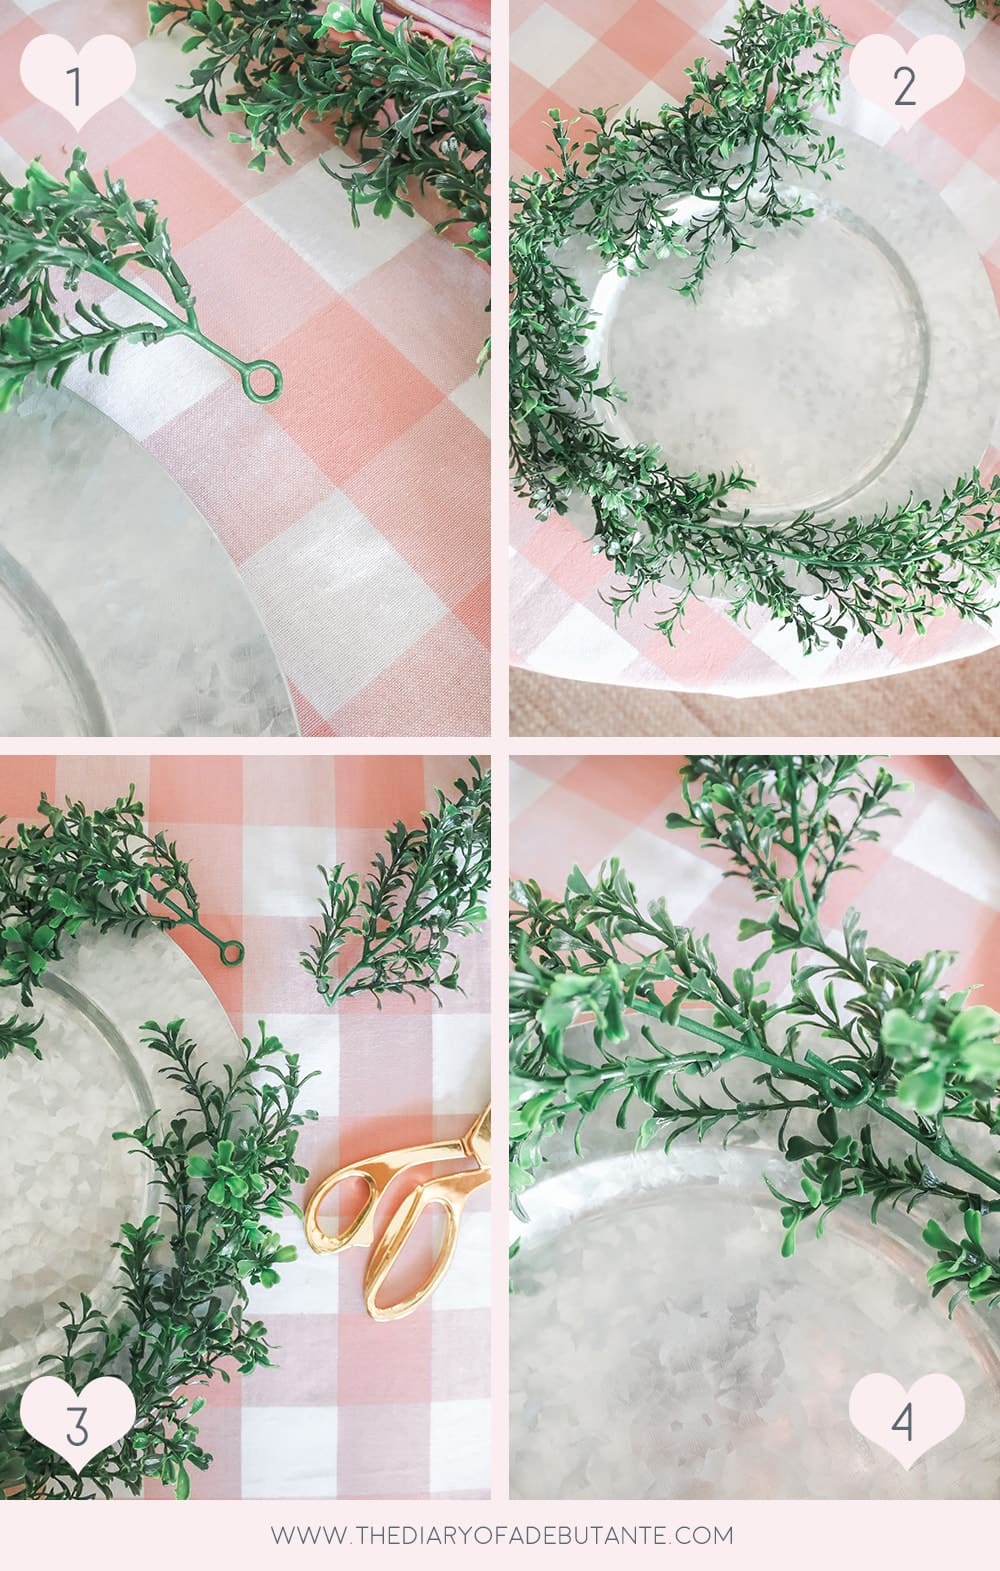
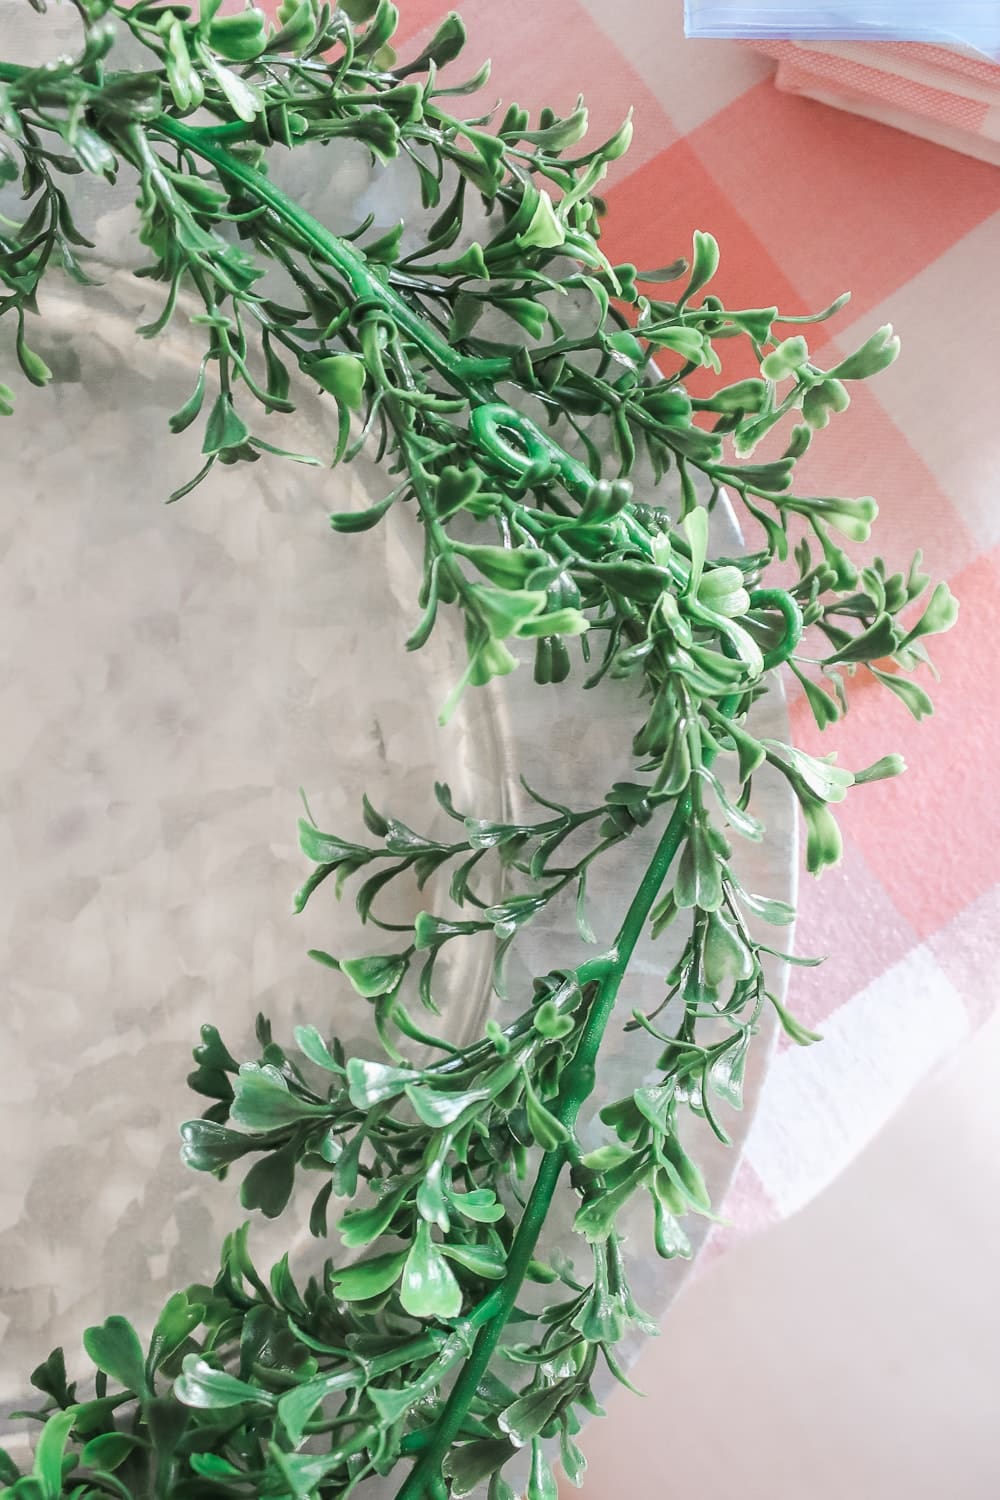
Next, depending on the garland you choose, you may want to fill it with some additional pieces to make each wreath look more full. I just cut off some little boxwood clusters and randomly placed them where the leaves looked a little sparse.

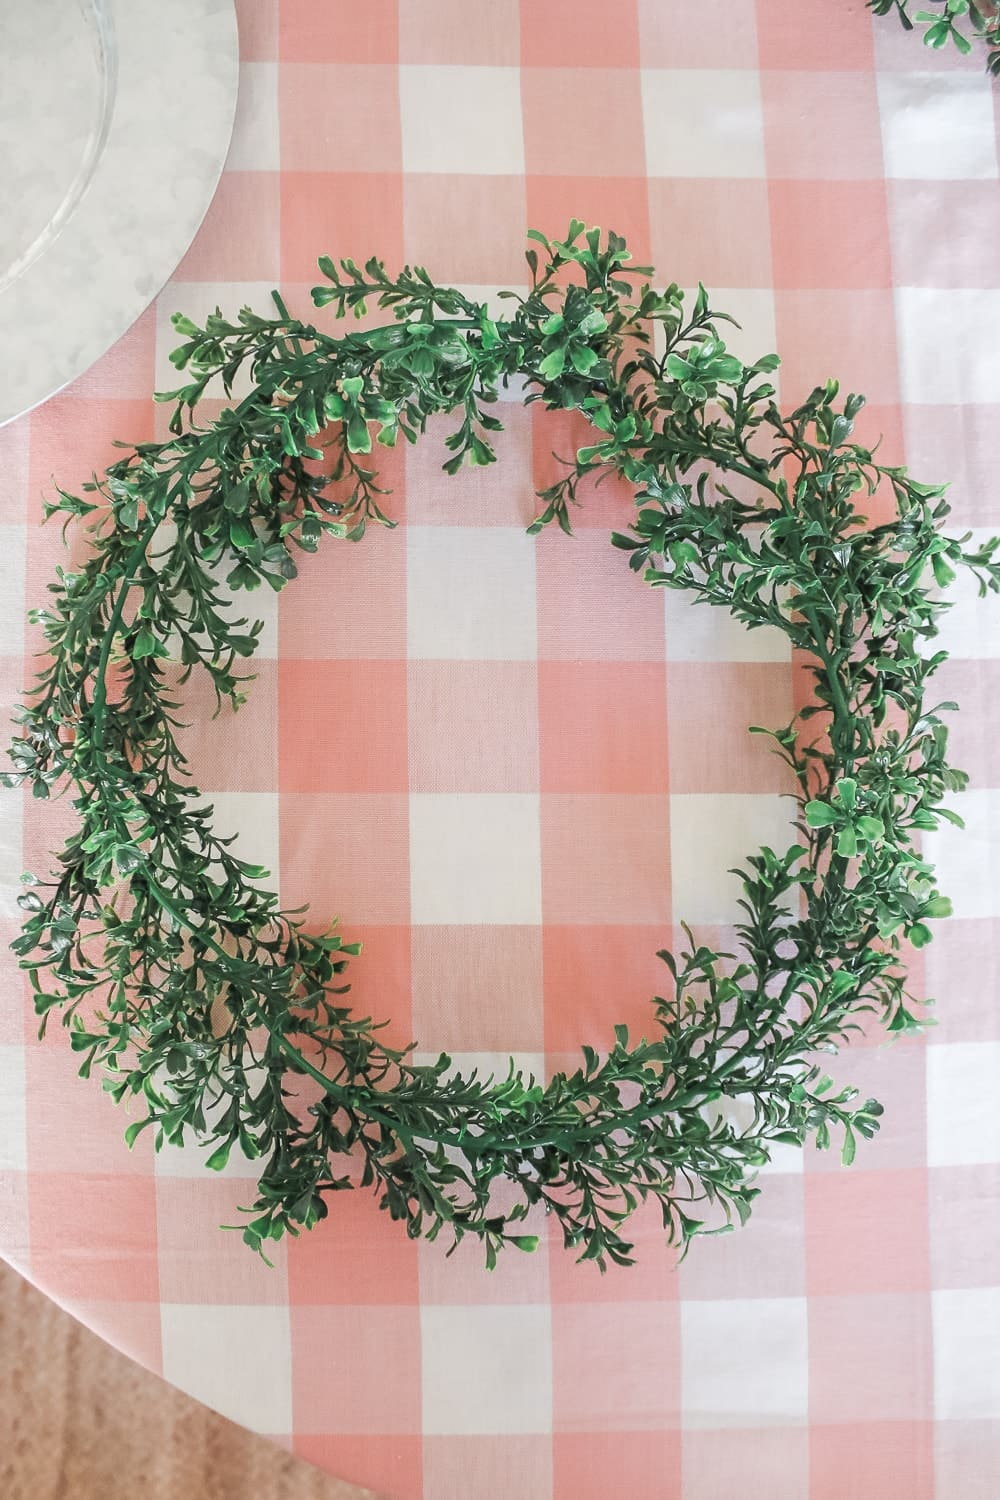
Finally, you can either slip the boxwood wreaths off the chargers and use them on their own or you can keep them layered on top of your existing charger plates. It really doesn’t matter– both options look super cute. I created these specifically for a Derby Day tablescape, so I kept mine layered on top of galvanized charger plates to incorporate more silver into each place setting.
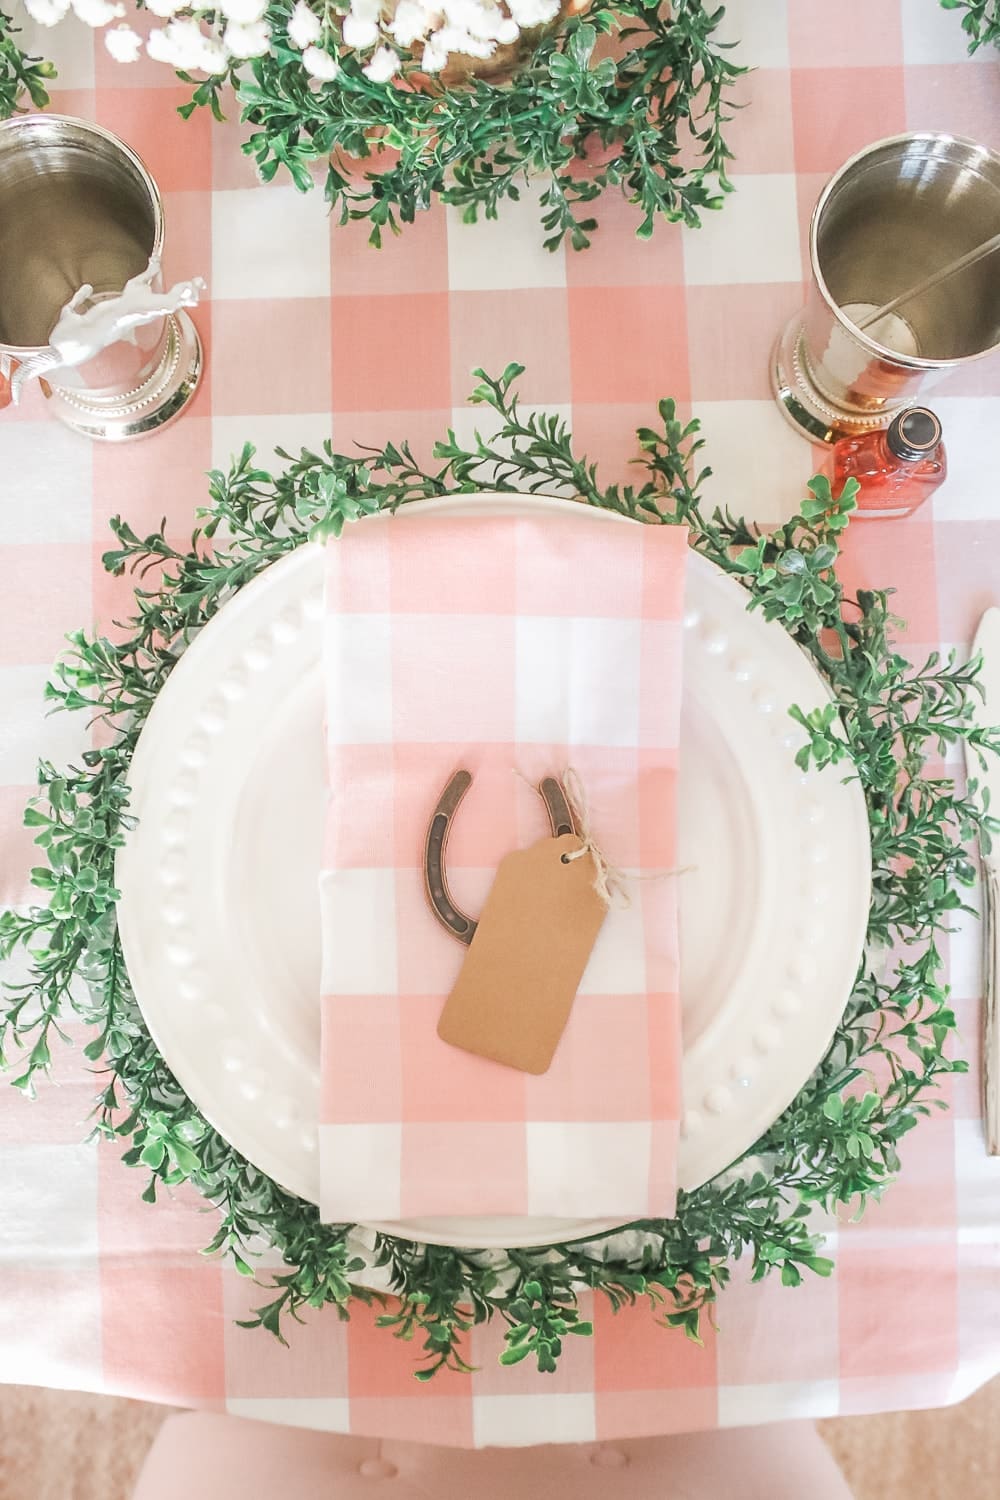
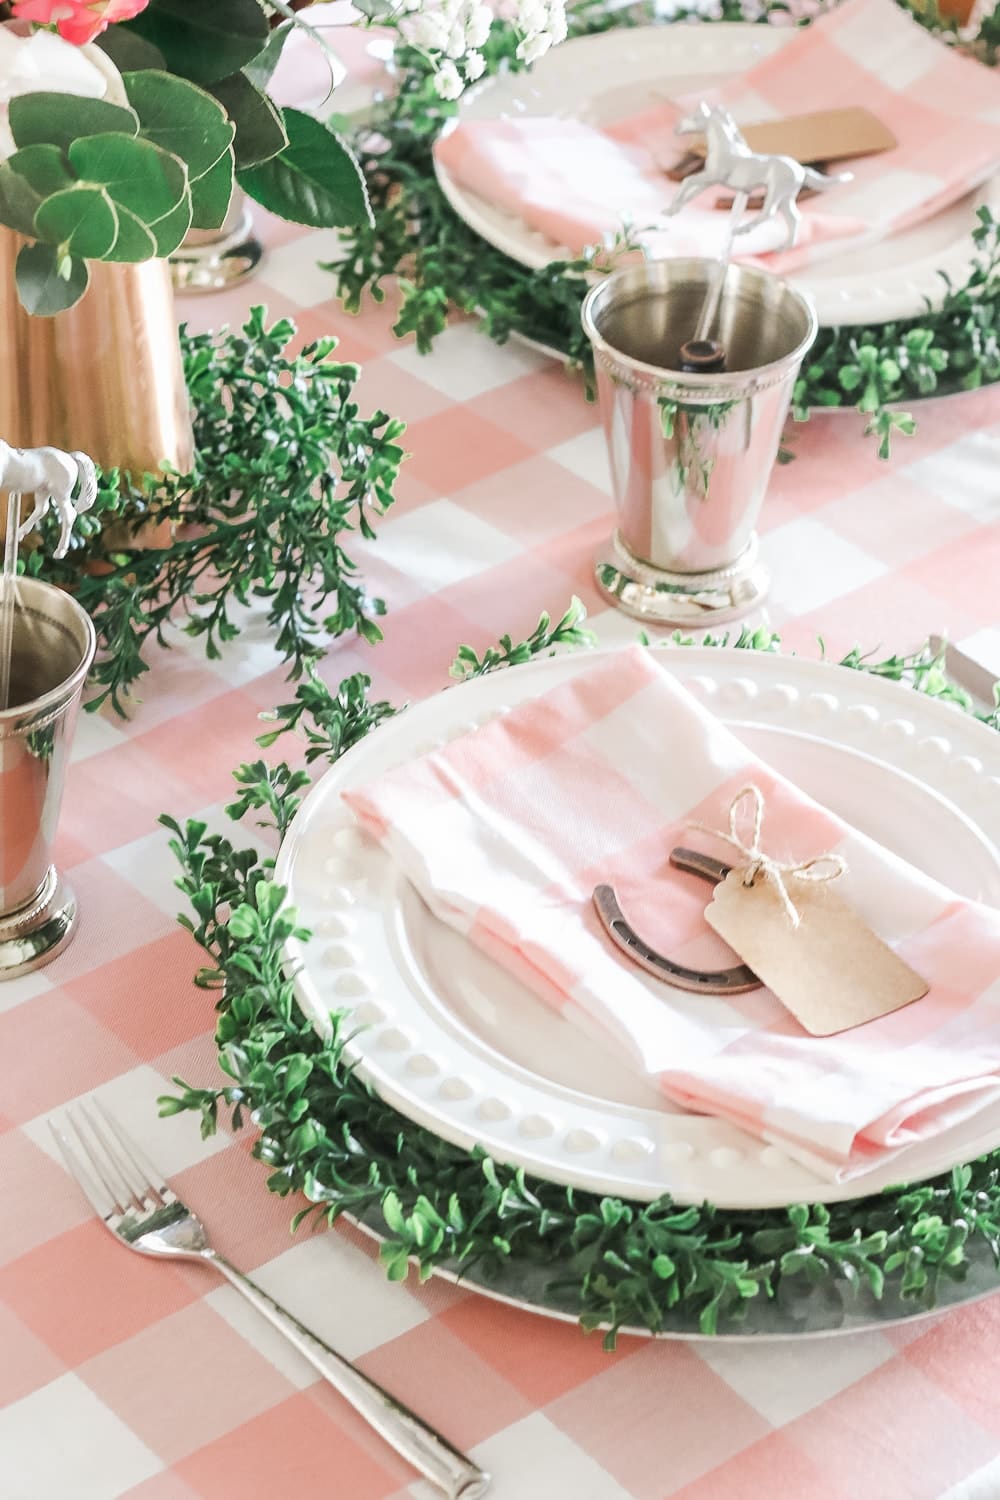
Click to shop!
Super cute, right?! And so darn simple! Just in case you have any issues, please don’t hesitate to leave me a comment or shoot me an email. I’m happy to help! Also, if you need more Kentucky Derby party ideas, check out this year’s Derby Day tabelscape for more inspiration!
Thanks so much for reading, y’all!


Hi Stephanie!
What a gorgeous idea! Can I ask how many wreath chargers one 9ft garland made?
Thanks so much, Ruby! One garland makes *almost* 3 chargers (but really only two full ones unless you make yours on the smaller side). Hope that helps!