*This post may contain affiliate links, which means I may receive a commission (at no additional cost to you!) if you make a purchase using any of these links.*
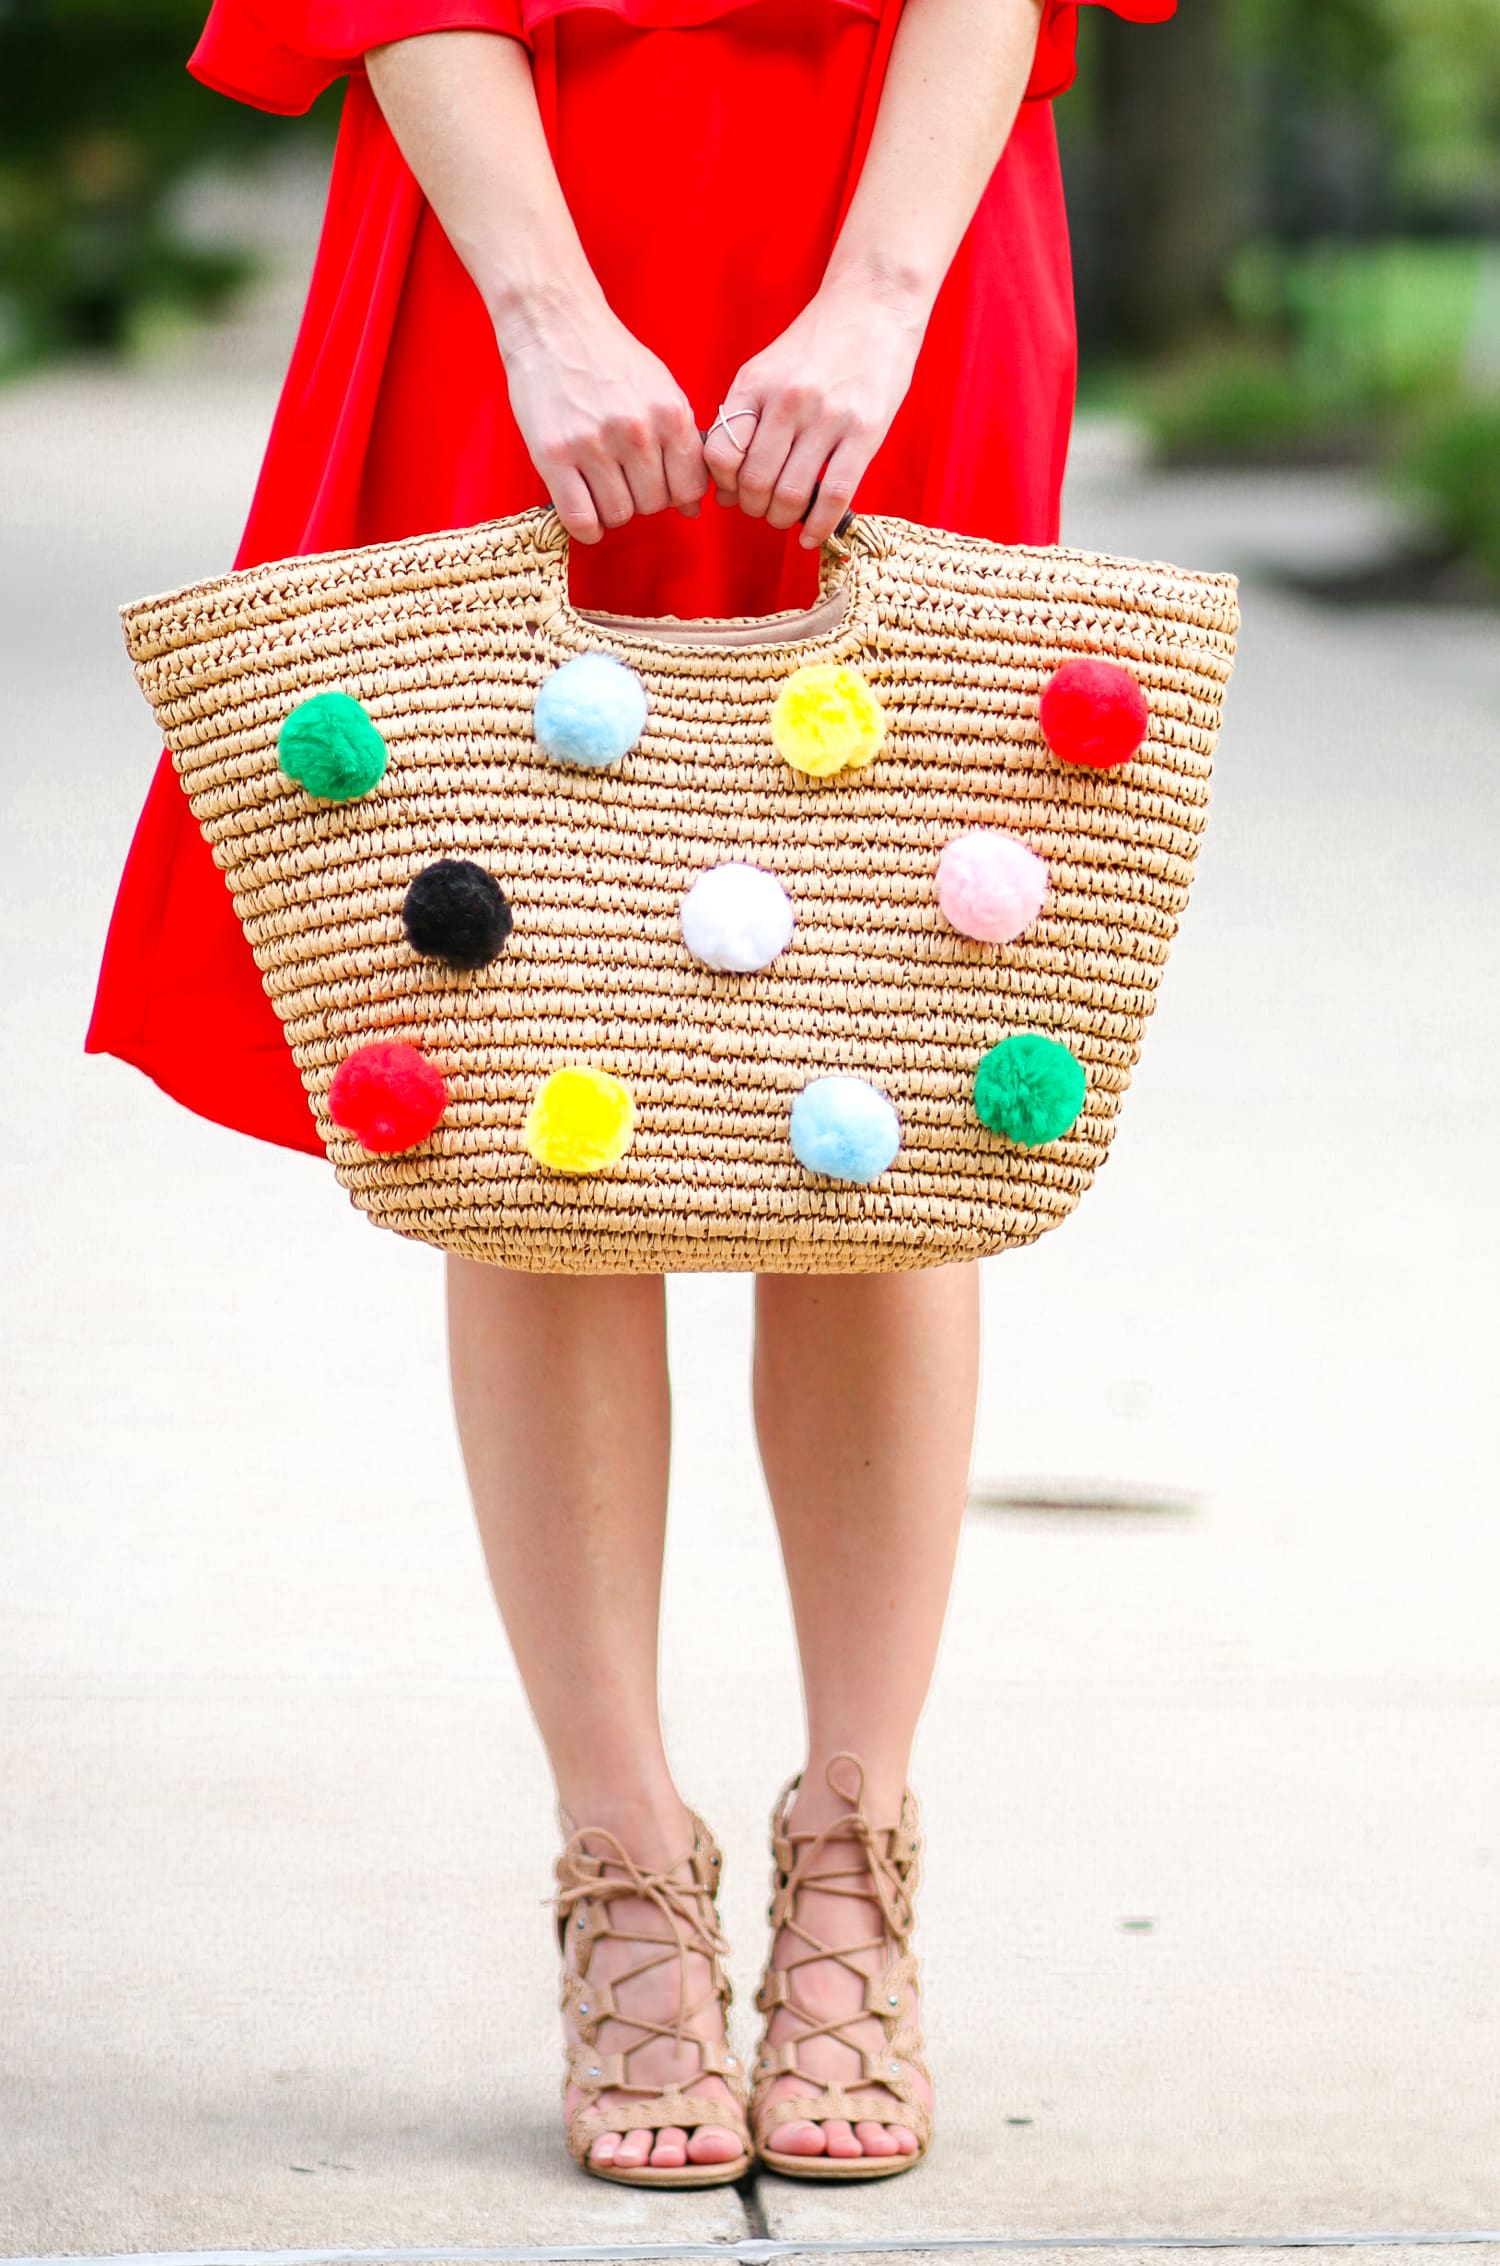
Just in case you missed my most recent life update, Kyle and I moved to Missouri a little over two weeks ago. As exciting as this change is, it’s also expensive. Very expensive. When I moved out of my apartment in Hyde Park, I sold all my furniture and donated approximately 75% of all my kitchenware and household essentials to Good Will. So, basically, we’ve purchased thousands of dollars of household necessities– from bar stools to vacuums to lemon squeezers– all within the past ten days. Kyle’s made me obnoxiously frugal over the years, so I’ve given myself a temporary freeze on discretionary spending, which means no clothes, accessories, or Amazon movie rentals (by far the most difficult sacrifice). I saw this adorable pom pom beach tote on BaubleBar’s website, but I just couldn’t bring myself to pay its $78+ price tag. Ergo, I made my own at home. Check out my simple DIY Pom Pom Tote tutorial below!
DIY Pom Pom Tote: What You’ll Need
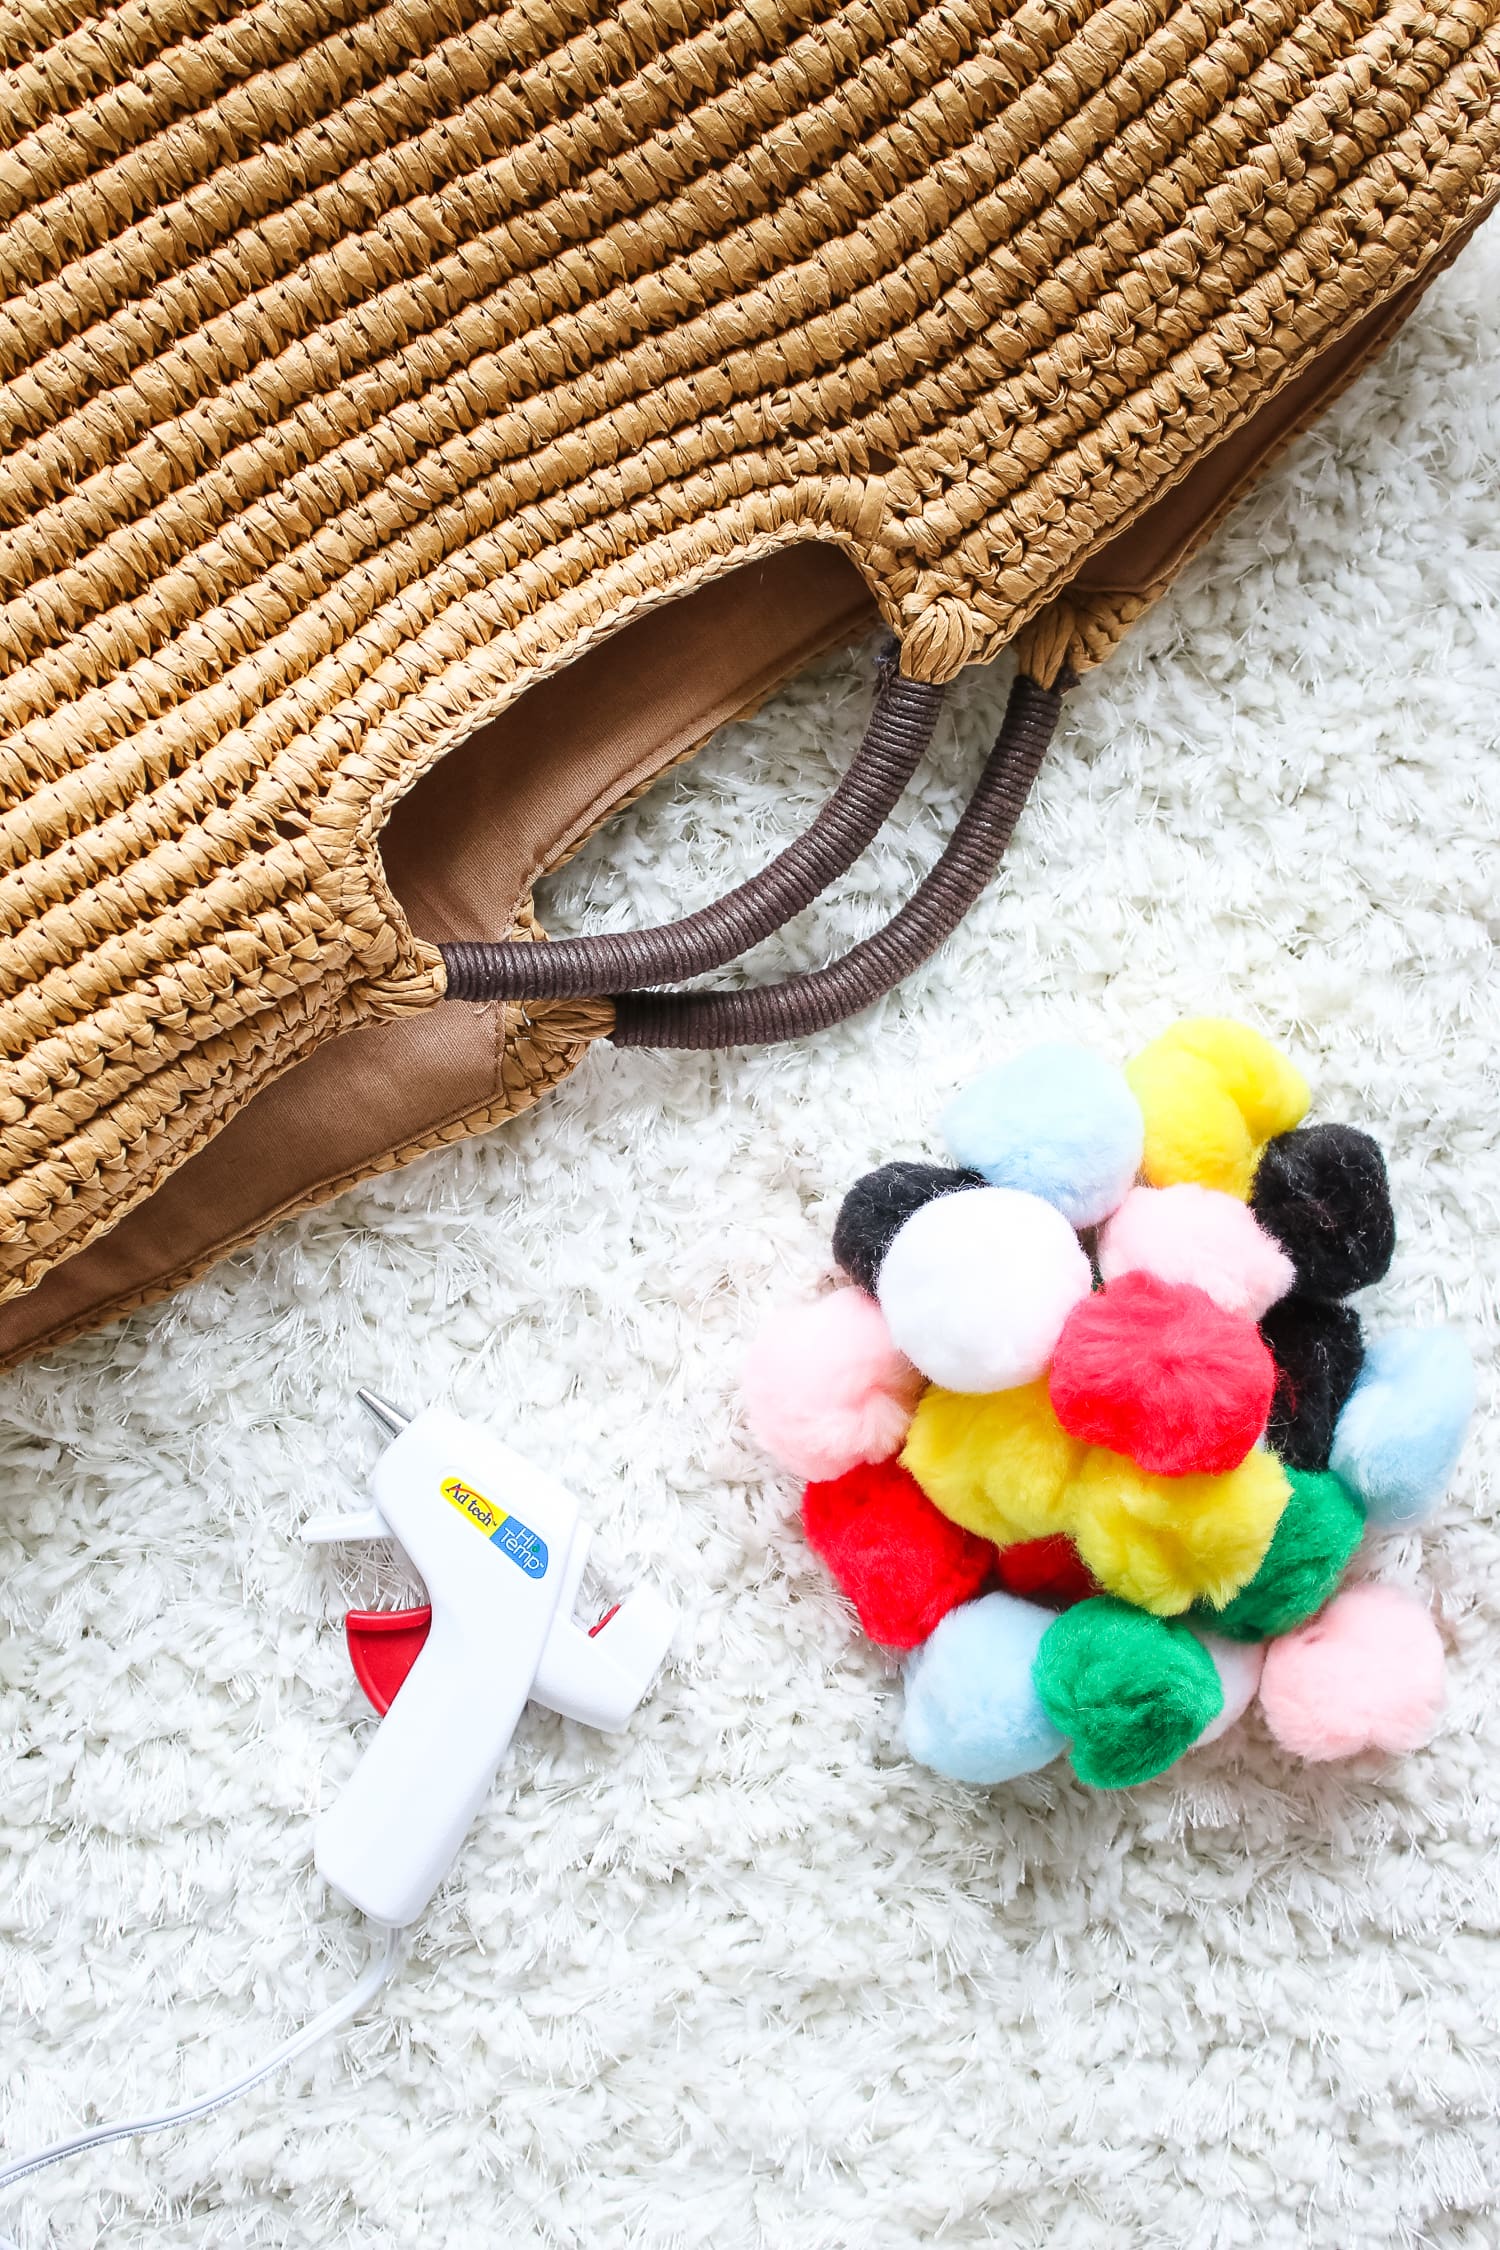
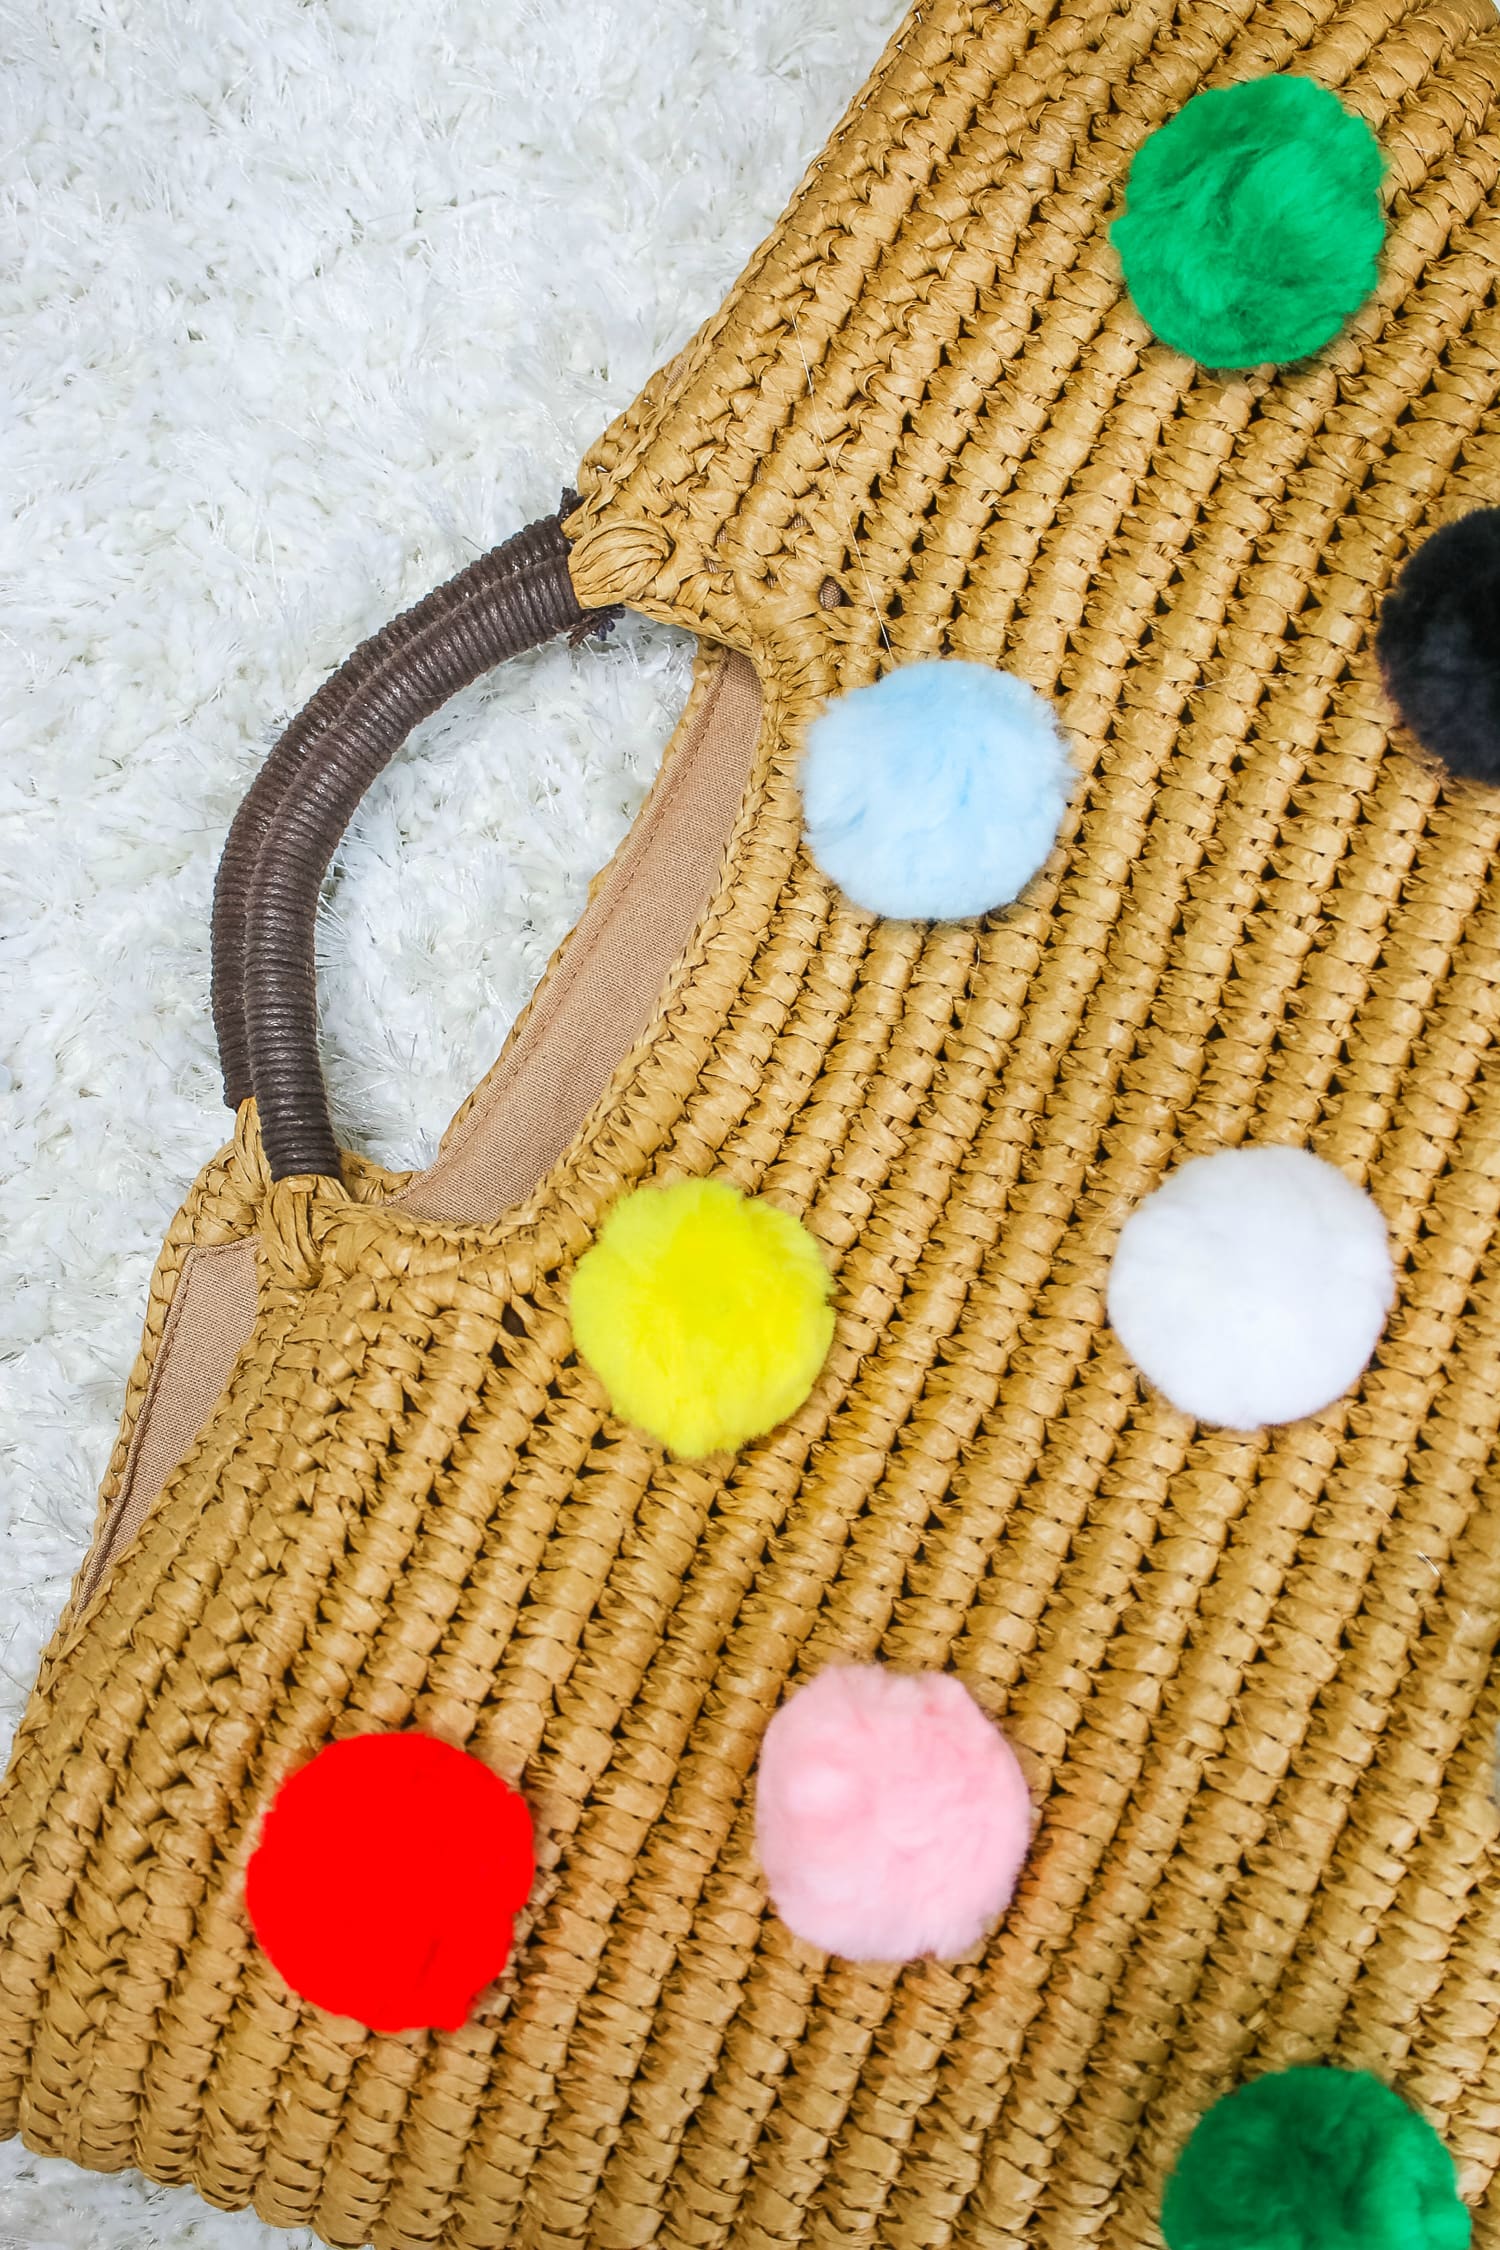
What’s great about this DIY Pom Pom Tote is that it’s a perfect opportunity to dress up an old bag that’s probably already in your “donate” bin. This one was. I bought it in Hawaii for $15 a few years ago to hold my stuff on the beach, so it was an easy candidate for this modern makeover. If you don’t already have anything laying around, any cheap plain straw tote will do. Don’t spend more than $10 on it. The only other things you’ll need are a glue gun (I use this one) and some large pom poms (I used these). Because I like the variety of bright colors on BaubleBar’s pom pom tote, I used a total of three packs of large pom poms. I didn’t use any of the brown pom poms.
DIY Pom Pom Tote: Step-by-Step Tutorial
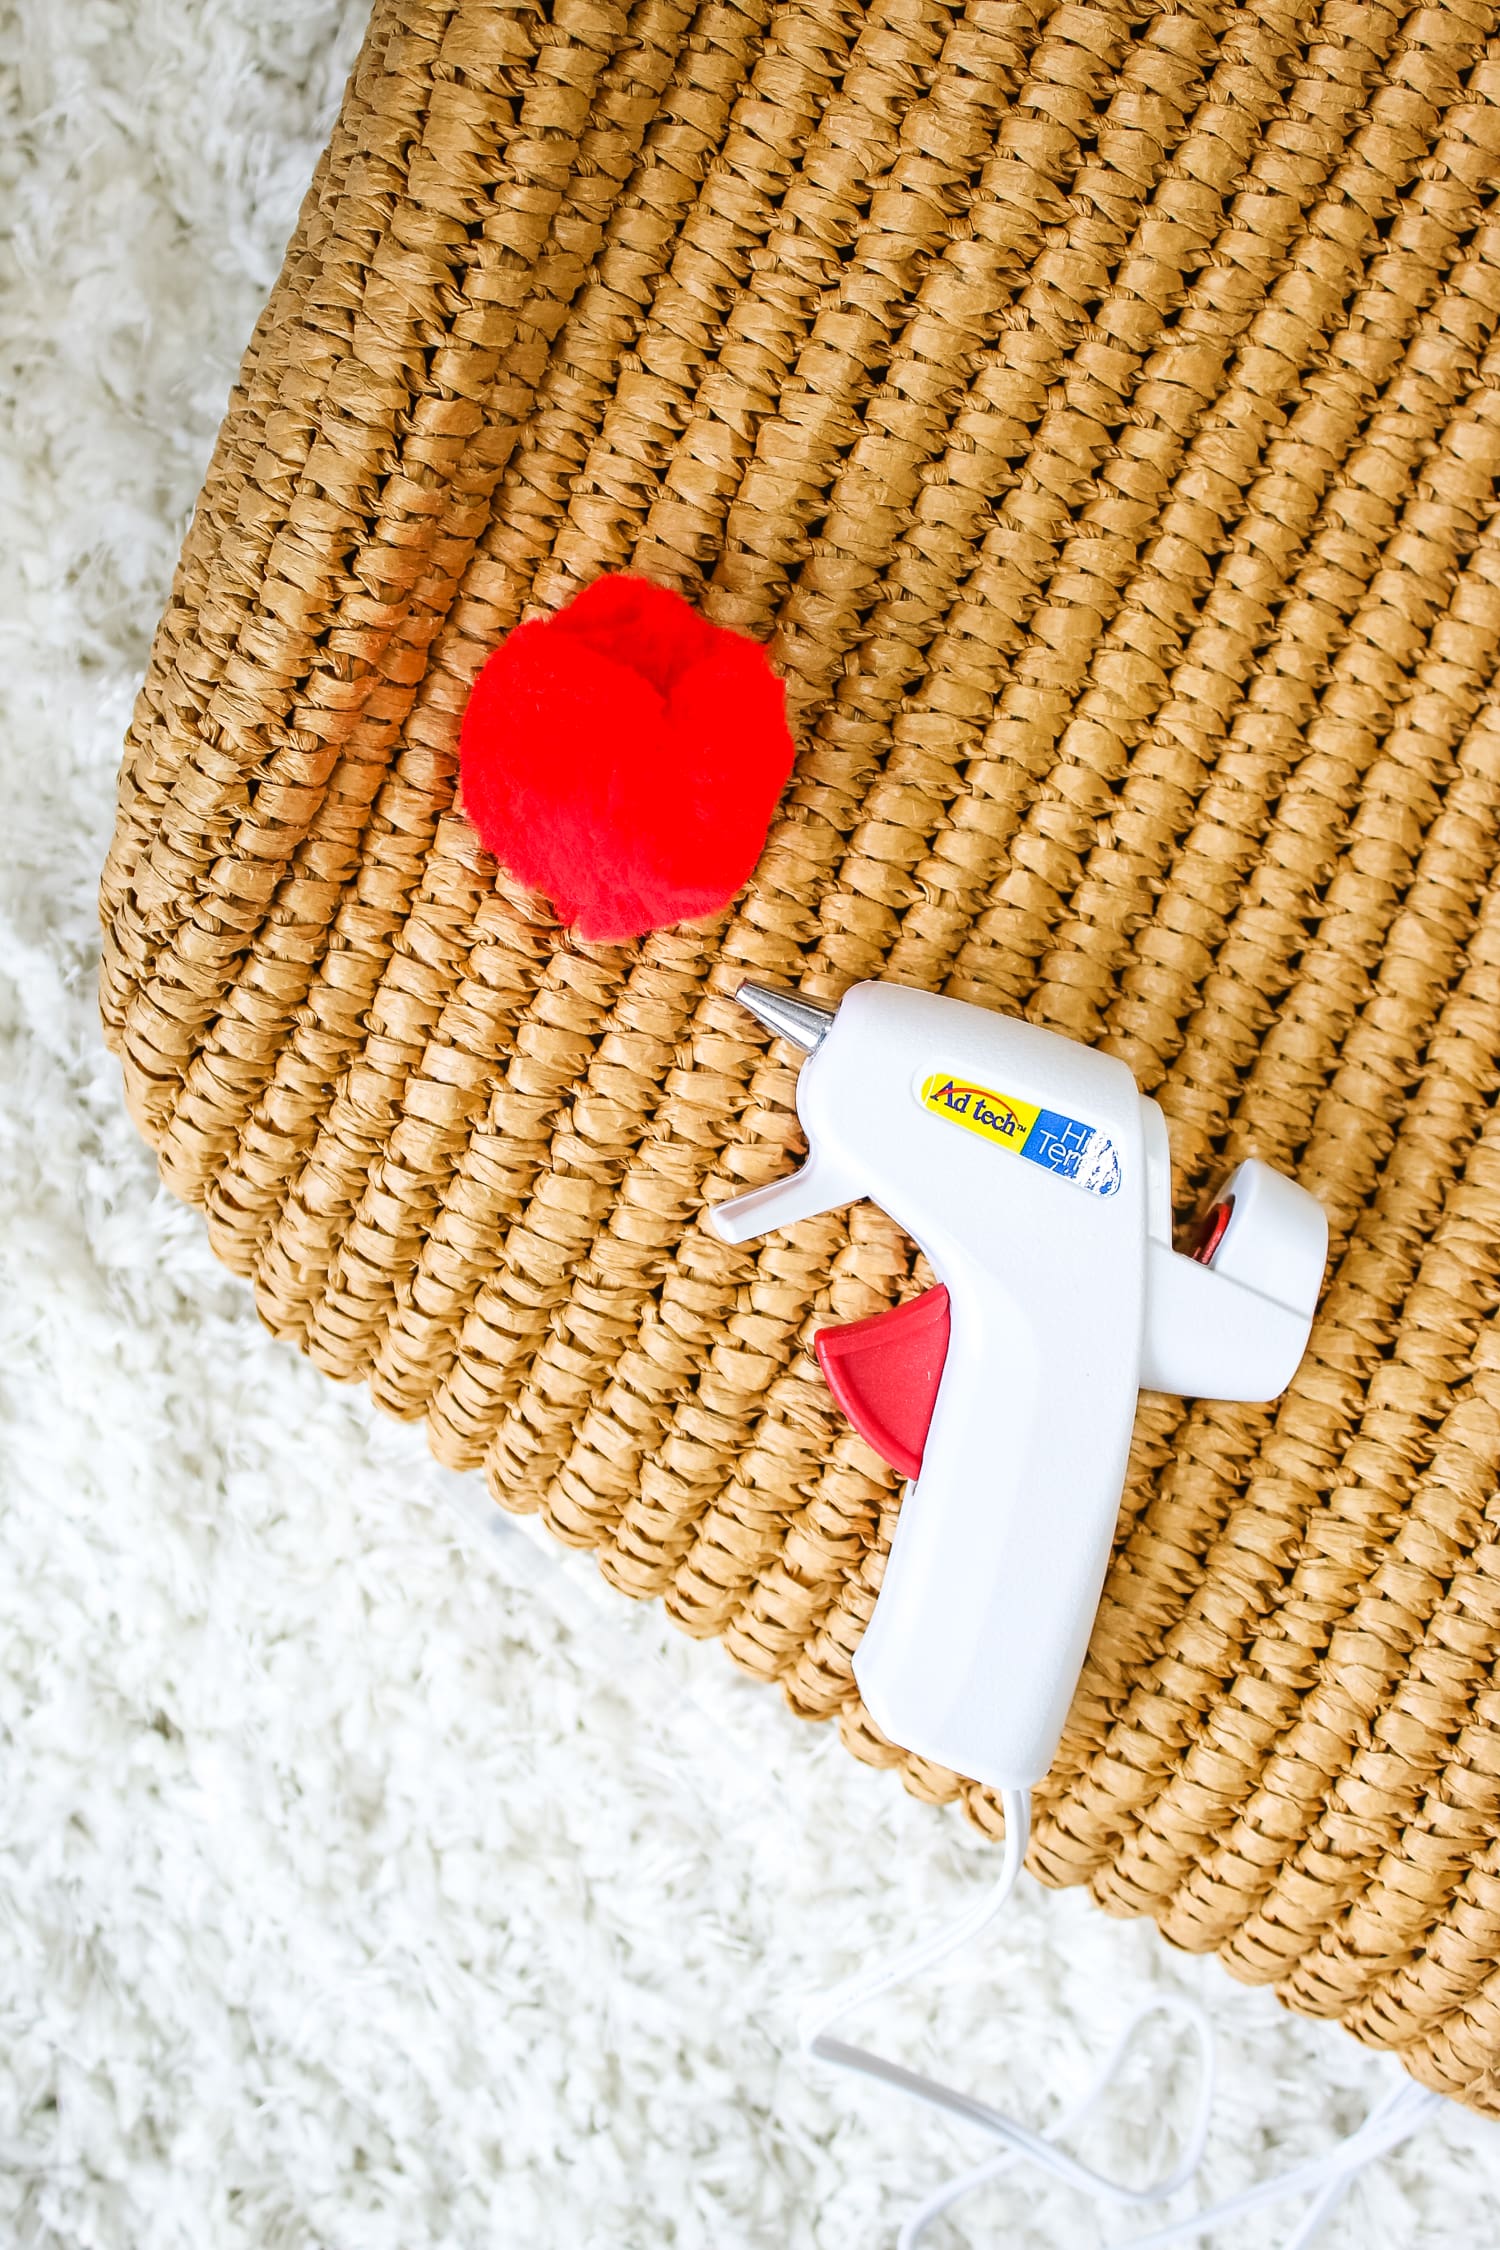
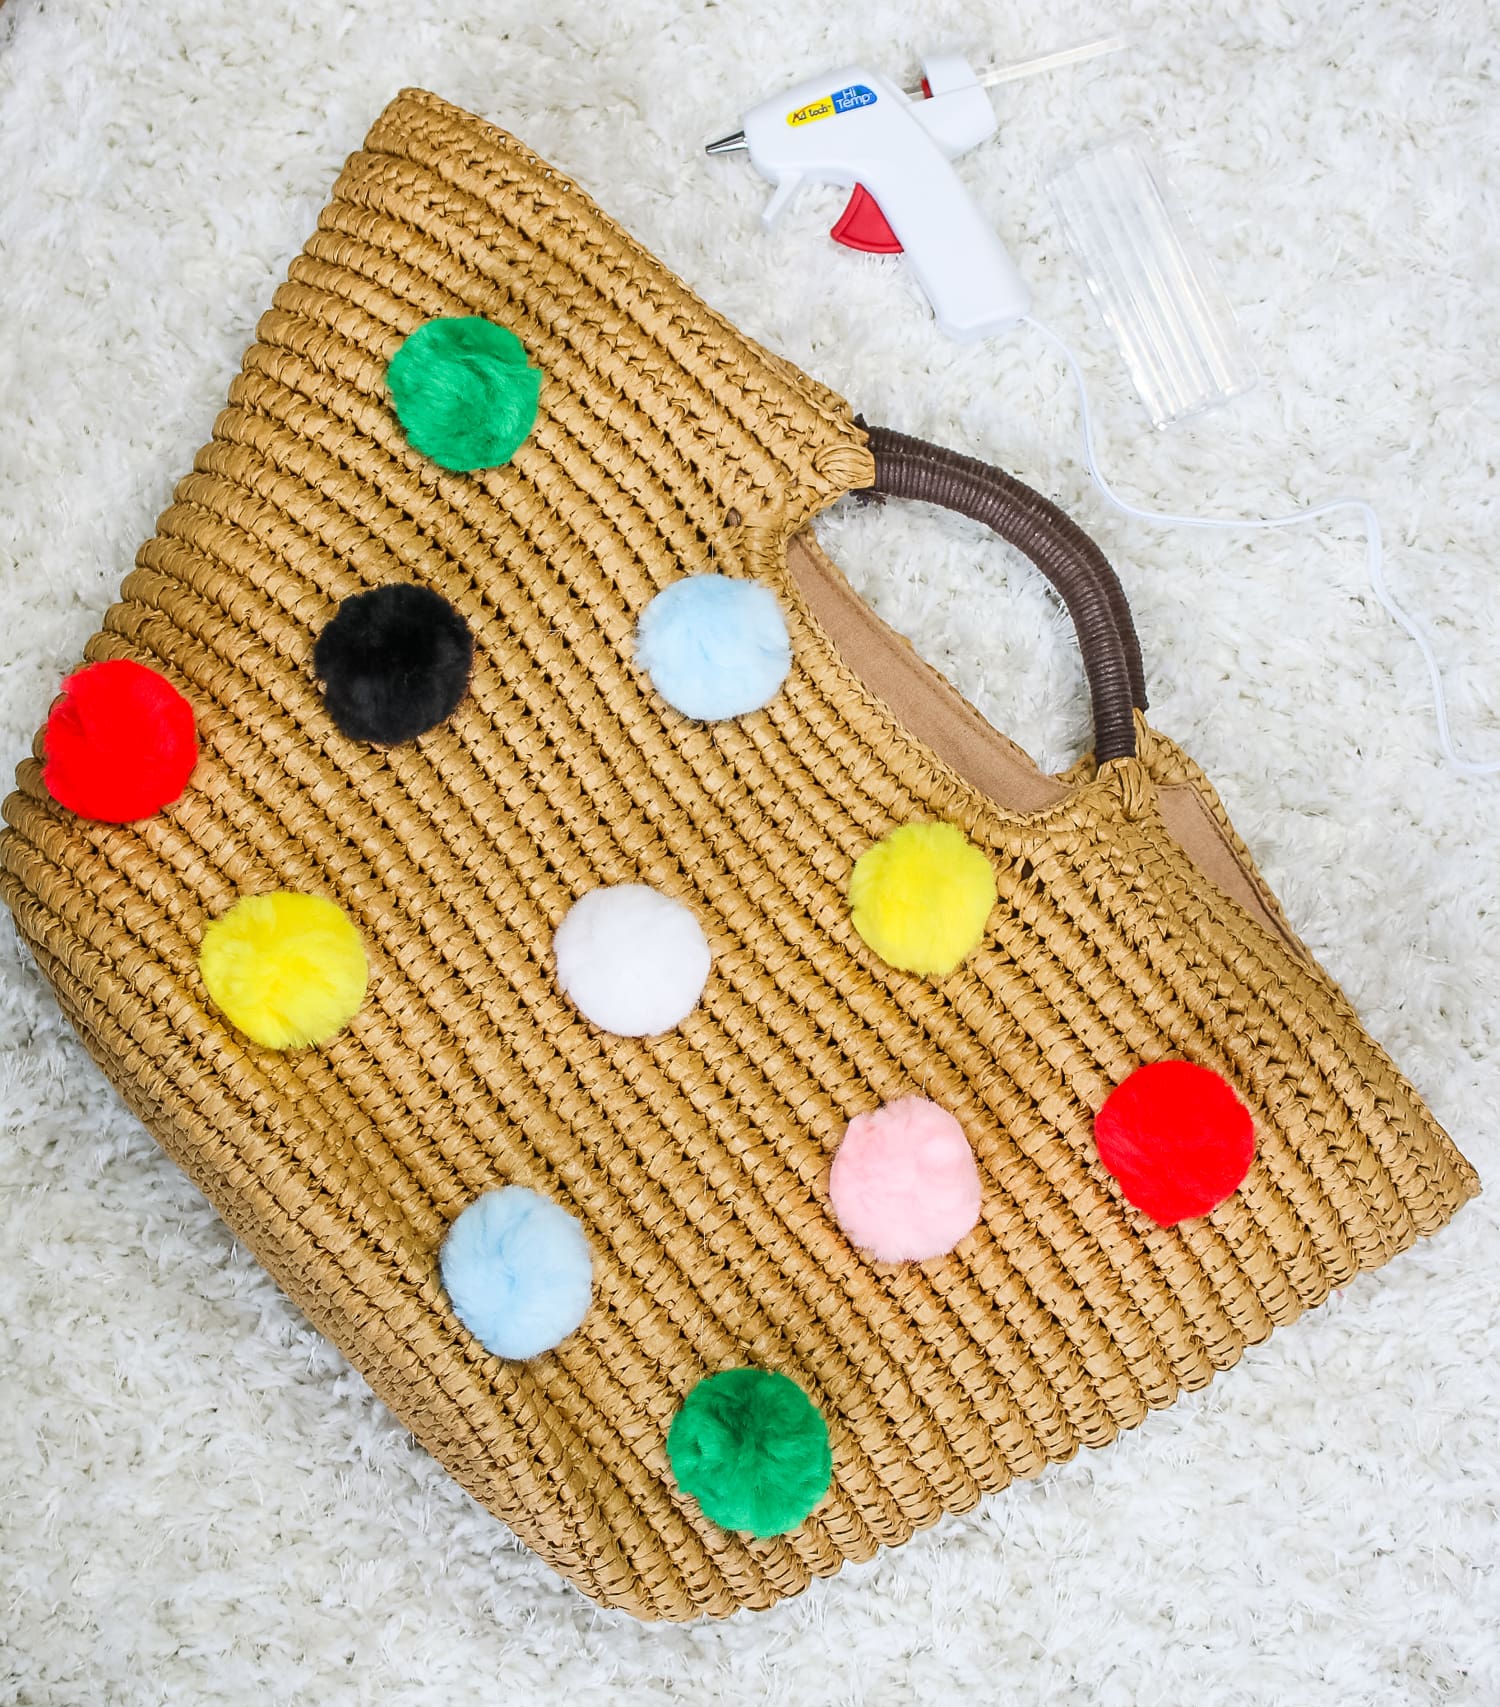
Set aside an even amount of large pom poms for both the front and back side of the bag. I used eleven on each side. Lay them out on the floor before any glueing to make sure you like how the colors look next to each other. Next, apply a generous dollop of hot glue in the desired spot and cement your first pom pom in place.
Repeat until the first side is complete and adorned with colorful pom poms. Add extra hot glue underneath any pom poms that feel insecure. Let the glue dry for a minimum of five minutes before flipping the bag over and repeating the process on the other side.

DIY Pom Pom Tote: How to Wear It
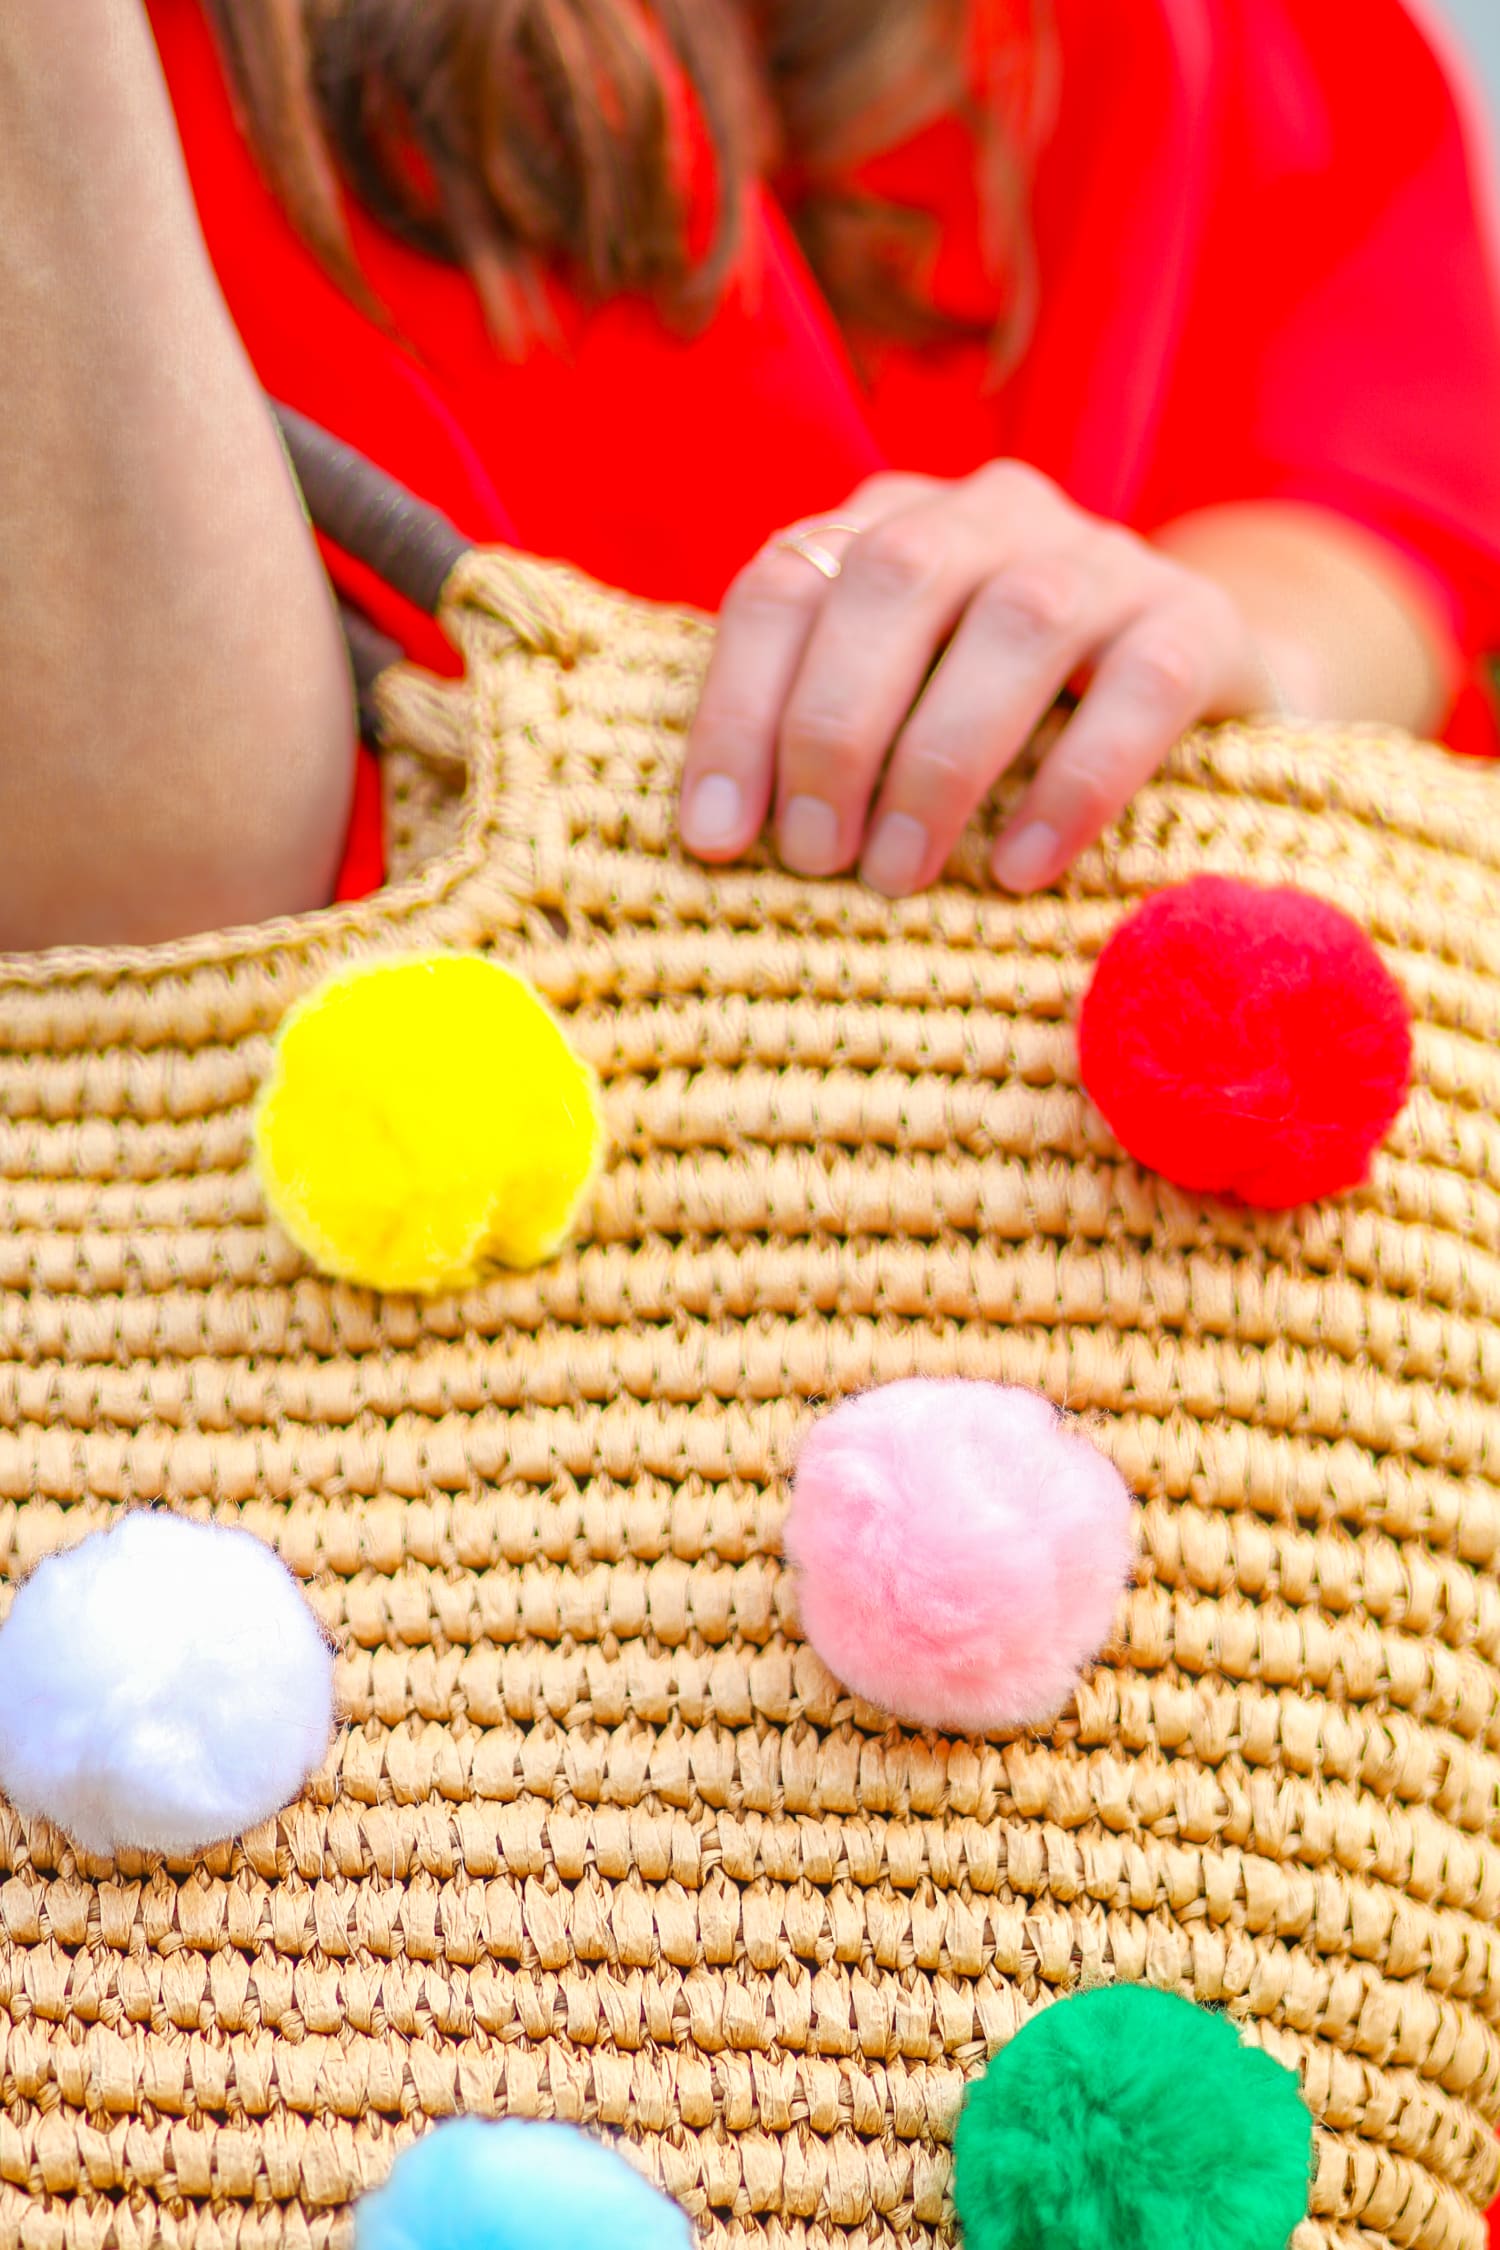
Because this is such a fun summer bag, it’s a great beach and/or outdoor party accessory. Plus, the variety of colors makes it an easy compliment for just about any solid colored outfit. For example, I paired my DIY Pom Pom Tote with a bright red OTS high-low dress and some lace-up gladiator sandals for an outdoor music festival in downtown Columbia. Since then, I’ve worn it with a black cotton maxi dress and flats, and both outfits looked equally adorable (and received an equal amount of compliments). Head down to the bottom of this post for full outfit details!



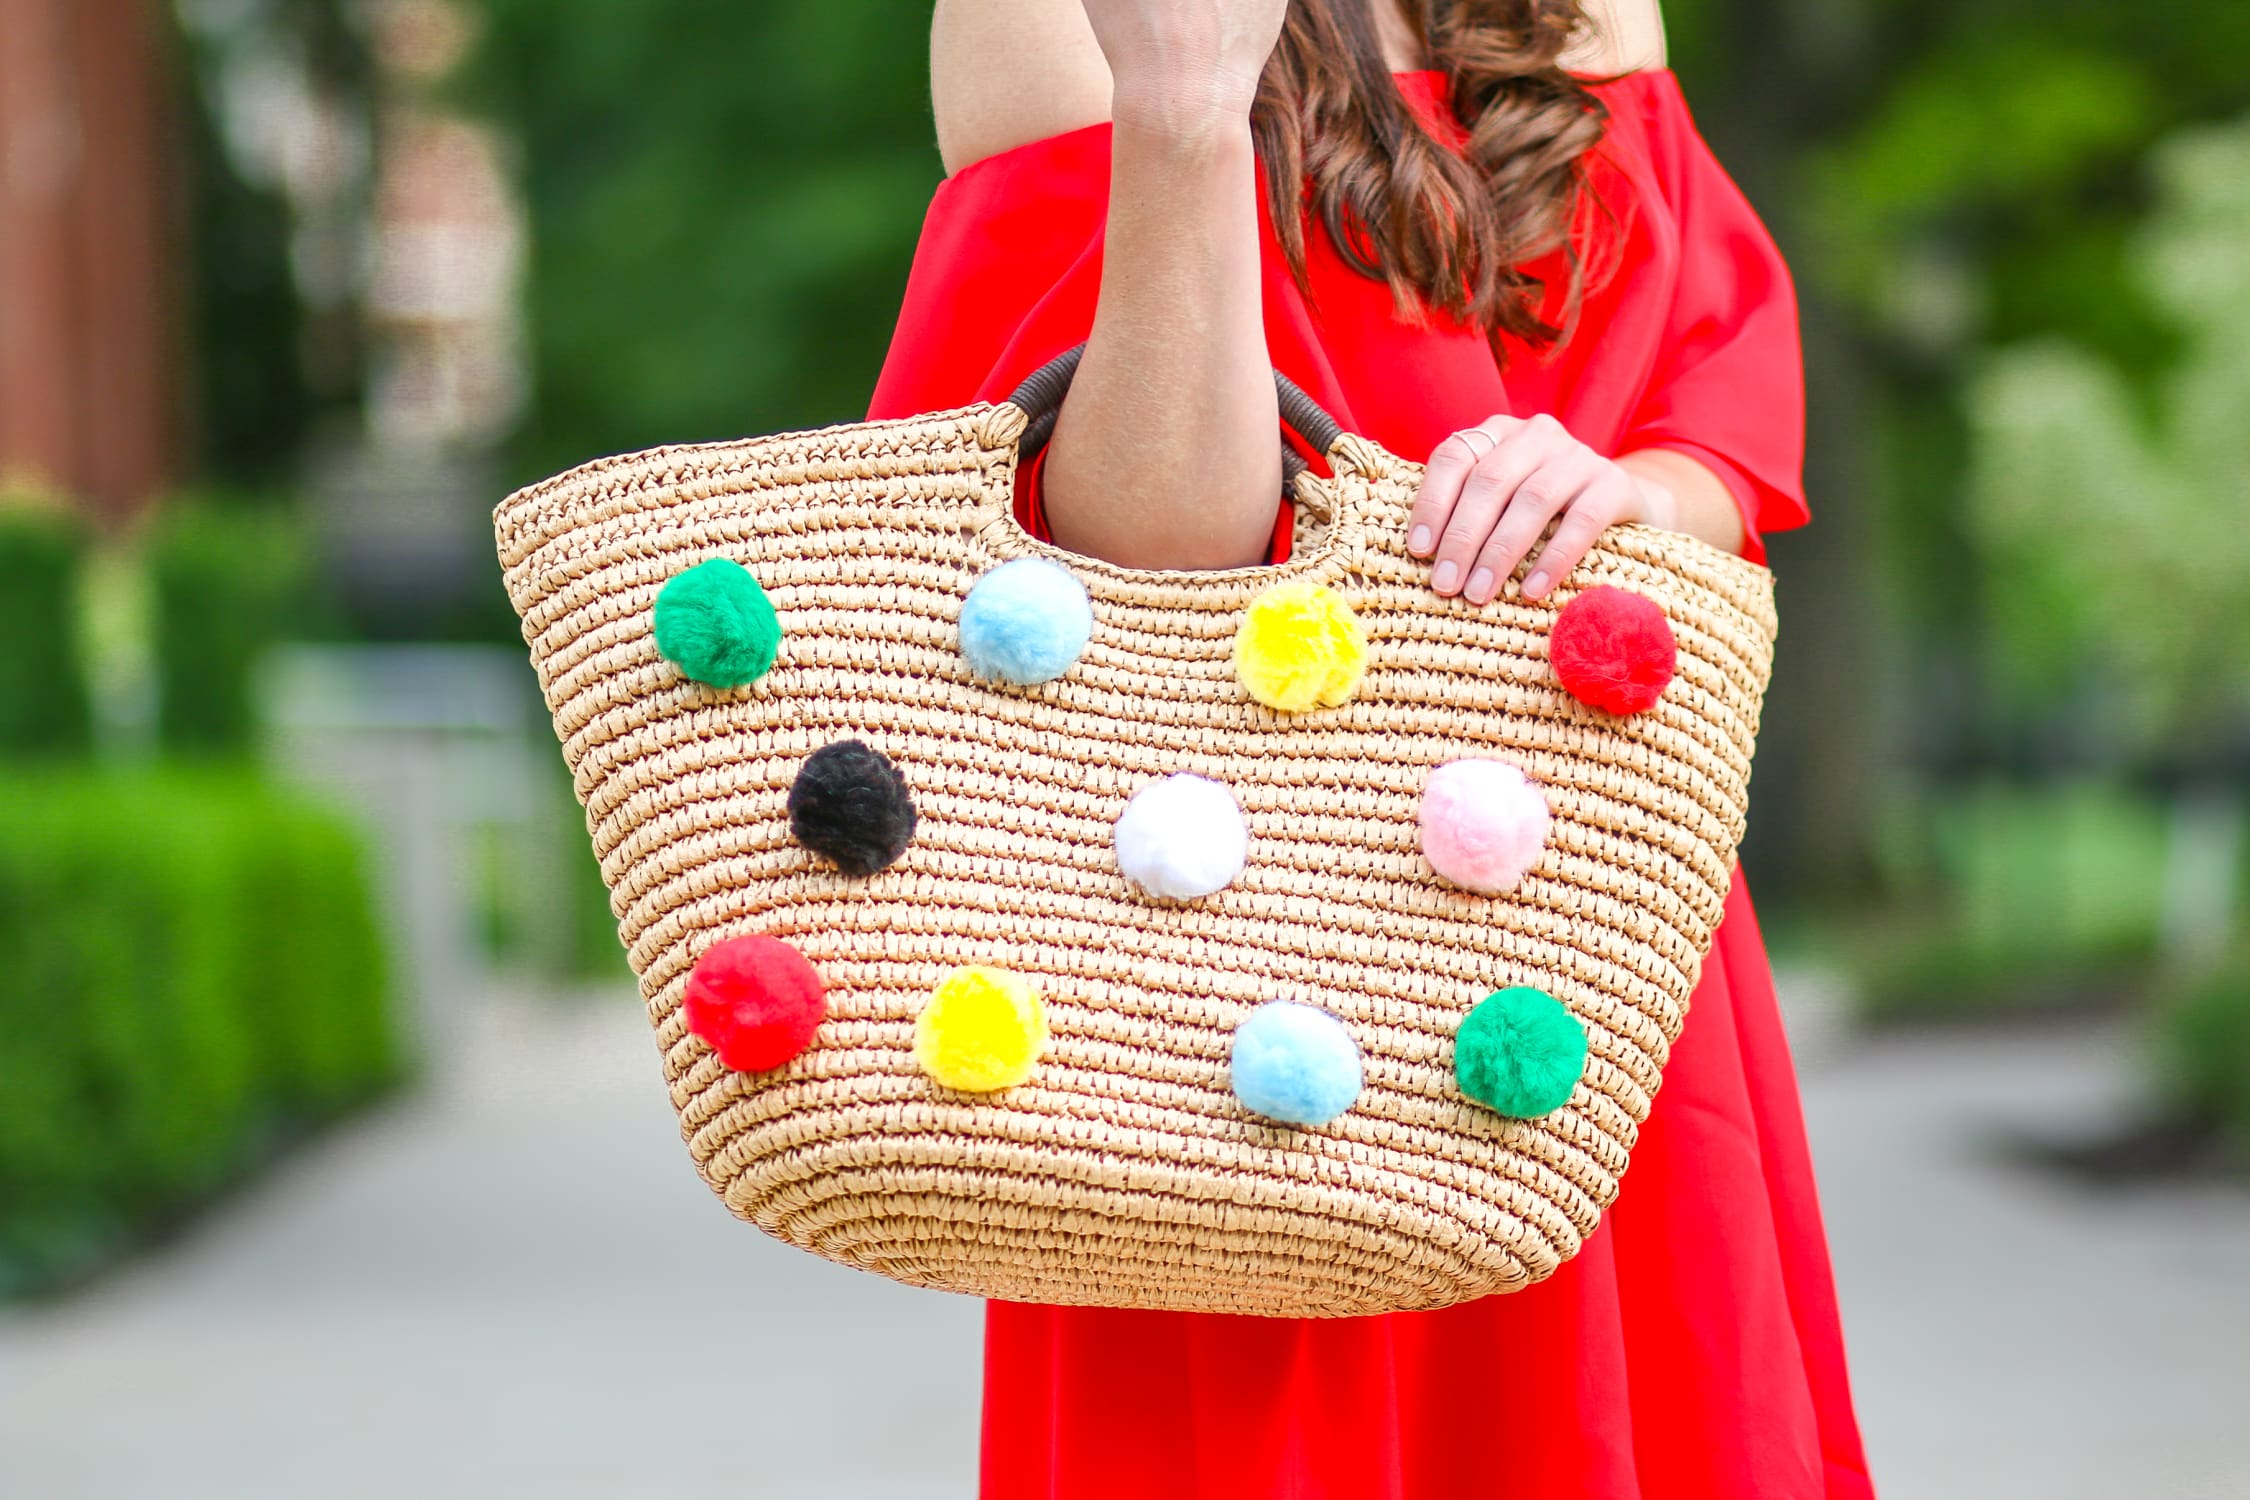


 Shop the Look: Red OTS High-Low Dress: SheIn, $15 | Bag: DIY, Inspired by BaubleBar, $78 | Gladiator Sandals: Target, $33 | Earrings: Kendra Scott, $55 | Ring: BaubleBar, $32 | Sunglasses: BP, $12
DIY Pom Pom Tote: What to Pack
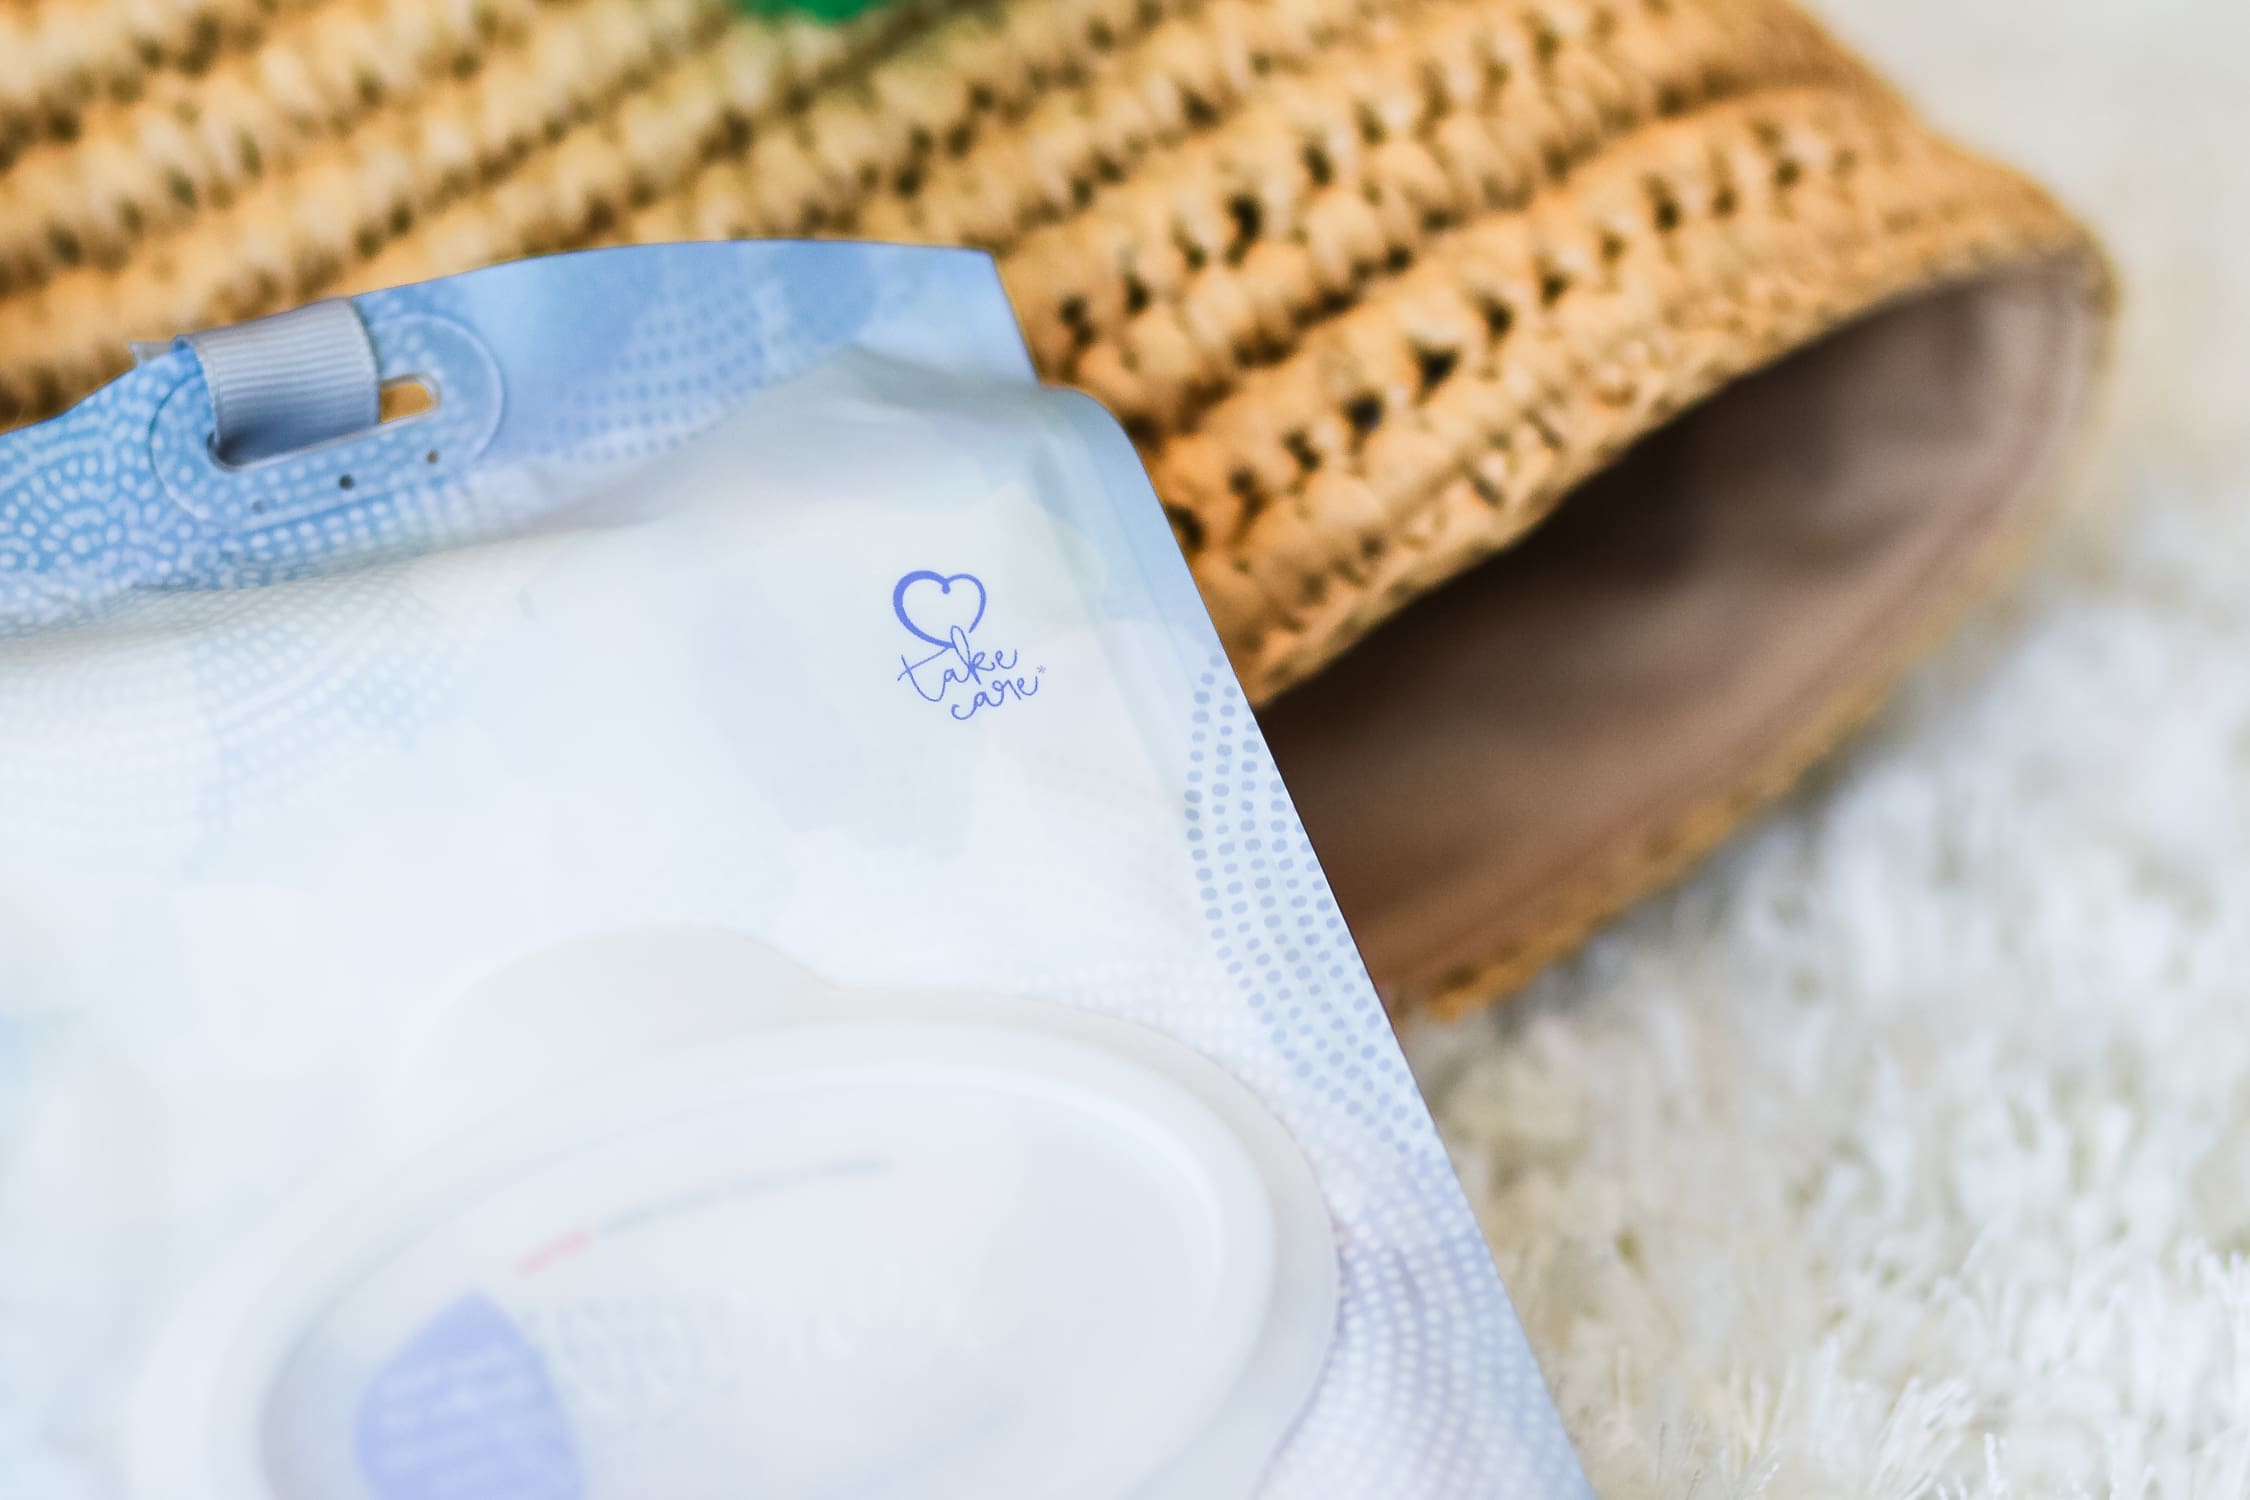
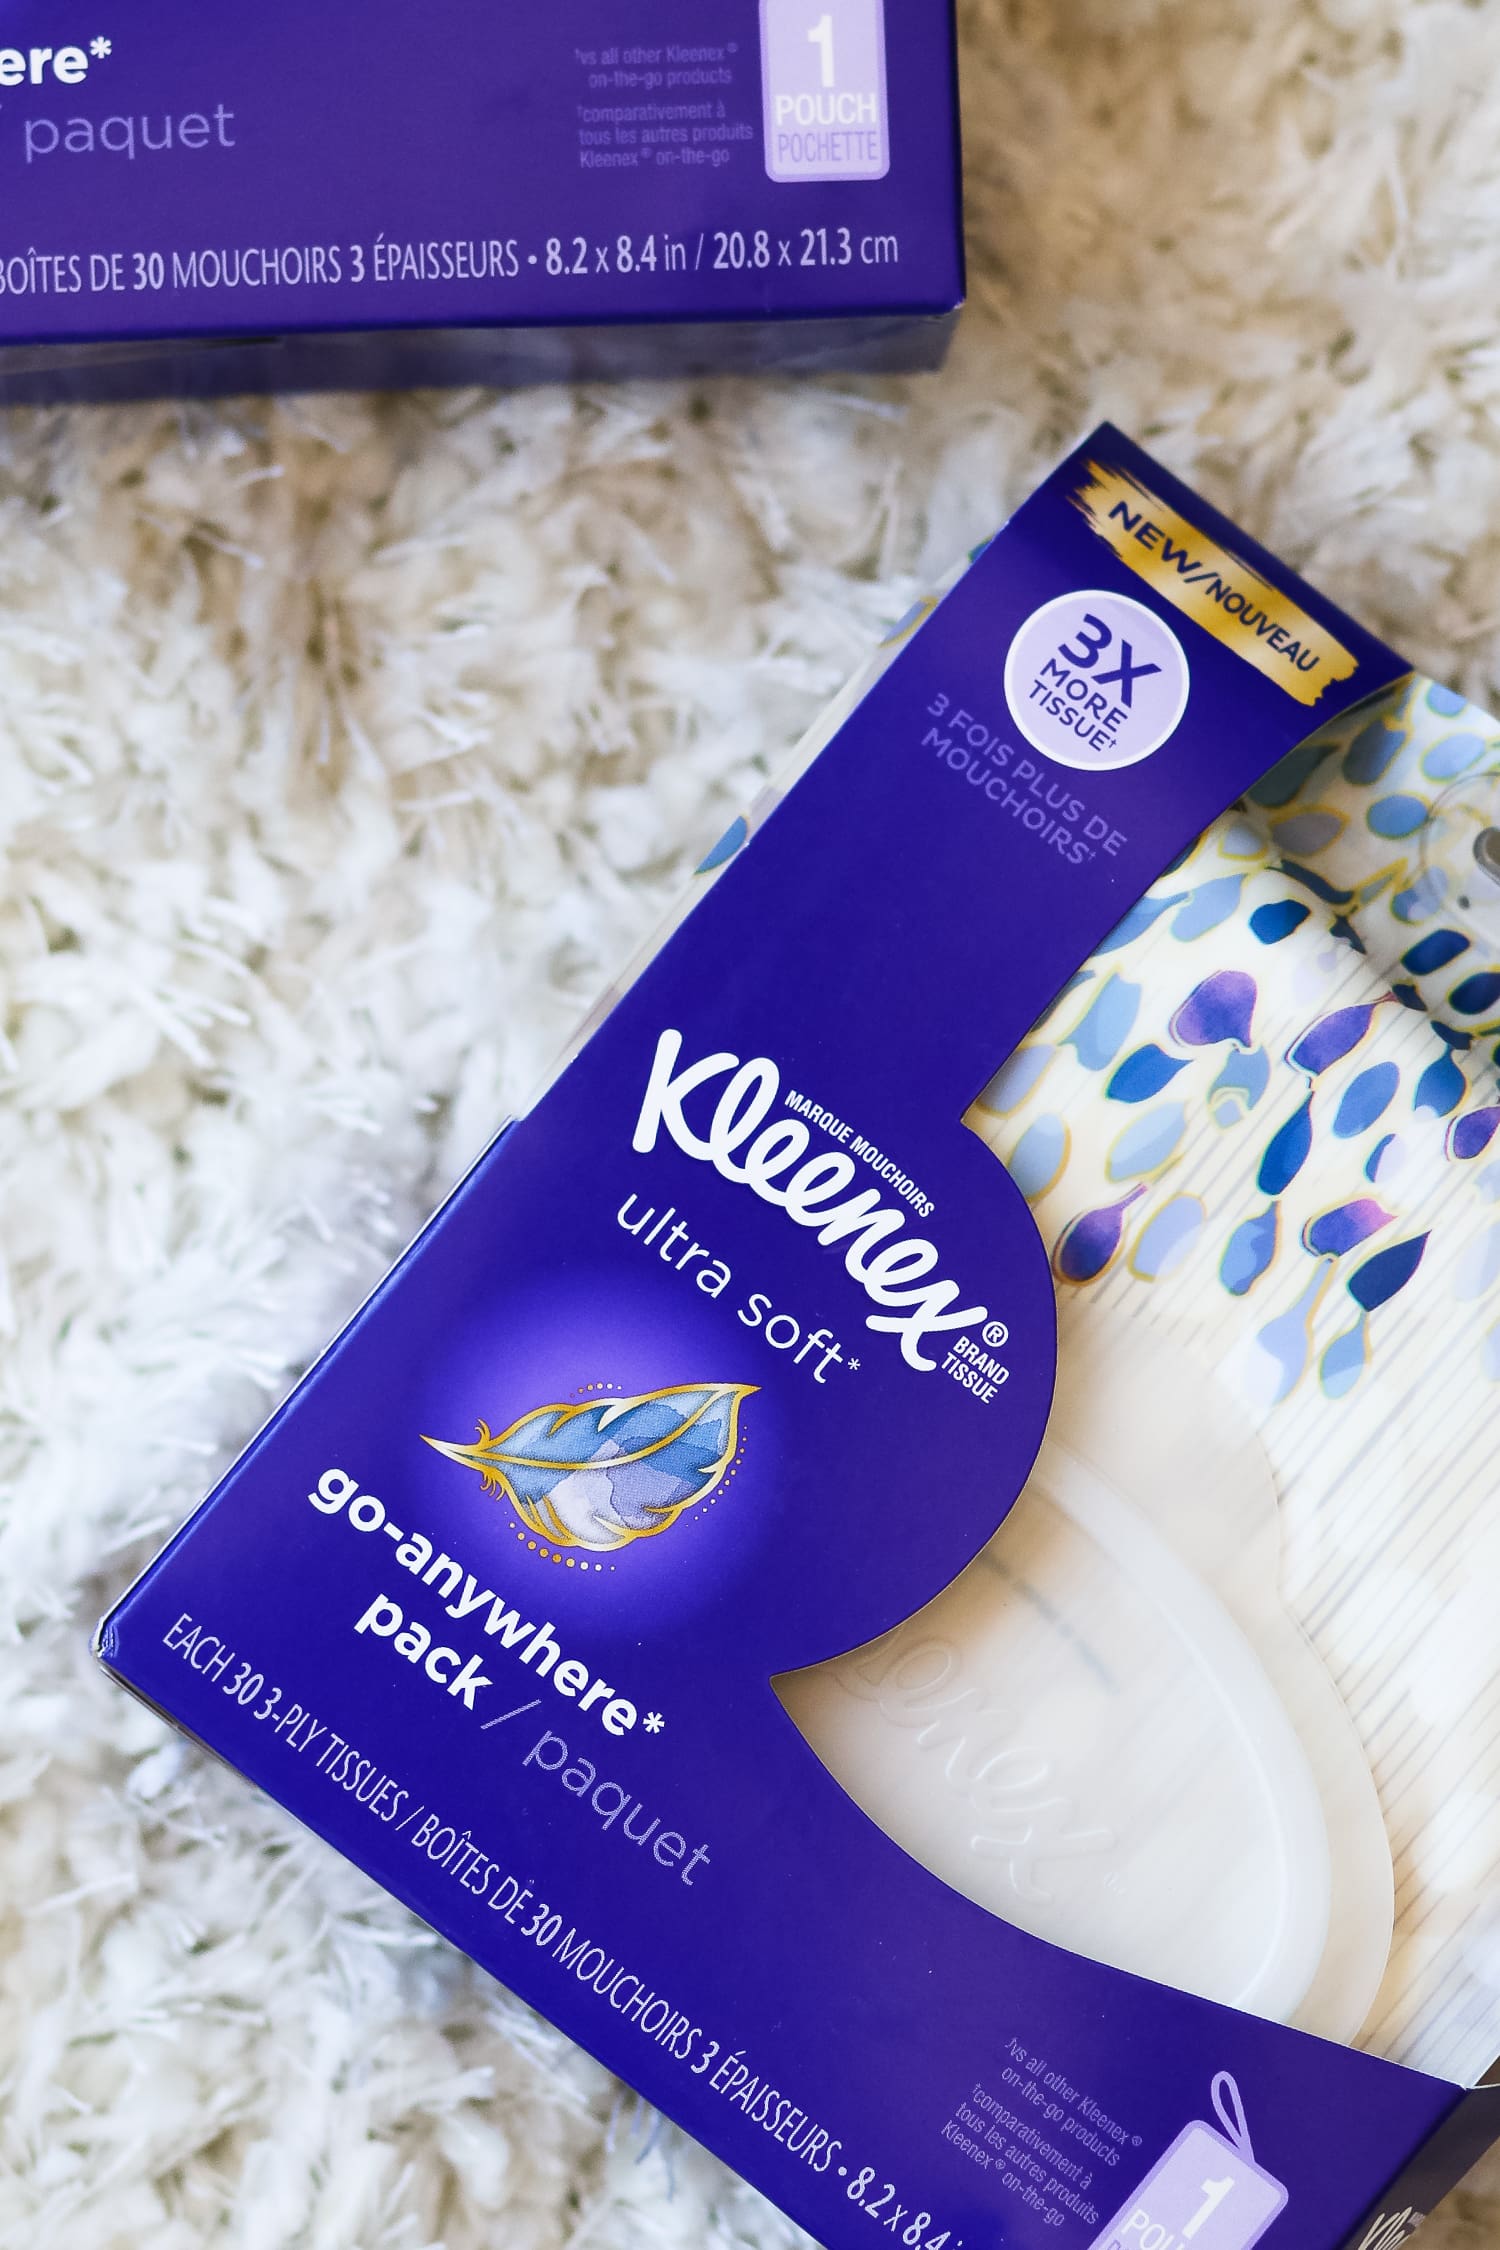
It seems like things get a little more crazy once the warm weather hits in the summer. The days get longer, and we’re rarely ever in one place for too long. Between spontaneous beach (and now river) days, weekend road trips, and backyard barbeques, it’s best to never be caught off guard. That’s why I don’t leave the house without four very specific items. First and foremost, I always have my wallet, my ID in particular, on me. Next, I always make sure I’m carrying Nivea’s A Kiss of Care & Color lip balm, which is a great product for both lip care and lip color, Pixi Hydrating Milky Mist, which is great for a quick burst of deep moisture on the go, and a Kleenex Go Anywhere Pack, which provides a refillable on-the-go solution for a slew of emergency situations.
If you’d like to give Kleenex Go Anywhere Packs a try for yourself, use this coupon to get $.50 cash back at Walmart! Pretty sweet deal!
Hope y’all are having a great weekend, y’all! If there are any other crafty tutorials you’d like to see, feel free to leave ideas and suggestions in the comments section!




Cute and nice idea ;)
https://4highheelsfans.wordpress.com/2017/06/25/israheel/
This bag is so cute
Thanks, Phyllis! I had such a fun time making it! :)
xx,
Stephanie
Pingback: Cute Straw Bags for Summer under $50 | Diary of a Debutante