*This post may contain affiliate links, which means I may receive a commission (at no additional cost to you!) if you make a purchase using any of these links.*
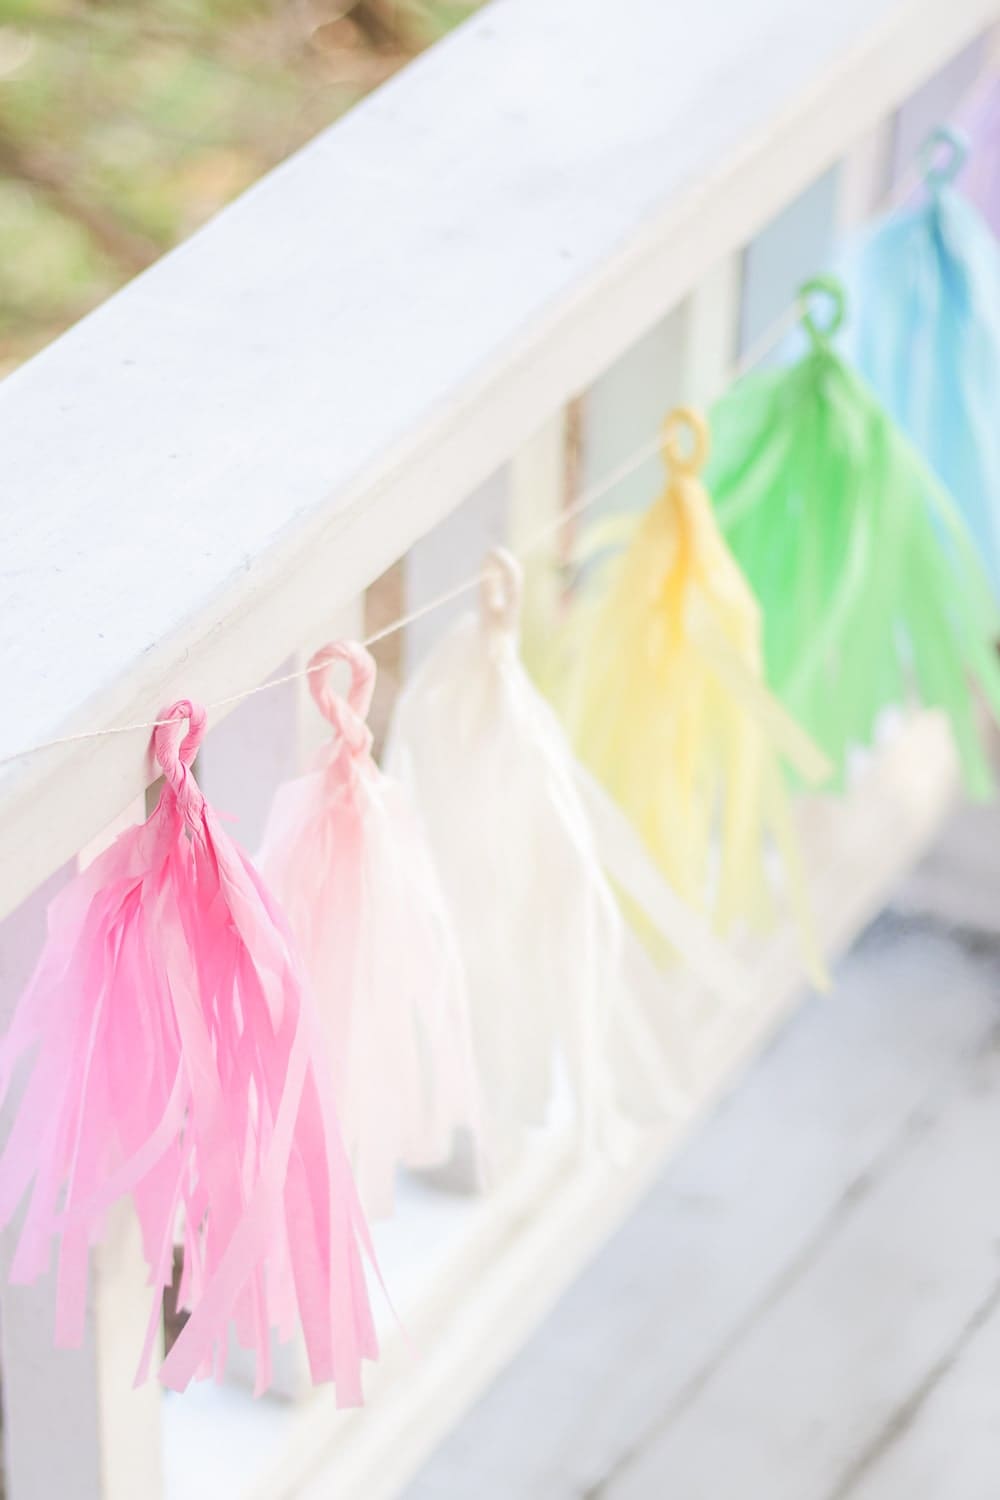
With the whole COVID pandemic going on, I know lots of us are confined to our homes. In fact, my fiance and I are going on week two of self-quarantine, and it’s brutal. So, to help brighten up our outdoor living space, I thought it’d be fun to make some DIY tissue tassel garland for our front and back porches. I had this preconceived notion in my head that only the craftiest crafters could pull off a tissue paper tassels DIY such as this, but y’all… it’s SO easy! Even better, you only need 3 materials to get the job done. I already can’t wait to make more for future parties and events, too. Keep reading for a full tutorial on how to make tissue garland!
In the meantime, though, here’s everything you’ll need for this super simple DIY tissue tassel garland project–
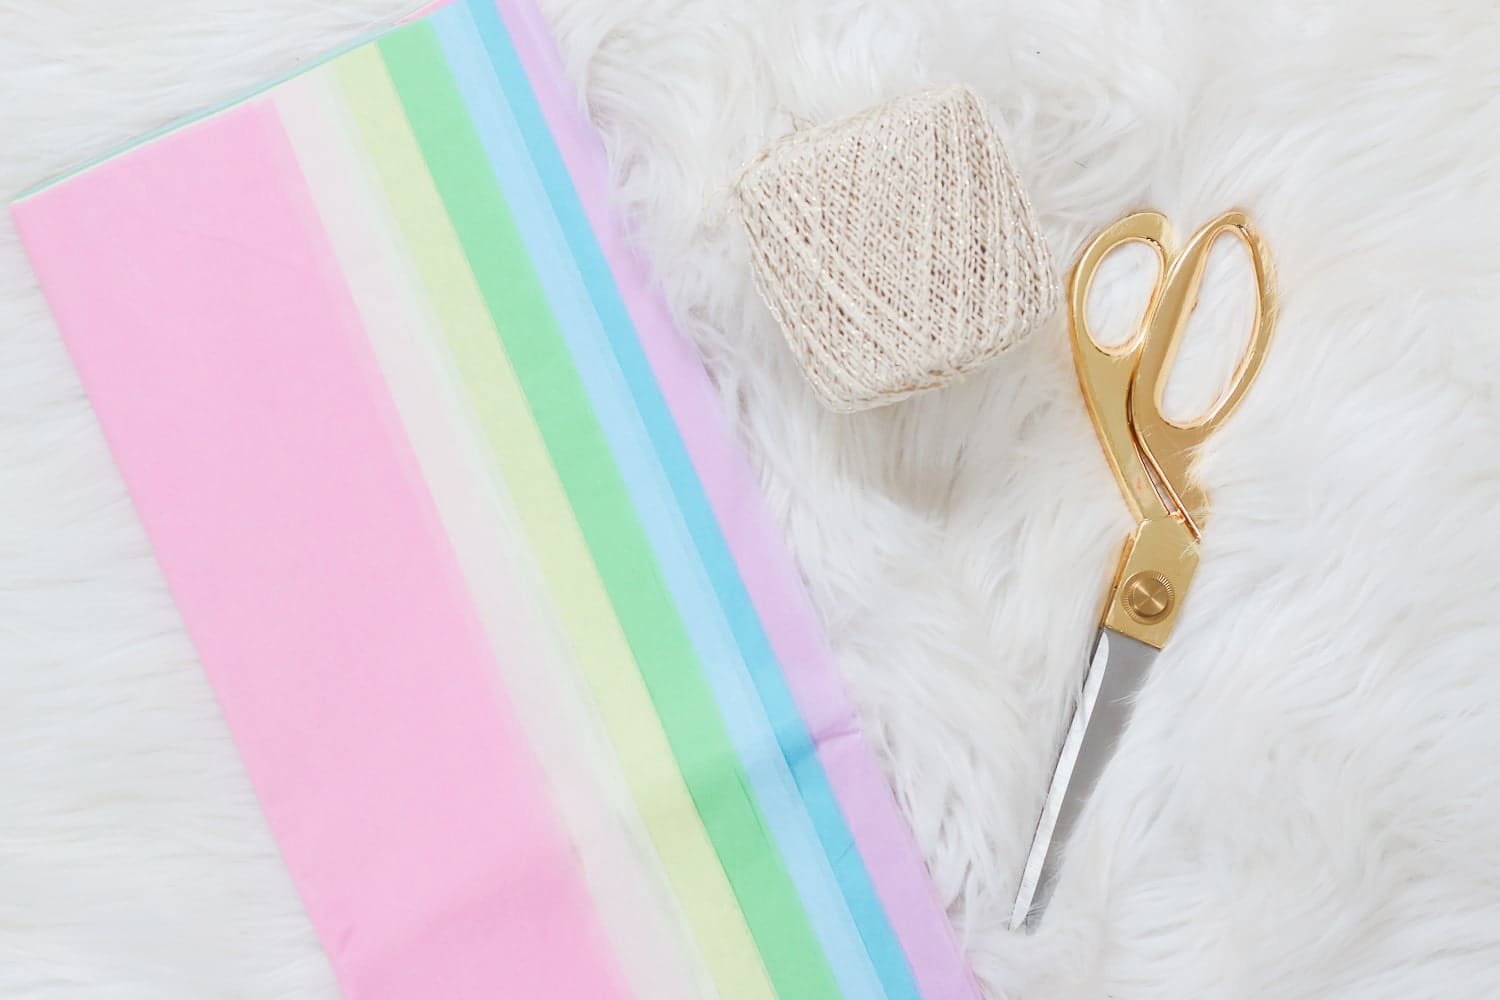
- Pastel Tissue Paper– I ordered this 40-sheet pack. Each average-sized piece of tissue paper yields two tassels, so you may need to order more and less depending on how long of a DIY tissue tassel garland you need.
- Neutral String– I had this string lying around the house, but any neutral-colored ribbon, twine, yarn, thread or thin cord will work, too.
- Scissors– You’re going to be cutting multiple sheets of tissue paper at once, so you want some good craft scissors. This gold pair has been my go-to for years!
How To: DIY Tissue Paper Tassels
Before getting started, let me just say… making DIY tassels with tissue paper is surprisingly relaxing. If you’re stressed, this is a great calming project to undertake! First, though, you’ll need to pick out a color scheme. I wanted something colorful for spring, so I ordered this pack of tissue paper and decided to make a pastel rainbow garland. Other popular combinations are hot pink, light pink, and gold for girls’ parties– or blue, green, and white for boys’. Holiday combos are always fun, too!
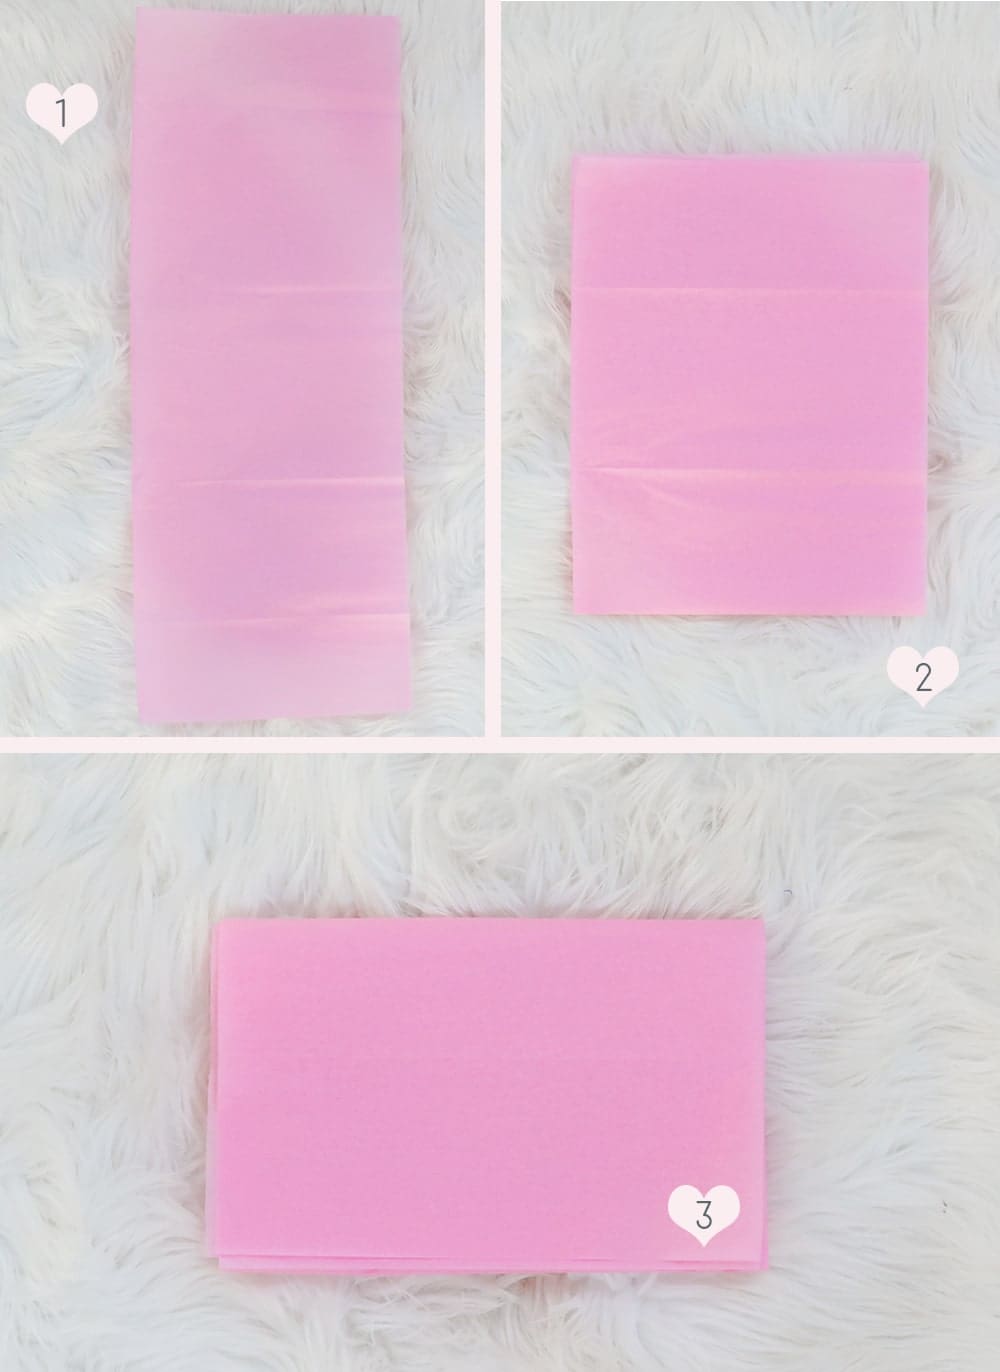
Start out by taking a single piece of tissue paper and folding it in half longwise. Then, fold that piece in half longwise– and then fold that piece in half longwise.
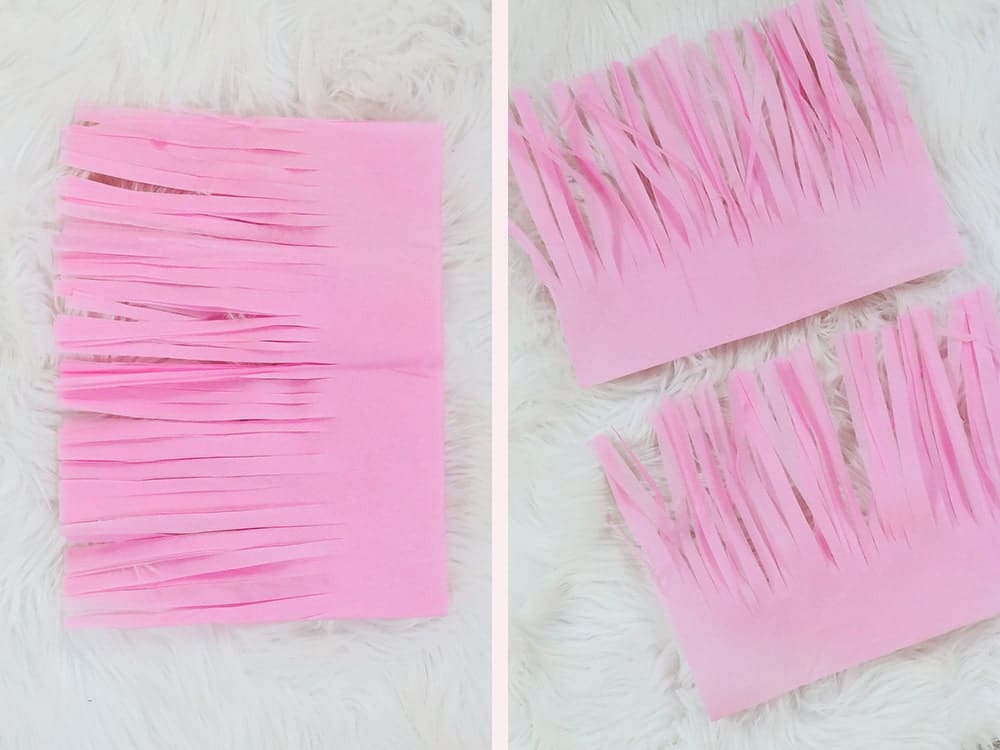
Next, cut long strips toward the fold to create fringe. I like to space mine about 2 centimeters apart and leave about 2 inches uncut at the top for the loop. If you want a smaller or more subtle loop, only leave around 1 inch of uncut tissue paper at the top.
Also, don’t worry about making perfectly-cut strips. By the time you’re done, the folded tissue paper won’t line up right and you’ll have a handful of rogue pieces– and that’s totally fine. Trust me, once it all comes together, no one (including you) will notice.
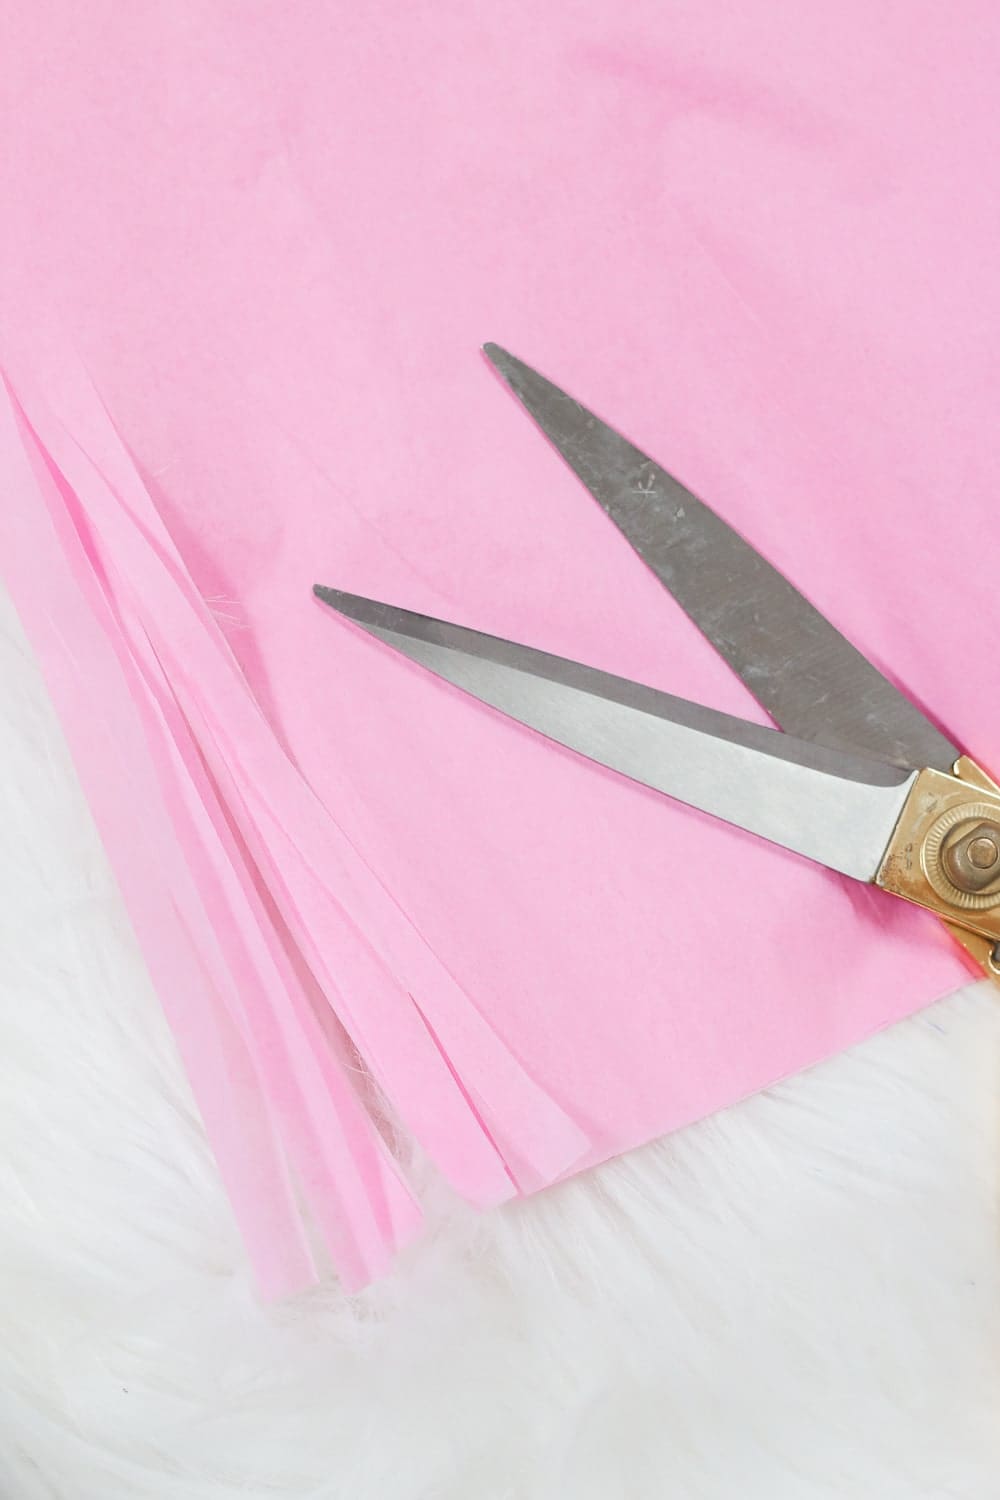
Next, unfold the paper and cut it in half (right along the crease) to create two separate DIY tissue paper tassels. Then, unfold them both. You’ll need to repeat the following steps for each tassel separately.
Start rolling the paper tightly down the middle crease. You’ll notice both sides start to get bushier and bushier as you roll.
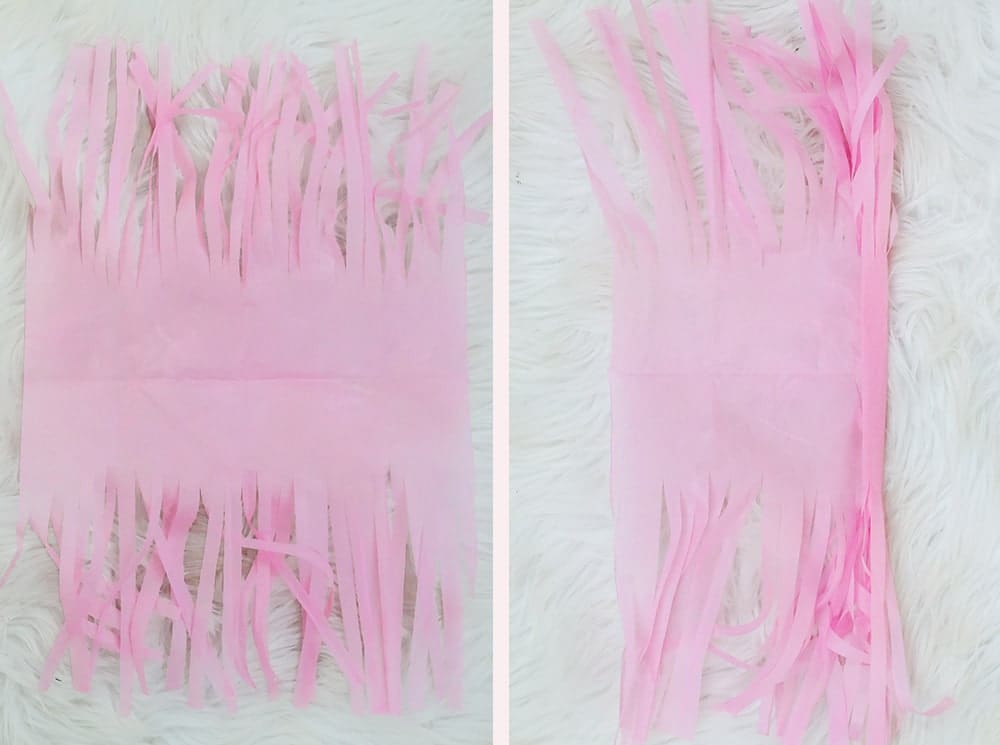
Once it’s all rolled up, twist the middle part firmly, avoiding any of the fringy pieces as much as possible.
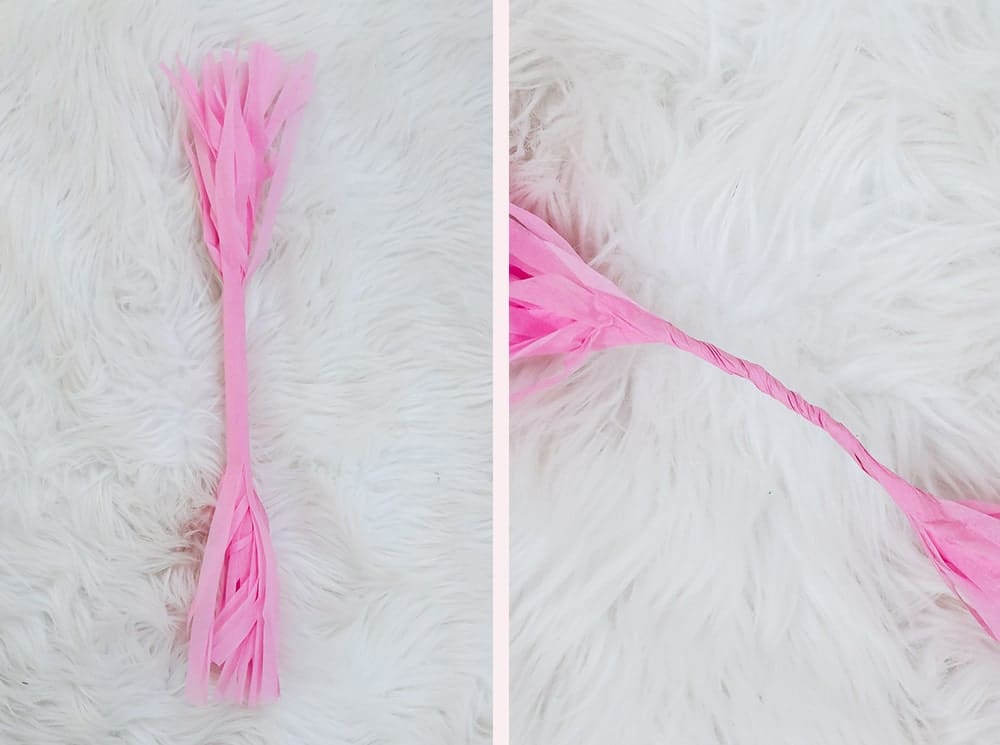
Fold the twisted part in half and then wrap the “stems” of the fringe around each other to create a loop. You won’t need any glue or tape or anything– they’ll stay put all on their own. Finally, repeat as many times as you’d like to create your own customized DIY tissue tassel garland!
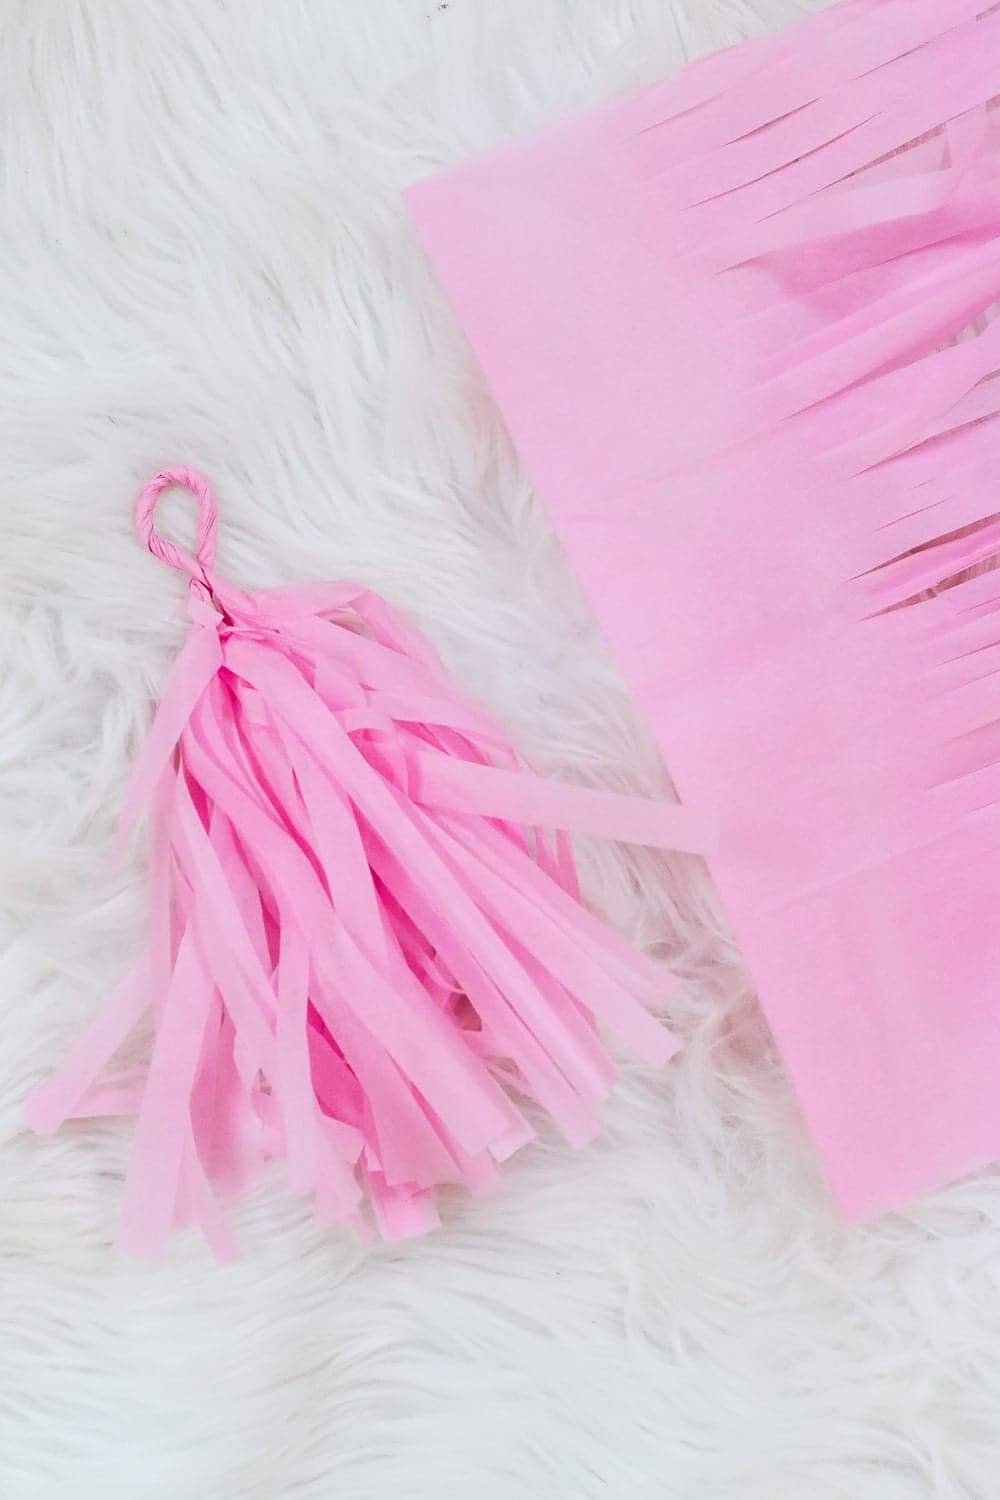
How To: DIY Tissue Tassel Garland
Honestly, this is the ridiculously easy part. Once you’ve made all your DIY tissue paper tassels, pick out a neutral ribbon or cord (I used this thread) and string them along one by one. That’s it– easy peasy.
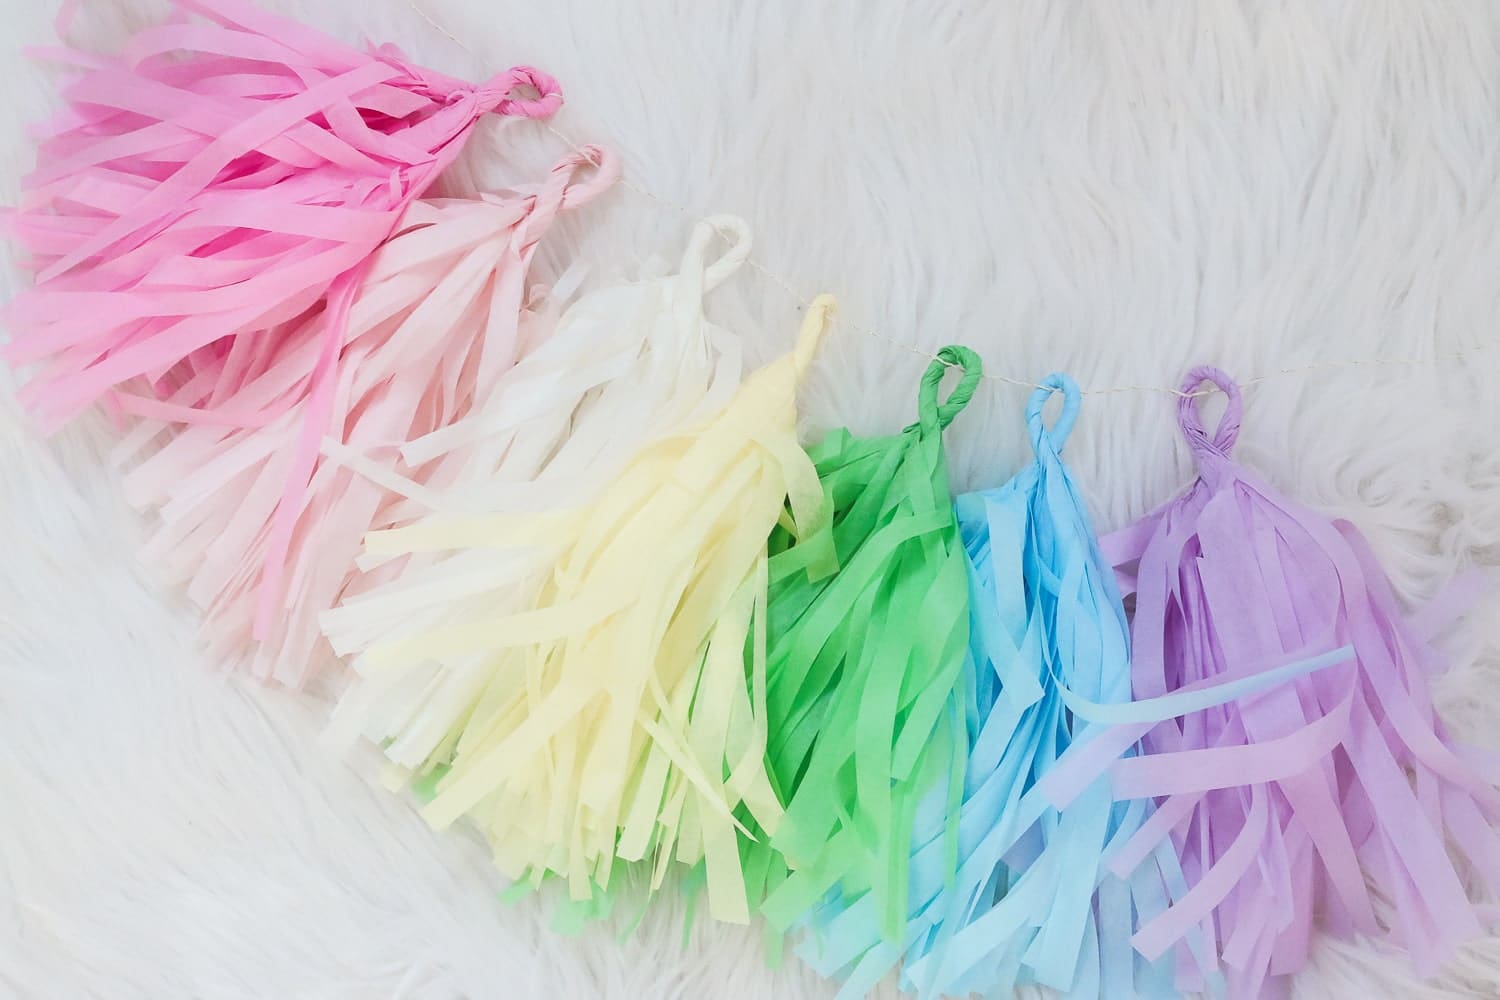
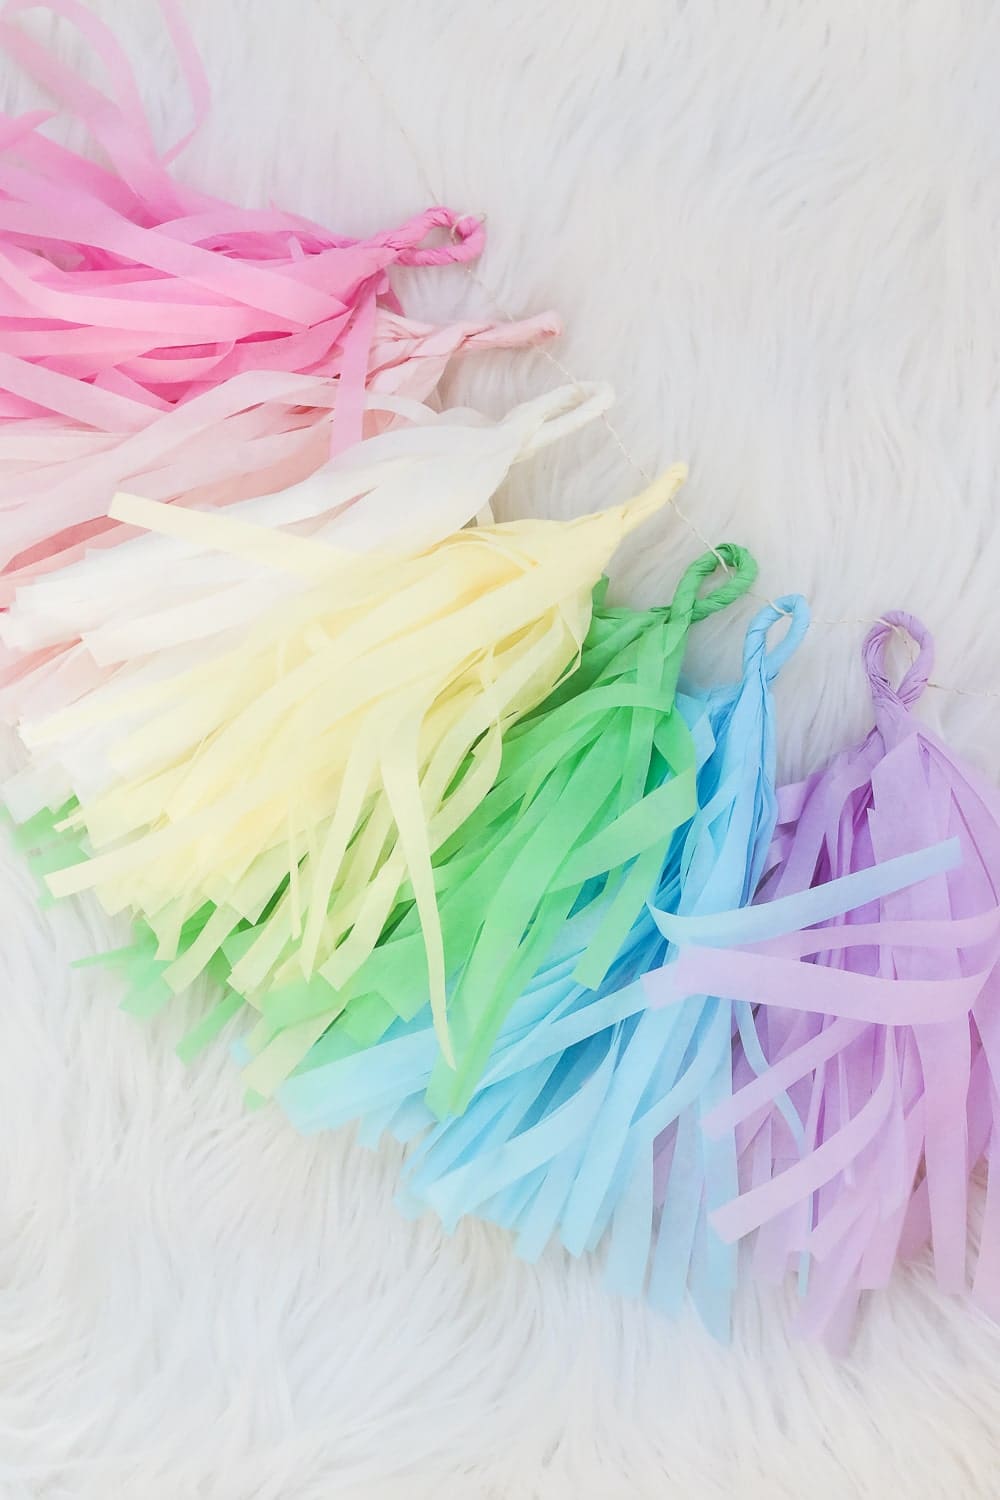
Once you’ve mastered how to make tissue garland, hang them wherever you like (railings, party tables, doorways, backs of chairs, etc)! I typically use clear tape and allow them to drape down the middle of the railing or wherever they’re going. For reference, I created 14 tassels total (2 of each color, 7 colors) and measured around 8 feet of garland.
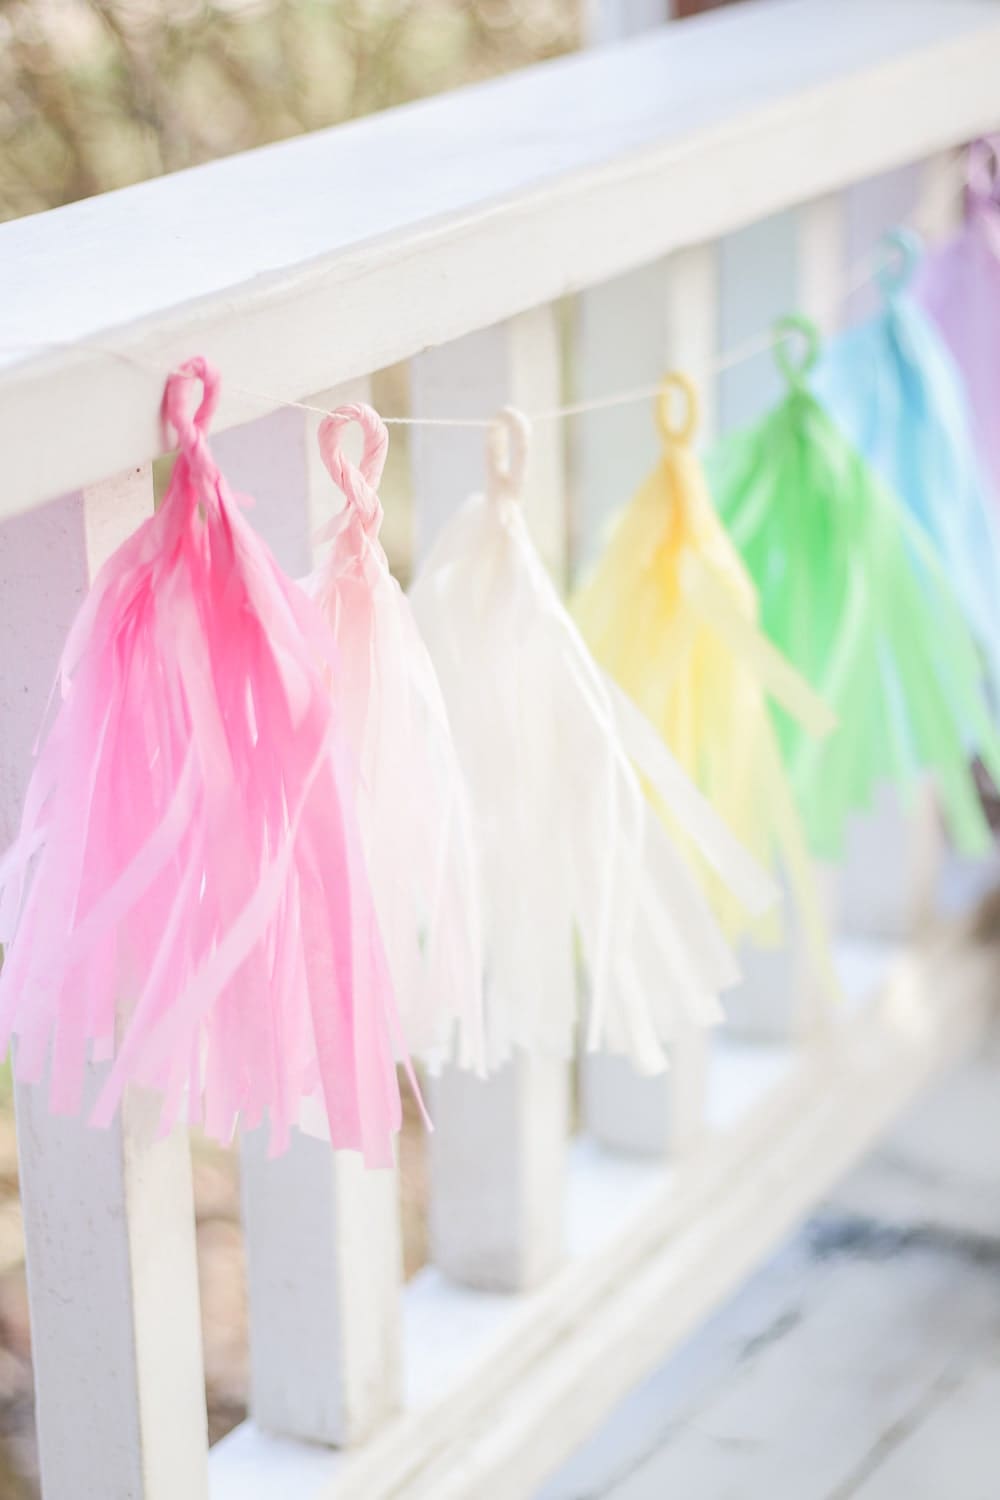
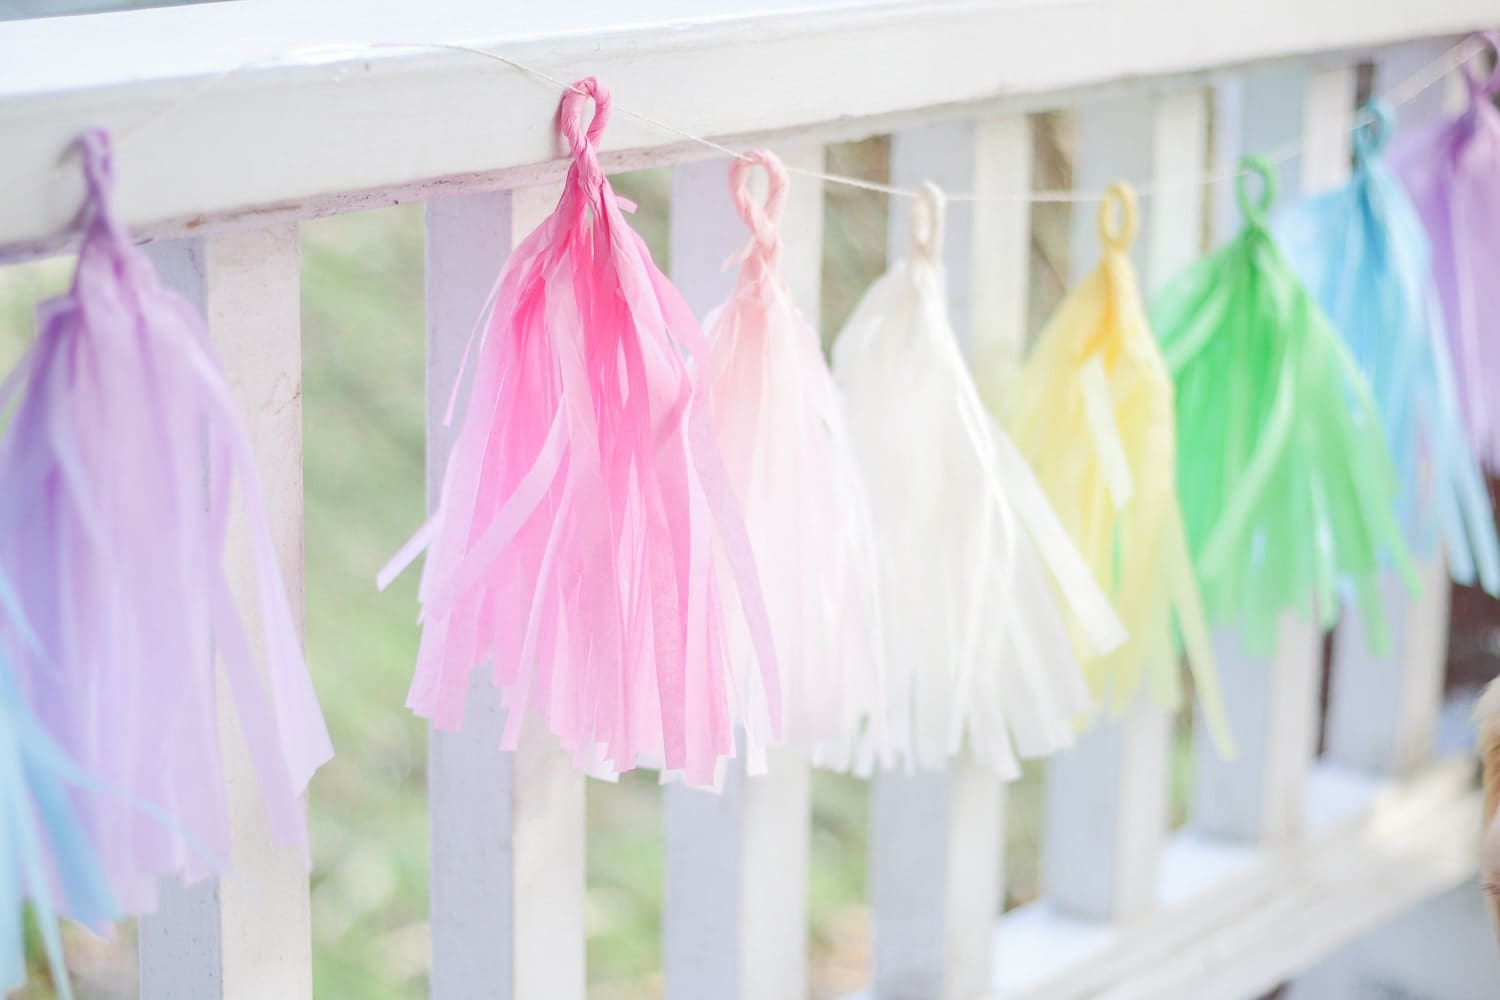
Aren’t these DIY tissue paper tassels fun? And, as much as I love supporting small businesses, they’re so much cheaper than buying tissue tassel garland at a party store or off Etsy. For a few more of my favorite fun DIY party projects for spring, click here and here. Oh, and as always, please let me know if you have any questions about this craft tutorial. I’m happy to help!
Thanks for reading, y’all– stay safe and happy crafting!


