*This post may contain affiliate links, which means I may receive a commission (at no additional cost to you!) if you make a purchase using any of these links.*
Does your hair need a detox? If so, summer is the PERFECT time to give yourself a beauty breather. Everyone’s rocking sun-kissed highlights, and messy beach waves are running rampant. Unfortunately, air drying just doesn’t work for everyone. I, for one, have hair that naturally dries into a giant ball of both frizz and the most un-pretty waves imaginable. So, I rely on heatless hairstyling to keep my hair looking presentable without frying it every few days. Not all heatless hairstyles involve throwing your hair up into tight braids or messy buns, either. You can create bombshell heatless curls overnight by following a few simple steps.
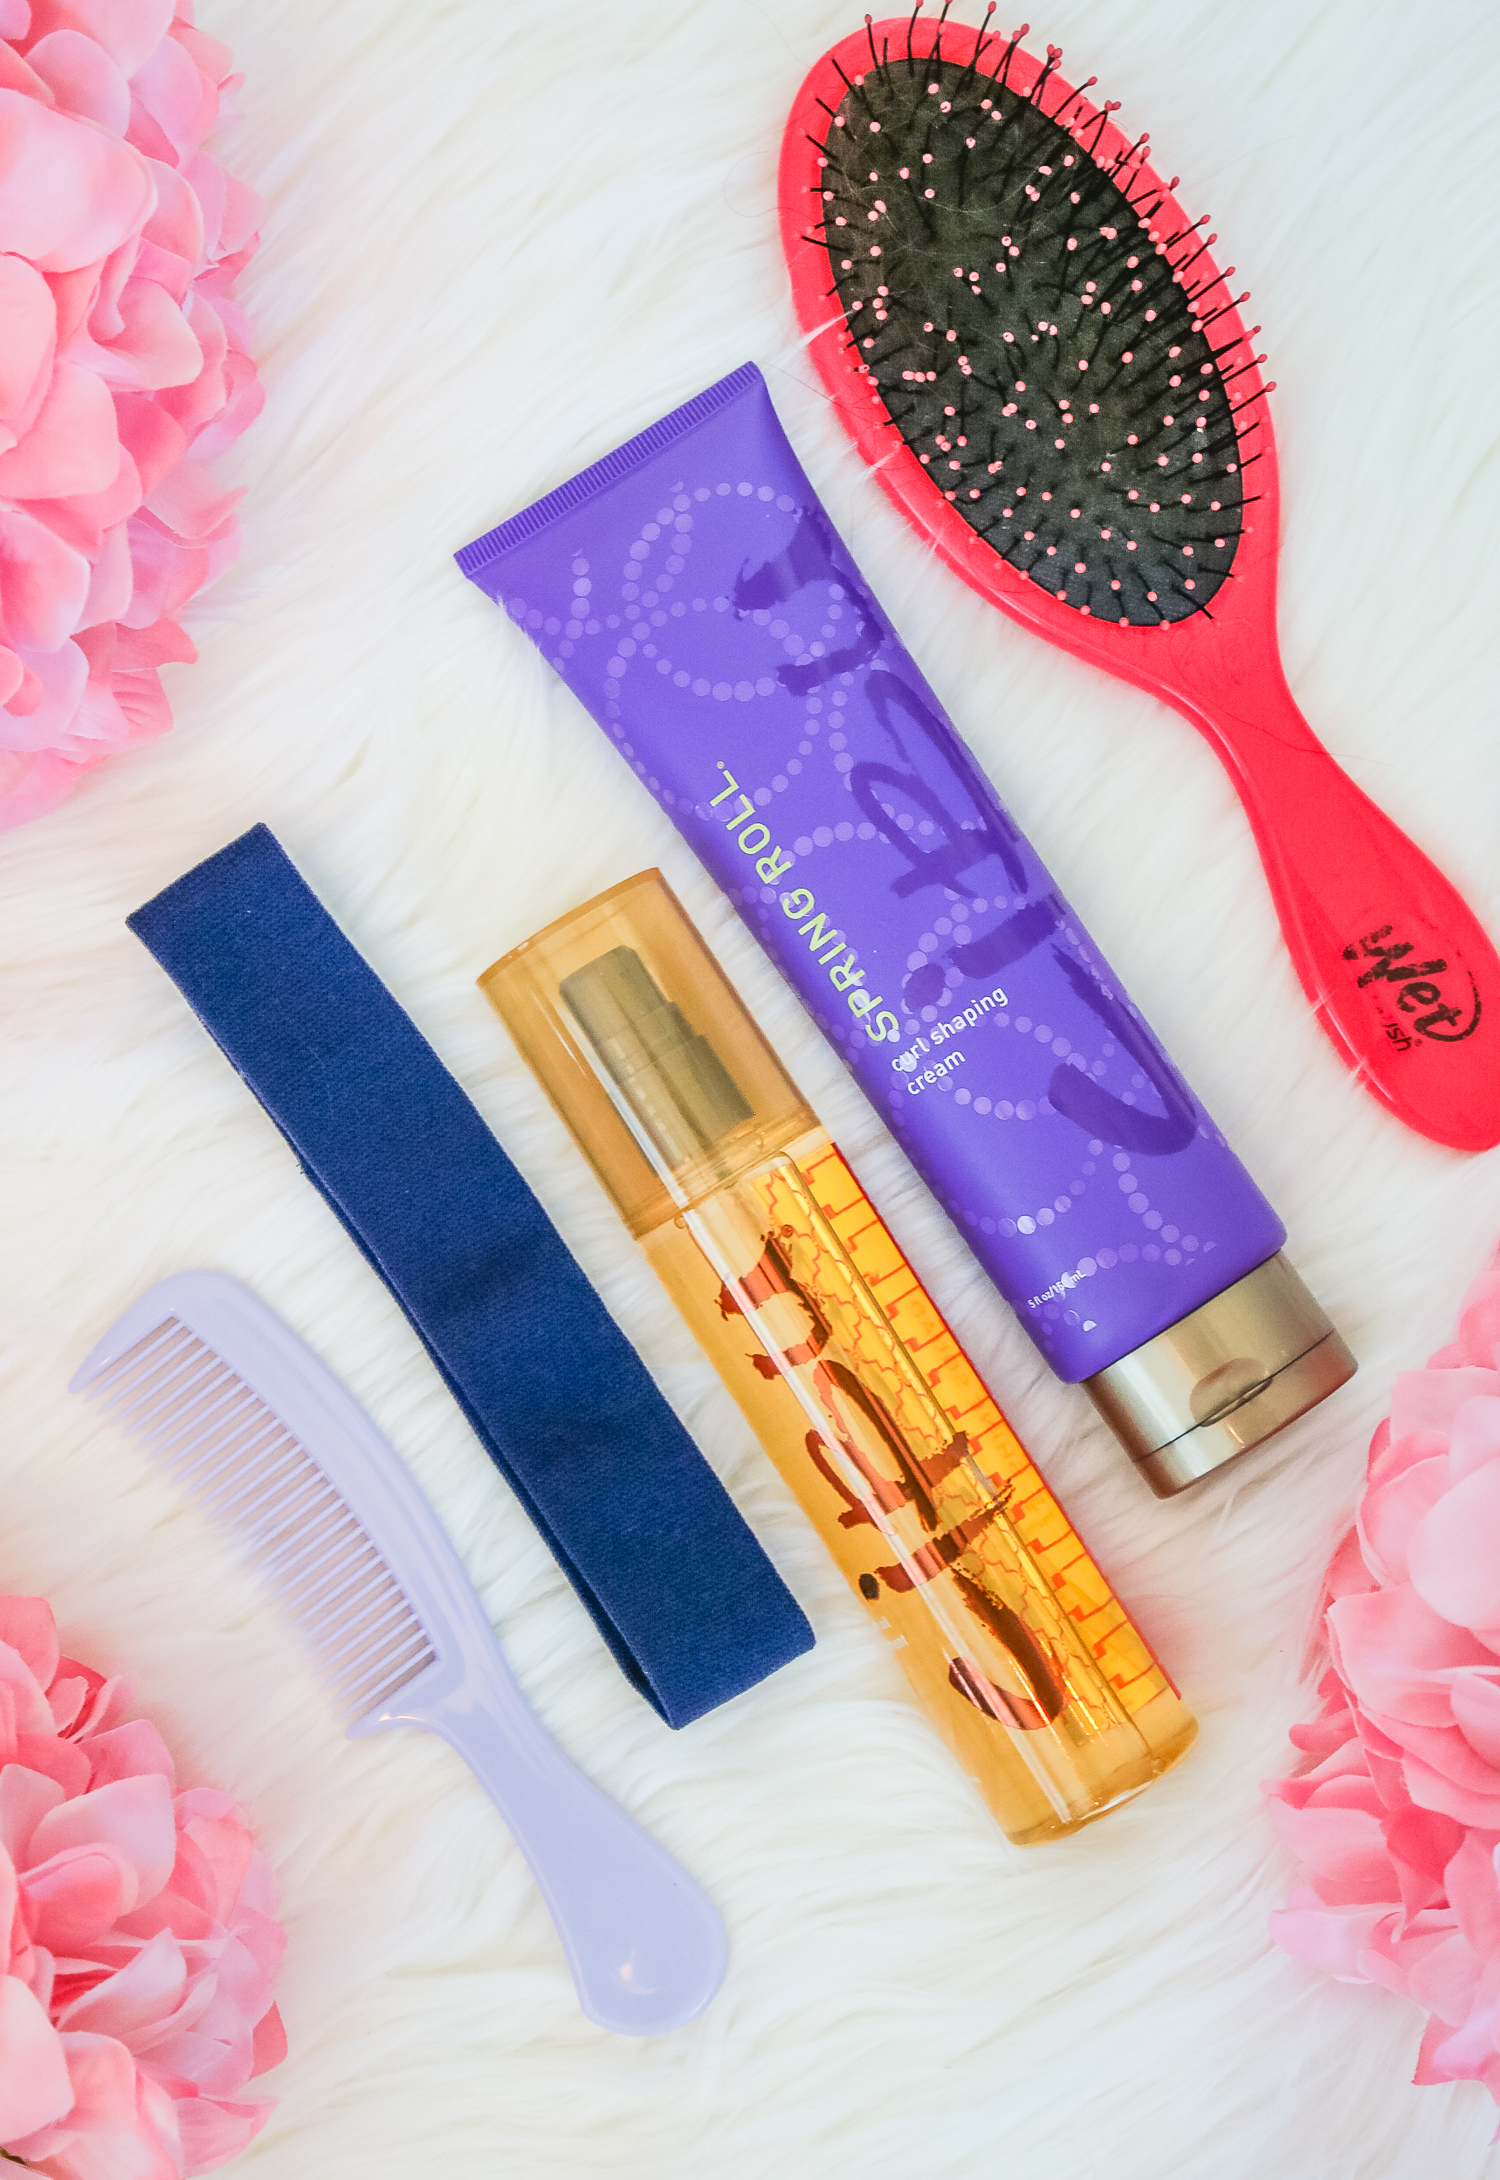
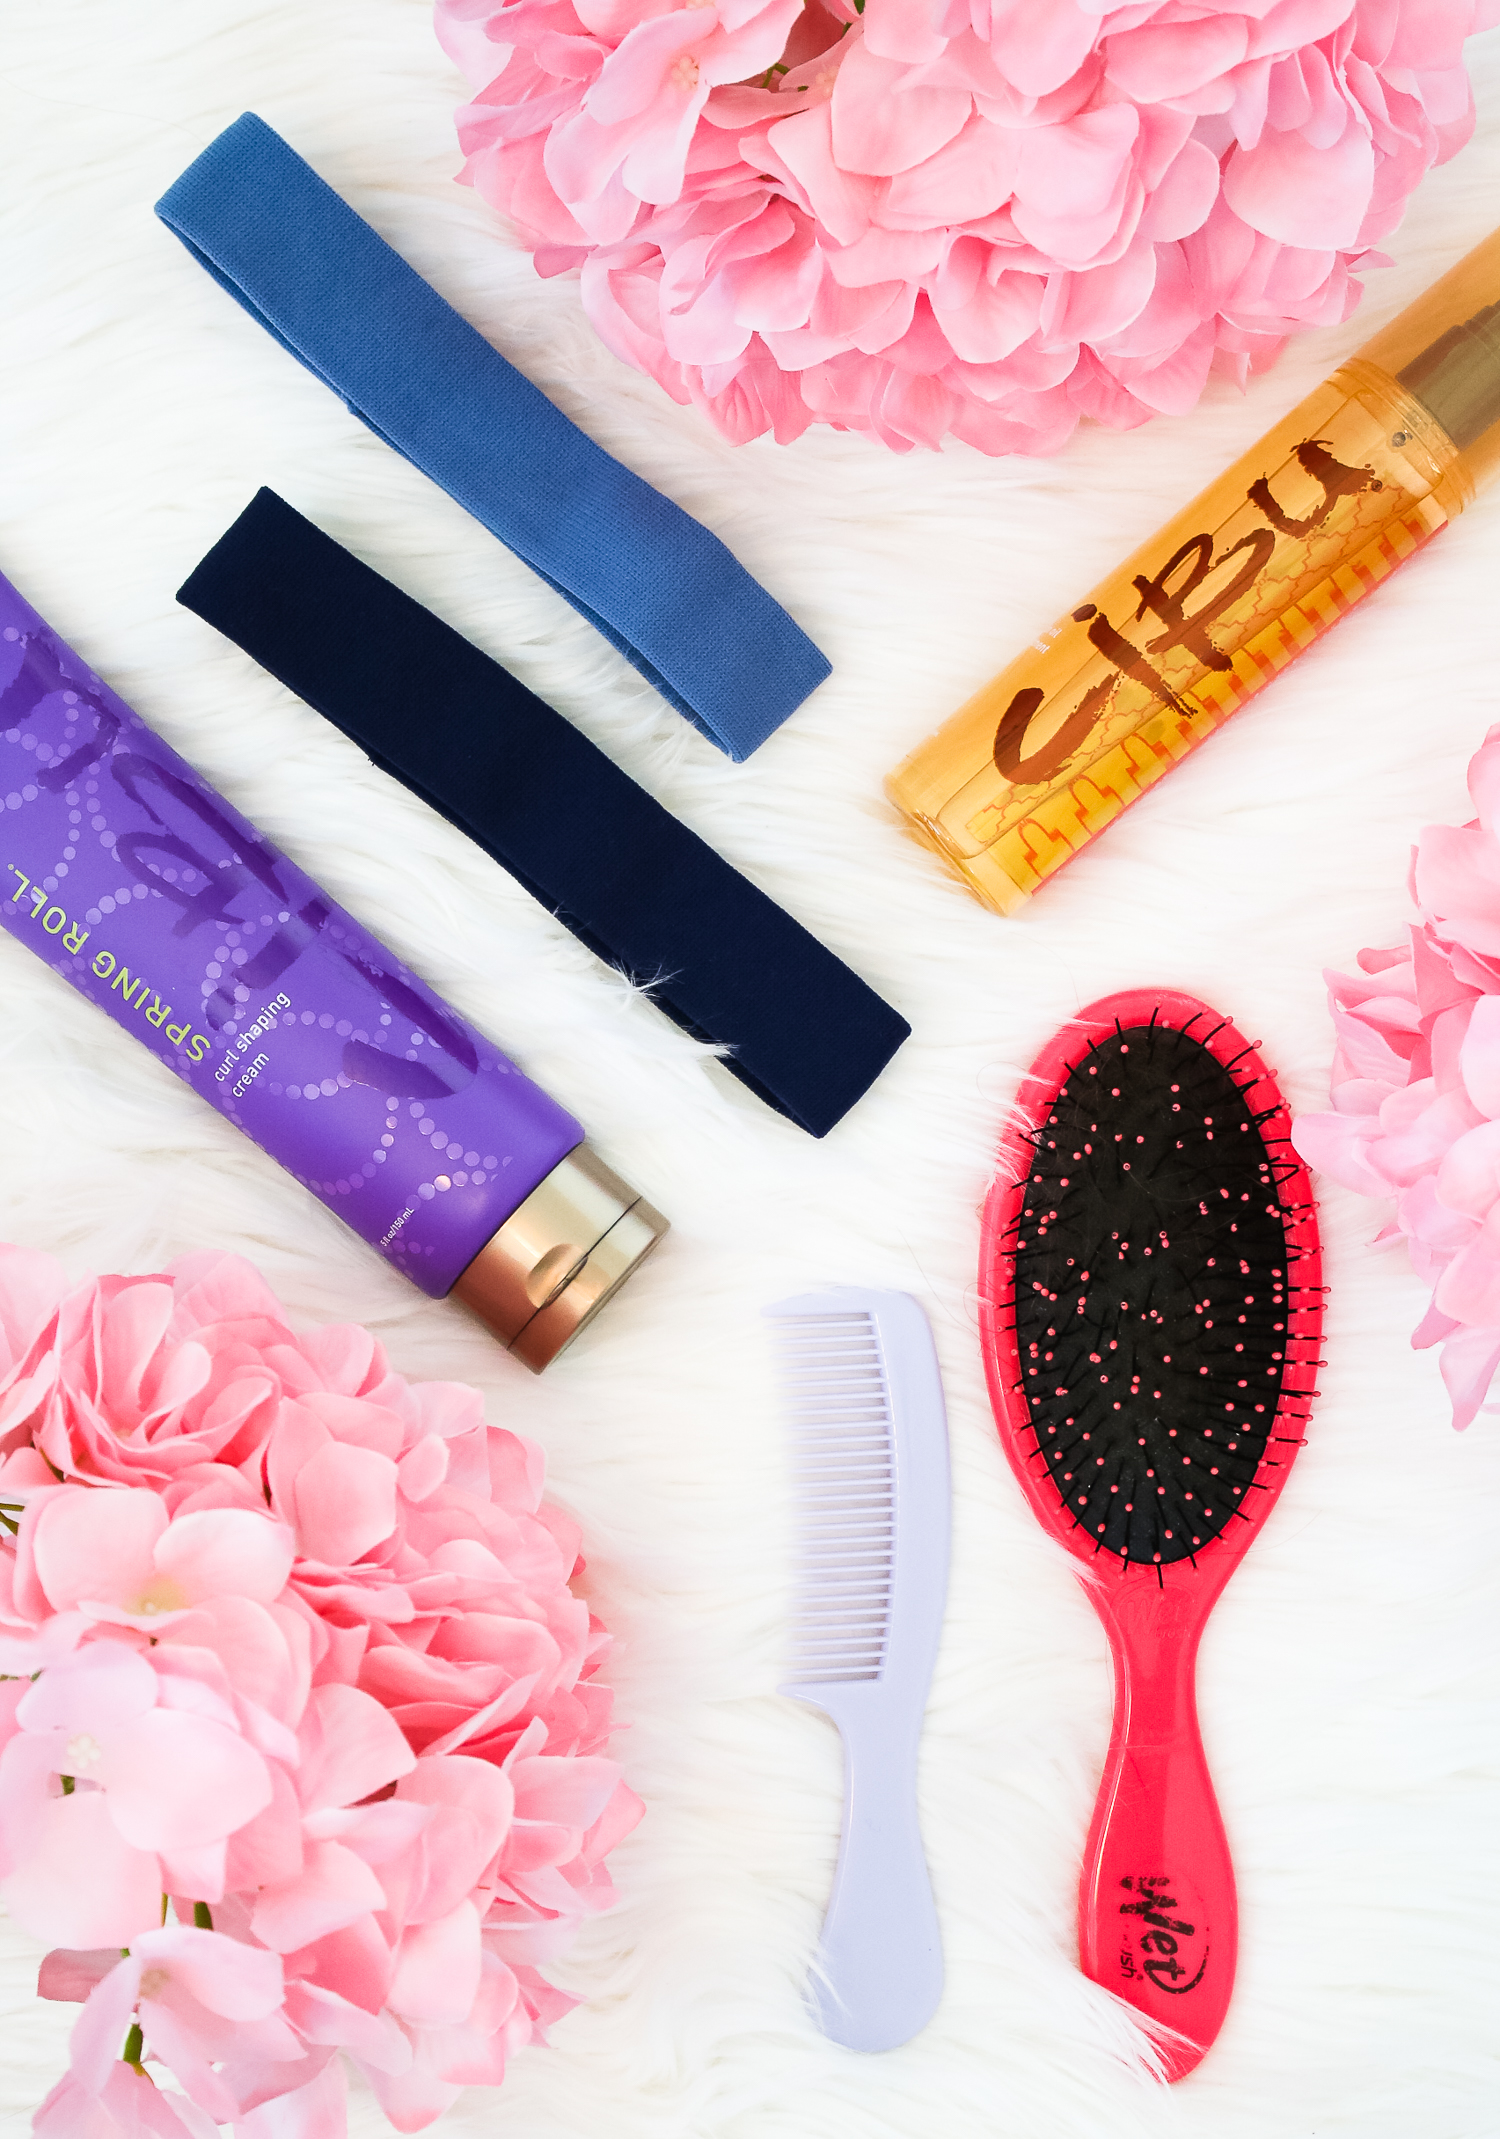
All you need to get heatless curls overnight are the following things: a Wet Brush (they’re a lifesaver for anyone whose hair easily tangles), comb, a thick elastic headband (I use Goody Ouchless Comfort Headwraps), some bobbi pins, Cibu Spring Roll Curl Shaping Cream, and Cibu Shine Squad Argan Oil Treatment if you’re prone to frizz.
Keep reading for a step-by-step tutorial!
How to Create Heatless Curls Overnight
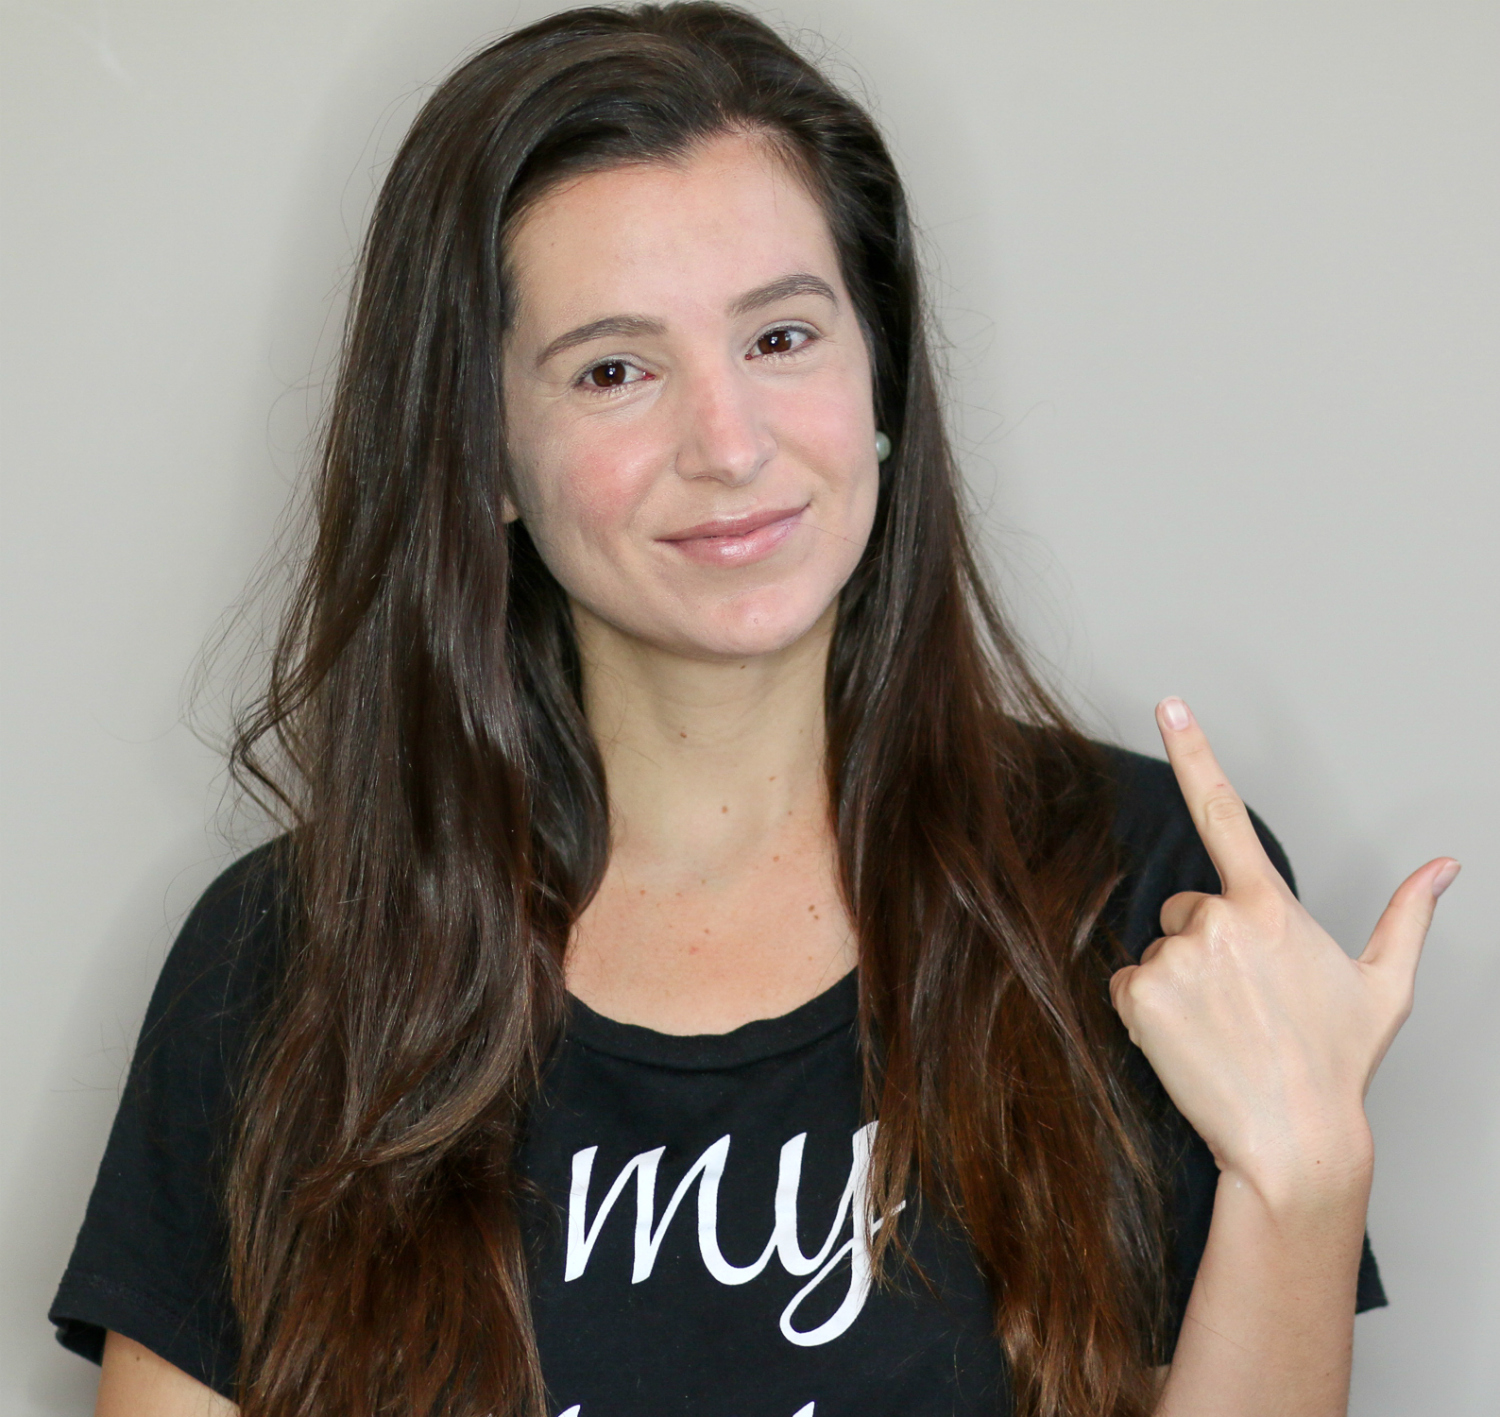
Start with a head of partially air-dried hair before bedtime. If your hair is totally dried, spritz it with a few mists of water.
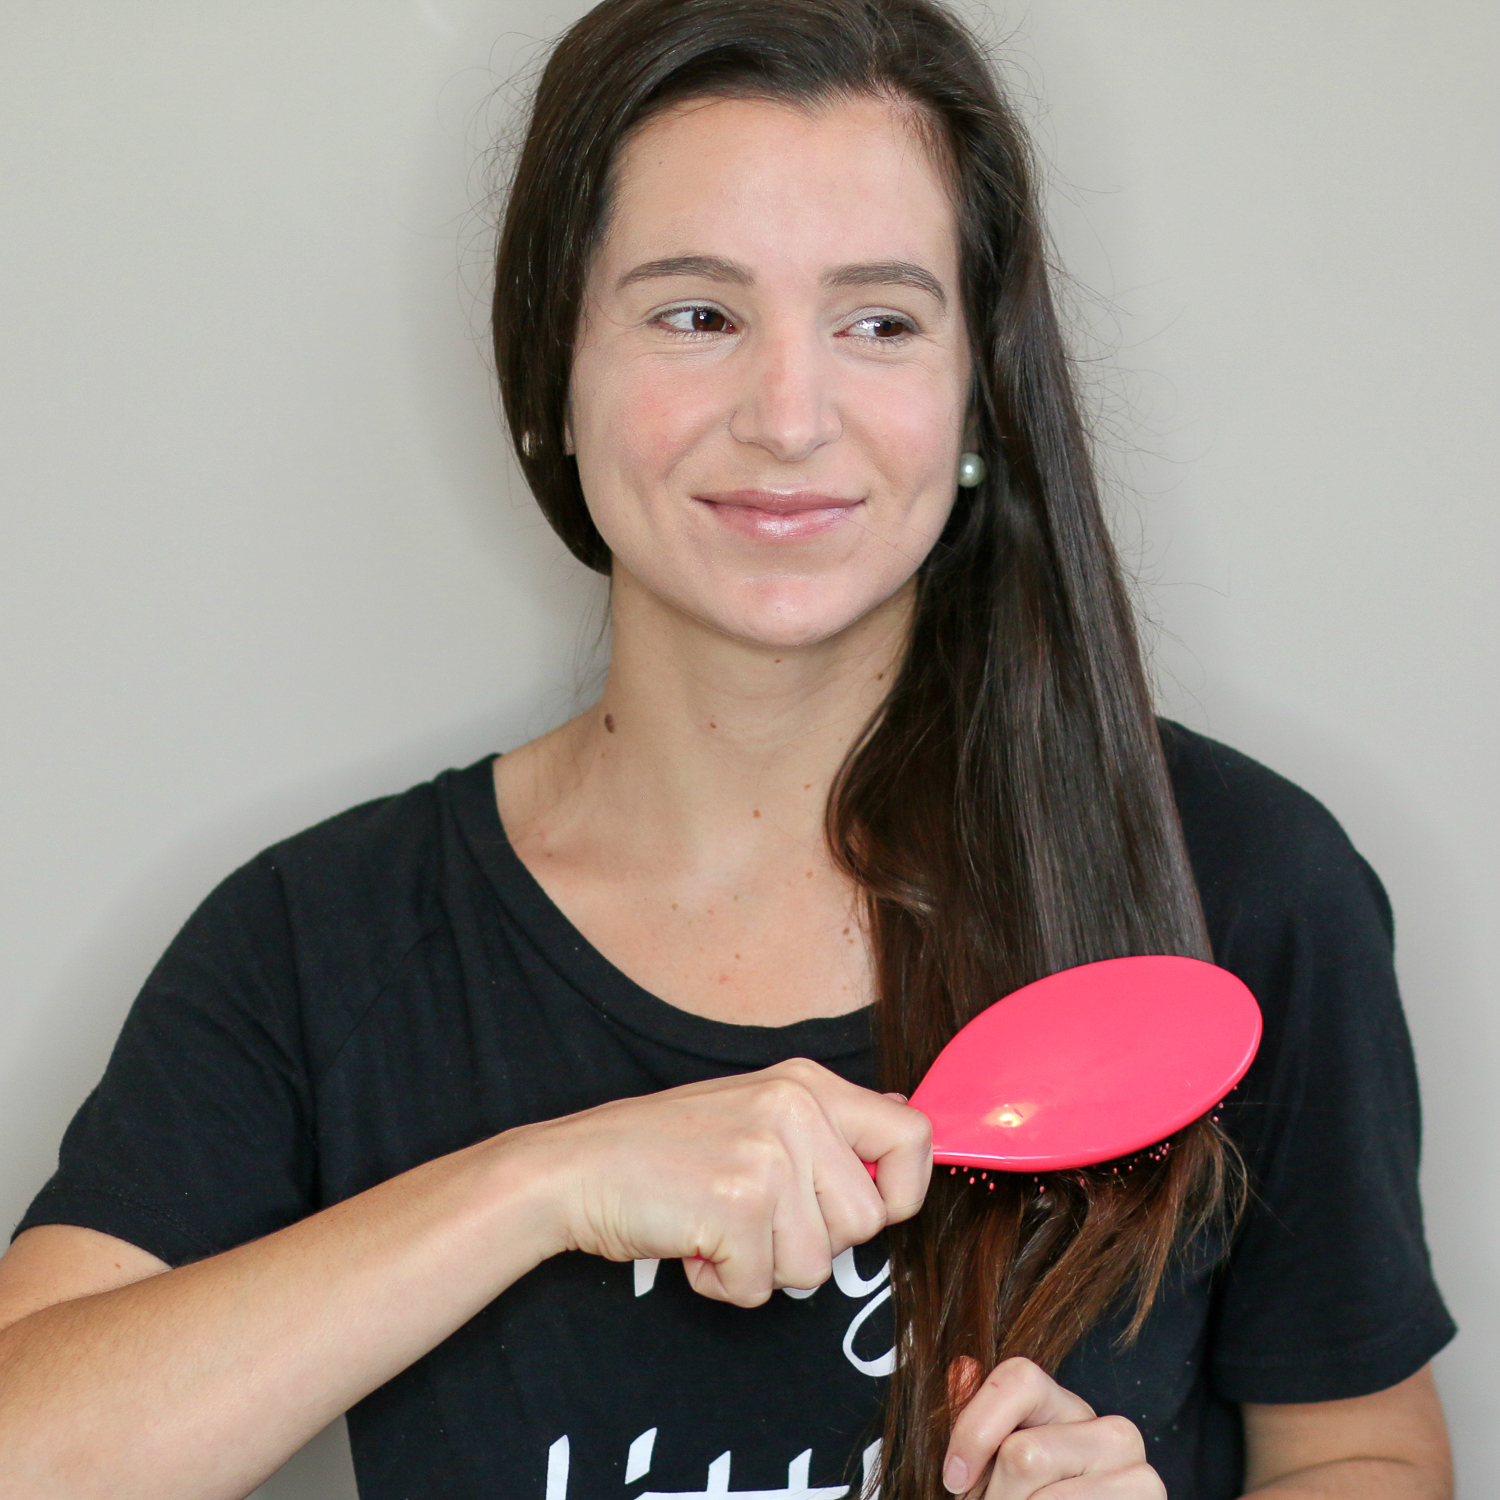
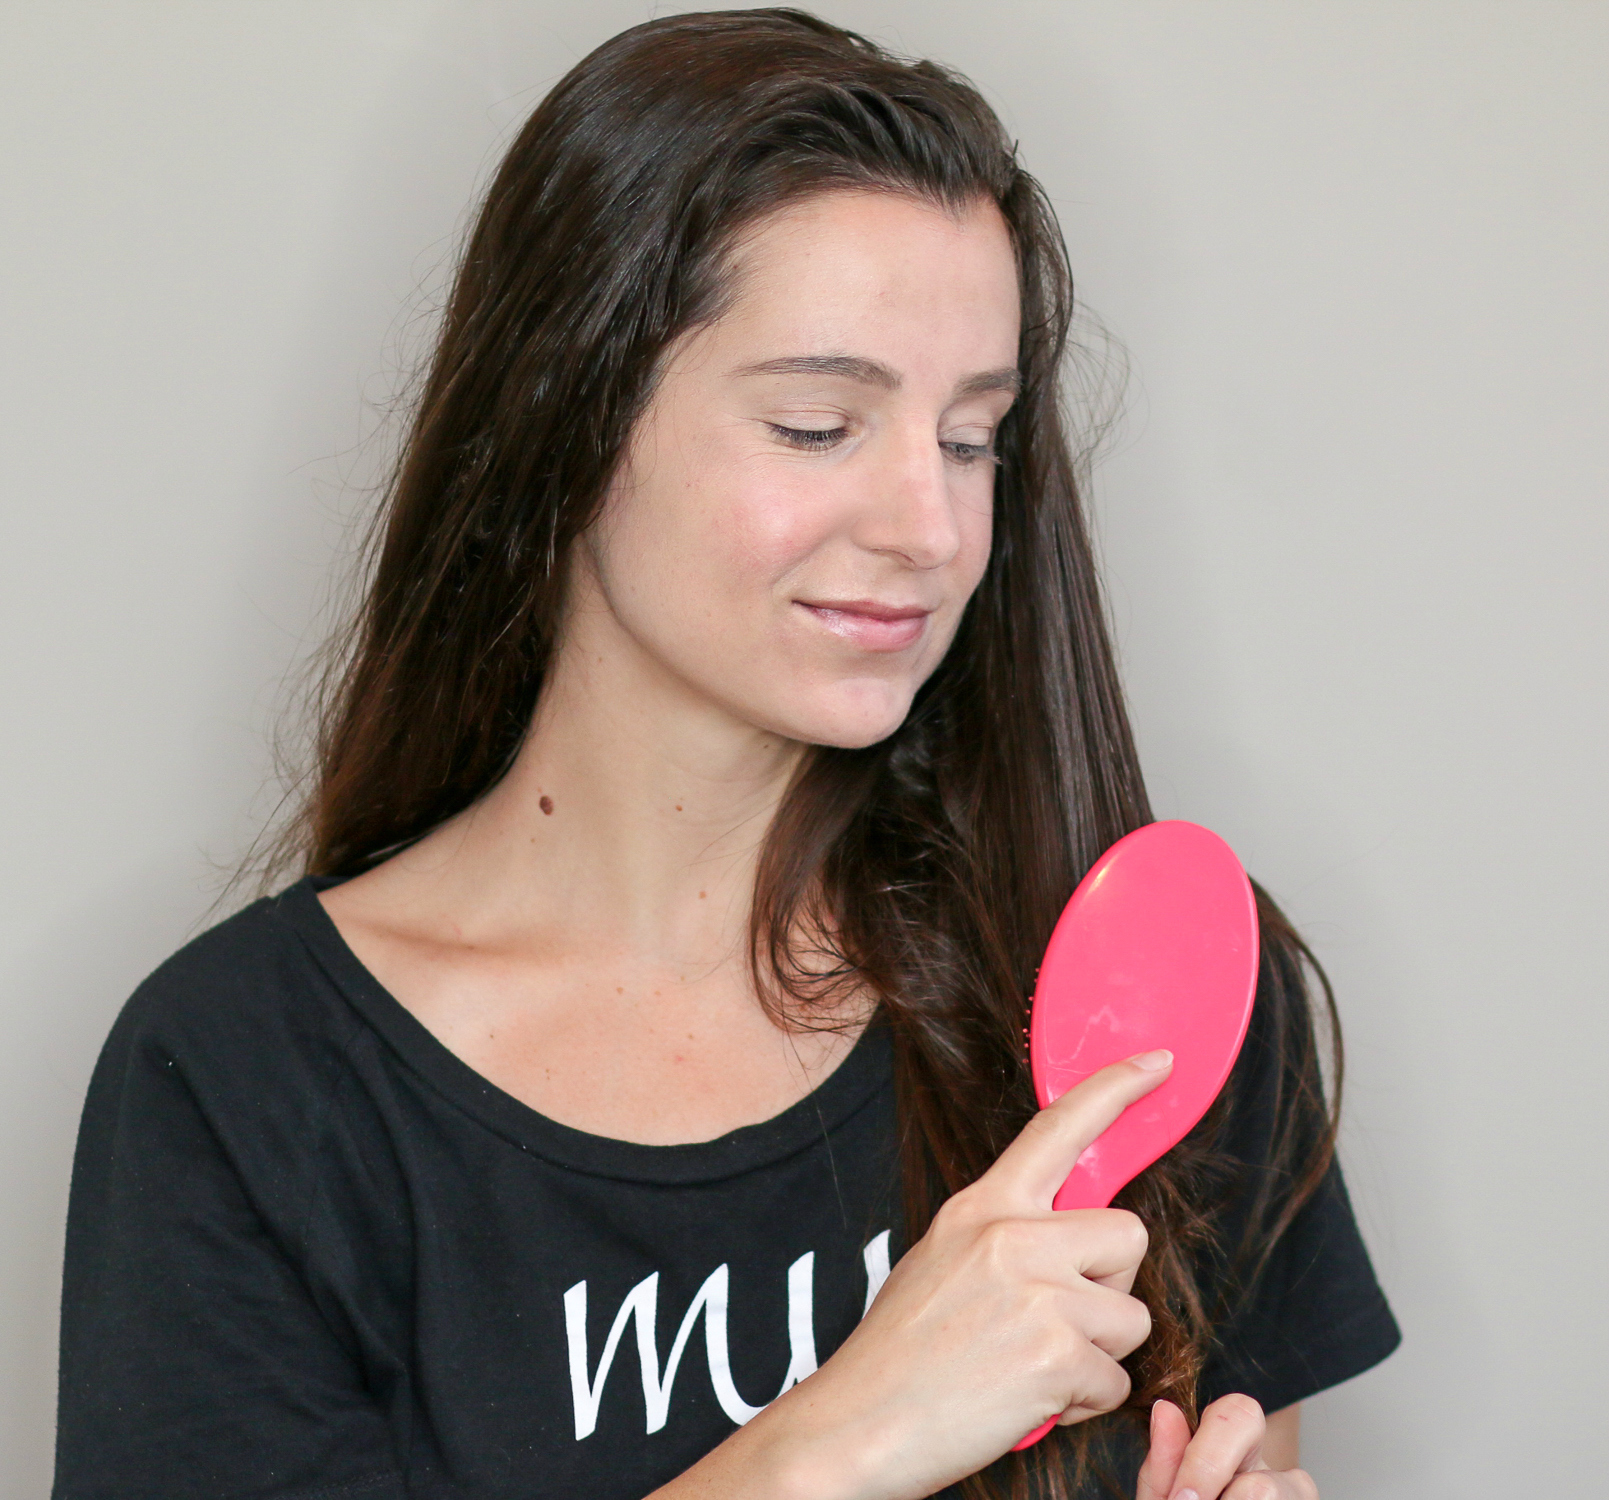
Use your Wet Brush to brush out any tangles.
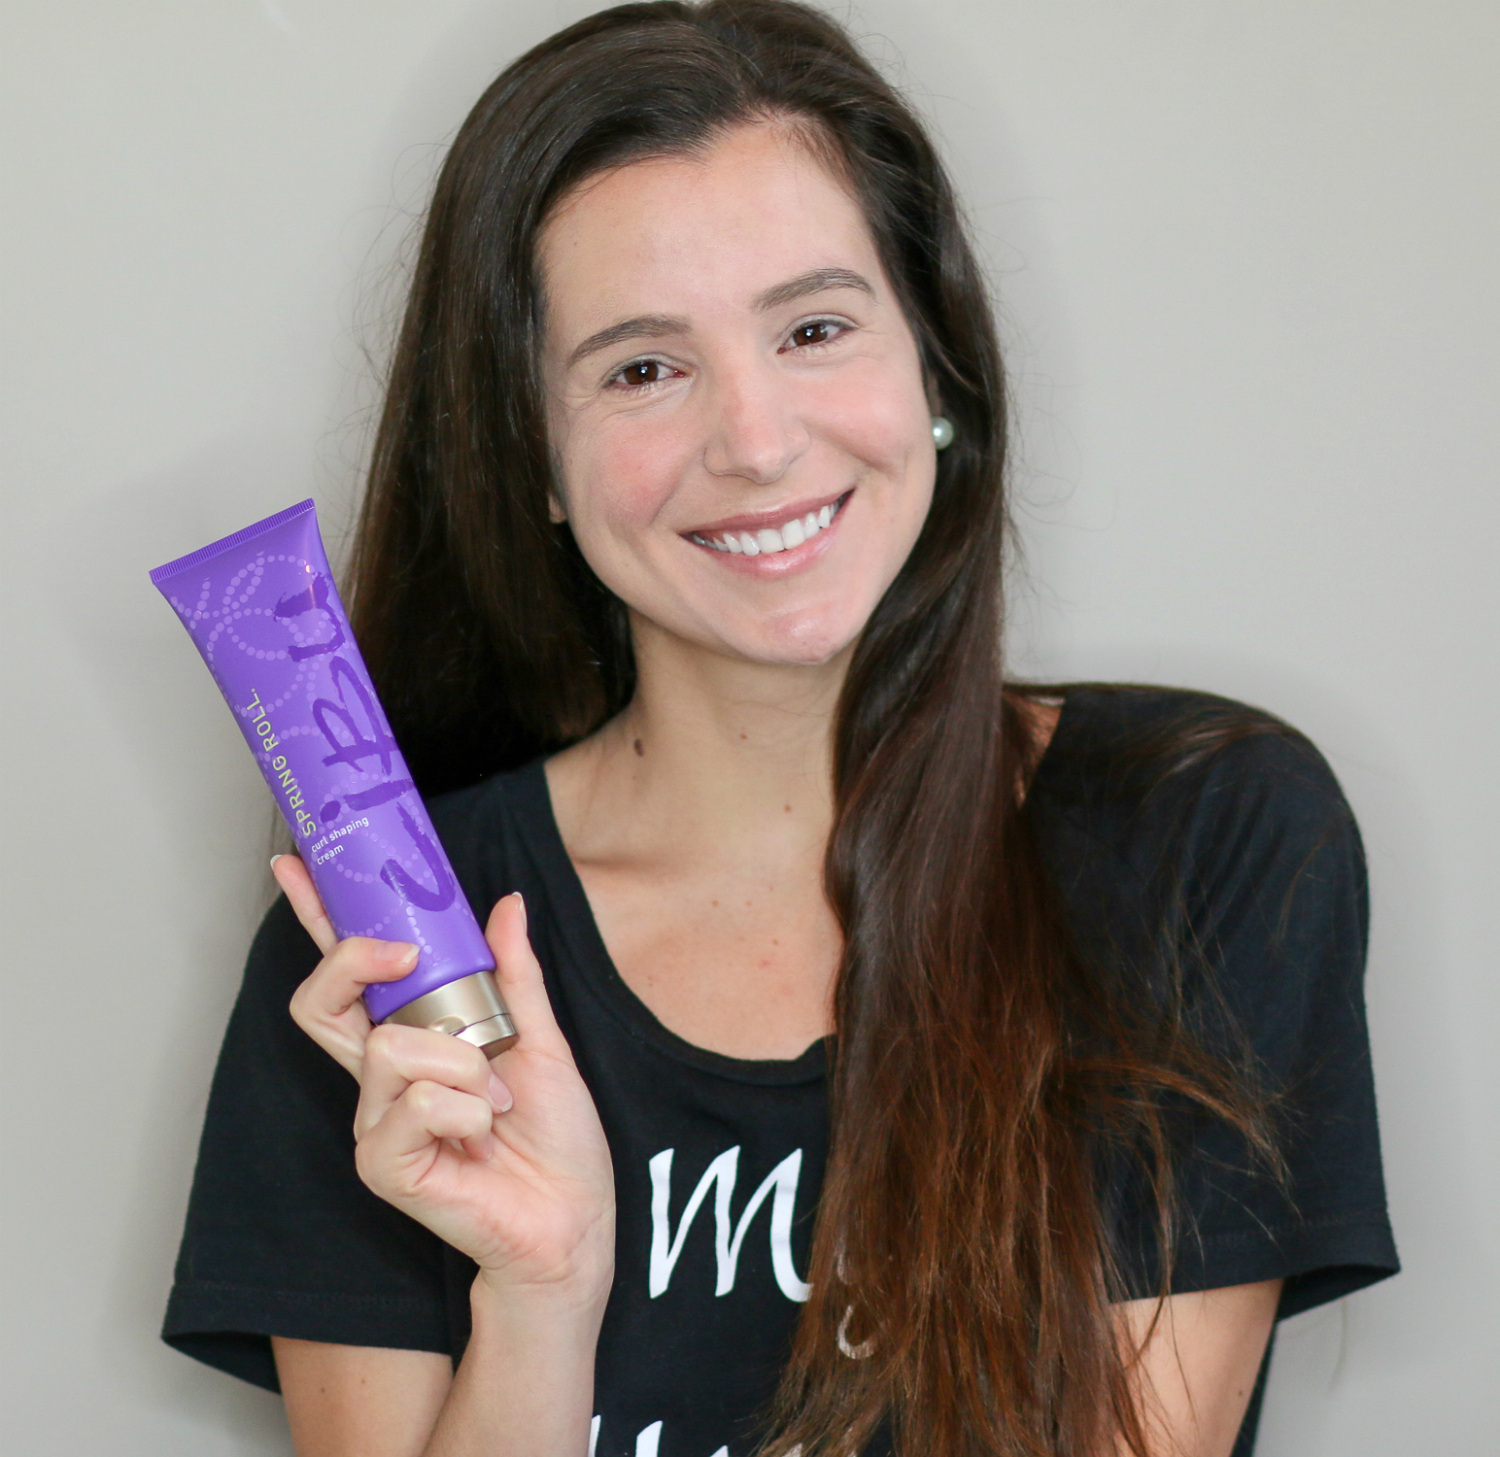
Grab your Cibu Spring Roll curl shaping cream. Side note: Spring Roll works great for heat-induced curls, as well. Scrunch a generous quarter-sized amount of product evenly throughout your hair.
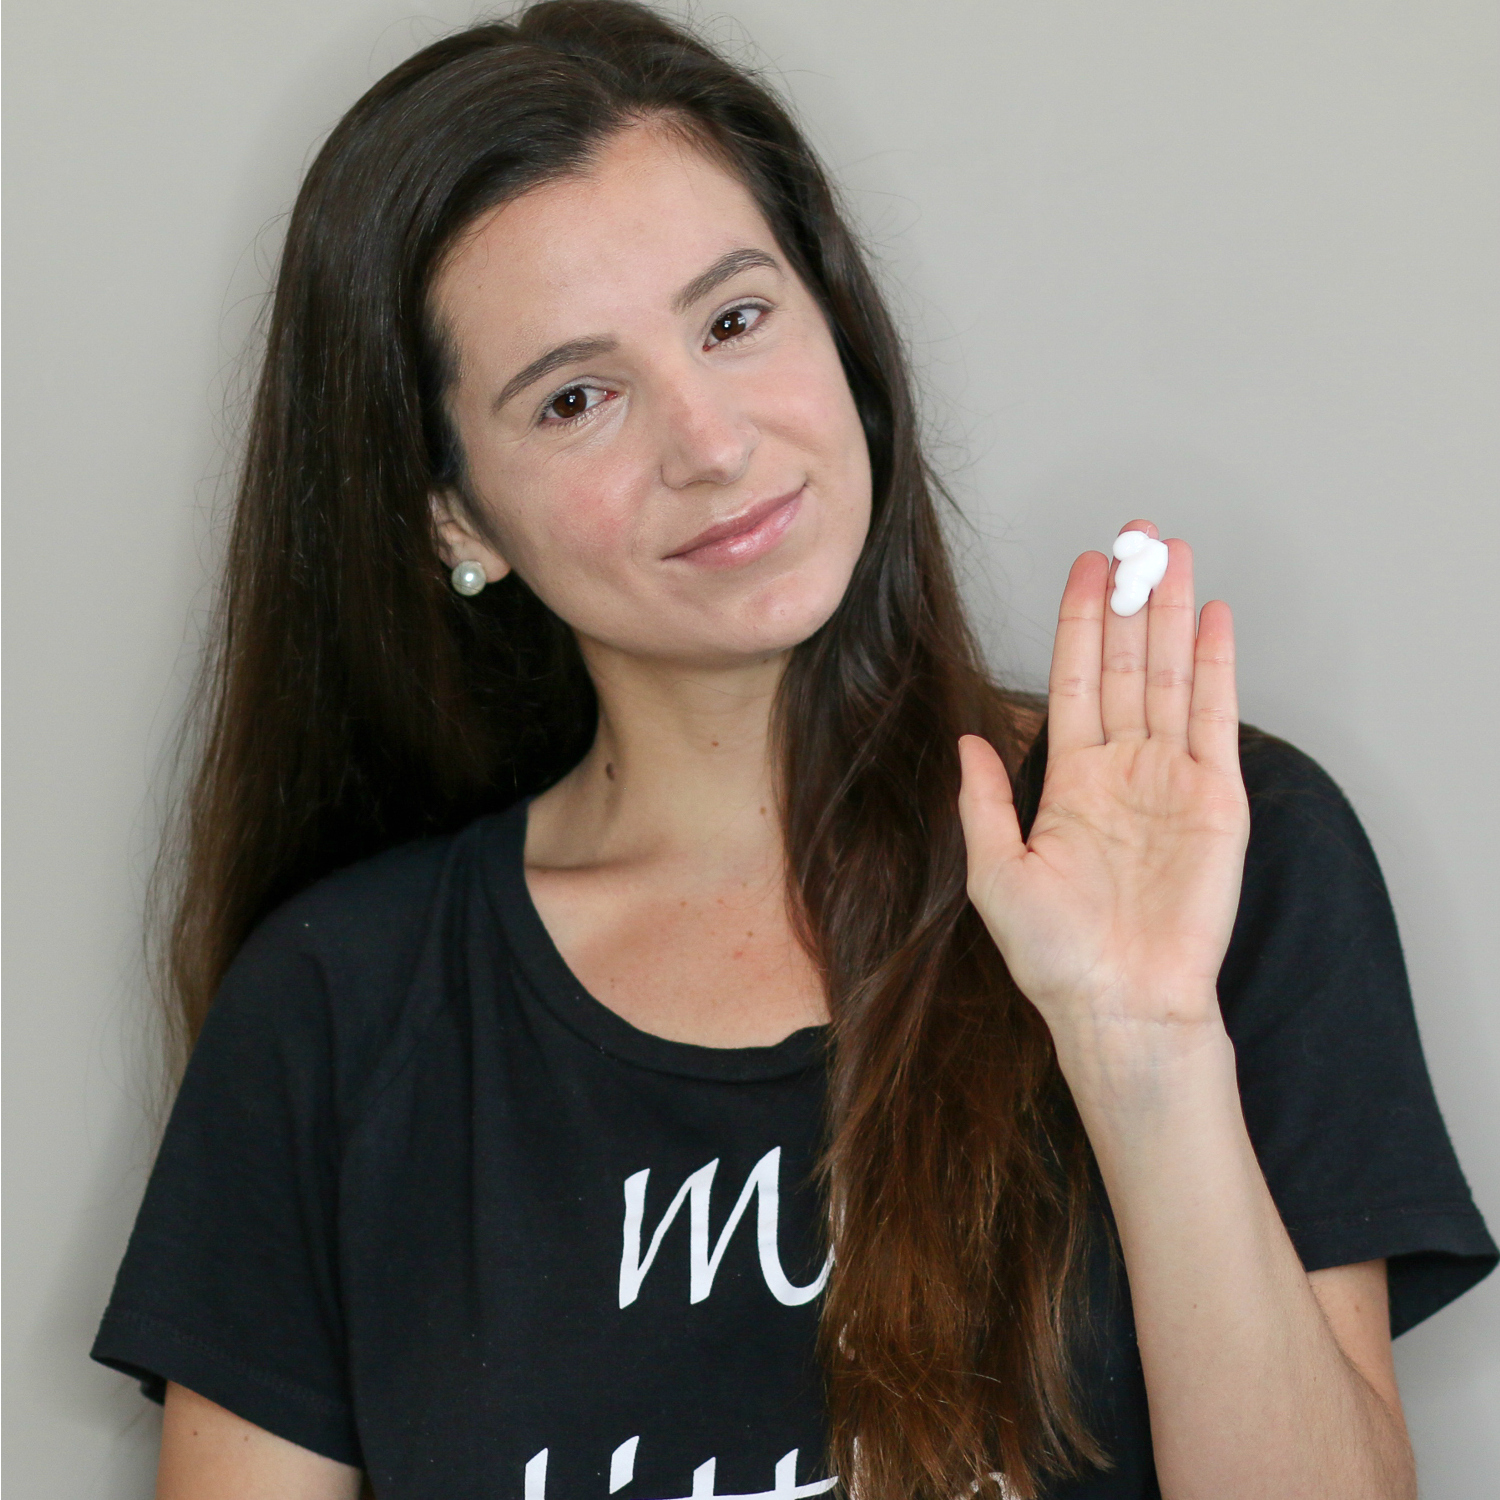
Use your Wet Brush to gently get rid of any excess tangles created by the curl shaping cream. This helps reduce frizz and fly-aways.
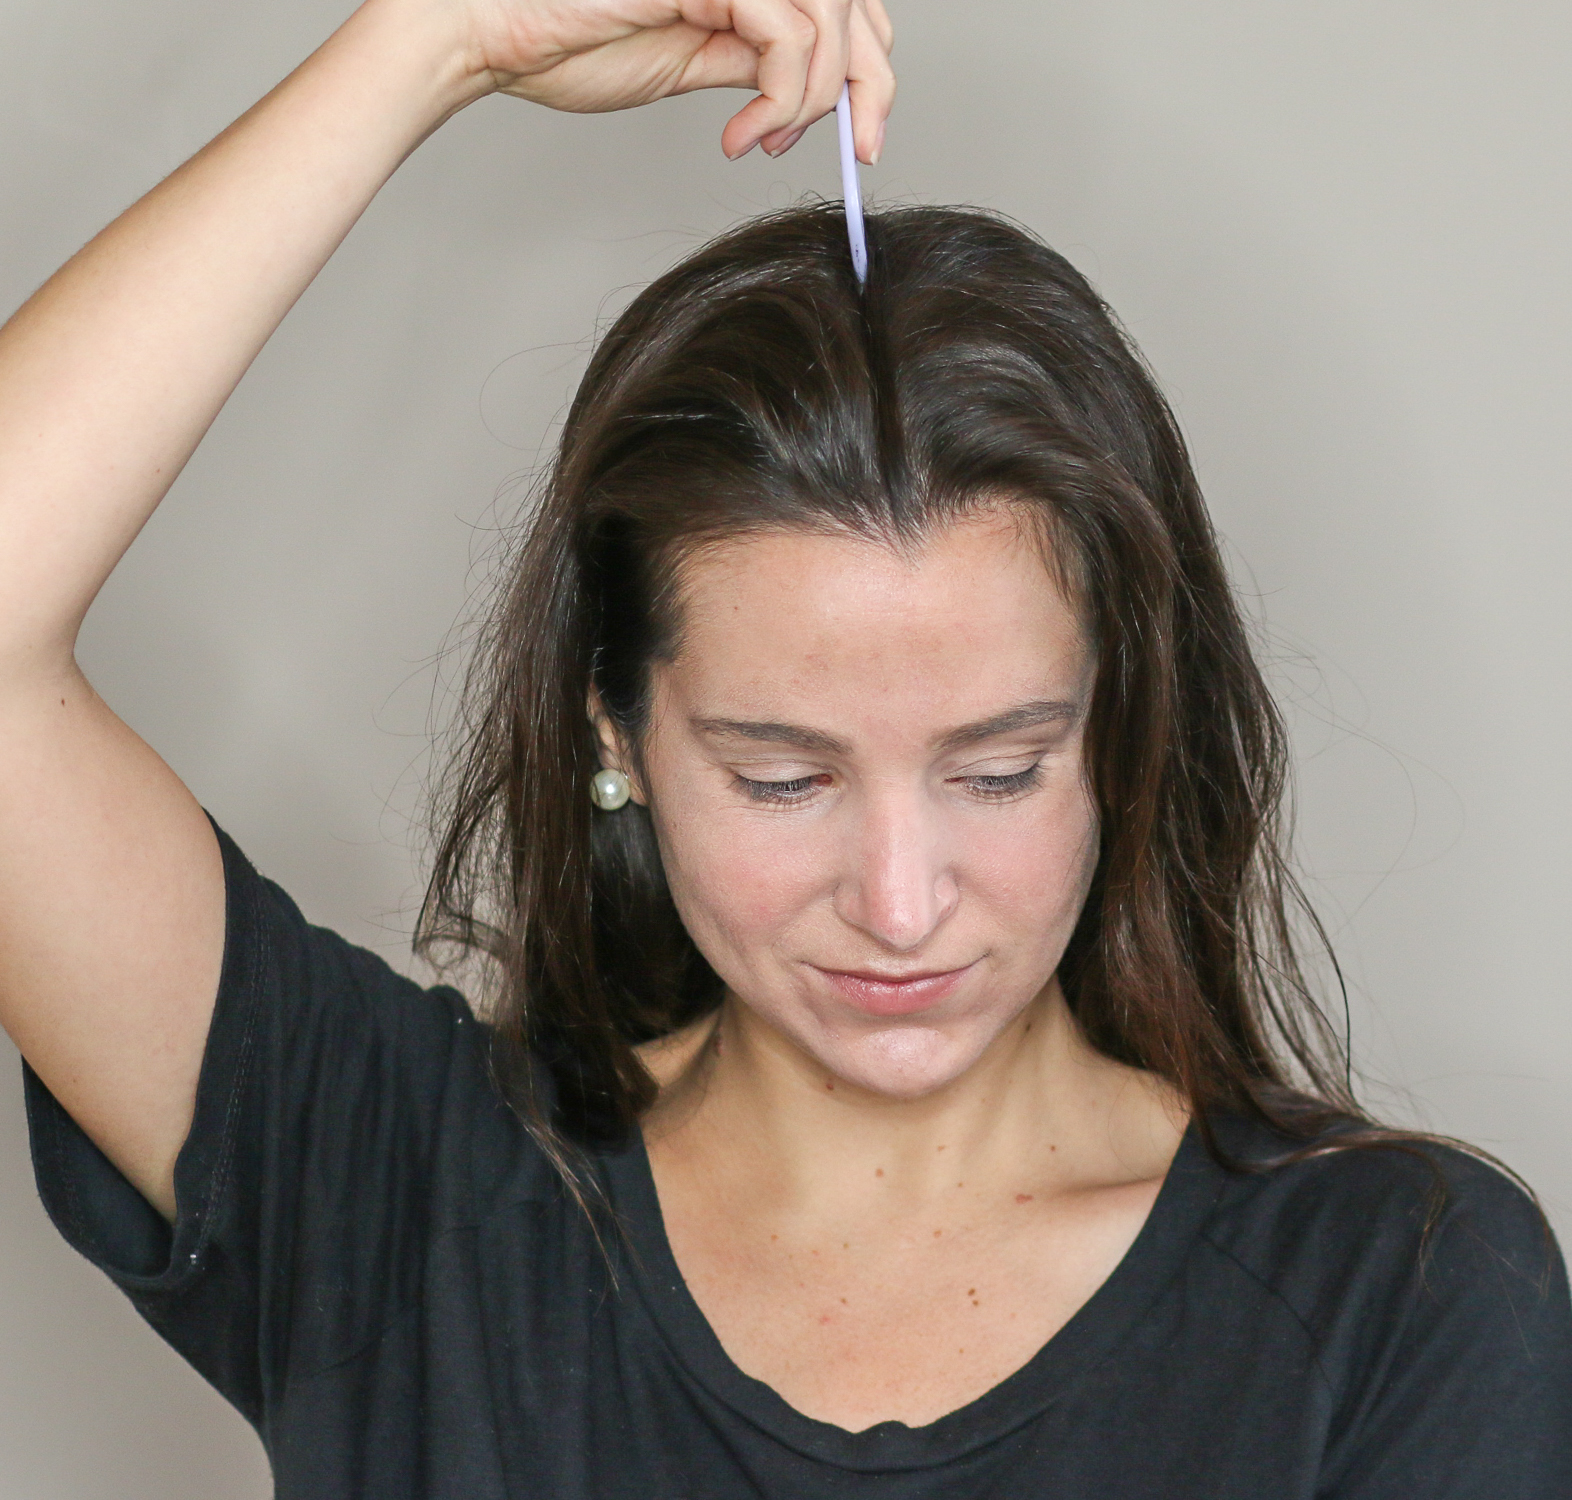
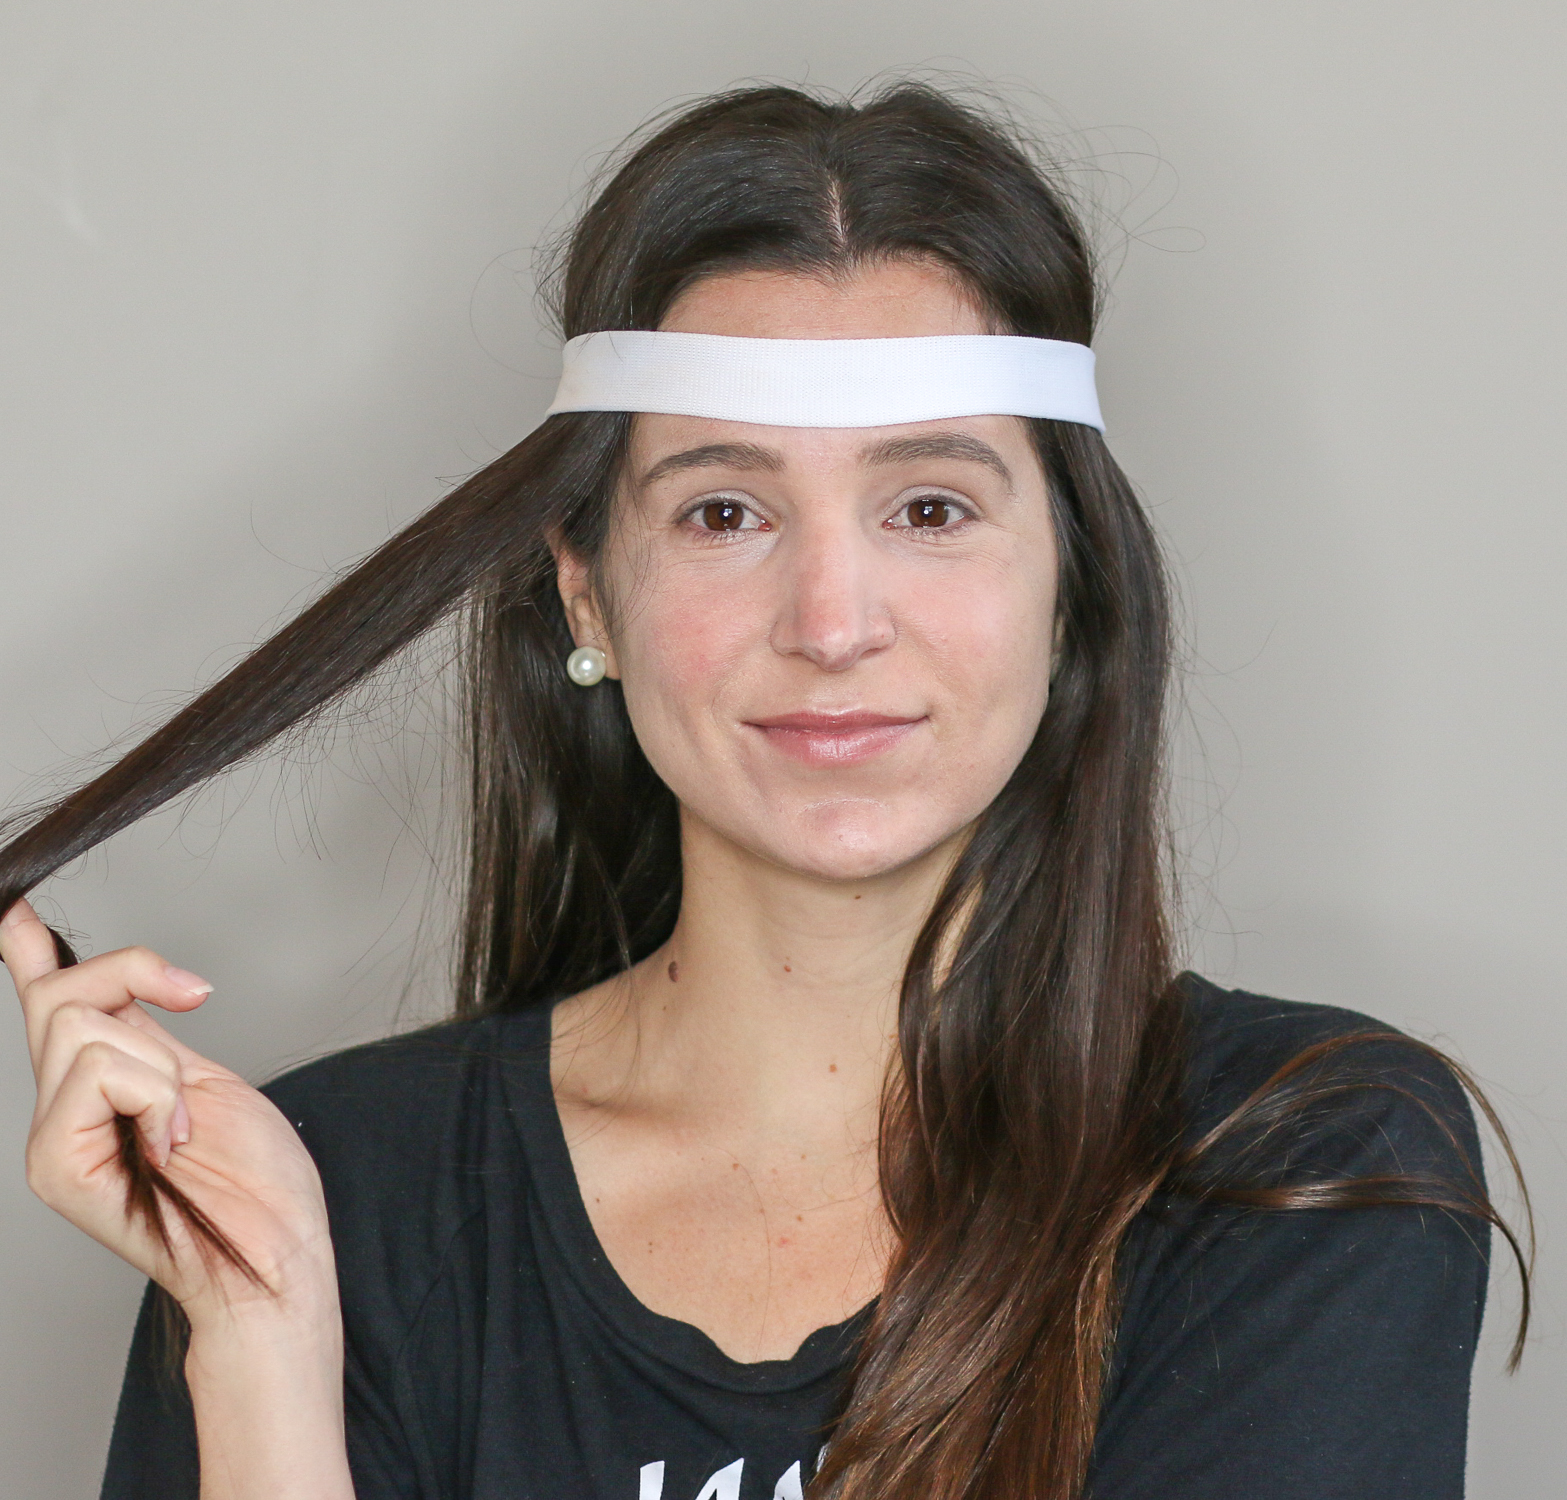
After brushing, part your hair down the middle.
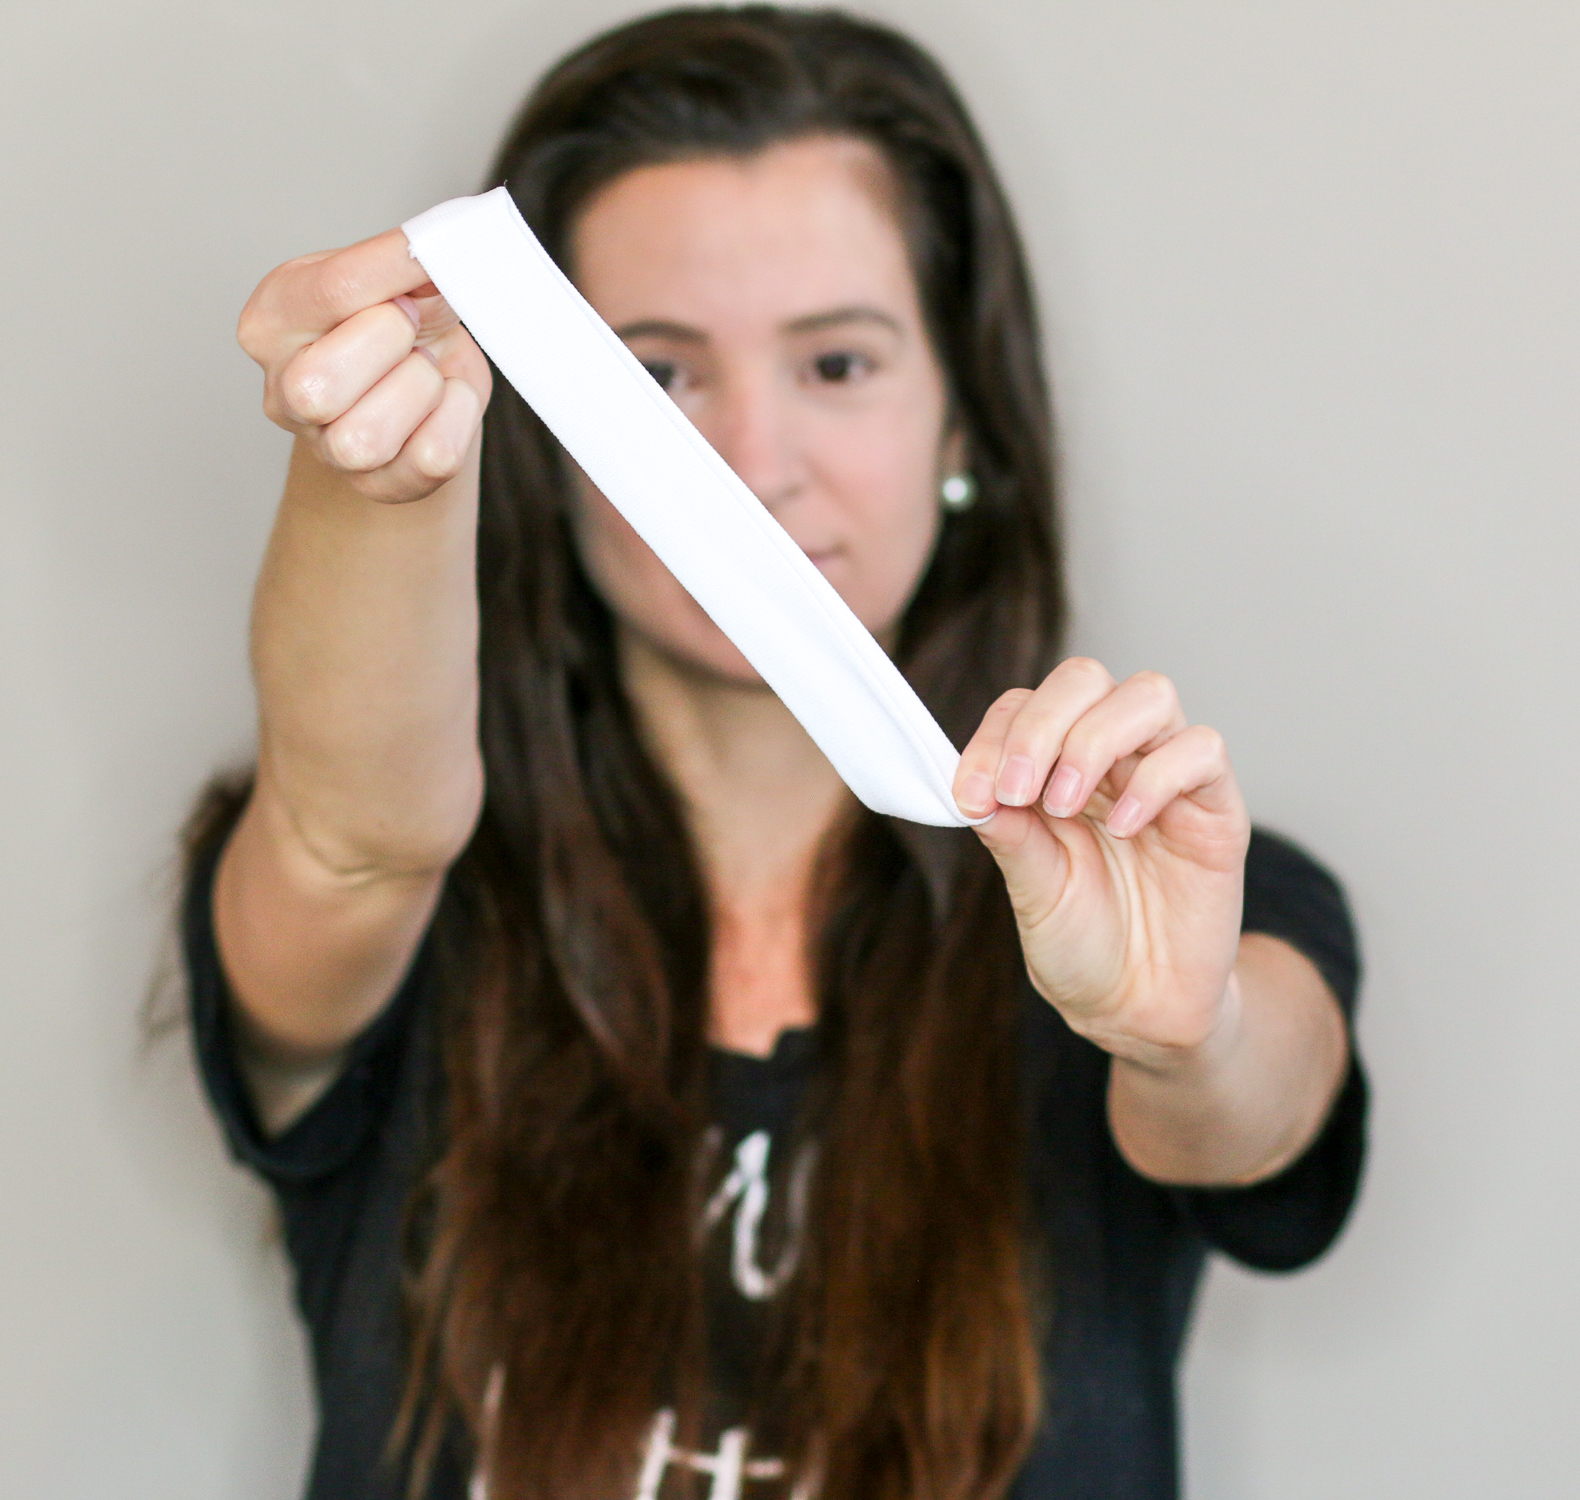
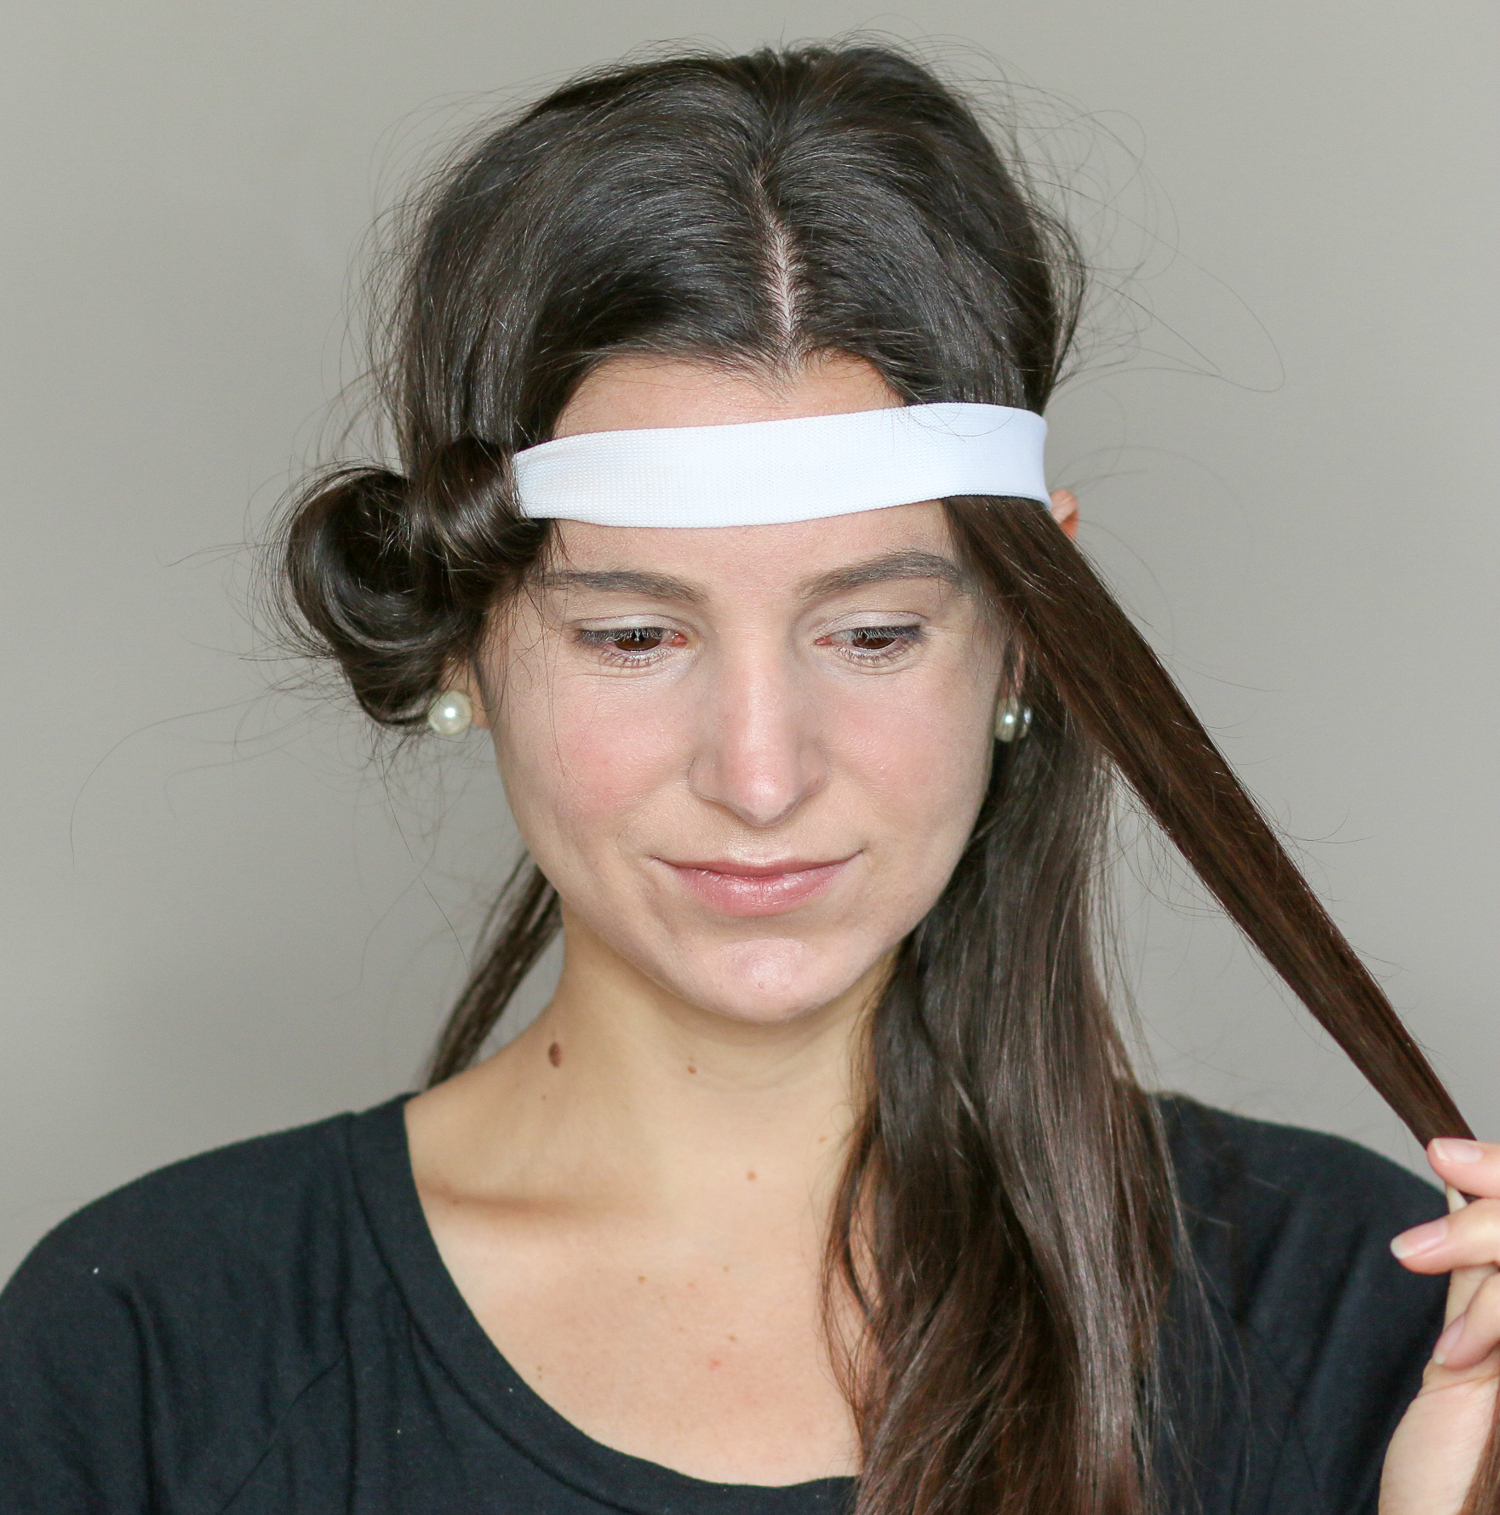
Grab a thick elastic headband and put it around around your head like a flower crown or headwrap. Where you place the headband will impact where your curls begin, so the higher, the better. I usually position mine lower and gradually raise it as I add more hair.
Divide your hair in two sections. You’ll work on each half separately. Choose a side, and starting with the strands closest to your face, section off 1-1.5 inches of hair.
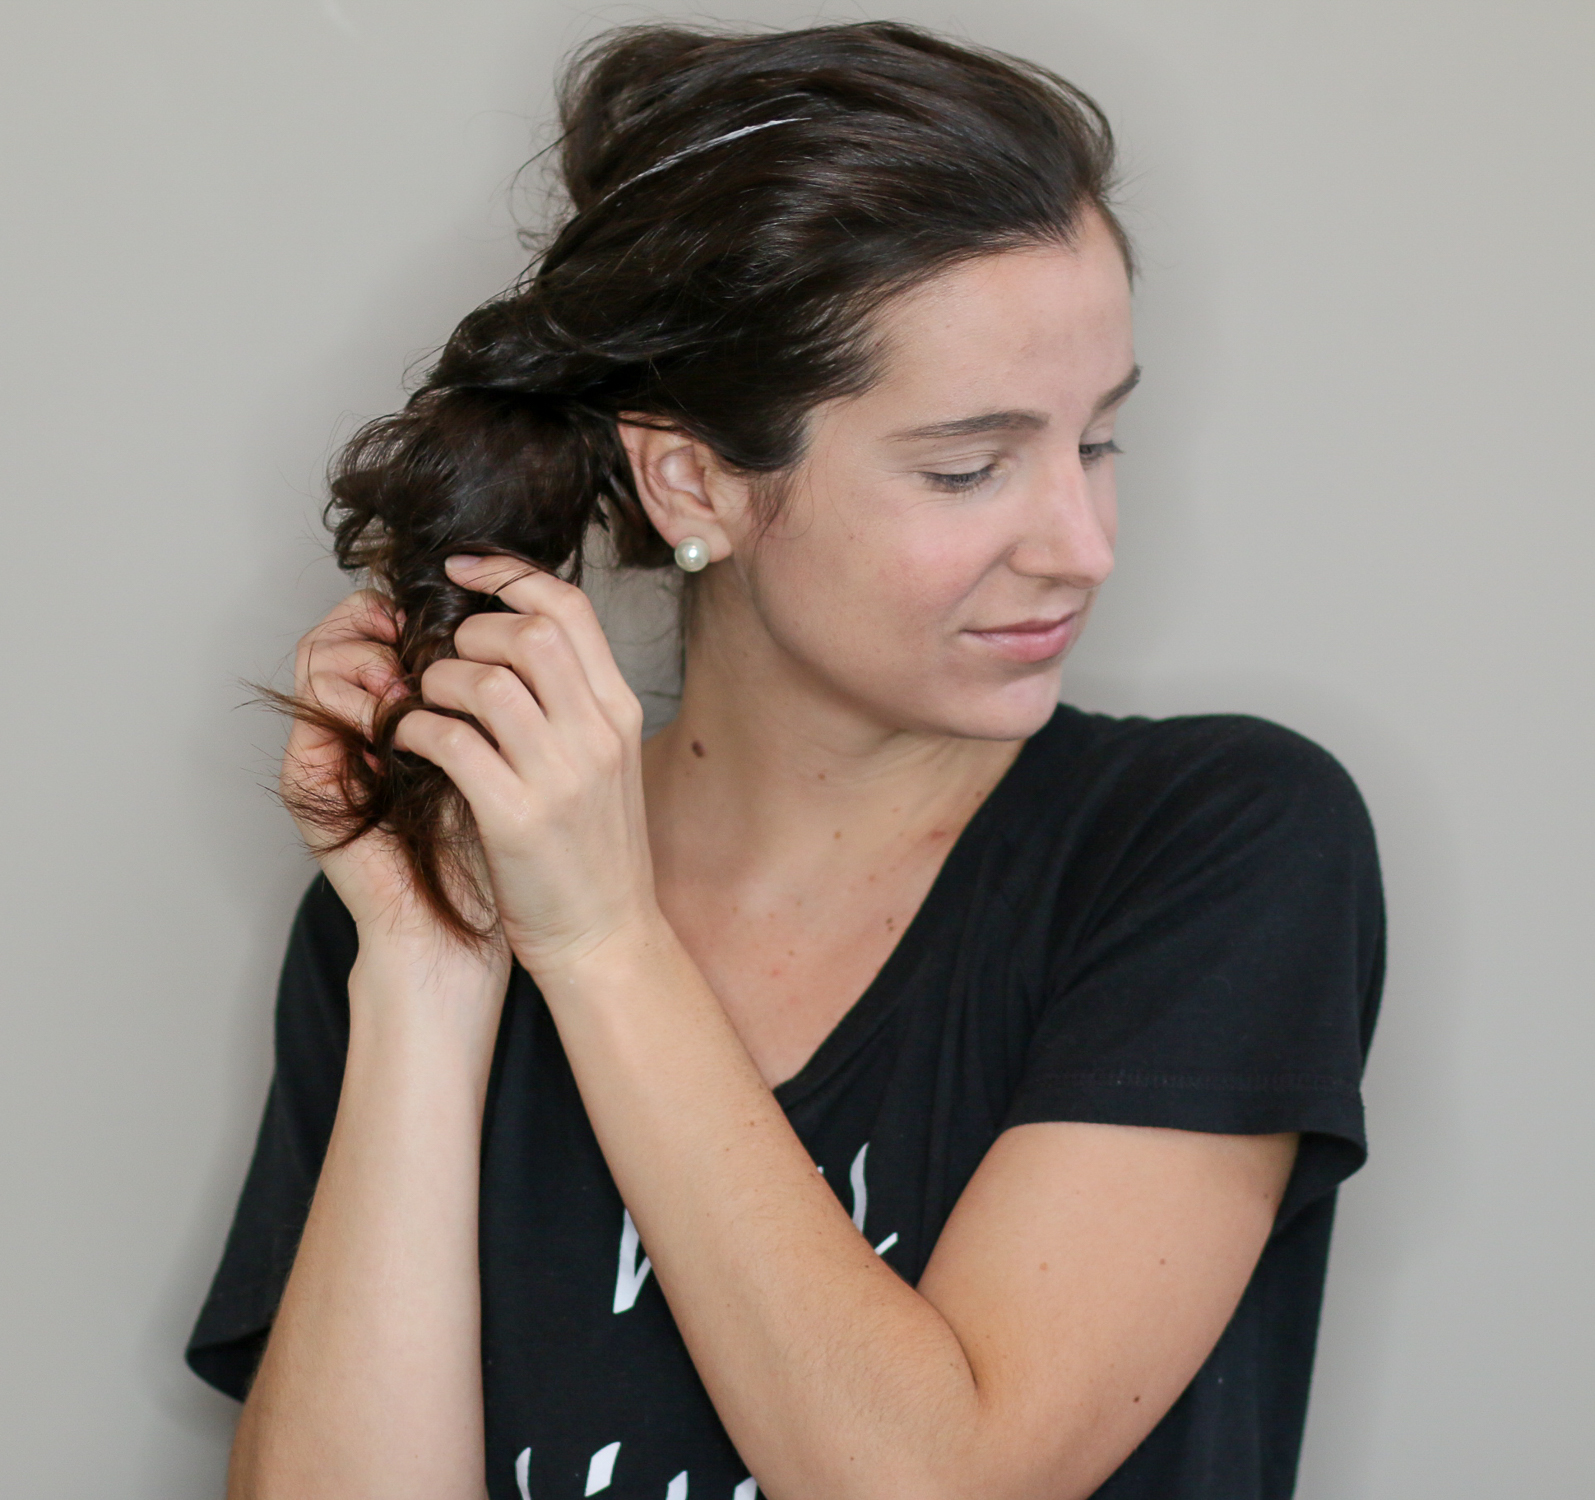
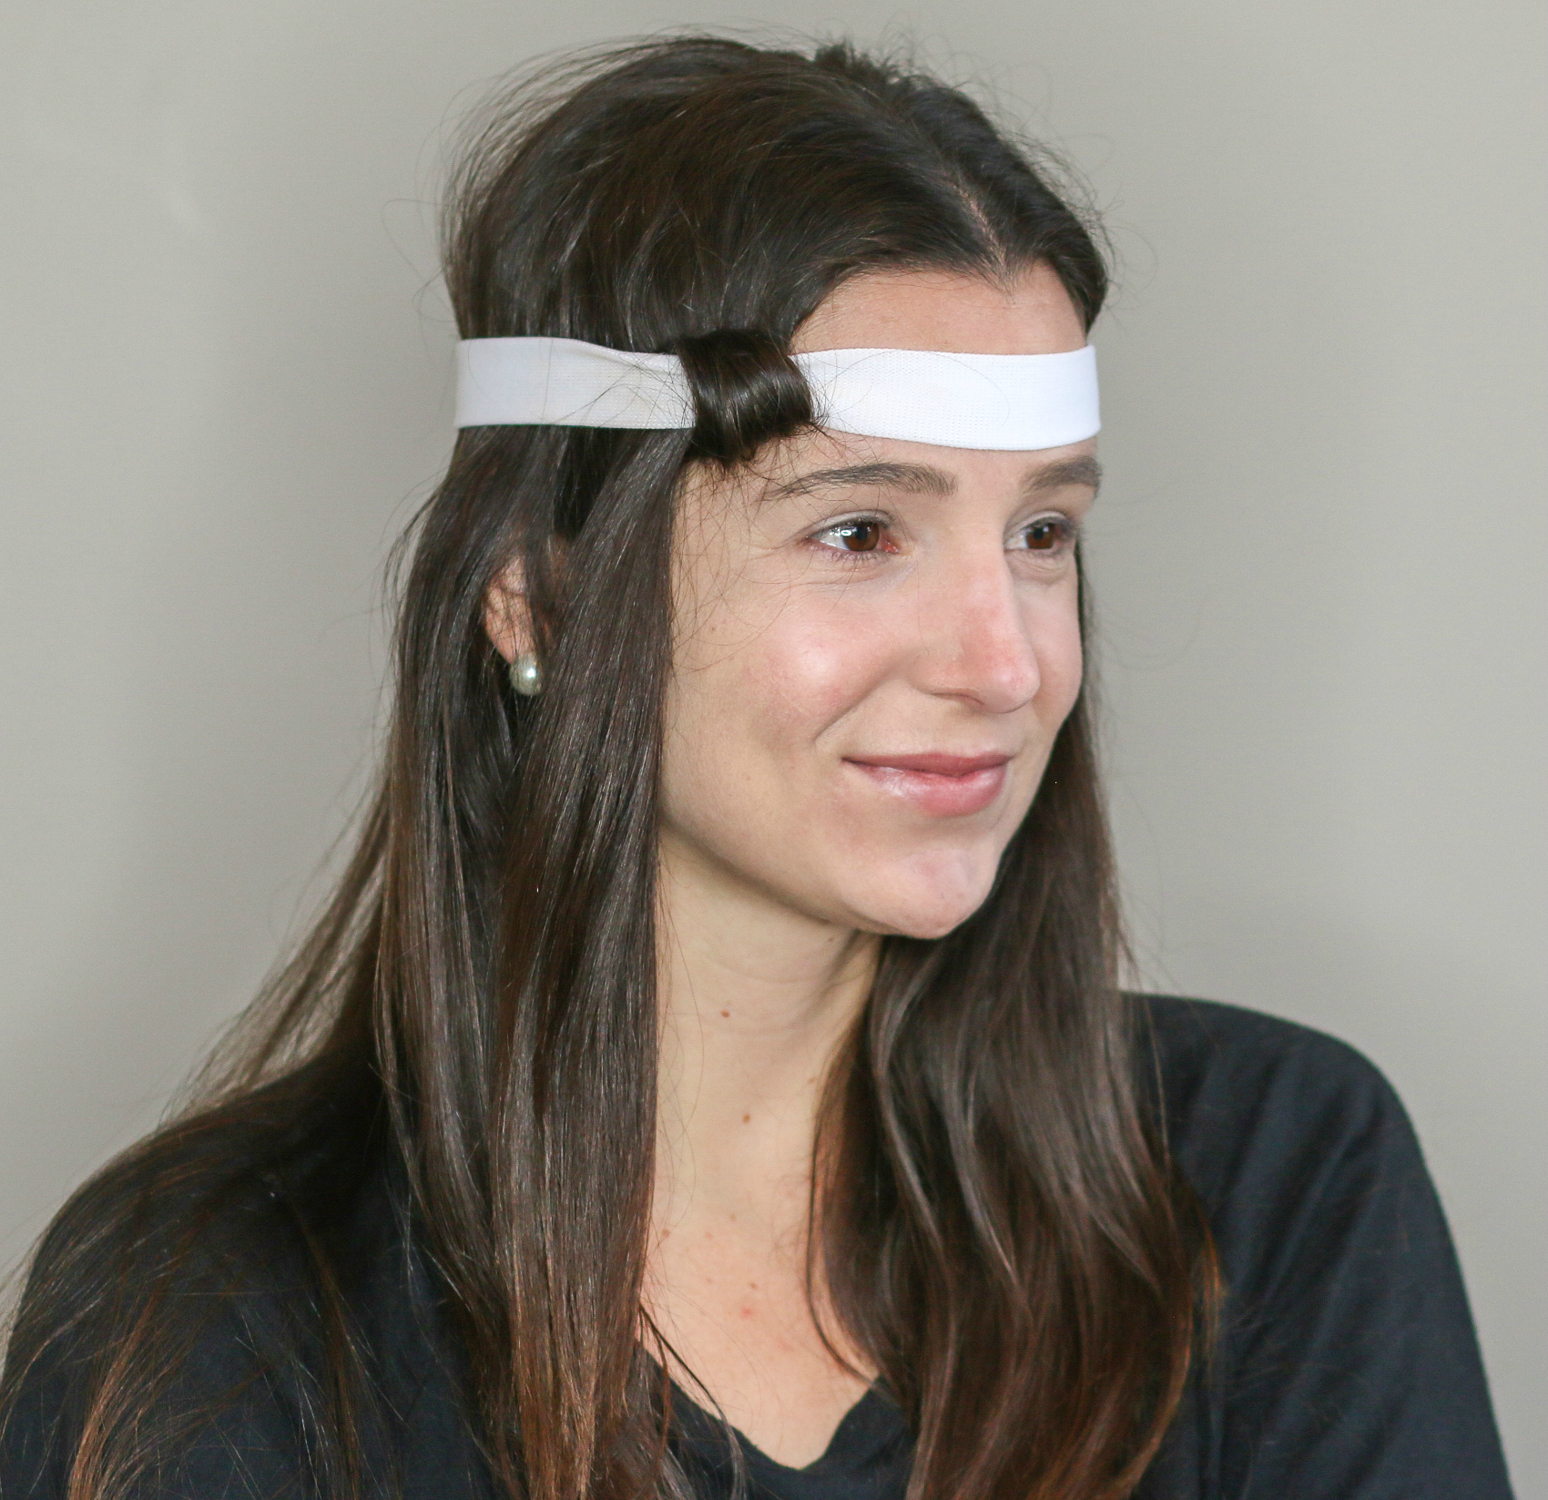
Wrap your first section around the headwrap and thread it back through. Note that you can either wrap under (like so) or over for curls angled towards your face.
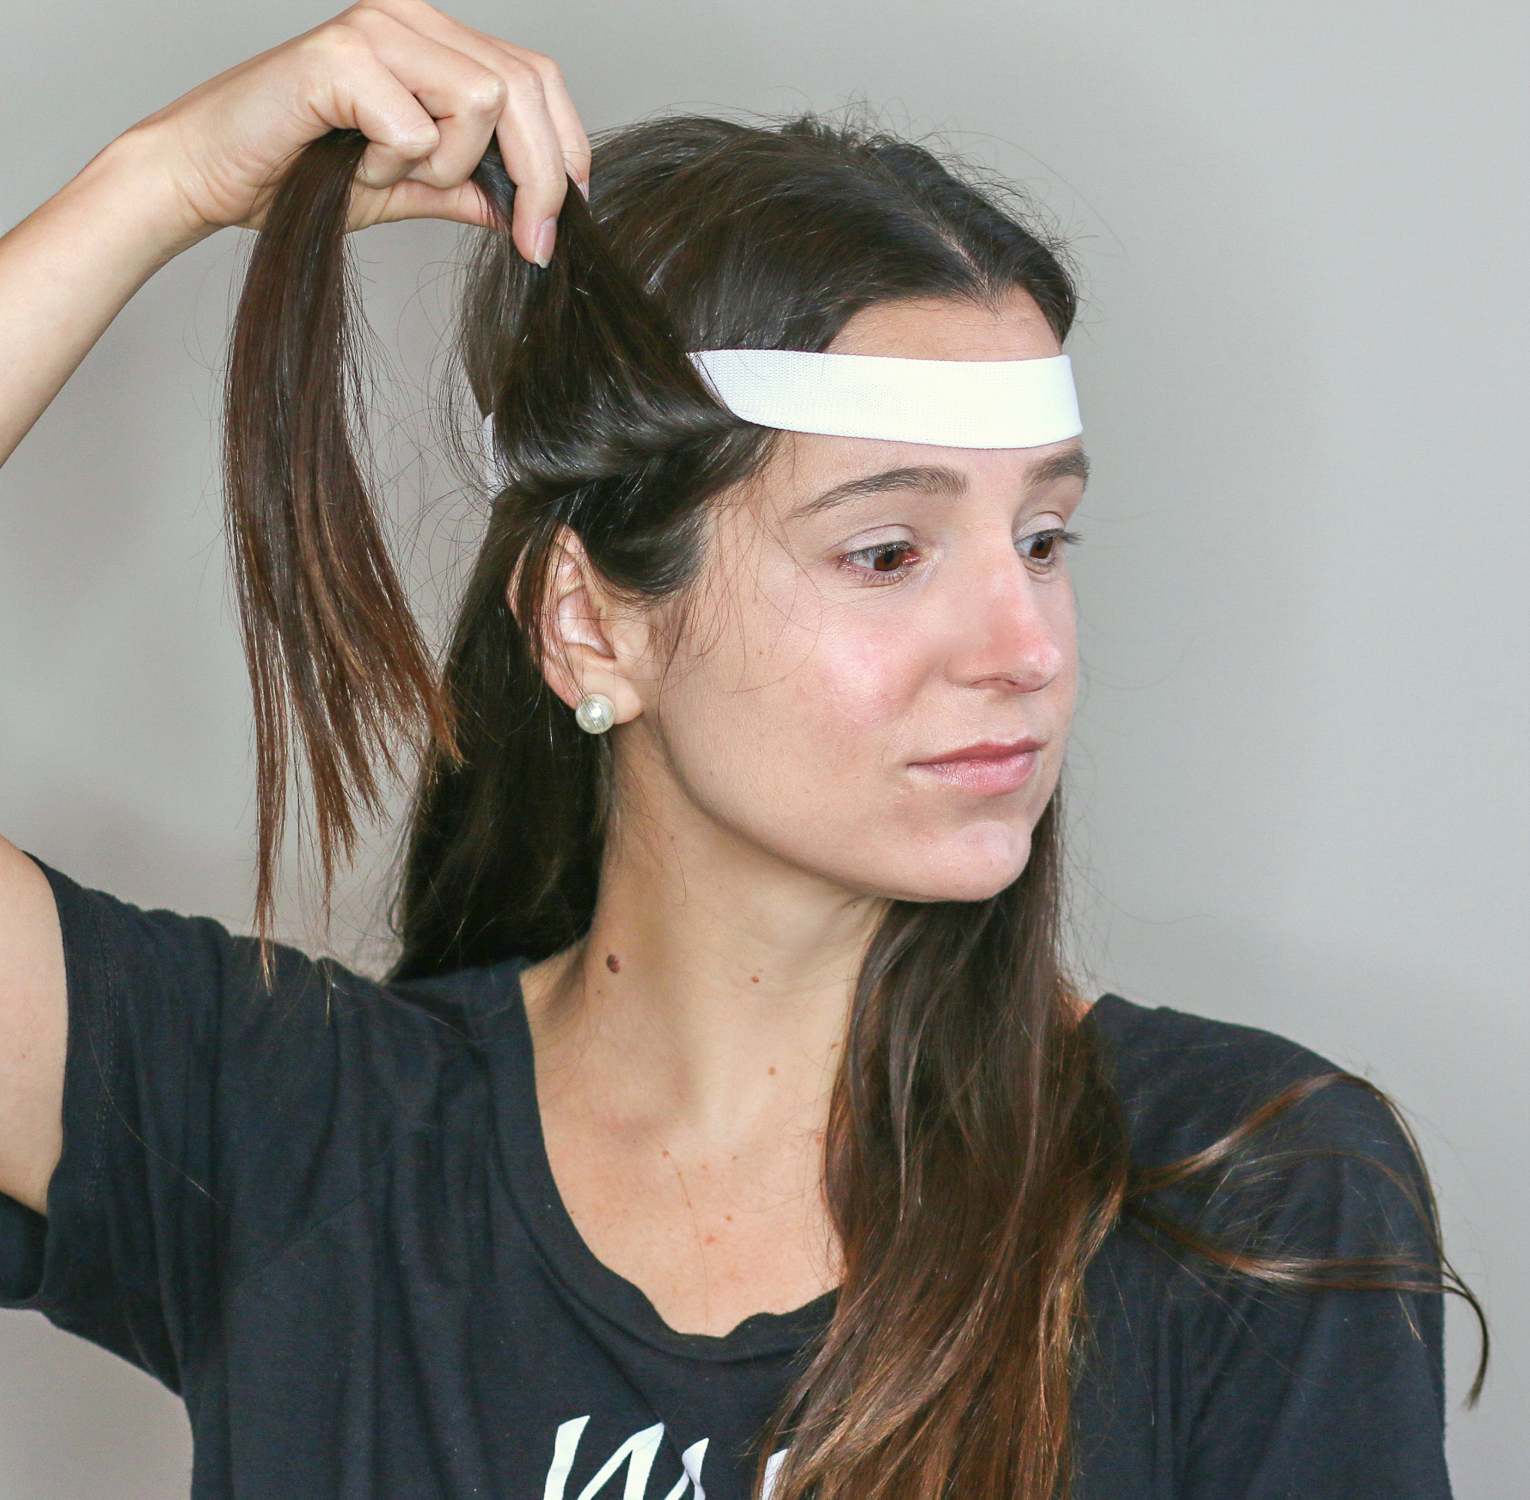
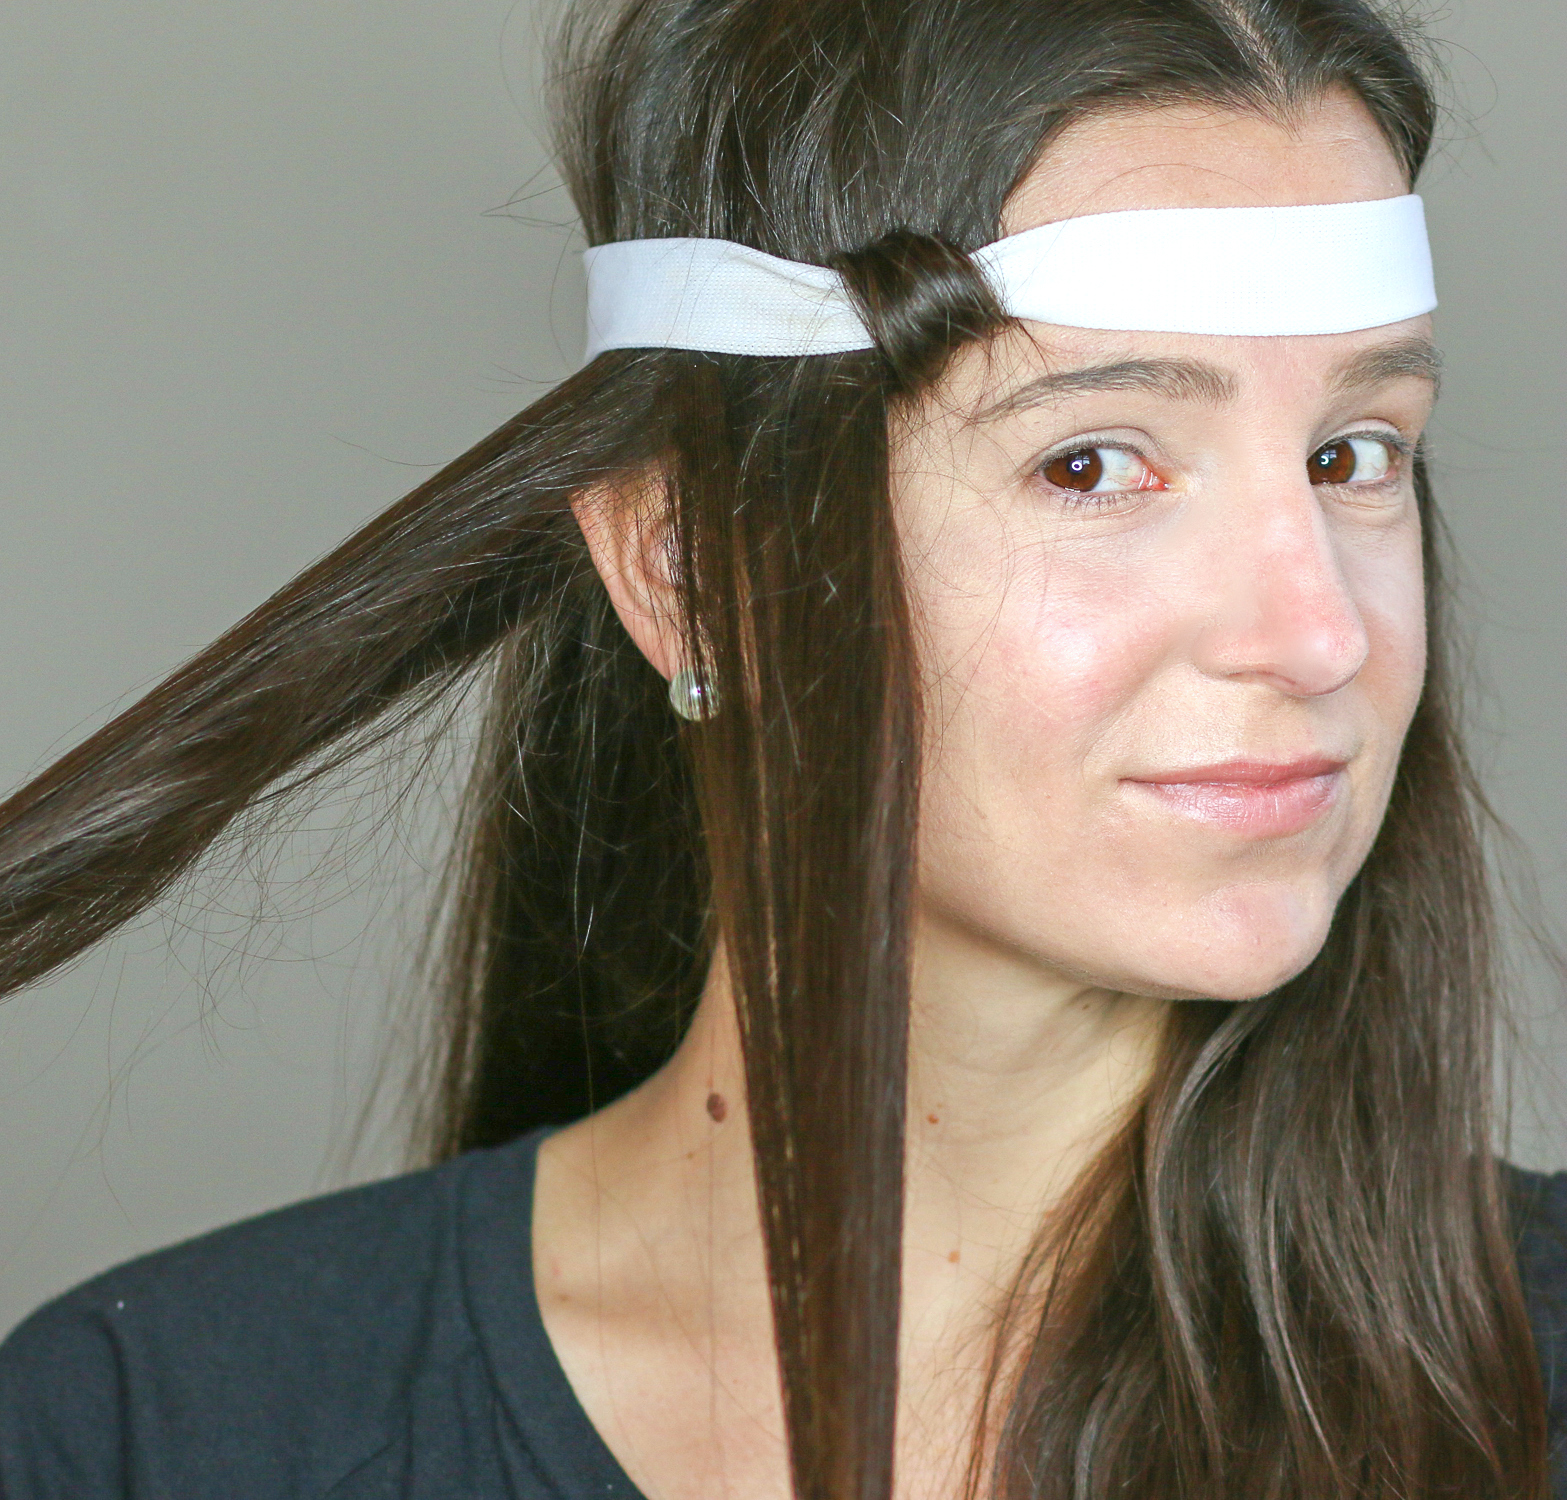
Section off another 1-1.5 inches of hair and combine it with the previous section. Wrap the combined section around the headwrap and thread it through, gradually adding more and more hair each time.
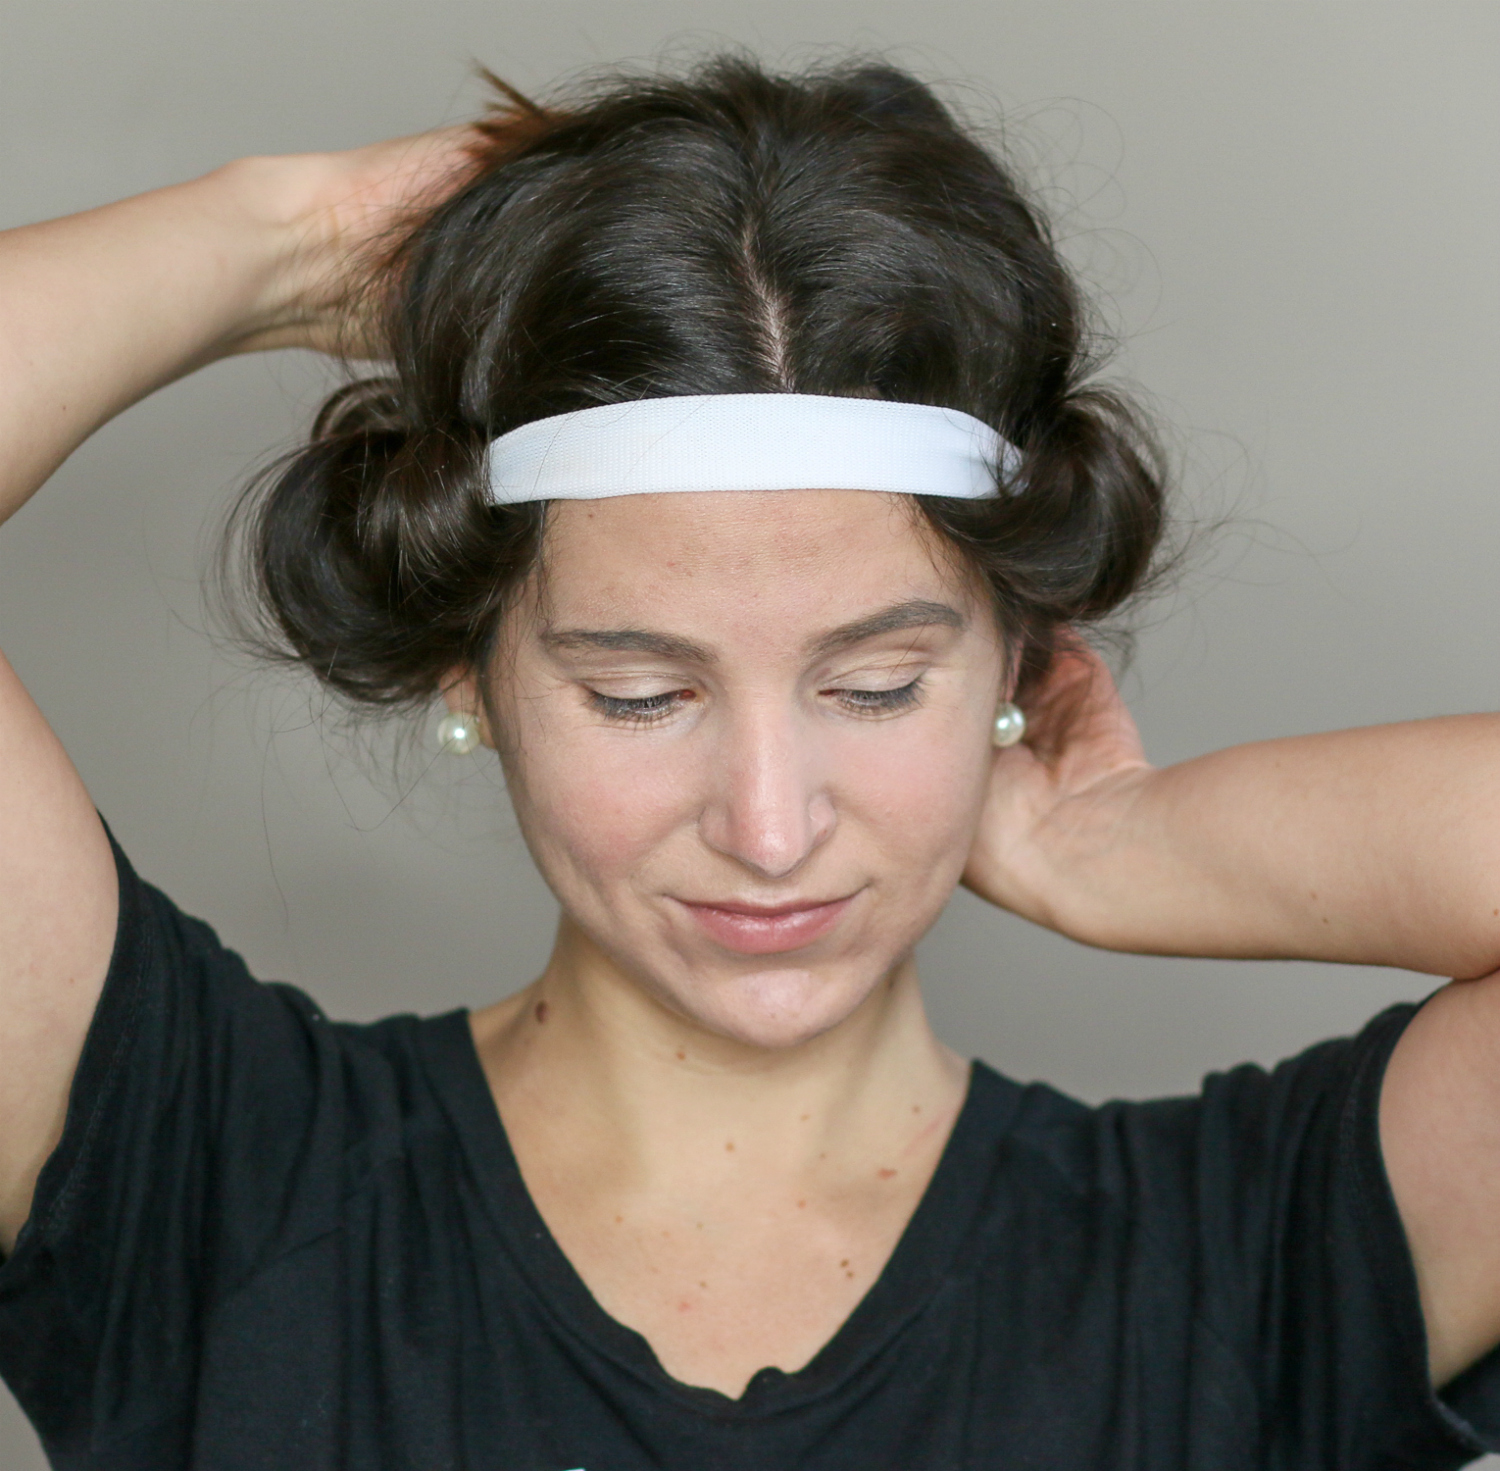
Repeat this process until half of your hair is wrapped around the elastic headband. Try not to wrap too tightly, otherwise your curls will be Shirley Temple-esque and the headband will irritate your scalp while you sleep. When you get around to the back, you may need to slide the wrapped hair forward to make room on the headband. Curl any leftover strands around your finger to mold their shape and secure with bobbi pins.
Then, repeat the process, starting again with the hair closest to your face, on the other side. Curl any leftover strands around your finger to mold their shape and secure with bobbi pins.
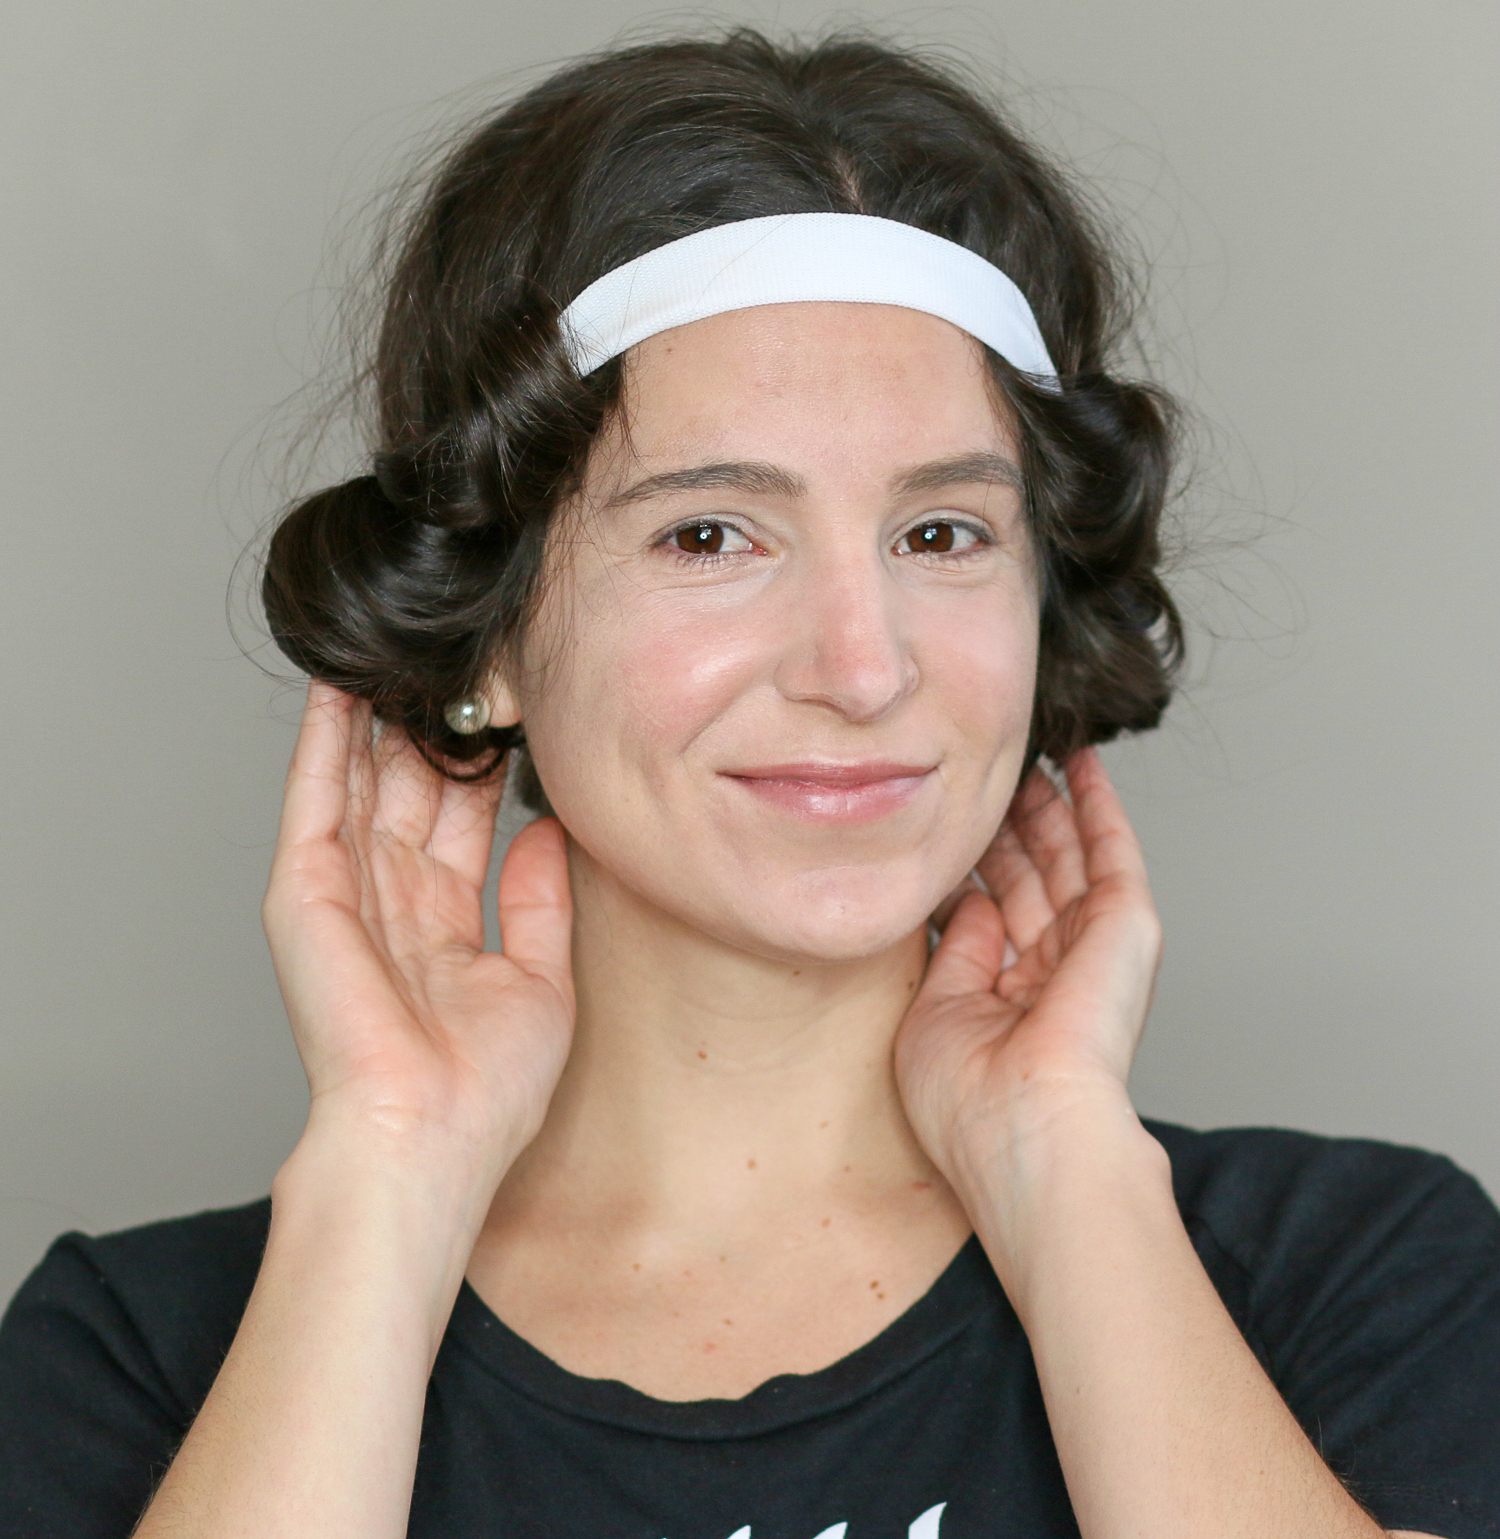
Don’t worry– when you’re done, you’re supposed look like a Colonial politician. Secure any loose strands with leftover bobbi pins.
Go to sleep.
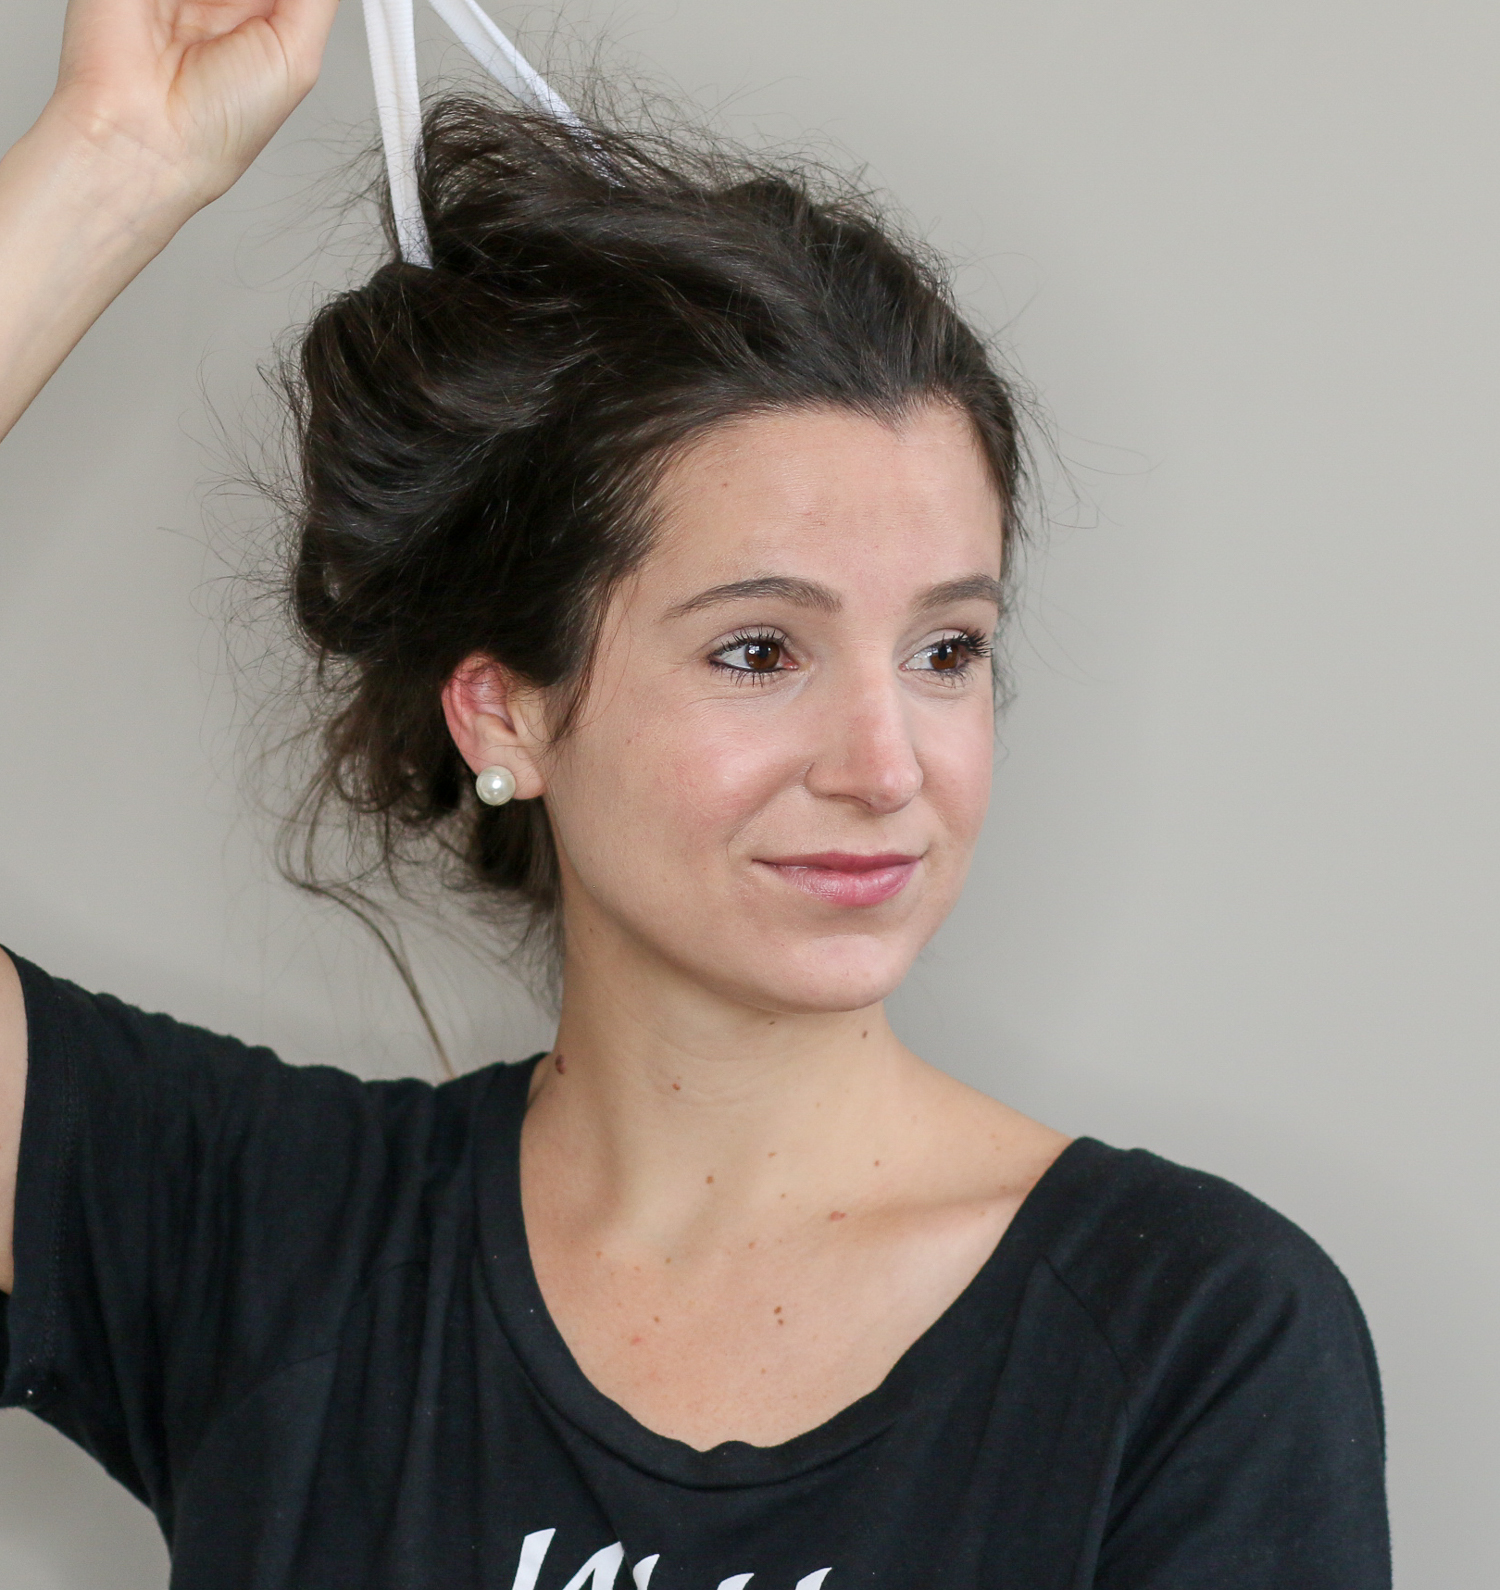
When you wake up in the morning, gently remove all bobbi pins and let your hair down. Note that you can also repeat this process during the day by blow drying it under low heat for 20-30 minutes. Just make sure you give your hair time to cool off before taking it down.
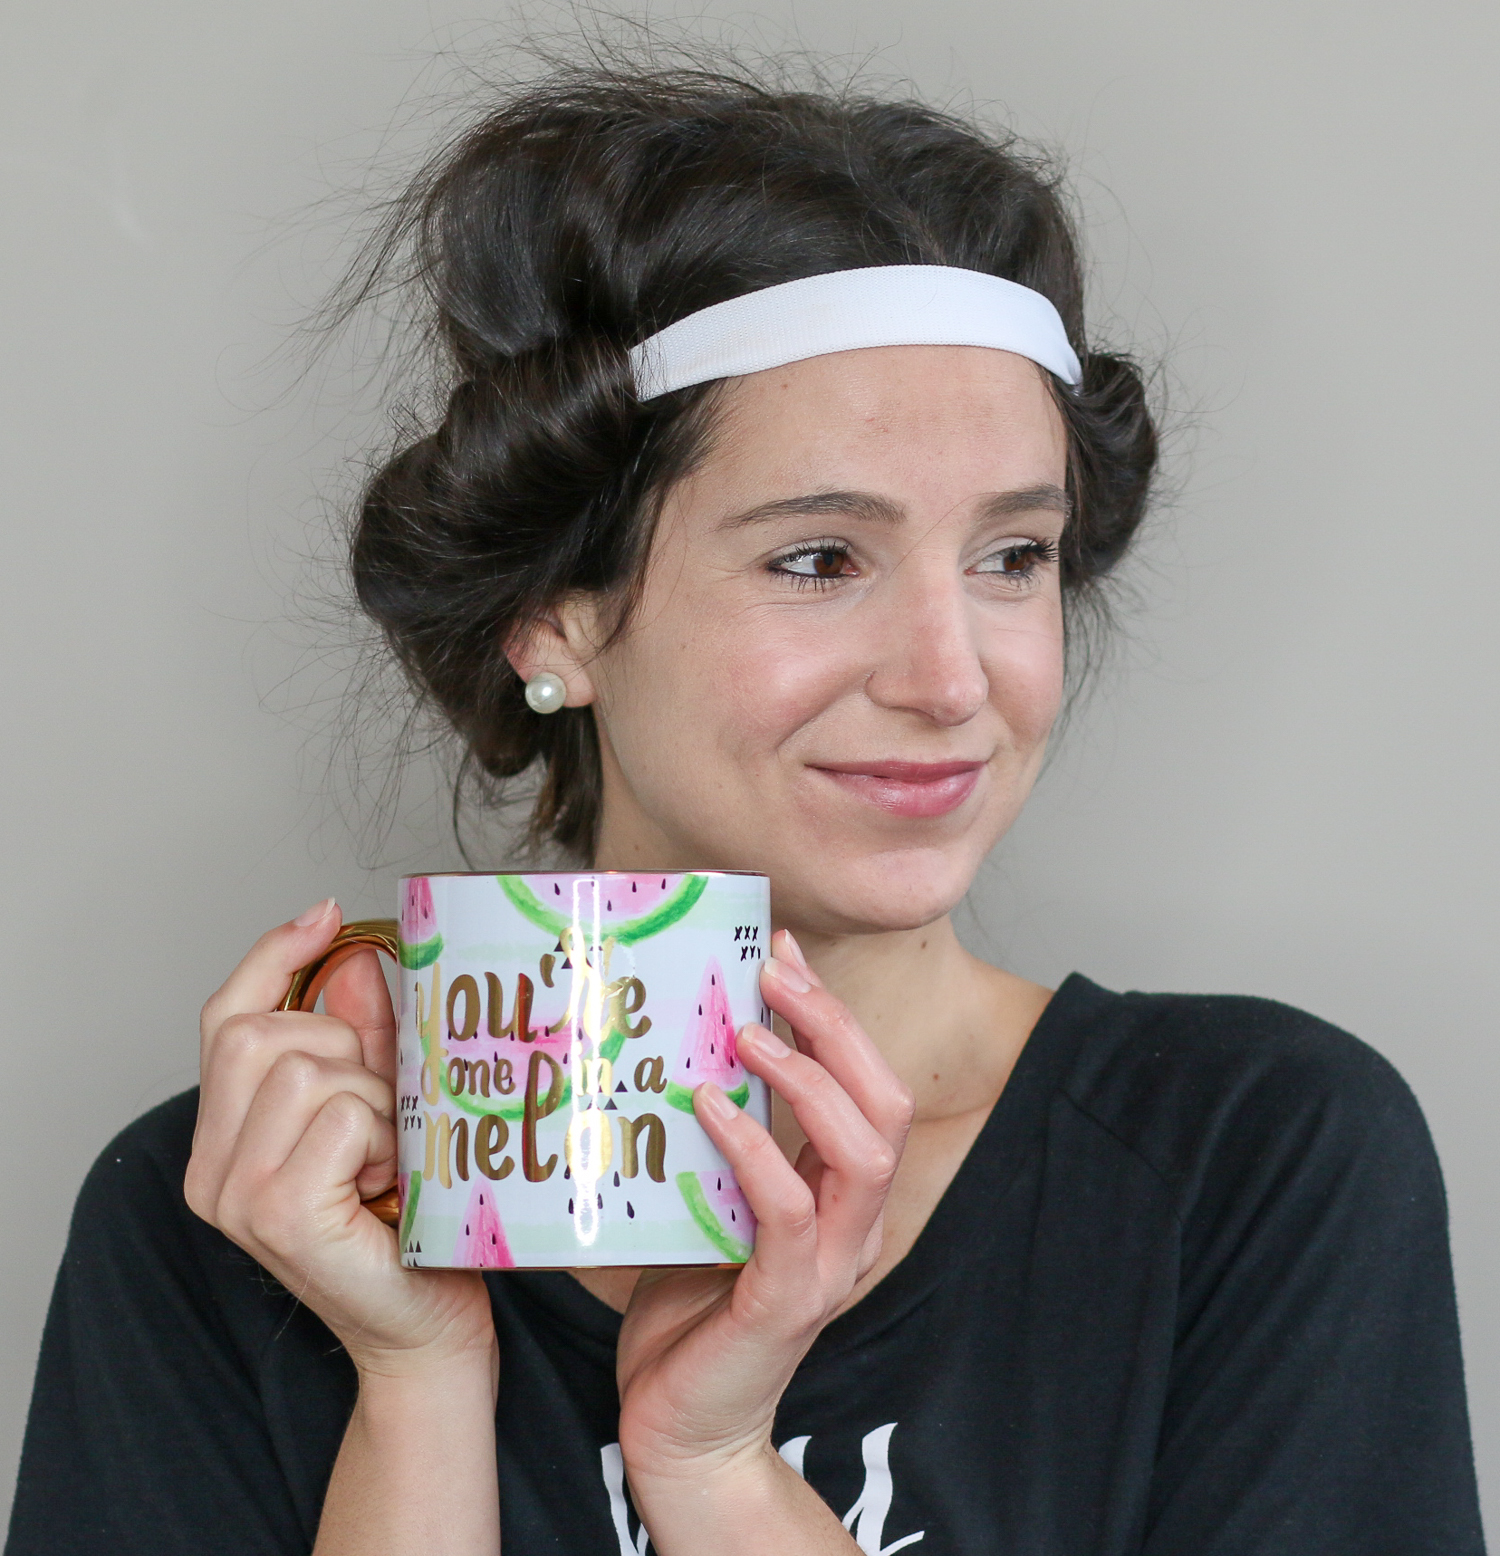
Use your fingers to gently separate any overly-crunchy curls.
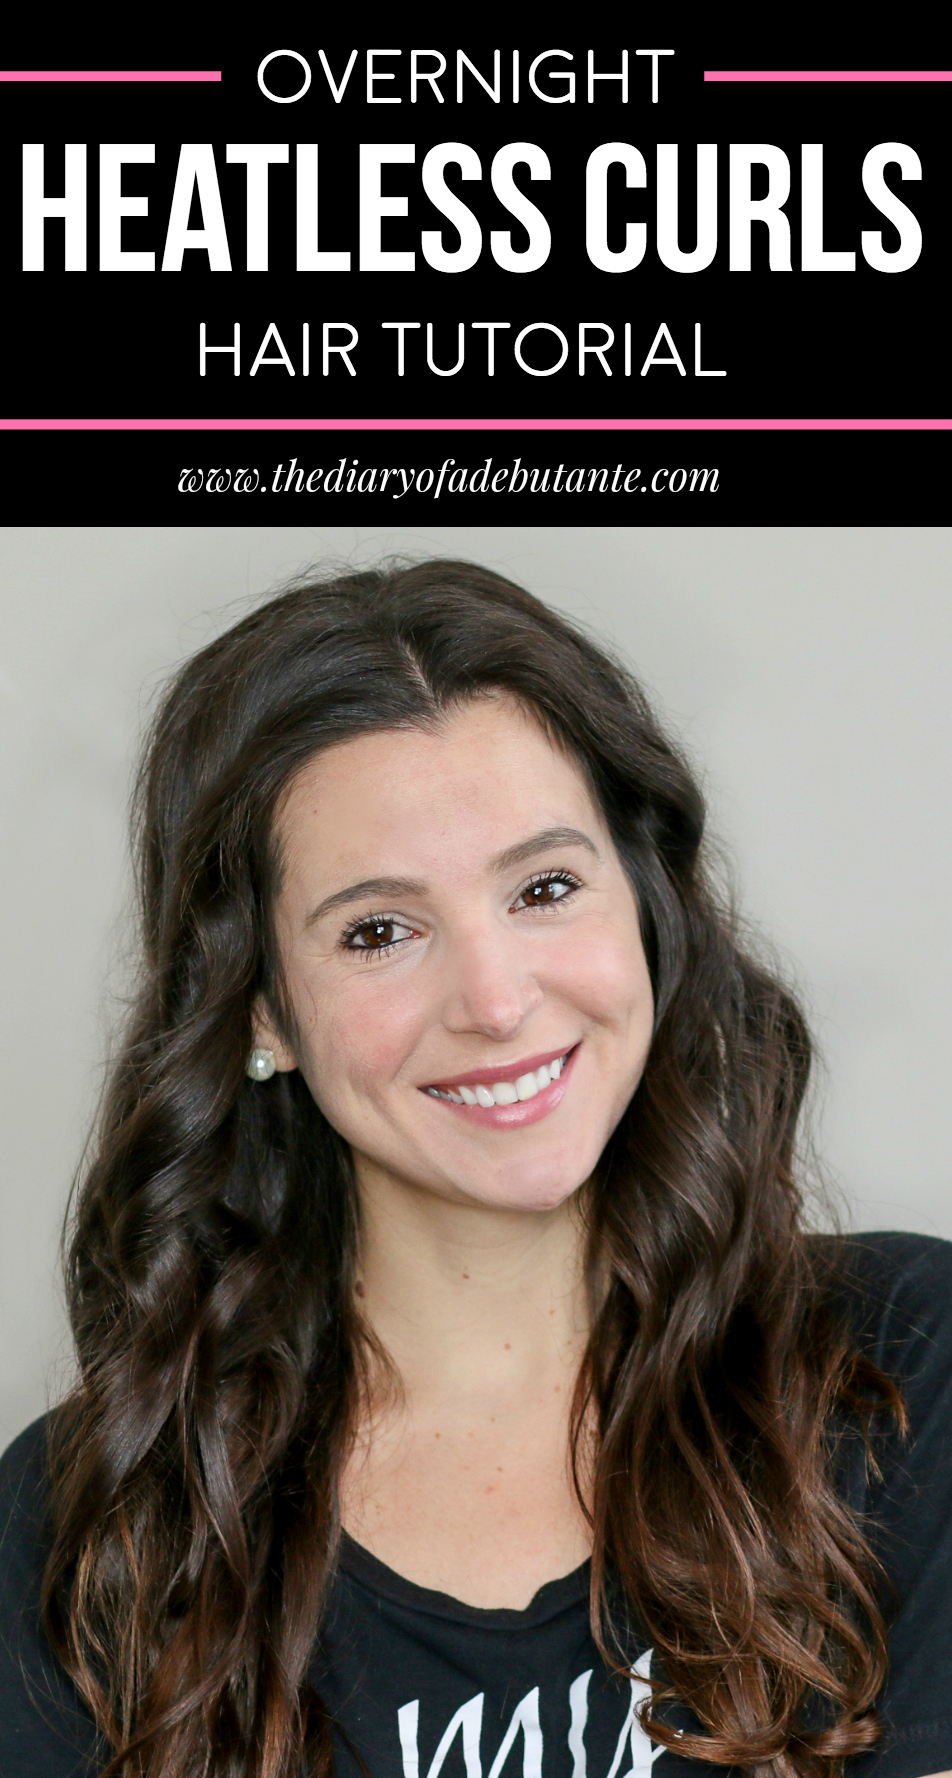
If frizz is an issue, apply a dime-sized amount of Cibu Shine Squad Argan Oil Treatment, which can be used on both dry and wet hair, to tame it. You can also check out some of the best frizz-fighting products from Redken here. If you let your hair sit for at least eight hours, there will be no need for hair spray or extra curl shaping cream to create heatless curls overnight. Just let your hair down and gently style it with your fingers.
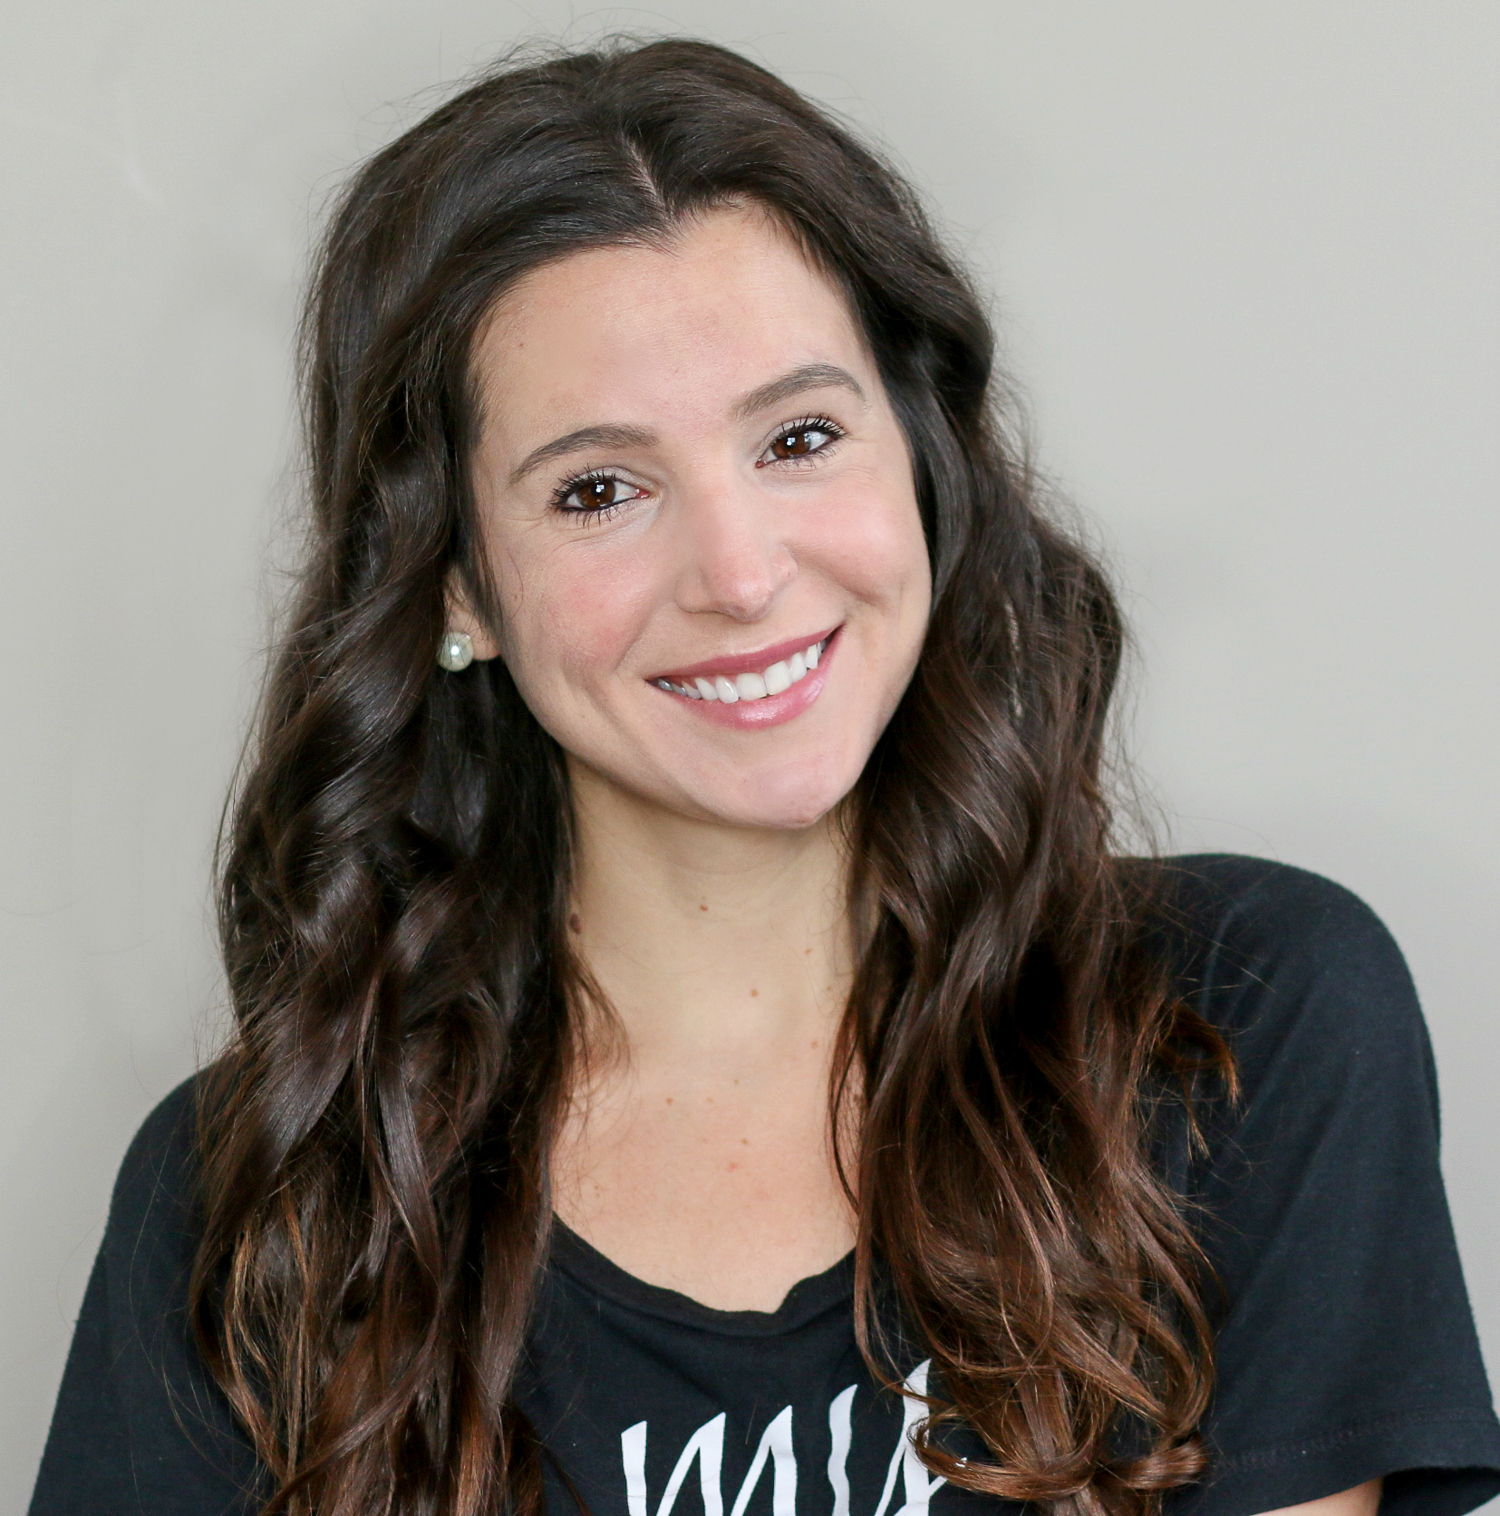
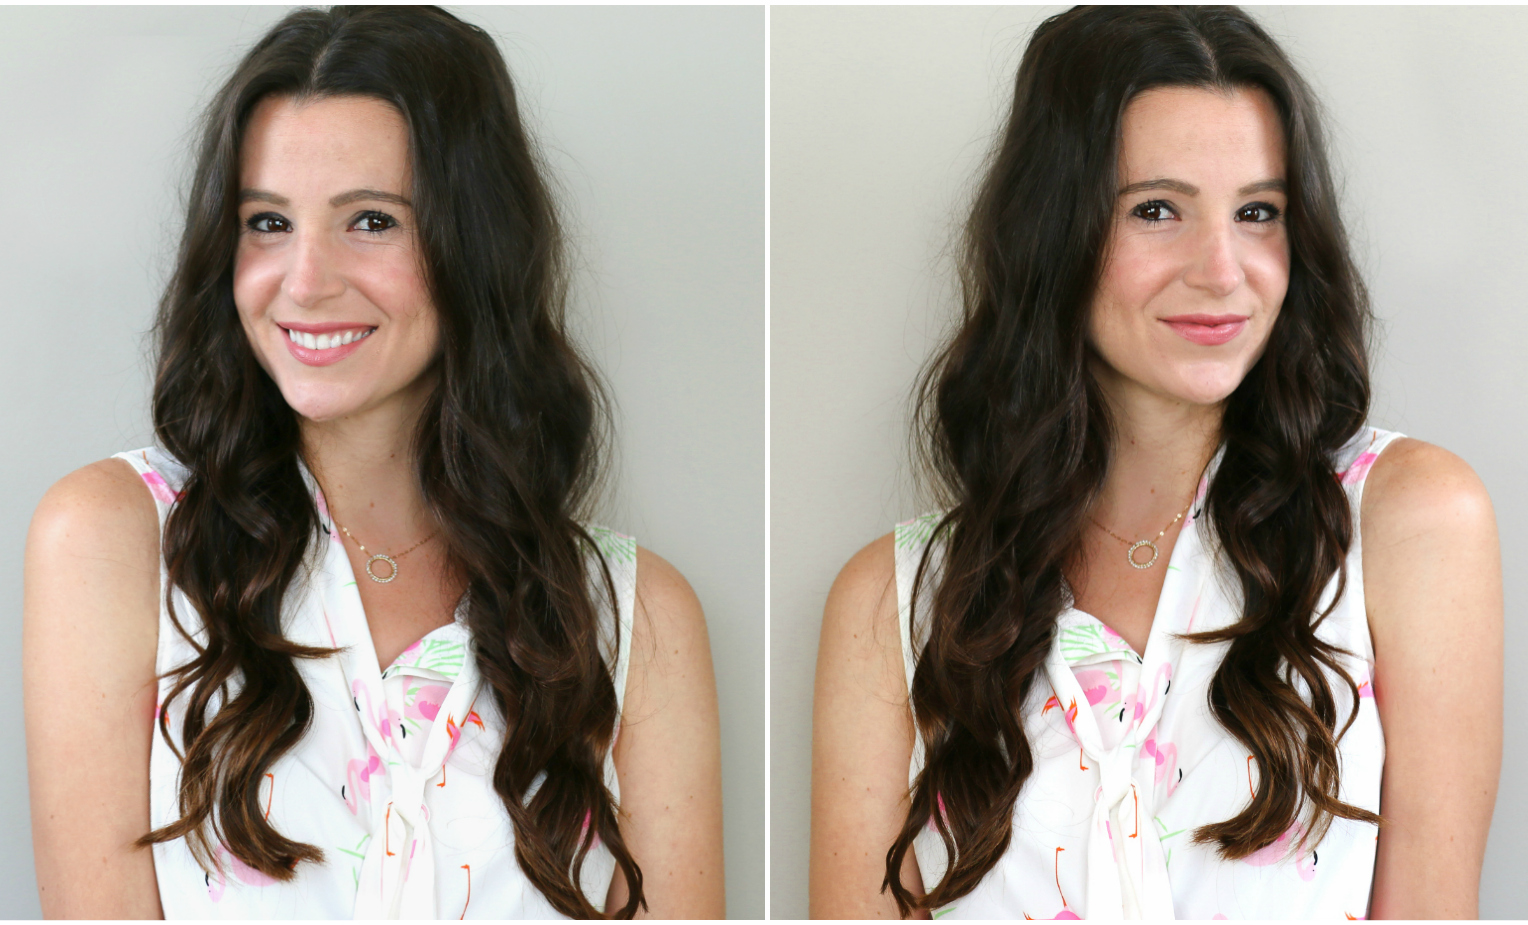
Heatless Curls Overnight: The Finished Product
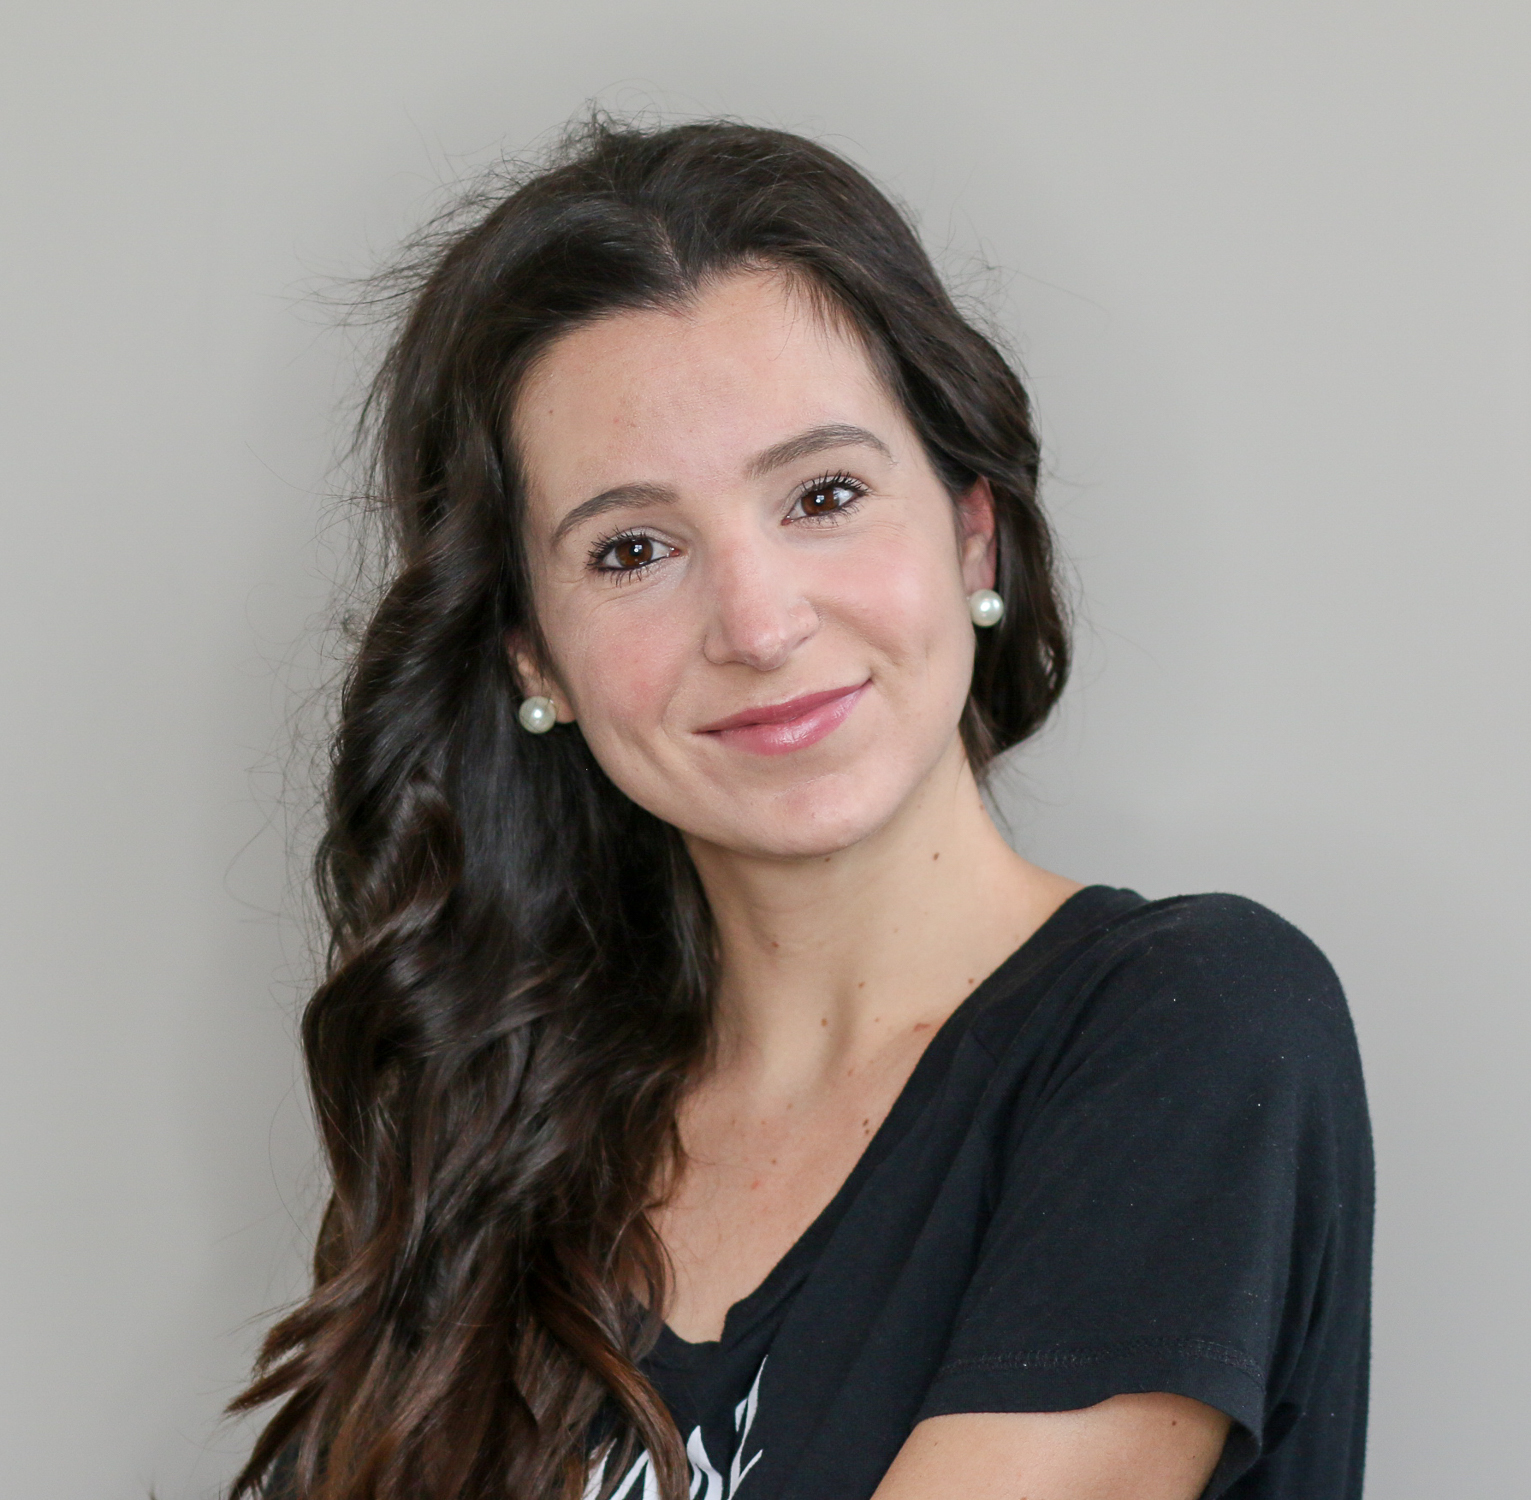
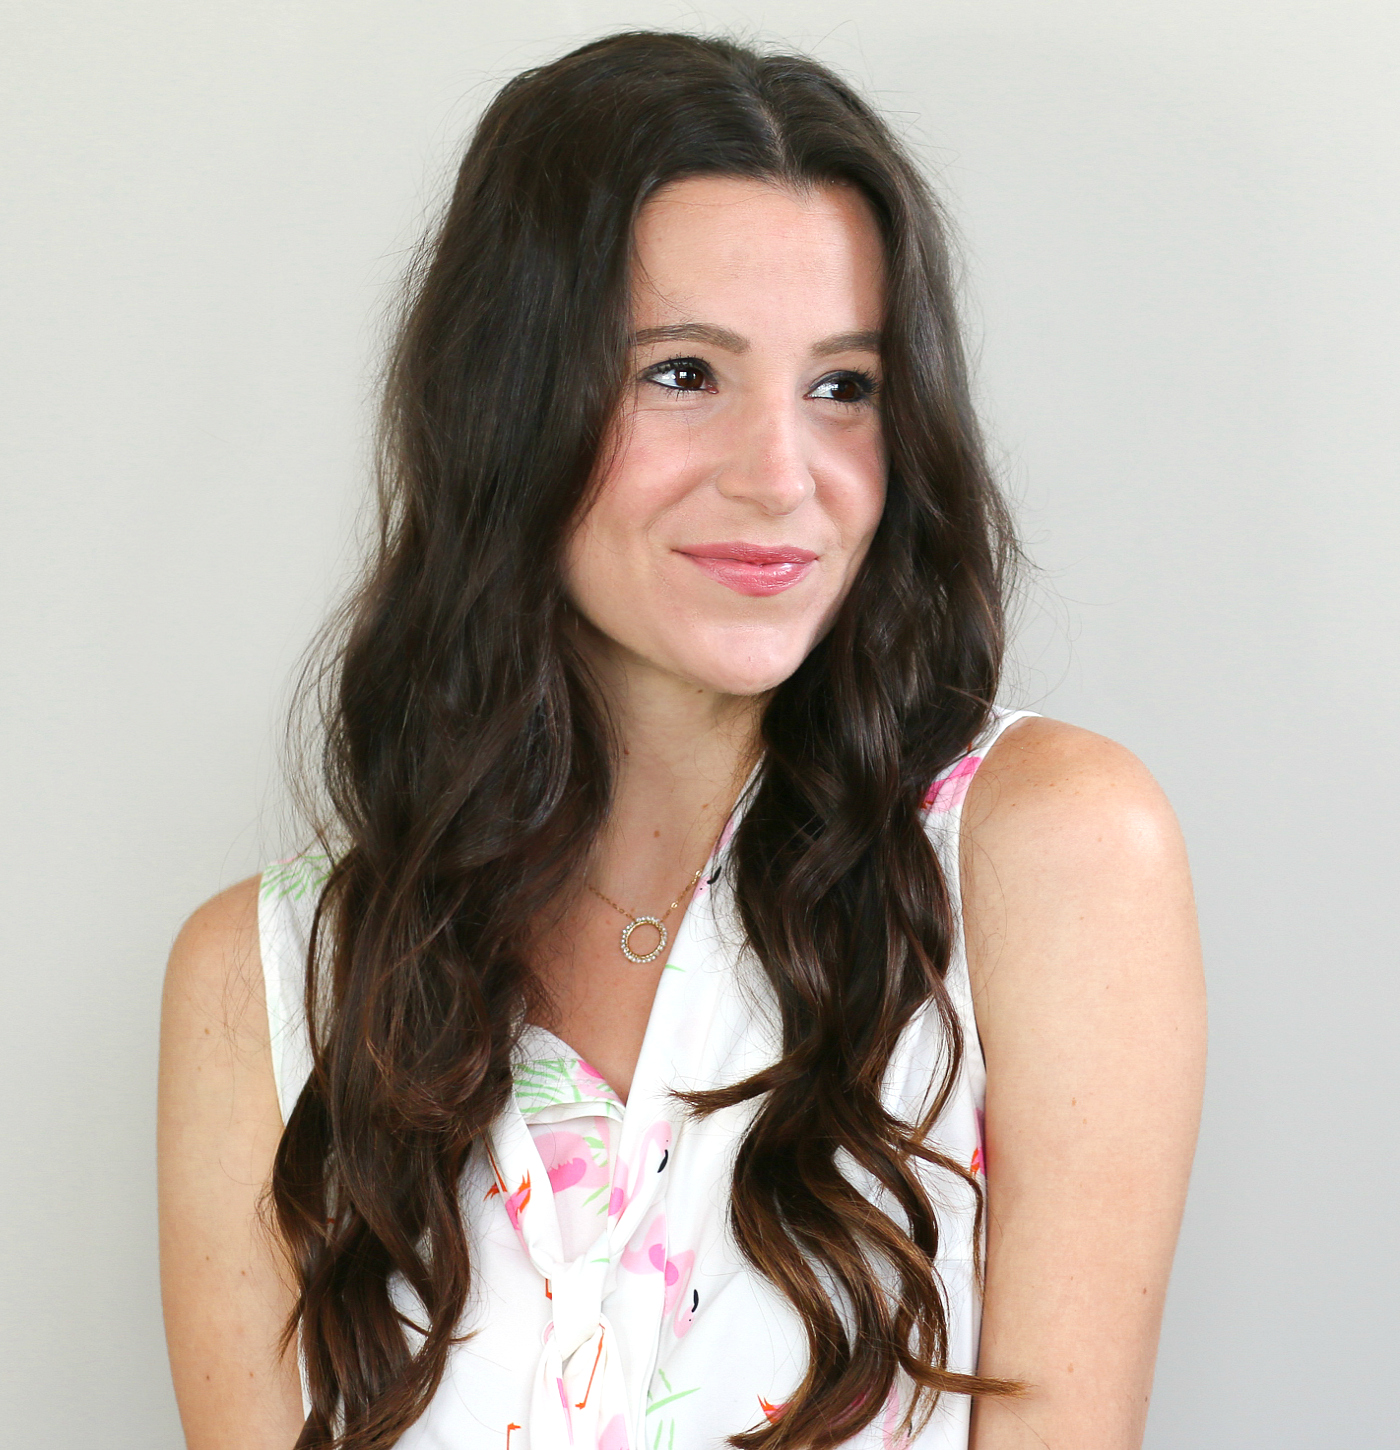
I don’t like a whole bunch of volume unless I’m going to a fancy event (or a pageant), so I brush out most of the defined curls for a more natural look. After you’ve styled your hair to your personal liking, get dressed, and you’re ready to tackle the day ahead with some seriously fabulous and totally heat-free curls!
And seriously, this is all you used! Just goes to show how far an affordable line of quality products, like Cibu, can take you!
Oh, and I realize that sometimes we don’t have eight hours (or even twenty minutes) to style our hair in the morning. If that’s ever the case, check out this 5-minute high sock bun tutorial or these simple braided hairstyles for medium-length hair. Also, if I’m not detoxing and I want someone to style, cut, and/or color my hair, I turn to Hair Cuttery! They’re better, more affordable, and way more convenient than blow-out bars. Plus, they’re amazing at braiding hair. Click here to find a location near you. You can also keep up with Hair Cuttery on Facebook, Twitter, Instagram, and Pinterest.
When was the last time you visited a Hair Cuttery salon?
This is a sponsored post with Hair Cuttery. Thank you so much for supporting the brands who make Diary of a Debutante possible! As always, the opinions in this post are mine alone.




That’s great! I’m going to try this. You look fab!
Who Let the Mum Out?
Pingback: Awesome Hairstyles To Try Out
Pingback: Cute Flamingo Gift Ideas (Including Summer's Must-Have Blouse)