*This post may contain affiliate links, which means I may receive a commission (at no additional cost to you!) if you make a purchase using any of these links.*
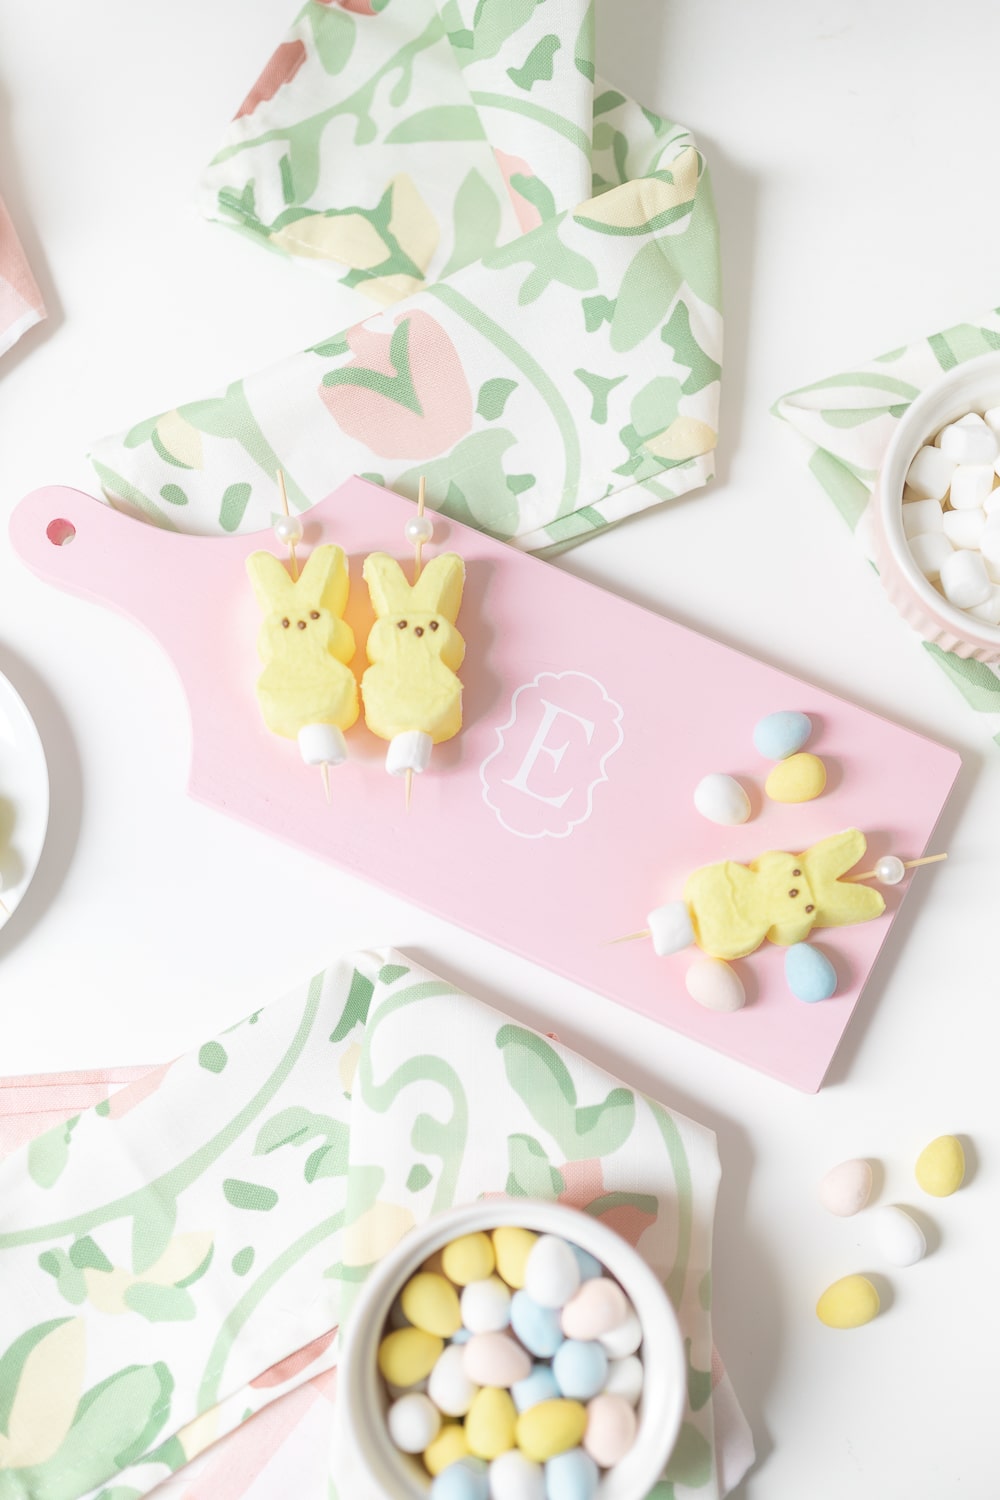
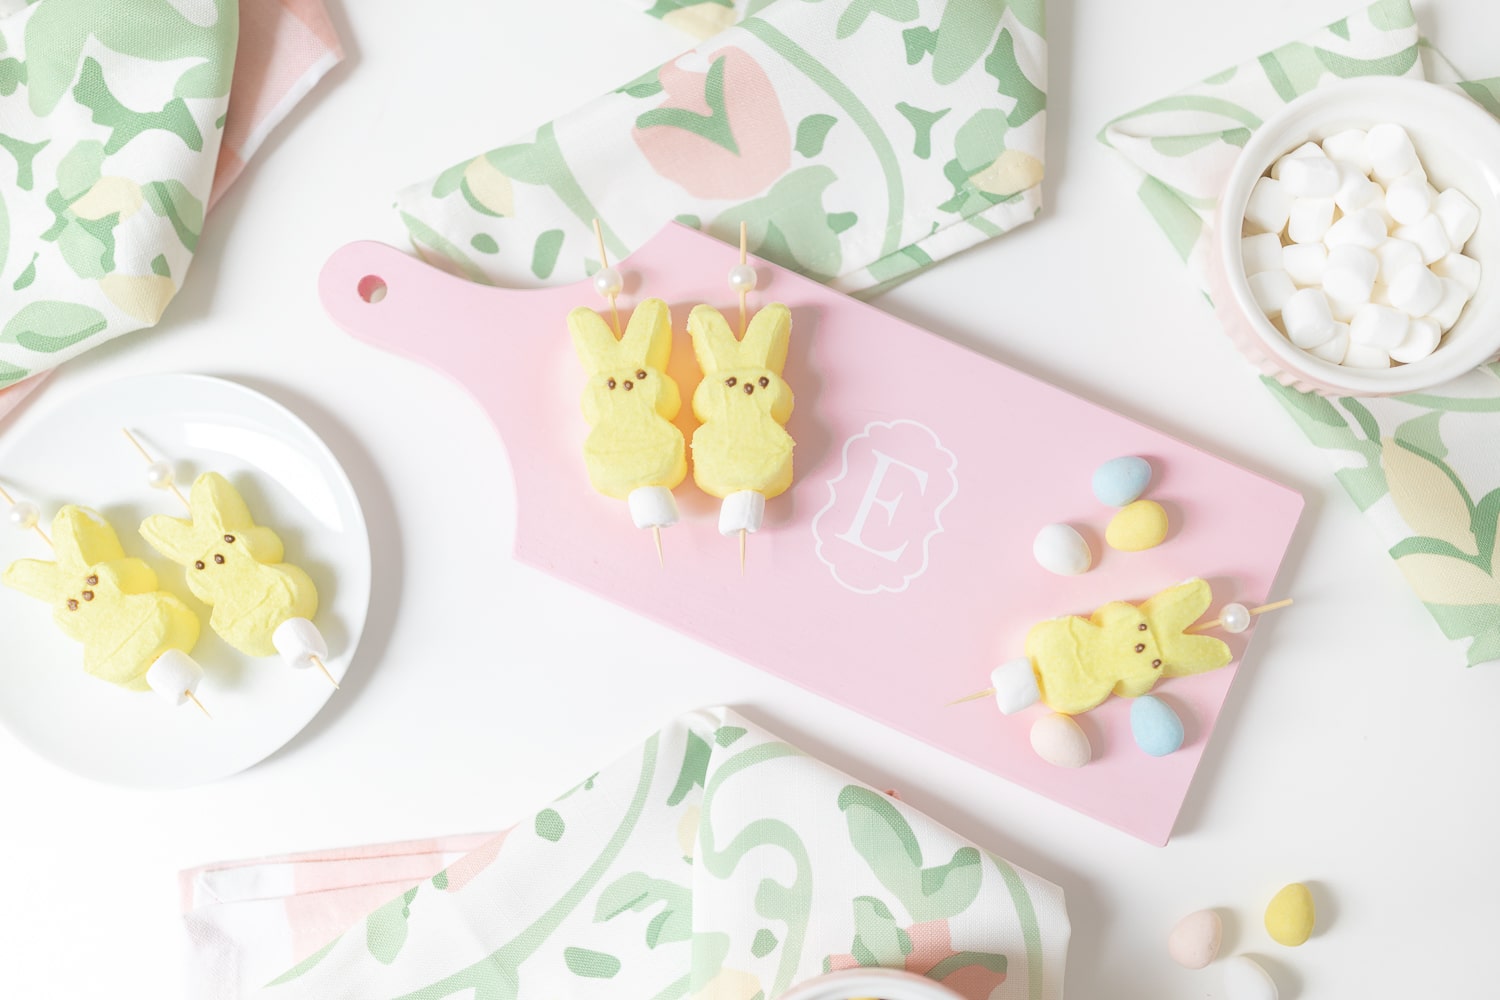
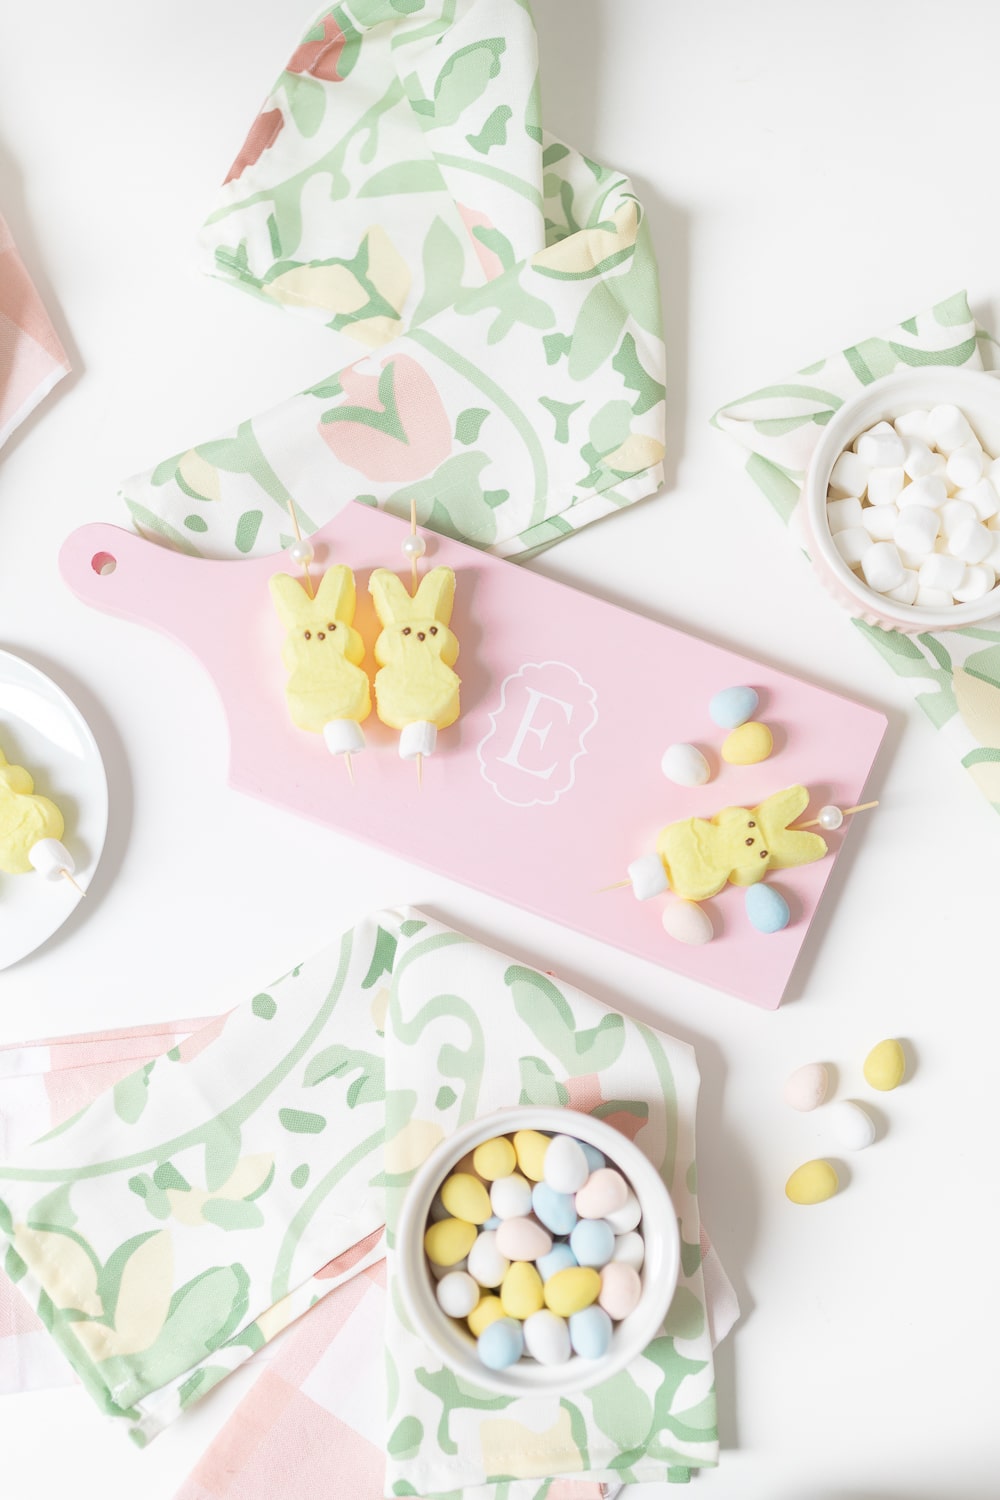
There’s nothing I love more than a good cheese board! I think I have more cheese boards than tablecloths at this point. I recently went looking for a cute pink board specifically for Easter, though, and couldn’t find one anywhere. So, after doing lots of research on toxic paints and which types of wood finishes are food-safe (a rabbit hole that wasn’t fun to go down), I decided to tackle making my own DIY wooden cheese board! I genuinely love the way this personalized cheese board turned out, so I wanted to share how I made/designed/painted it in today’s post!
Truthfully, I took the easy route and purchased my own unfinished board off Amazon, but I love that you can actually cut your own slab of wood and/or use an old wooden plank you have lying around your house for this DIY Cricut wood project. I also love that you can completely customize the color and add a monogram or special design if you like. Keep reading for tips on how to make your own personalized cheese board!
DIY Personalized Cheese Board
DIY Cheese Board Materials
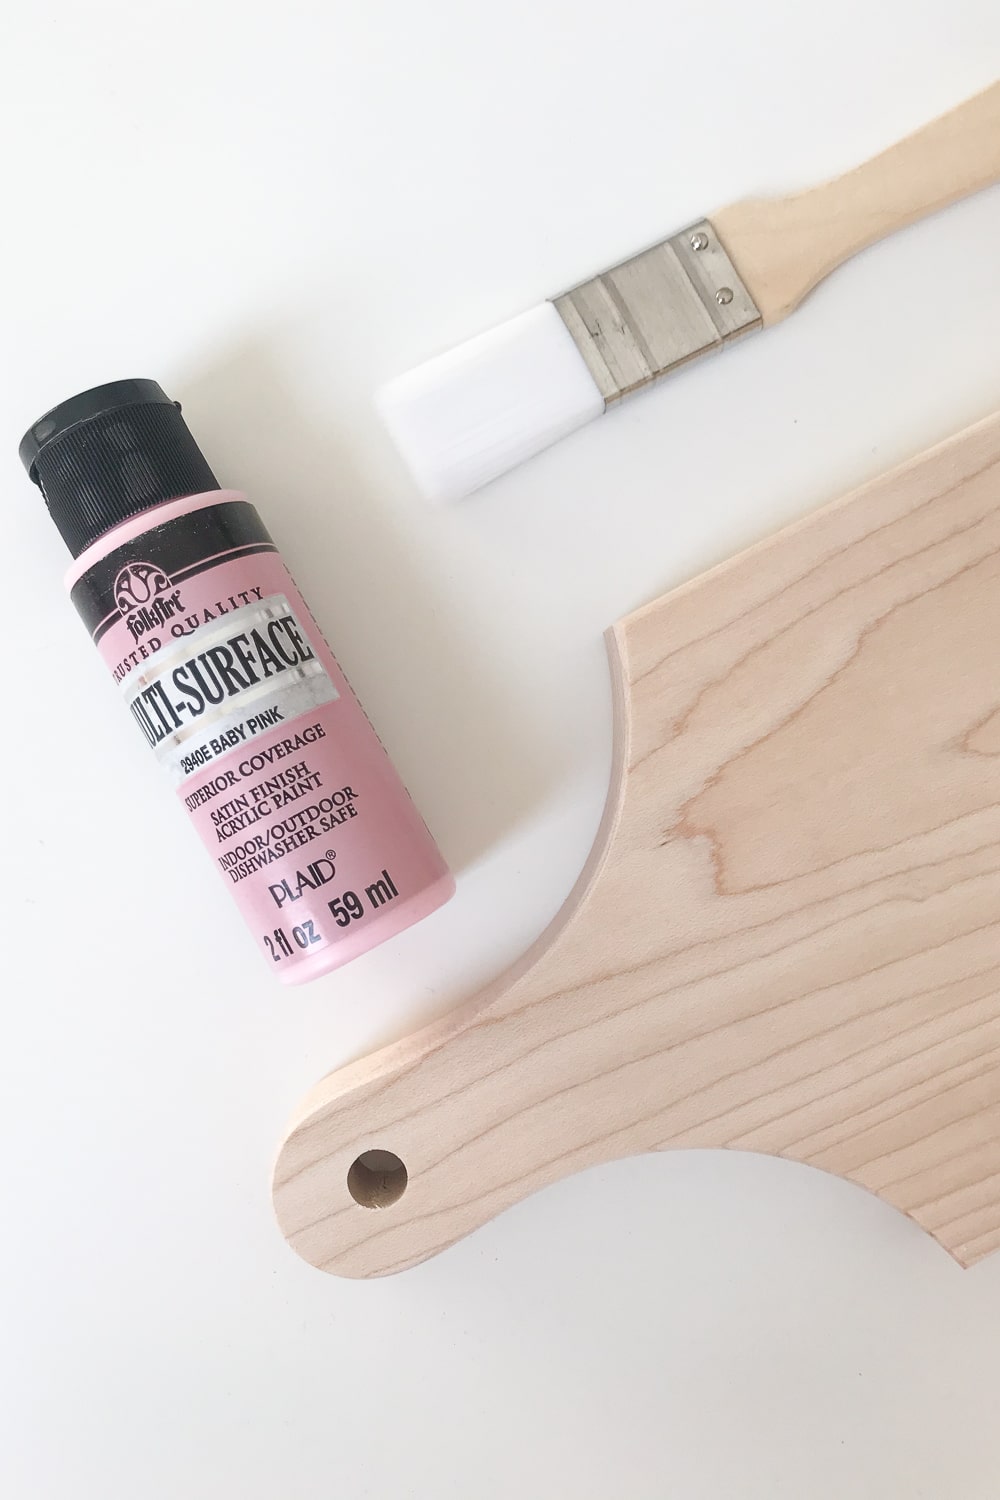
- Unfinished cheese board– I used this one, although you can totally cut your own piece of wood, too! The wood is untreated with no finishes, so it’s great for staining and painting. If your cheese board or plank is finished/made of treated wood, you’ll need to sand it down with sandpaper before painting.
- Paintbrush– I highly recommend steering clear of those cheap sponge brushes– they’re the worst. Bristle brushes are where it’s at. I used this pack!
- Light pink non-toxic acrylic paint– I mixed this non-toxic pink acrylic paint with non-toxic white acrylic paint to create a softer pink. If you use another shade or brand, make sure it’s non-toxic. You can normally check on the back label.
- White non-toxic acrylic paint– I used this one to create a lighter shade of pink and paint on my monogram.
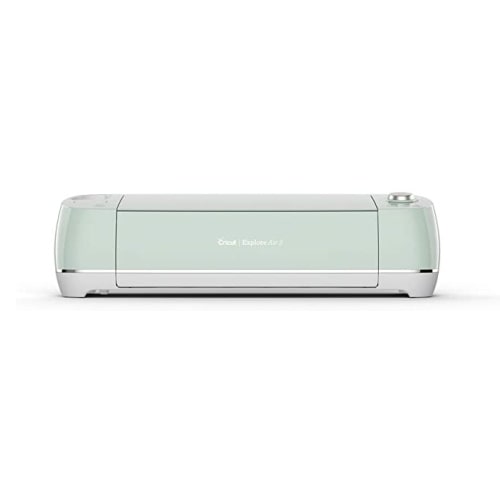
- Cricut Explore Air 2 (or any other smart cutting machine)– I used my Cricut Explore Air 2 to create a stencil and then painted over it with non-toxic acrylic paint. You can also create an iron-on vinyl decal and then iron it on with an EasyPress (or an iron).
How to Make Your Own Wooden Cheese Board
To start, mix your custom shade of pink in a styrofoam bowl. I wanted a really light shade, so I mixed 50% baby pink acrylic paint and 50% white acrylic paint to create this color. If you want to create a totally different color, go for it– just be sure that the paint you use is acrylic and non-toxic. Also, if you don’t want to paint it, do some Googling about which wood stains are food-safe. There are some cool options out there!
Quick note— if your cheese board or wooden plank has a finish on it, you’ll need to gently sand it down before painting.
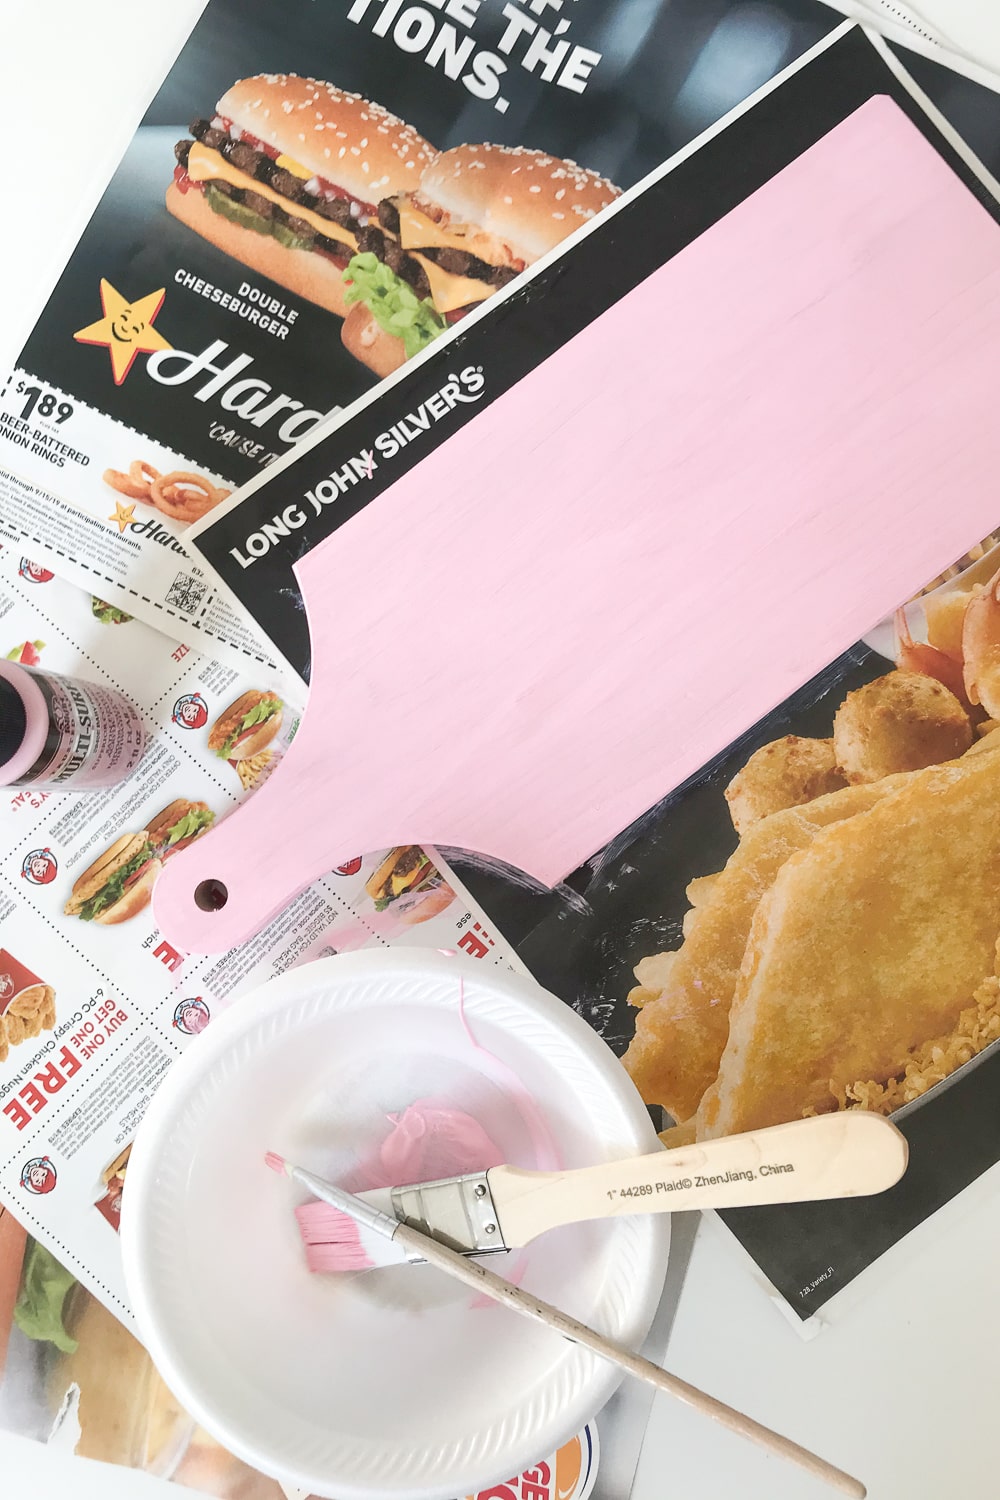
Next, use a medium-sized bristle paintbrush to cover the surface area of the cheese board. I also used a small bristle paintbrush to cover the sides and handle. You’ll probably need to apply at least two coats, leaving the first to dry completely for about an hour.
Finally, if you want to add a monogram, I created a small stencil in Cricut Design Space and transferred it to the board with contact paper. I taped down the edges with Scotch tape (to make sure it didn’t move in the process) and then painted over the stencil with non-toxic white acrylic paint. Be sure to hold the brush directly up and down (same technique I use on my DIY Cricut doormats). If you don’t, the paint may bleed through and you won’t get a crisp monogram.
Allow the monogram to dry overnight– annnd you’re done! You’ve got a cute DIY wooden cheese board ready for serving!
Another quick note— you definitely need to avoid getting this painted DIY cheese board wet. Use a paper towel to wipe it down with water and a little vinegar if you need to clean it.
DIY Pink Personalized Cheese Board
This Cricut wood project shows how easy it is to make a design your own personalized cheese board!
Materials
- Unfinished cheese board or wooden plank
- Paintbrush
- Light pink non-toxic acrylic paint
- White non-toxic acrylic paint
- Cricut Explore Air 2 (or other smart cutting machine)
- Material for stencil
Instructions
- Mix your custom shade of pink in a styrofoam bowl.
- Use a medium-sized bristle paintbrush to paint over the surface area of the board. I also used a small bristle paintbrush to cover the sides and handle. Apply at least two coats, leaving the first to dry completely for about an hour.
- To add a monogram, create a small stencil in Cricut Design Space using vinyl or cardstock and transfer it to the board with contact paper. Tape down the edges with painter's tape and paint over the stencil with non-toxic white acrylic paint, taking care to hold the brush directly upright.
- Allow the monogram to dry overnight-- and enjoy your new customized cheese board!
Notes
If the cheese board you use (or wooden plank) has a finish on it, you’ll need to gently sand it down before painting.
Recommended Products
As an Amazon Associate and member of other affiliate programs, I earn from qualifying purchases.
What do y’all think of my personalized cheese board?! I absolutely love the way it turned out and already know I’m going to make a handful more of these for Christmas! For more fun spring DIY projects, check out the Spring Projects tab on my home page! You can also check out another one of my favorite Cricut wood projects here.
Also, please let me know if you have any questions or concerns about this DIY wooden cheese board tutorial. I love hearing from you guys, and I’m happy to help!
Click below to shop the post!



I love your posts!