
*This post may contain affiliate links, which means I may receive a commission (at no additional cost to you!) if you make a purchase using any of these links.*


It’s officially award season! To celebrate, I’ve decided to create a tutorial for my kind of red carpet glamour, which can only be described as classically simple and elegant. Sure, it’s your prerogative to bedazzle your eyelashes and wear an artistic amount of clown paint, aka stage makeup, but I think true elegance is best represented with simplicity. One or two pops maximum of bold color, whether you choose your eyes, lips, blush, etc., can go a long way. Red lipstick is a given for me, and its application is easier than ever thanks to my ultimate new beauty secret weapon, Q-Tips Precision Tips.
I think the best way to prep for red carpet makeup application is to choose your products wisely, and all my go-to favorites are below. Also, it never hurts to have fresh flowers in sight for inspiration either.

")
Once you’ve chosen which products you prefer for long-lasting glamour, be sure to start with a clean face.

Next, ensure that your makeup stays matte with a quality anti-redness primer.


Now apply your foundation. You can choose to use a brush or your fingers for application, and although all the makeup experts will tell you a brush is the unwritten right way to go, I opt for my fingers. I find it’s easier to blend that way. Make sure your foundation is an accurate match to your skin or you’ll risk looking like a tanning salon advertisement, which is definitely not red carpet.

Once you’re primed and covered, conceal and highlight– and contour if you’re feeling feisty– with a full cover concealer, like this one. I typically only stick to concealer and highlighting, though, since chiseled cheeks aren’t a super good look for my heart-shaped face. Where and how much you highlight is a matter of preference, but make sure you don’t skip this step altogether.


Add some ambient light to your already matte skin with a great finishing powder. Find a formula (like mine) with opalescent, sheer white powder, which will be the nightlong BFF of anyone anticipating taking pictures.

Add some color to your base with a great blush and bronzer. Yes, for big events, I do use both, and it makes a world of difference.

Now light up your eyes, which really are {although cliche} the windows to the soul. Find the perfect palette of pigment-rich taupe and gray-beige neutrals, like this one, to create a sultry smokey eye.

Smokey eyes have never been a forte of mine, since my hands are fidgety and like to spasm right when I’m trying to blend the darker shades, so I always come prepared with eye makeup remover and Q-Tips Precision Tips handy in case of otherwise irreparable mistakes.


If you do make a mistake, you’re not alone {obviously}. Tap a few drops of eye makeup remover on a Q-Tips Precision Tip and virtually erase your mistakes like whiteout. I highly recommend taking a stab at this strategy; it’ll save you a lot of sweat, tears, and makeup remover wipes. Guaranteed.


Once your red carpet eyes are under control, be sure to embolden your brows. This is my favorite instant spell of makeup magic. A great brow pencil, like this one, is a God-sent, so if you’re still on the hunt for a fabulous brow pencil that comes in a variety of shades, test this one out. If you already have a favorite, make sure your product is smear-proof and leaves your brows looking natural and polished with ease.

Even with a functional spooley, sometimes my eye brow hairs have a mind of their own, so I choose to stay on the safely controlled side with colorless brow gel, like this one. You can also find brow gels in tinted colors, as well, but I’m preferential to the clear.

Next, be sure to curl your clashes before you apply mascara to give your eyes the biggest and brightest appearance possible.

Apply a few coats of volumizing black mascara to your lashes. If you’re wanting extra drama, I recommend opting for fake lashes, although I usually reserve the fake lash appearances for awkward indoor and/or fluorescent lighting.


Lastly, attempt the pièce de résistance– the bold red lip. Be sure to choose a quality red lip liner like this one to lock in the color and prevent feathering.

If you’ve ever donned bold red lips before {and if you haven’t, you totally should}, you know how much of a pain it can be to correct mistakes. It’s like red lip liner is secretly permanent marker, and a handful of sneaky preschoolers quietly laughs at you every time you miss your mouth. Q-Tips Precision Tips are my ultimate secret weapon for all things lips, nails, and eyes. They have tapered ends to make it easy to achieve a bold and detailed look with precision. Plus, they’re light and portable for beauty on-the-go, and they’re a convenient and cost-efficient {$3.29 for a 170-count pack} alternative to a handful of different-sized expensive makeup brushes. Use their gentle pure cotton precision tip to do any lip liner, lipstick, or gloss touch-ups with ease.
Also, if you’re on the hunt for some fabulous red carpet glamour tips, check out the Q-Tips Pinterest boards for inspiration. From red carpet to fun Halloween looks, they’ve got some surprisingly fabulous content up for grabs.

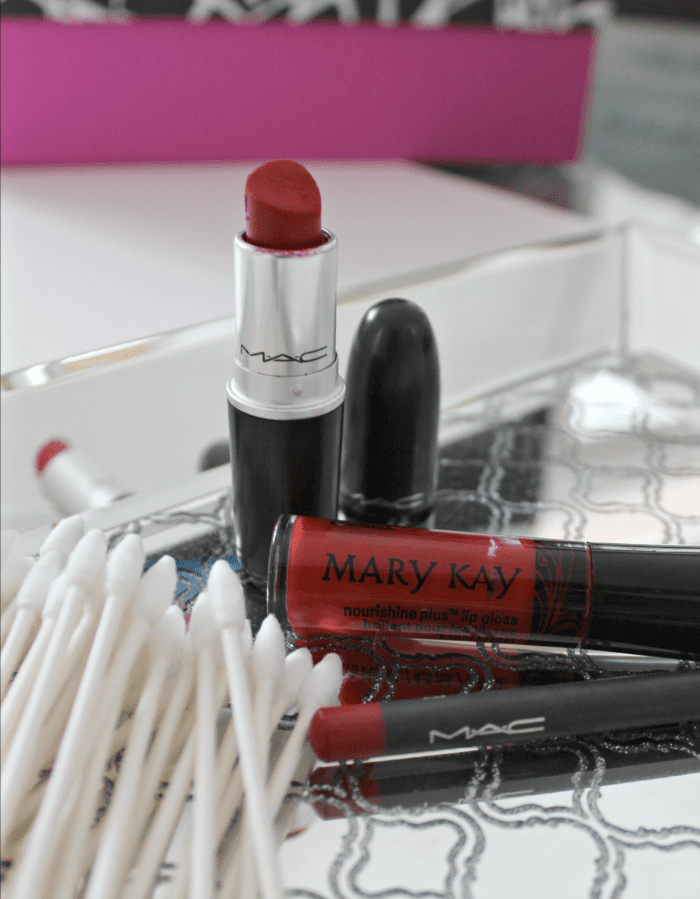
Once your lips are cleanly lined, put on your lipstick. Try and find a shade, like this one, that holds its bold and rich color all night long… without you having to worry about re-application every ten minutes. That’s never fun.

Now add a red gloss for extra shine. This liner-stick-gloss trifecta will make your smile pop like never before.


Lastly, show stop in style on the red carpet.

Hope y’all are enjoying the show, or at least the pre-show fashion segments, as much as I am! Who am I obsessed with, you may ask? Um, Anna Kendrick, Anna Kendrick, and Anna Kendrick. Whose look were your loving?
Happy Oscars 2015!
I was selected for this opportunity as a member of Clever Girls and the content and opinions expressed here are all my own.


Q-Tips are TOTAL lifesavers when it comes to makeup removal. I'm the worst at winged liner, using a q-tip to remove screw-ups saves the rest of my eye look!
great tutorial. I love those Q-tips
P.S. my blog has moved to http://www.amysfashionblog.com/blog-home
This is a really great tutorial. My girlfriend has been trying to get a look like this. I'll have to send this on to her.
Obviously not much use for me, but will definitely show this to my youngest daughter who is just starting to apply her own makeup.
WOW, you look beautiful!! I love the tutorial, never thought about using a Q-Tip. Great tips!!
These are great tips! I love the idea of using Q-Tips to fix mistakes.
Love your pics! The red is really nice on you.