*This post may contain affiliate links, which means I may receive a commission (at no additional cost to you!) if you make a purchase using any of these links.*
If you enjoy aromatherapy, shower steamers are a self-care essential. I discovered them a few years back when a girlfriend put some hangover-alleviating steamers in her bachelorette gift bags, and I’ve been hooked ever since. The steam just mixes perfectly with all the essential oils, and– ugh, it’s heavenly. I’ve found a few brands I like on Amazon, but I definitely prefer making my own shower steamers at home. Why? Because you can test out your own aromatherapy combos and make the scent as strong or delicate as you like. Plus, they make amazing homemade gifts and are perfect for Mother’s Day, Christmas, and just about every other occasion, too. Keep reading for my favorite calming DIY shower steamers recipe!
Also, before getting started, know that there’s a learning curve when it comes to any shower steamers recipe. Just ask Kyle– I went through a lot of citric acid and essential oils before perfecting mine. So, I’m sharing a troubleshooting guide below, too. Hope it’s helpful!
Essential Oil Shower Steamers FAQs
What are shower steamers?
First thing’s first, though– what are shower steamers?
I’ll answer your question with a question. Do you know what bath bombs are? If so, shower steamers are basically bath bombs for your shower. They have virtually the exact same texture, and they both effervesce when they come in contact with water. They’re also formulated with blends of essential oils to target and treat different conditions, including anxiety, sleep deprivation, congestion, and inflammation (among others).
If you aren’t familiar with bath bombs, shower steamers are a fun way to add an extra element of relaxation to your shower. When they come into contact with steam or water, they fizz and release an aromatherapeutic burst of essential oils. They’re particularly great for those days when you feel like you need a little extra pampering!


What do shower steamers do?
Shower steamers are great for aromatherapy. Depending on the blend of essential oils you choose, you can formulate your DIY shower steamers to address whatever concerns you have– relaxation, focus, energy, etc. For example, the first shower steamers I ever tried were actually made for relieving hangovers, which is another fun use!
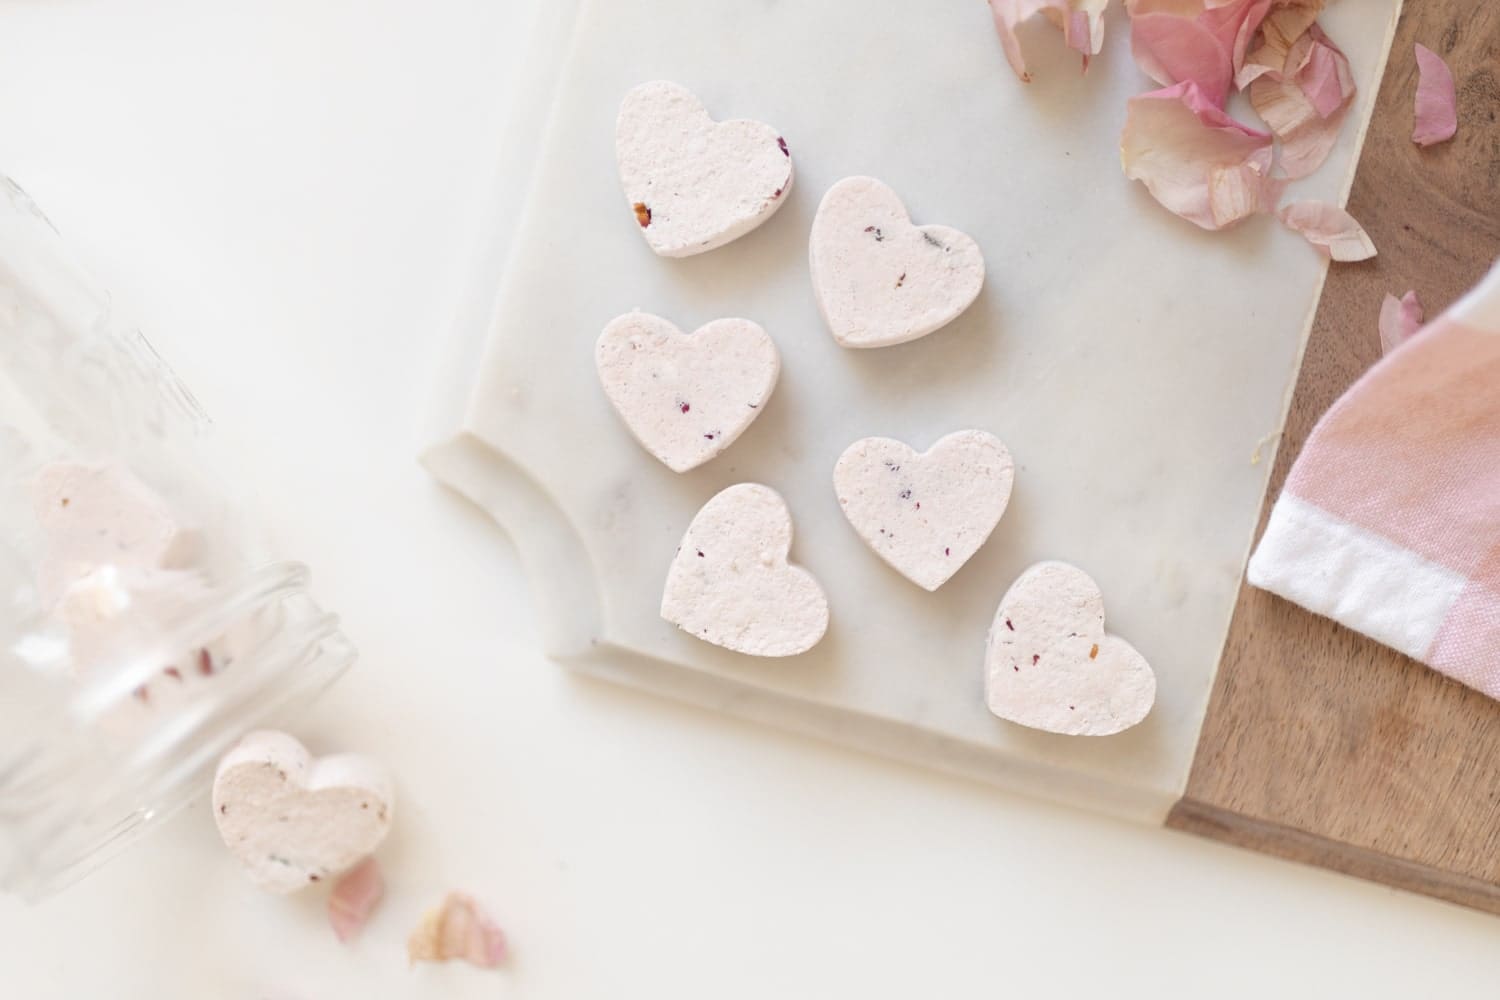
FYI- the rose shower steamers featured in this post are ideal for relieving stress and anxiety. They make the bathroom smell absolutely amazing, too!
Where do you put shower steamers?
Simple– you can put them anywhere in the shower! You may need to wet them beforehand if there’s not a lot of moisture around, though. Also, I don’t recommend putting them under a direct stream of water. If they get too wet too quickly, they’ll dissolve super fast and the aromatherapy won’t last very long.
I usually place them on the shower floor right underneath the shower head (basically directly across from me) and let the essential oils waft in my direction. My shower head leaks a little bit, so the DIY shower steamers are consistently spritzed with enough water to keep them working.
How to Make Shower Steamers

Ingredients
Here’s everything you need to make a batch of approximately 80 calming mini DIY shower steamers (or 12 large shower steamers)–
- 2 cups baking soda– You definitely don’t need anything fancy– I buy mine from Walmart.
- 1 cup citric acid– I use this brand— it’s 100% pure and can be bought in bulk.
- 1 cup cornstarch– Again, you don’t need anything fancy. I buy mine from Walmart.
- 4 tbsp dried rose petals, crushed– As pretty as they are, these culinary-grade dried rose petals are really just for aesthetics. Feel free to leave them out if you don’t have any on hand.
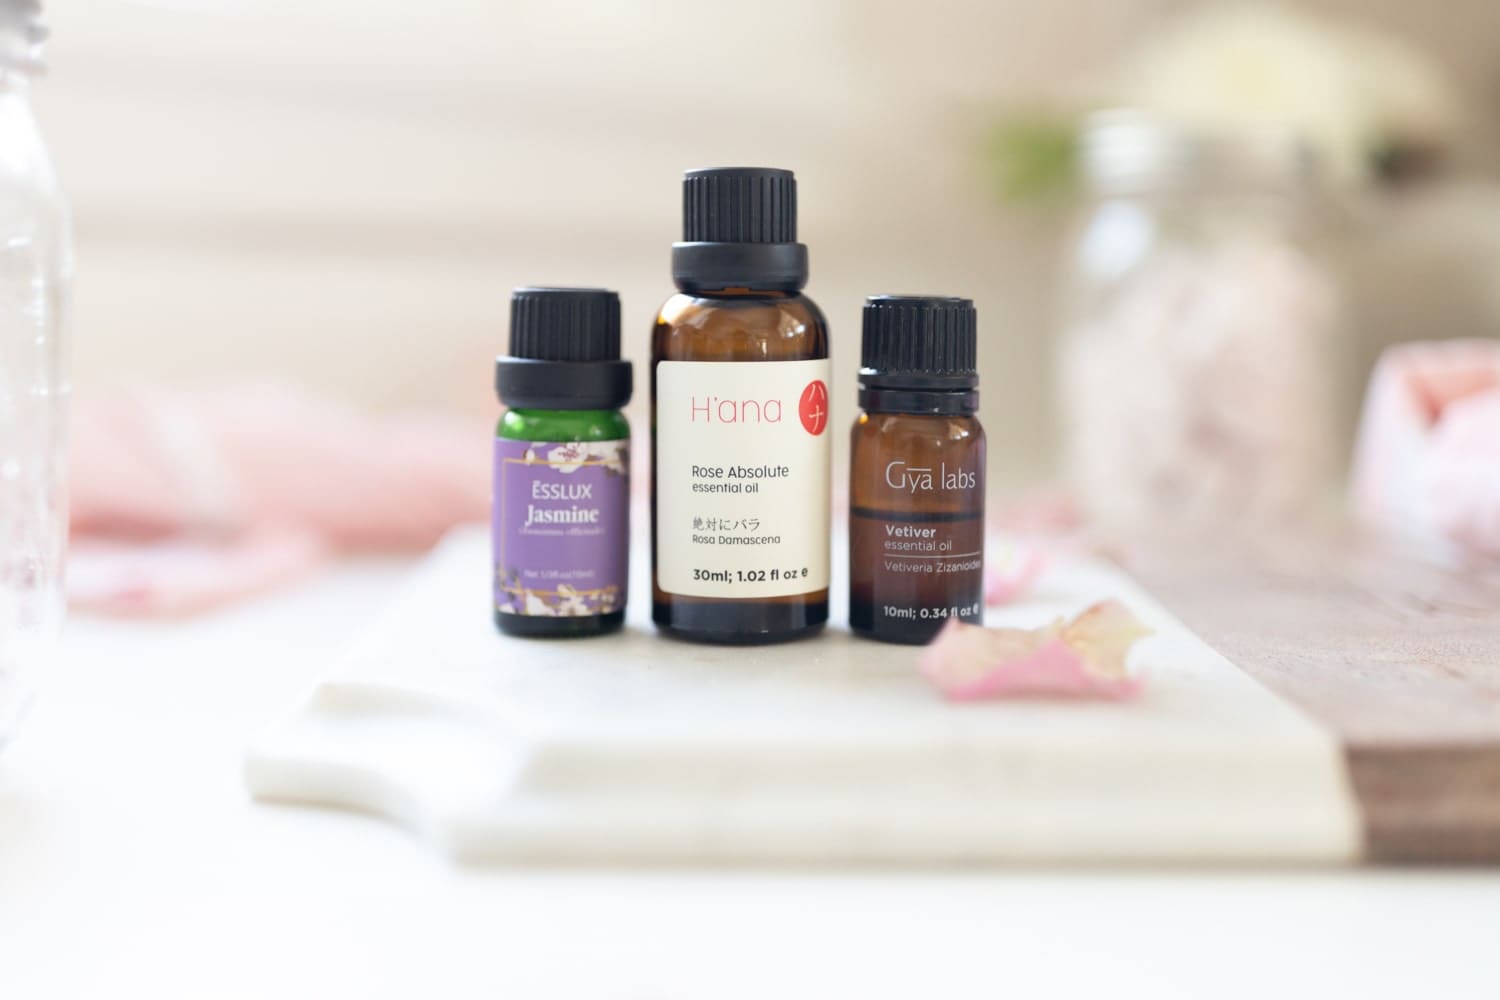
- 100 drops rose absolute essential oil (appx 1 tbsp)– I love this brand! It’s 100% pure and perfect for both aromatherapy and topical use.
- 60 drops jasmine essential oil (appx 1 1/2 tsp)– This brand is another one of my favorites for essential oils. Also, popular substitutes for jasmine are ylang ylang, chamomile, and lavender.
- 20 drops vetiver essential oil (appx 1/2 tsp)– If you’ve never used it before, vetiver essential oil has a sweet woodsy smell. If you don’t have any on hand, try myrrh or sandalwood essential oil instead. Patchouli oil is great, too!
- 4 tbsp water
- 1/4 tsp pink mica (for color)– This pink mica is cosmetic grade and gives these DIY shower steamers a hint of color. If you prefer colorless DIY shower steamers, leave it out.
- Witch hazel (for spritzing)– I use this brand— it’s 100% distilled witch hazel and is great for soothing inflamed skin, too.
One quick note– I used rose absolute, jasmine, and vetiver essential oil for this particular rose shower steamers recipe, but feel free to swap any of them out to fit your needs. For example, you can substitute lavender for rose absolute and chamomile for vetiver to create shower steamers for sleep! Another fun combination that’s great for taming cold/flu symptoms is eucalyptus, lemon, and peppermint.

Material-wise, you’ll also need the following–
- Silicone molds– use these 10-cavity heart-shaped silicone molds for mini shower steamers and these 6- cavity heart-shaped molds for big ones.
- Acid-resistant gloves
- Non-metal bowl
- Large plastic or silicone spoon for mixing
DIY Shower Steamers Tutorial
I know this sounds corny, but once you start making your own DIY shower steamers, you won’t want to stop. I love making mine in different shapes and with different blends of essential oils. I’m sharing my favorite calming shower steamers recipe in this post, but I highly encourage you to play around with other scents and create your own. Keep reading to get started!

First of all, please put on your acid-resistant globes before getting started. Citric acid is perfectly safe, but it’s also a minor skin irritant. In other words, it’s known to cause itching, stinging, and even minor burns when it touches skin for long periods of time. Apparently not everyone’s sensitive to it, but it’s just better to be on the safe side!
Once the gloves are on, combine the baking soda, citric acid, and cornstarch in a large ceramic or plastic mixing bowl and then add in your essential oils, pink mica (if using), and crushed flower petals (if using). Stir until fully combined.
Next, add in the water a teaspoon at a time (1tbsp = 3tsp) until it has the consistency of wet sand. I’m sharing photos below for reference. The mixture will bubble up when water is added in, so pour it as evenly around the bowl as possible
Intermittently test the consistency of the shower steamer mixture by picking up a handful of “sand” and squeezing it in your hand to see if it sticks together or crumbles. You’ll know it’s ready when it’s able to hold its shape. If it’s still not able to hold its shape after adding all the water, lightly spritz it with witch hazel until it can.


Then, using your fingers, press the mixture firmly into each cavity of the silicone tray. I recommend placing the tray on a hard surface and then using your palm to apply pressure and pat each shower steamer into the grooves of the mold. Please also note that there’s no clean way to do this, especially not with little cavities. It’s much easier to neatly transfer the mixture into larger molds, but you’re bound to end up a bunch of “sand” on your counter either way. Just a heads up!
Repeat with each silicone mold tray and spritz the mixture with witch hazel as needed to keep it from drying out.


Allow the steamers to dry for at least four hours, although I recommend letting them sit overnight. Don’t let them sit too long, though, or they can start to crack.
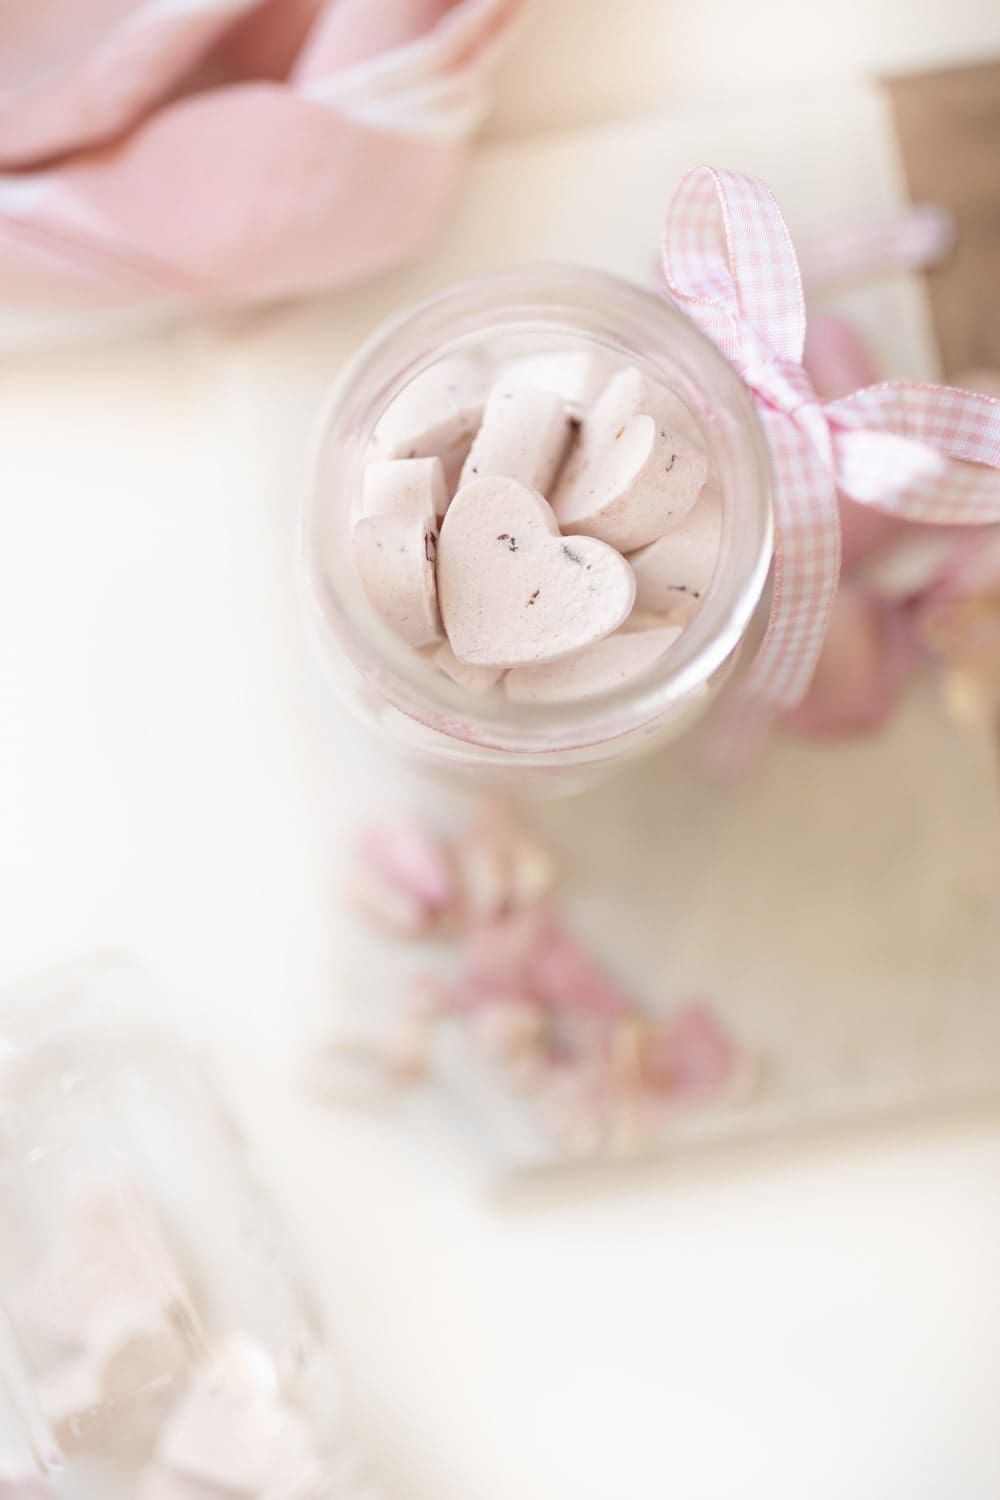
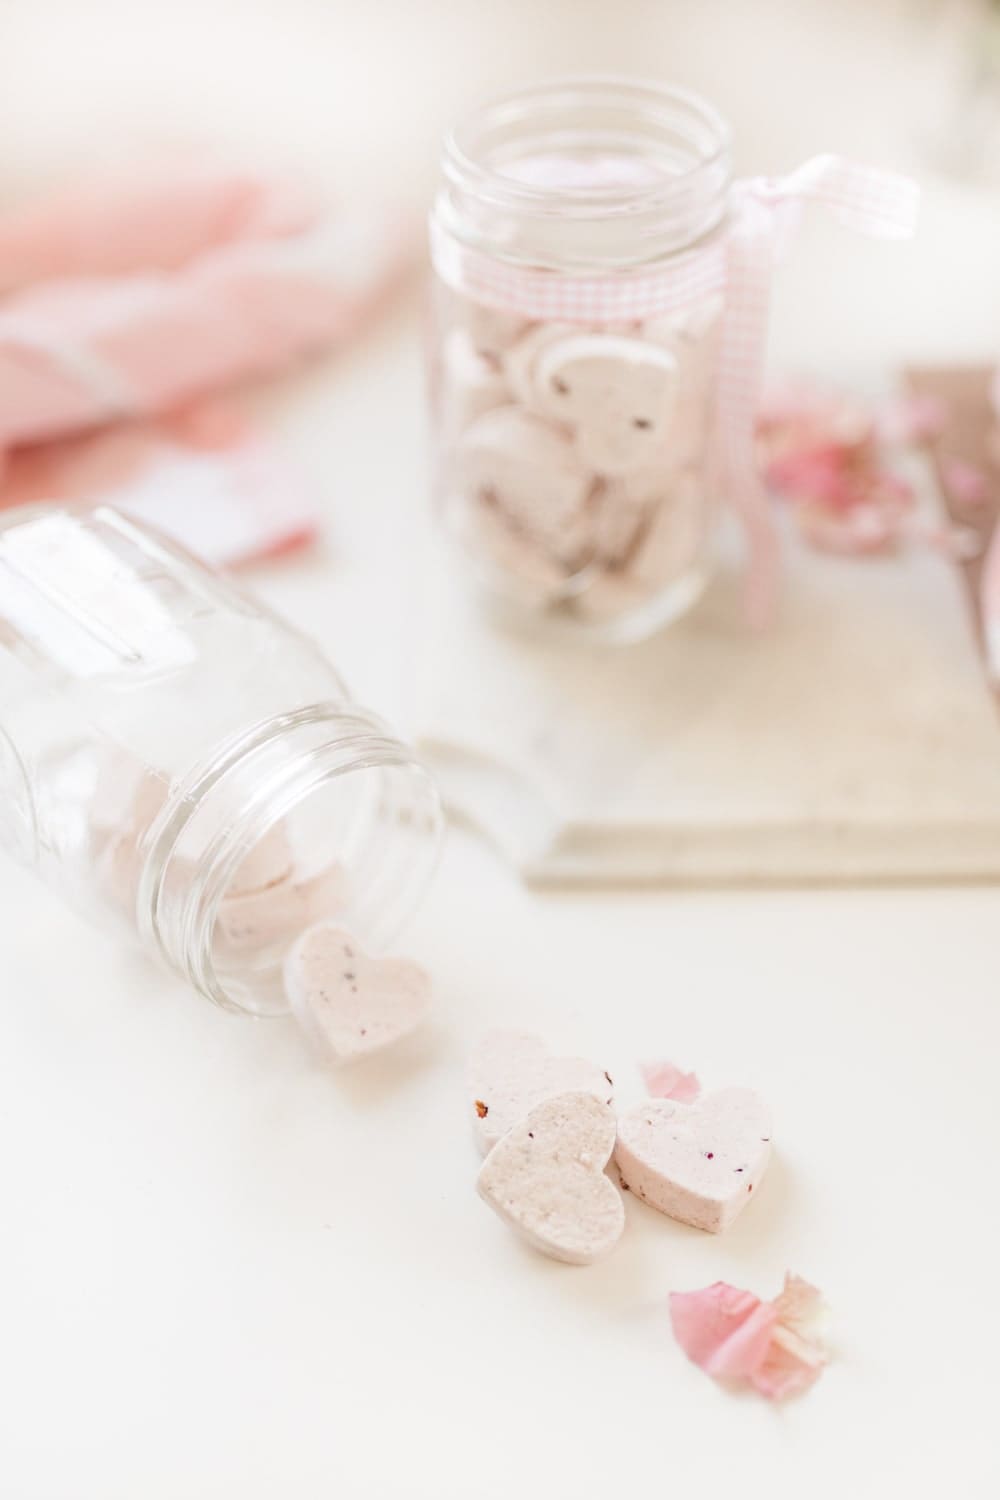
Finally, once they’re dry, gently peel back the silicone and push your DIY shower steamers out of their molds! Be sure to store them in an airtight jar or container, otherwise they can dry out prematurely. Trust me, you don’t need anything fancy. I’ve used large Ziploc bags before, and they’ve worked just fine.


When you’re ready to finally enjoy them, start with one mini heart-shaped shower steamer and then add a second if you want extra aromatherapy. I typically only use one, but everyone’s sensitivity to aromatherapy is different.
If you used a larger 6-cavity mold, one homemade shower steamer is plenty.


DIY Shower Steamers Troubleshooting Guide
I’m not going to lie– there’s a learning curve when it comes to making your own homemade shower steamers. I wasted a lot of citric acid and essential oils trying to perfect my method. Fortunately, I made just about every possible mistake you can think of during my “experiment cycle” (that’s what I’m calling all my mistakes), so I’m hopeful I can help if you’re encountering anything similar.
Here are some of the main issues I encountered with this DIY shower steamers recipe–
Problem: My shower steamers are going rogue and fizzing out of the molds.
Solution: Cornstarch.
I added way too much water the first time I tried to make these DIY shower steamers. Everything looked great– the mixture had a wet sand consistency, it patted down into the grooves of the mold nicely, and I thought I nailed this recipe on the first go-around. Then, about a minute after pressing the mix into the silicon heart molds, they started puffing up like crazy– like, crazy beyond salvaging.
I’d already invested an entire bag of citric acid in this batch, so I ended up transferring the mix back into the bowl, rinsing out the silicone molds, and adding in about 1/4 cup of extra cornstarch (about a teaspoon at a time) before trying again. Luckily, that helped quite a bit. They still puffed up a smidge, but nothing like the first time.
Problem: My shower steamer mix is too dry.
Solution: Witch hazel.
After almost wasting an entire bag of citric acid, I tried this recipe a second time. This time, I was really conservative with water, and the mix was too grainy and wouldn’t stick together. If you get yourself in a similar situation, put some witch hazel in a spray bottle and spritz the mixture until it starts to hold its shape. Only do a spray or two at a time, though, to avoid making it too wet.
Also, if you’ve already pressed the mix into the silicone molds and notice that they crumble when you try and pop them out, your shower steamers aren’t done drying yet. Give them another hour and try again.
Problem: My shower steamers don’t smell like anything.
Solution: More essential oils.
This problem has the easiest fix. While the shower steamer mixture is still in the bowl, add in more essential oils. I recommend only adding in a few drops at a time. Be conservative and remember that the scent releases in a small warm box, so it’s better to be a little bland than headache-inducing.
Also, keep in mind that while shower steamers can be stored for 6+ months in an airtight container, they can lose their fragrance over time. If this happens to yours, dab 2-3 drops of essential oils onto each scentless shower steamer before use.
Problem: My shower steamers are too overpowering.
Solution: More baking soda, citric acid, and cornstarch.
In addition to the puffiness, this was another major issue with my first batch of DIY shower steamers. When I was mixing everything up, my nose just stopped smelling all the smells (kind of like a candle store, I guess). Anyway, I went a little too crazy with rose absolute oil. The only way to fix this is to proportionally add in more baking soda, citric acid, and cornstarch to drown out the overpowering smell. Assuming you have extra supplies to spare, it works like a charm!


How to Make Your Own Shower Steamers
Made with rose absolute oil, jasmine essential oil, and vetiver essential oil, these DIY shower steamers are perfect for relieving stress and anxiety! They also make incredible homemade gifts, too.
Materials
- 2 cups baking soda
- 1 cup citric acid
- 1 cup cornstarch
- 4 tbsp dried rose petals, crushed
- 100 drops rose absolute oil (appx 1 tbsp)
- 60 drops jasmine essential oil (appx 1 1/2 tsp)
- 20 drops vetiver essential oil (appx 1/2 tsp)
- 1/4 tsp pink mica
- 4 tbsp water
- Witch hazel for spritzing
Tools
- Acid-resistant gloves
- Heart-shaped silicone molds
Instructions
- Before getting started, put on a pair of acid-resistant gloves to protect your skin from the citric acid.
- Combine baking soda, citric acid, and cornstarch in a large ceramic or plastic mixing bowl and then add in essential oils, pink mica, and crushed flower petals. Stir with a silicone mixing spoon (you can also use your hands) until fully combined.
- Add in the water a teaspoon at a time until it has the consistency of wet sand. You’ll notice that the mixture starts to bubble up whenever water is added, so pour it as slowly and evenly around the bowl as you can.
- Intermittently test the consistency of the shower steamer mixture by picking up a handful of “sand” and squeezing it in your hand to see if it sticks together or crumbles. You'll know it's ready when it's able to hold its shape. If it's still not able to hold its shape after adding in the water, lightly spritz it with witch hazel until it can.
- Press the rose shower steamers mixture firmly into each cavity of the silicone tray. Repeat with each tray and lightly spritz the mixture with witch hazel as you go to keep it from drying out.
- Allow the steamers to dry for at least four hours and up to eight hours. If they crumble when you try to remove them, they still need more time to dry.
- Once your homemade shower steamers have dried completely, gently pop each of the DIY shower steamers out of their molds. Store them in an airtight jar or container, otherwise they'll start to crack and will dry out prematurely.
Notes
I used these small 10-cavity heart-shaped silicone molds for this post, and I filled 8 trays (which yielded approximately 80 DIY shower steamers). Smaller cavities can be messy during Step #5, but I've found that they make the perfect-sized shower steamers. I've also tested this recipe using these larger 6-cavity heart-shaped molds, and I was only able to fill 2 trays (yielded 12 total DIY shower steamers).
Citric acid is perfectly safe, but it’s also a minor skin irritant. In other words, it's known to cause itching, stinging, and even minor burns when it touches skin for long periods of time. Not everyone’s sensitive to it, but it’s just better to be on the safe side and protect your hands by wearing gloves.
Pink mica adds coloring, so feel free to leave it out if you prefer non-colored homemade shower steamers. The same is true for the crushed rose petals.
More Homemade Beauty Recipes to Try
If you’re as into homemade beauty recipes as I am, here are some other posts I think you’ll enjoy! Also, side note– I didn’t realize how partial I was to roses until I searched my blog for related posts (ha!).
- How to Make Your Own Rose Water– Not only is rose water amazing for soothing and reducing skin redness, it’s delicious in desserts and cocktails, too!
- Homemade Rose Sugar Scrub Recipe– This DIY sugar scrub is as pretty as it is nourishing! It’s made with coconut oil, rose essential oil, sugar, and rose petals, and it’s perfect for gently exfoliating and soothing dry skin.
Anyways, that’s all I’ve got for you today! As always, please don’t hesitate to let me know if you have any problems with this DIY shower steamers recipe or any of my others. I love hearing from you guys, and I’m happy to help!
Click below to shop the post!


I’ve seen these sold before but had no idea you could DIY them!! What a creative idea!!
xoxo A
http://www.southernbelleintraining.com
Thanks so much, lady! I learned how to make them a few months ago, and now showers just don’t feel complete without them! :)
xo,
Steph