*This post may contain affiliate links, which means I may receive a commission (at no additional cost to you!) if you make a purchase using any of these links.*
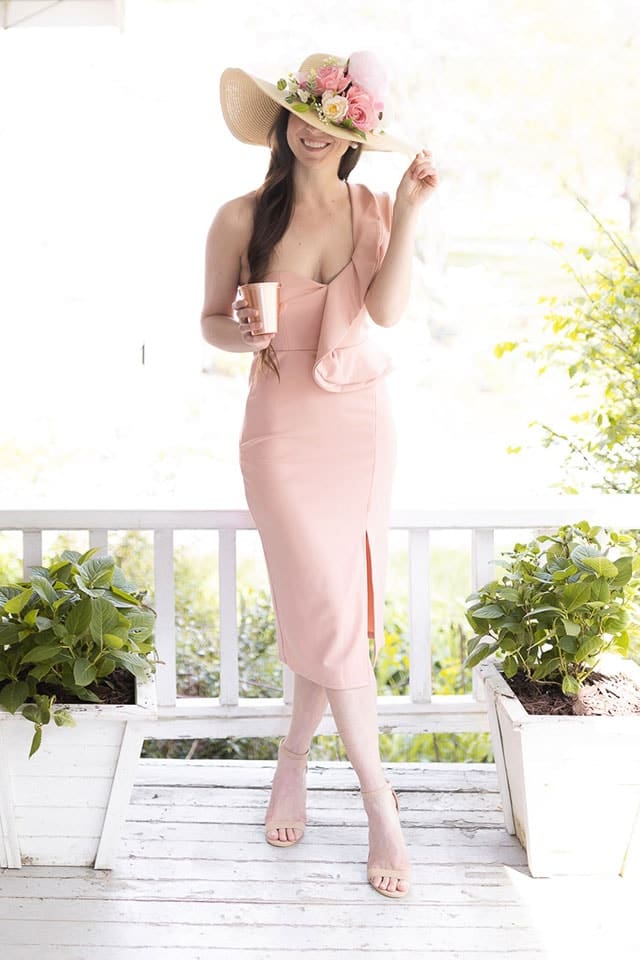
If you’ve ever shopped for a Derby Day outfit, you know that traditional millinery hats can cost hundreds of dollars. Seriously, as gorgeous as they are, some of them are just stupid expensive. So, in the spirit of frugality (we’re still saving for a house over here), I decided to try my hand at making my own DIY Kentucky Derby hat at home this year, and I love the way it turned out! It was super duper easy, too, and I loved actually getting to design my own hat for a change. Keep reading for a step-by-step DIY derby hat tutorial!
Also, switching gears– I love this off-shoulder ruffle midi dress. It’s so soft and stretchy and would make a perfect spring wedding guest dress! It also literally never wrinkles, which is a huge plus, and costs under $40. The only downside is that it isn’t lined, so you can’t really wear underwear with it. I guess that’s what Spanx are for, though, right?! For reference, I’m wearing a small, and I love the fit. Click here for more of my favorite Amazon spring fashion finds!
DIY Kentucky Derby Hat
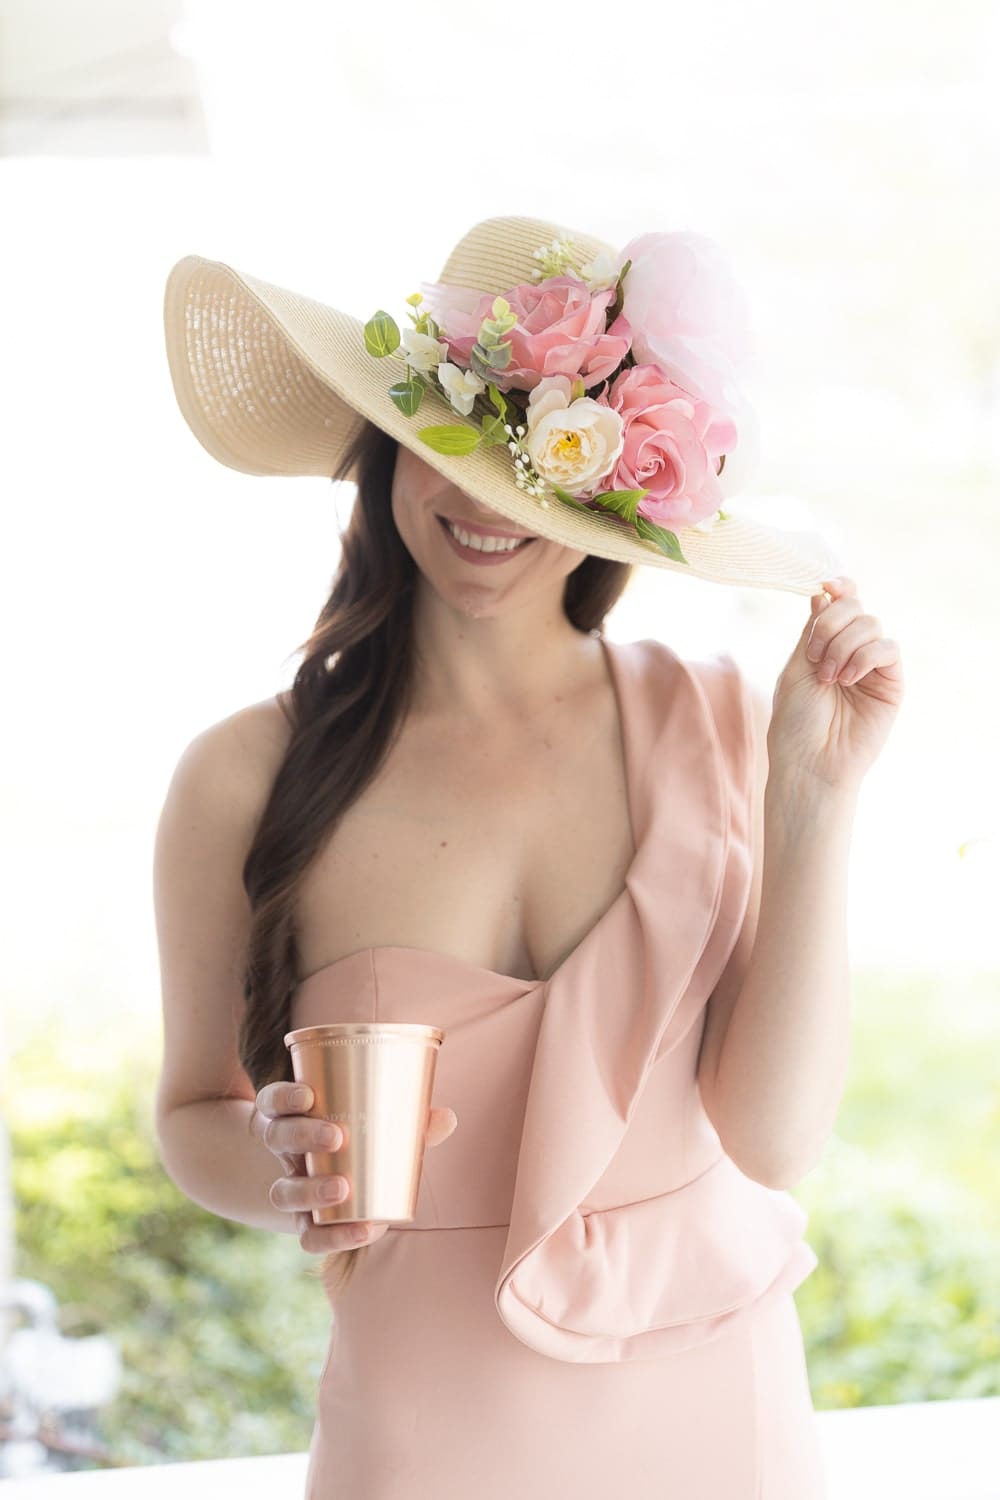
Whether you’re attending the Kentucky Derby, a themed party, or just want to embrace Southern charm, this DIY tutorial will help you craft the perfect statement piece using a simple floppy hat, artificial flowers, and a little creativity!
Materials Needed
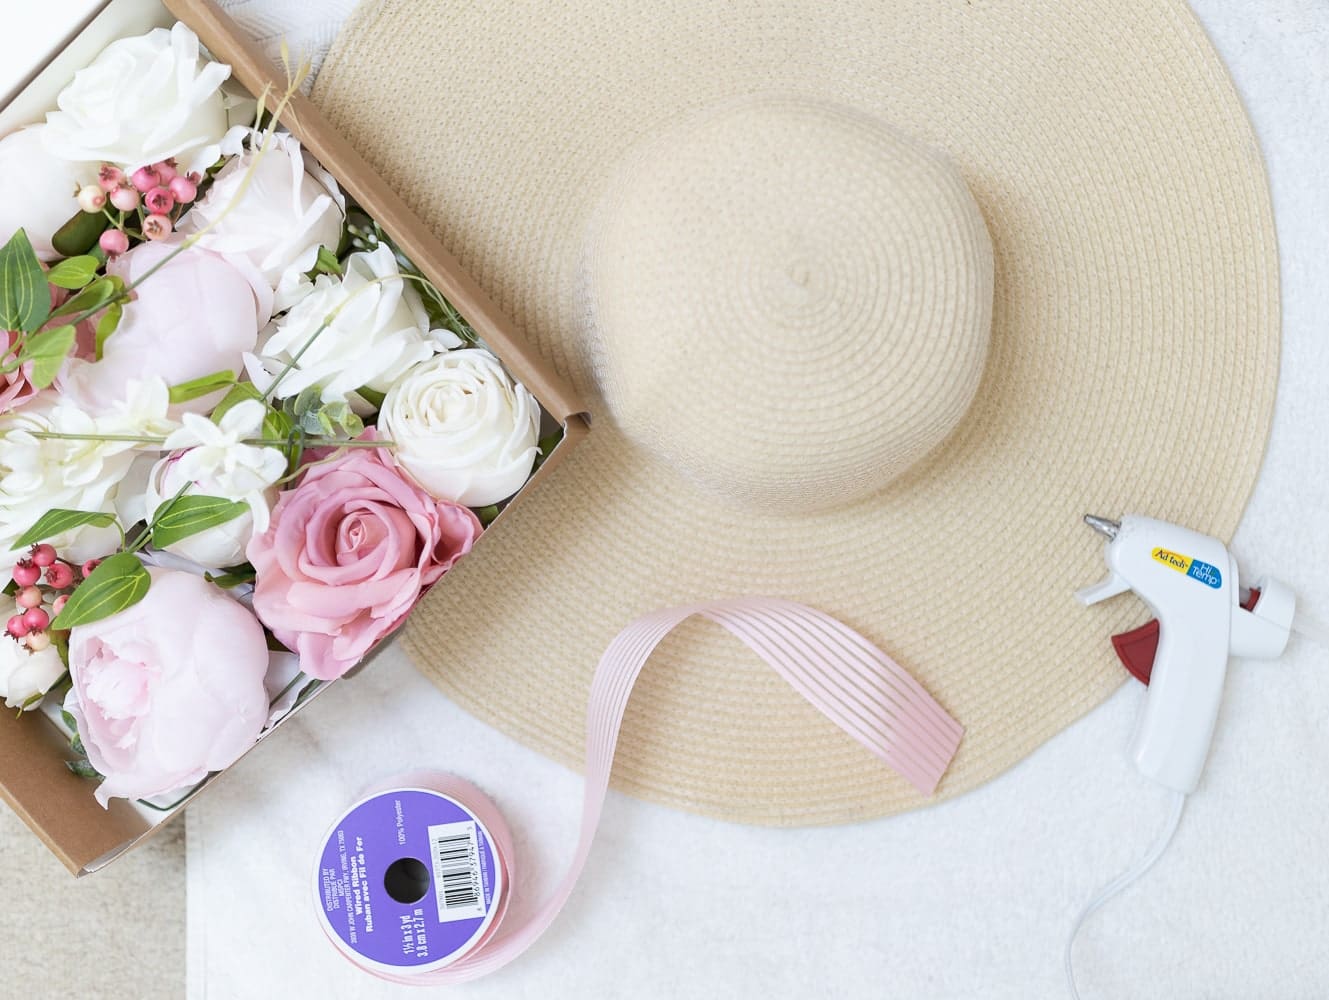
Here’s everything you need to make your own DIY Kentucky Derby hat–
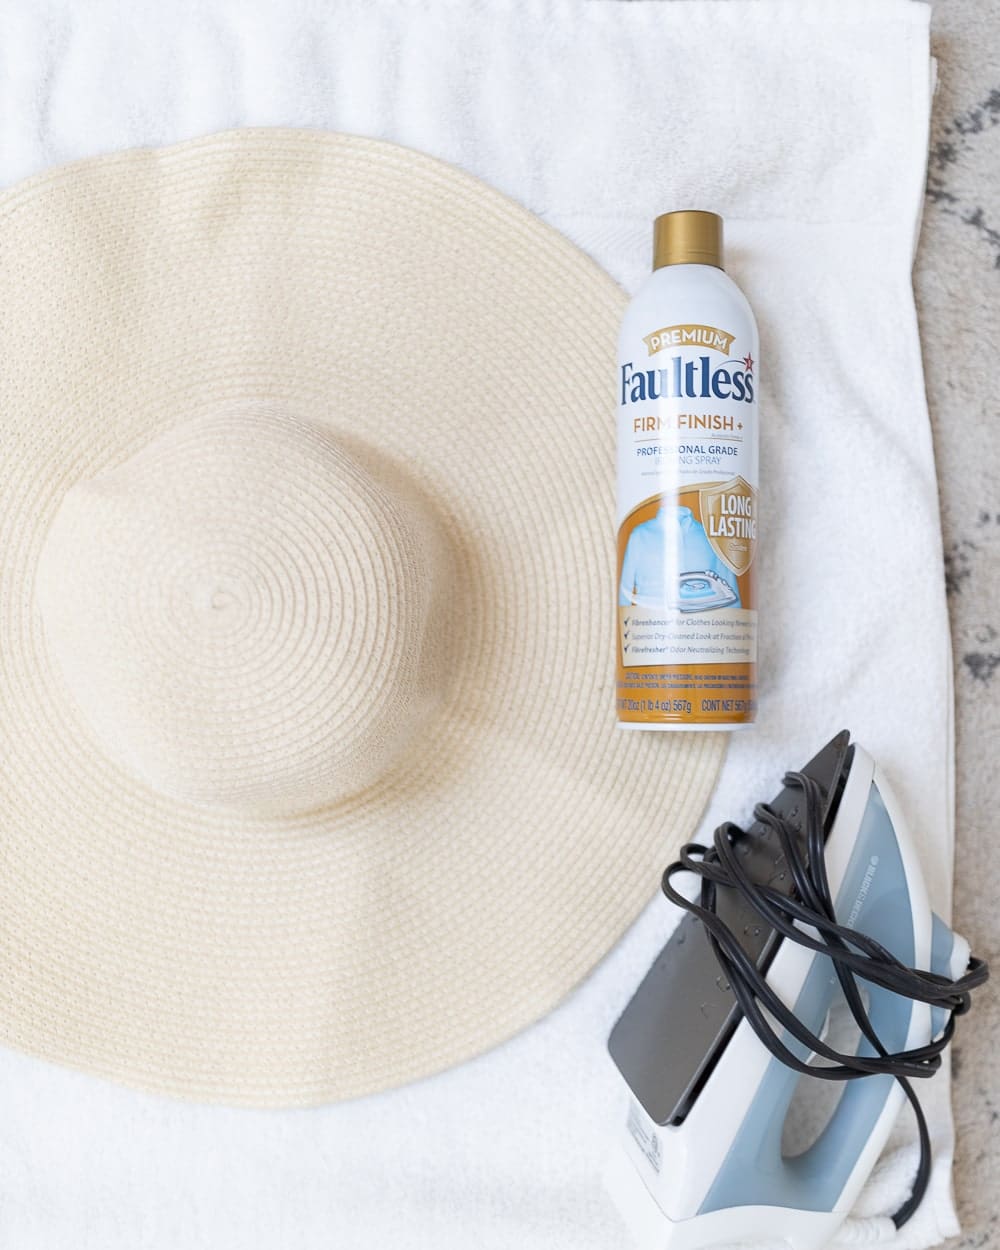
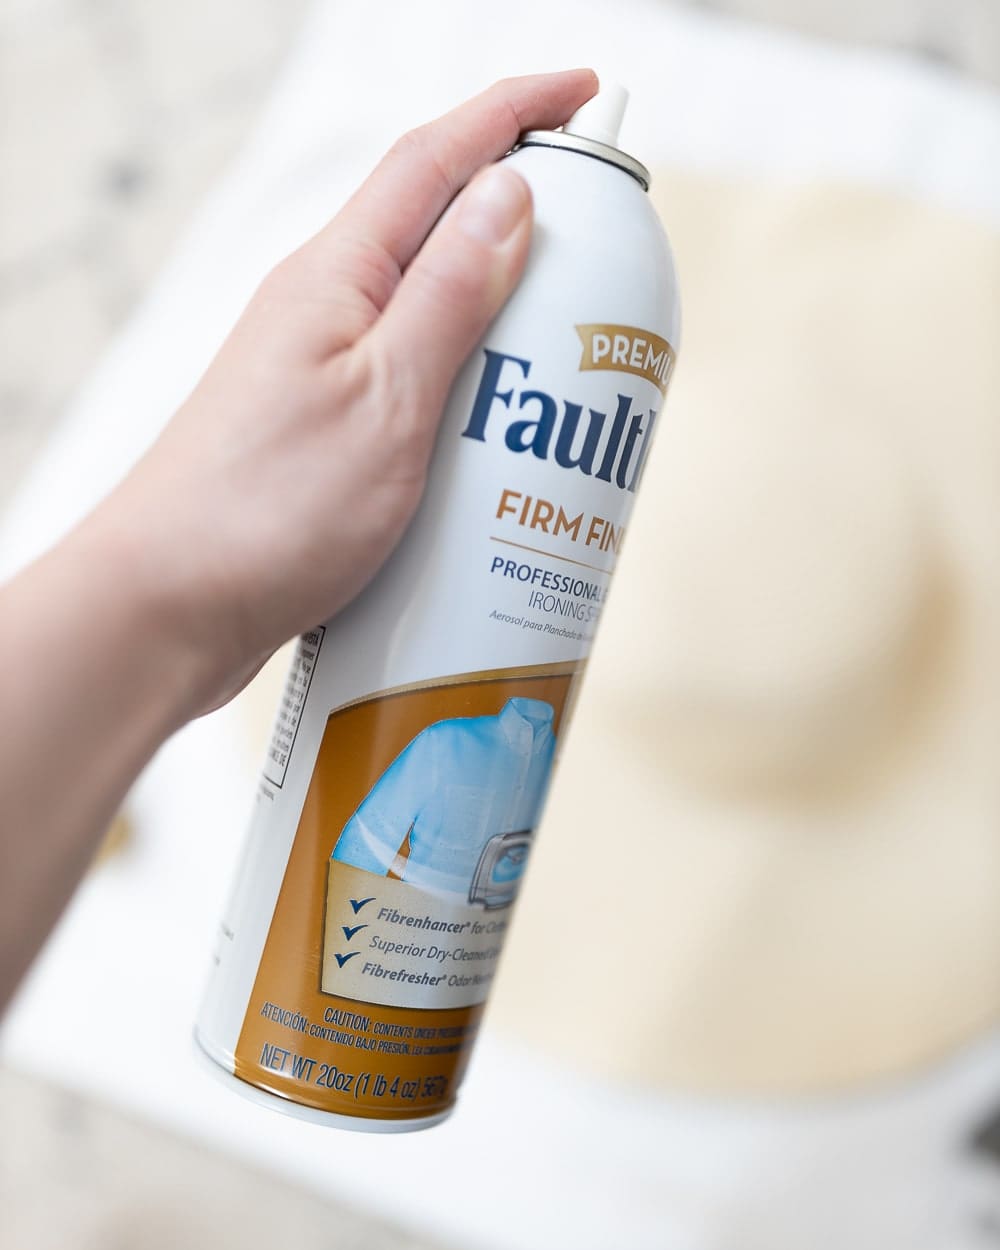
- Wide brim straw hat– I ordered this one off Amazon! It was super cheap but came really wrinkled, so I used some spray starch and a hot iron to re-shape it. This starch-iron method works wonders on older and thrifted hats, as well!
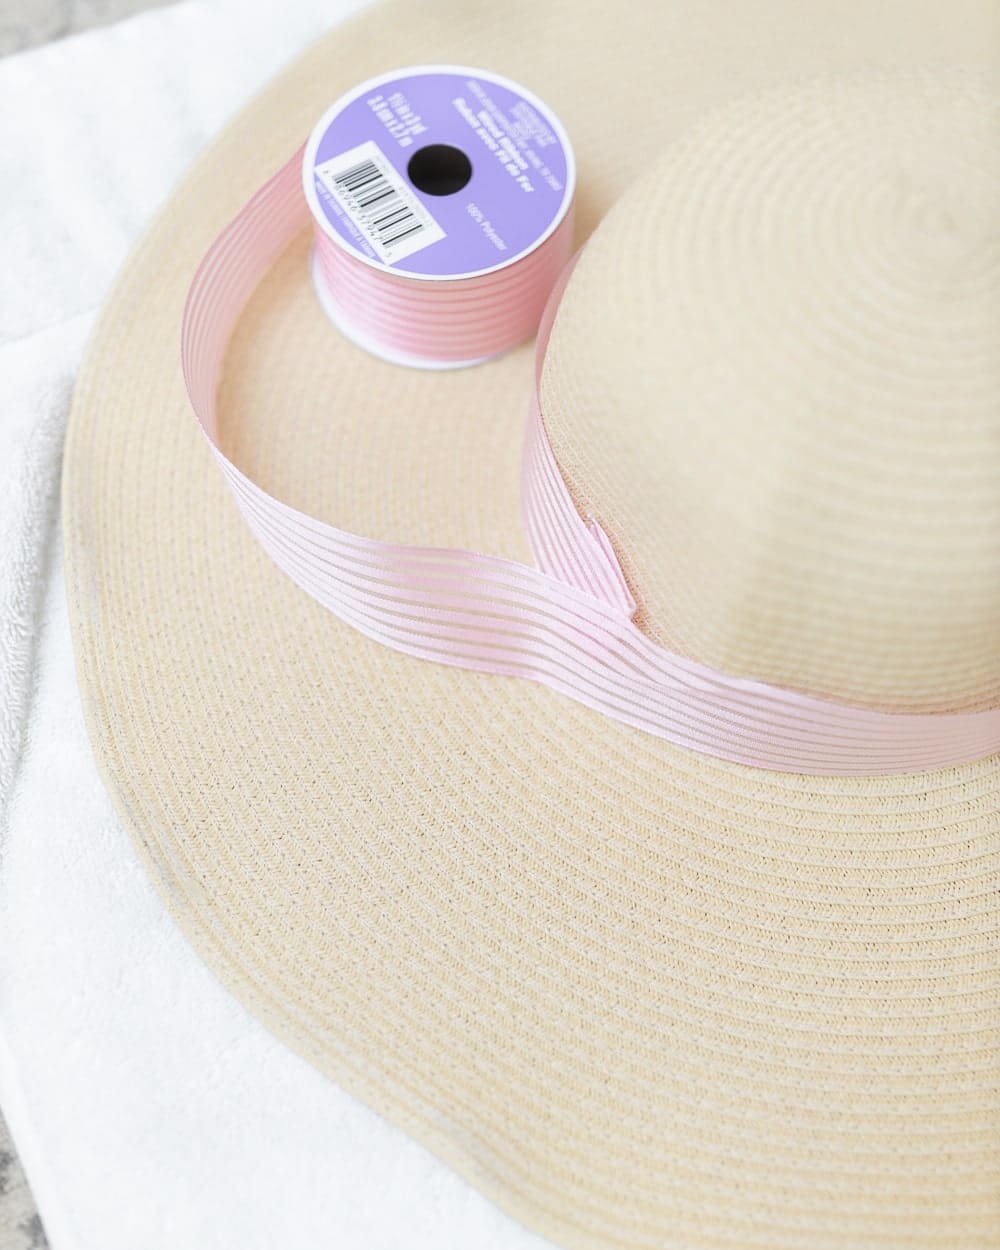
- Pink ribbon– I found this pretty pink ribbon at Michael’s, but I also found a similar ribbon on Amazon. The texture is beautiful, and it’s easy to work with. If you already have ribbon at home that you’d like to use, I just recommend that you make sure it’s over an inch wide. Otherwise, it’ll get lost behind the flowers.
- Artificial flowers– It’s always hard to know what color flowers go together when you’re basing decisions on stock imagery. So, I went the super easy route and ordered this silk flower box set off Amazon. This particular set is called Garden Blush and includes gorgeous white and pink roses, white and pink peonies, and some really pretty greenery. Unfortunately, though, it’s been out of stock for a while, so here are a few other options from the same brand. If you’re looking for something cheaper, these boxes also have great reviews and cost about $10 less!
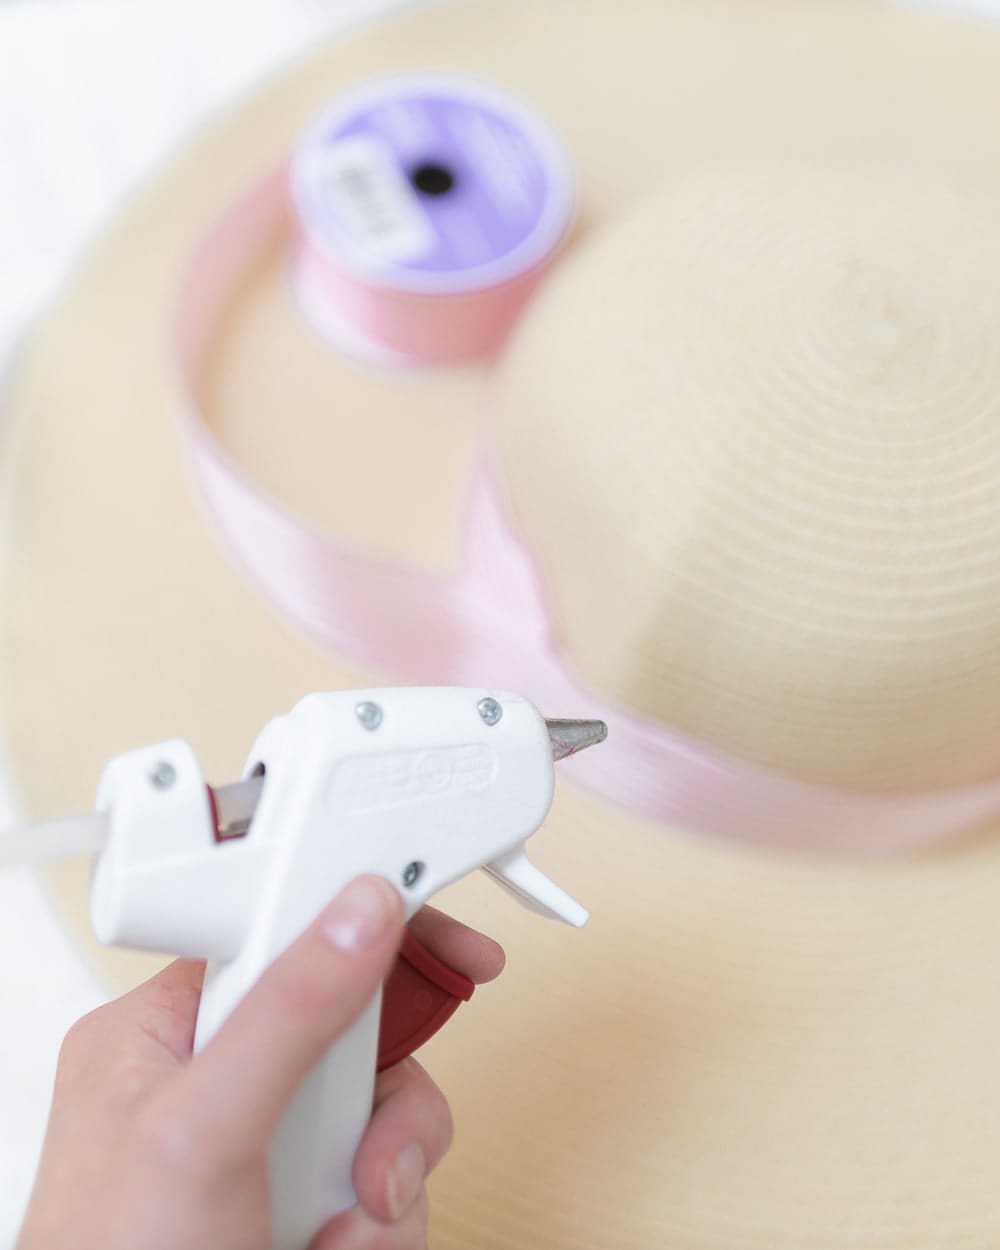
- Hot glue gun– I’m sure you could also use fabric glue, but hot glue just dries so quickly and is so easy to use. I love this little mini glue gun— I’ve had it for years!
DIY Derby Hat Tutorial
Making a DIY derby hat is so much easier than I thought it’d be!
First thing’s first, if you’re ordering a wide brim floppy hat online, it’s probably going to need re-shaping. I’m sharing a video down below to actually show how, but all you need to do is grab some heavy-duty spray starch and set an iron. Set your iron to its highest setting, generously spray the brim, and move the iron back and forth to smooth out wrinkles. Repeat this process, applying more starch as needed, until the brim holds its shape. My hat came super wrinkled in a tiny little box (thanks, Amazon), so I had to make about eight or nine times to get it looking just right.
Here’s a quick video tutorial, too–
Once the brim is smooth, secure a ribbon around the base of the hat using hot glue. Don’t worry about air pockets– they won’t be visible when the hat is worn.
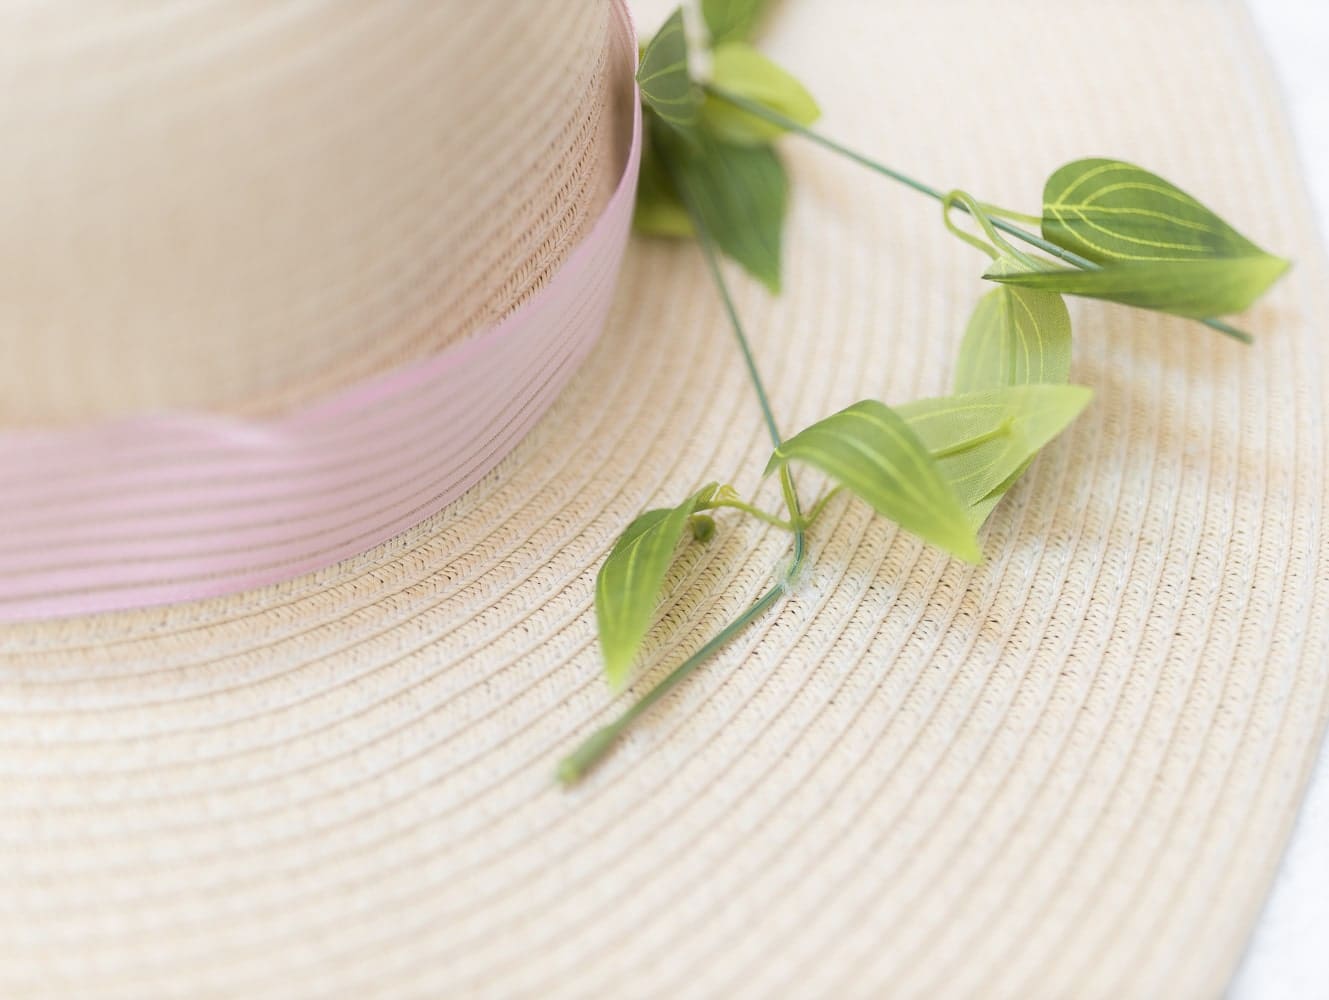
Next, start arranging your artificial flowers! Whether the flowers are fake or real, I always position greenery first and then start building from there. It creates a natural base for your arrangement.
Once your greenery’s glued in place, select and position the statement blooms on top. To make my hat, I used a large petal pink peony and pink and white roses (only five flowers total). If your flowers have long wire stems, either trim them with wire cutters or tuck them beneath the ribbon to keep the wire hidden.
For reference, I got my flowers from this this artificial flower combo, which I love so much. I’m so bummed it’s sold out– and I’m honestly not sure if it’s ever come back in stock. Fortunately, these boxes have equally great reviews and are at a slightly better price point. Another option is to head to Michael’s or Hobby Lobby and hand select your faux flowers, although that could get pricey since they often charge $5+ per stem.
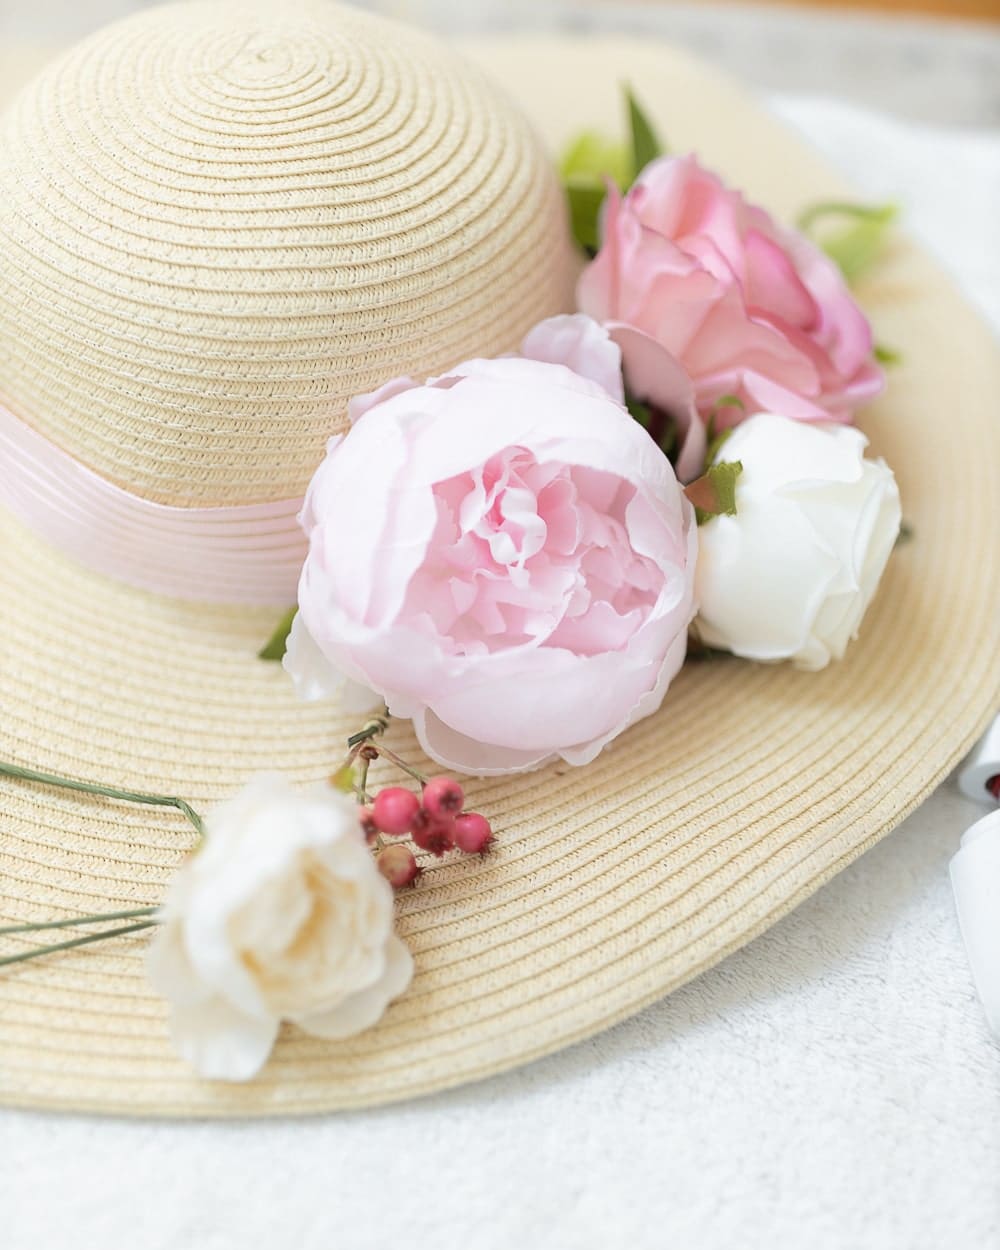
Next, fill in the gaps. Use additional greenery and smaller filler flowers to create a full, balanced look. For reference, I used some eucalyptus greenery and little faux filler flowers (pink and white berries, baby’s breath, etc) on mine.
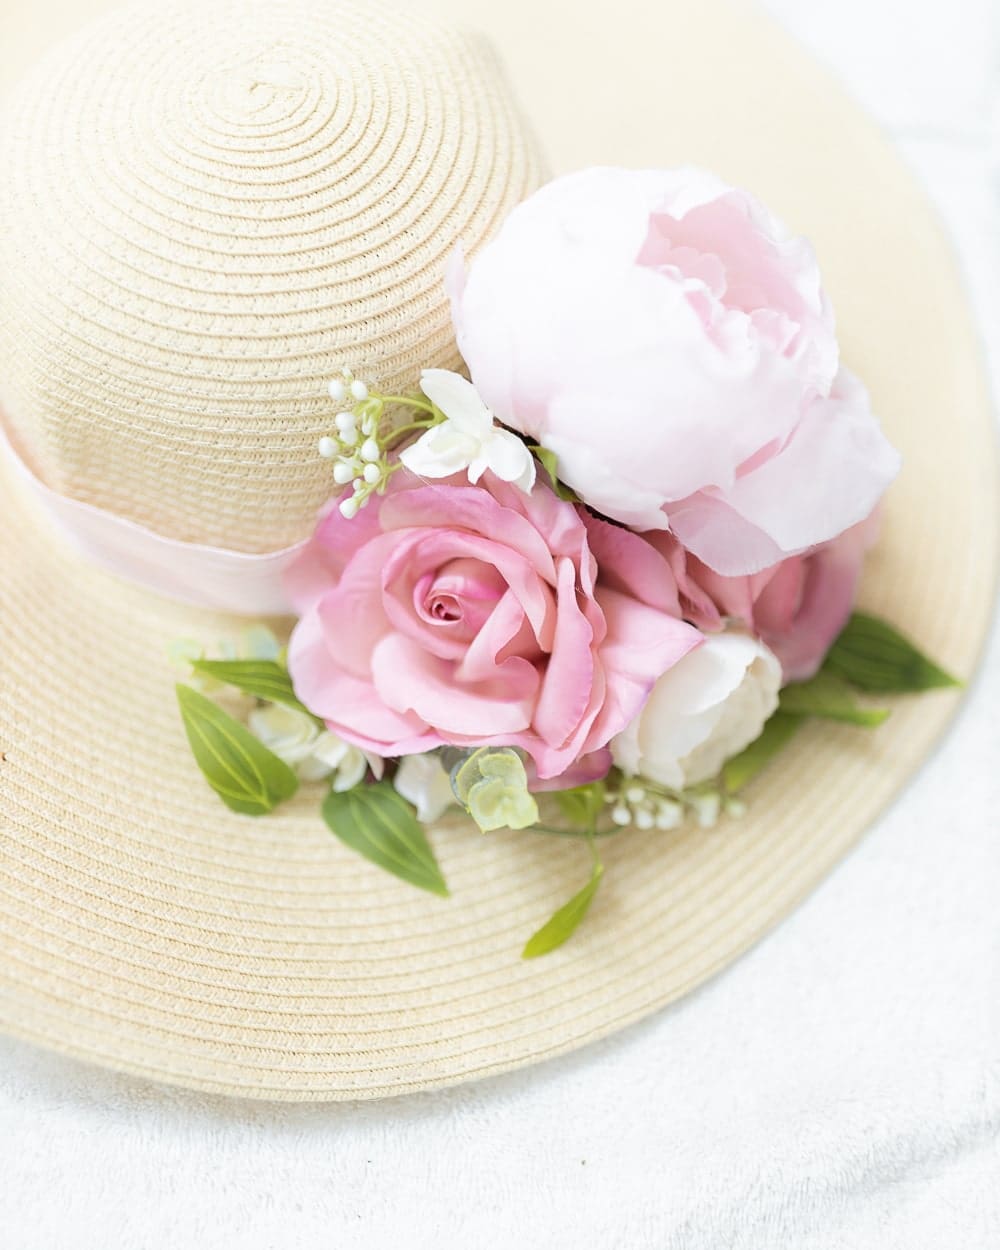
For good measure, once everything was where I wanted it, I went a little nuts with the glue gun and just started reinforcing everything. Wide brim hats are pretty darn big, so I didn’t want to risk bumping into things (which is inevitable when you’re as poorly coordinated as I am) and then having any of the flowers or greenery fall off.

Once all the glue is dry, your custom Derby hat us ready to turn heads at any event! Super easy, right?! And such a fun (and ultra budget-friendly) way to create your own custom derby hat!
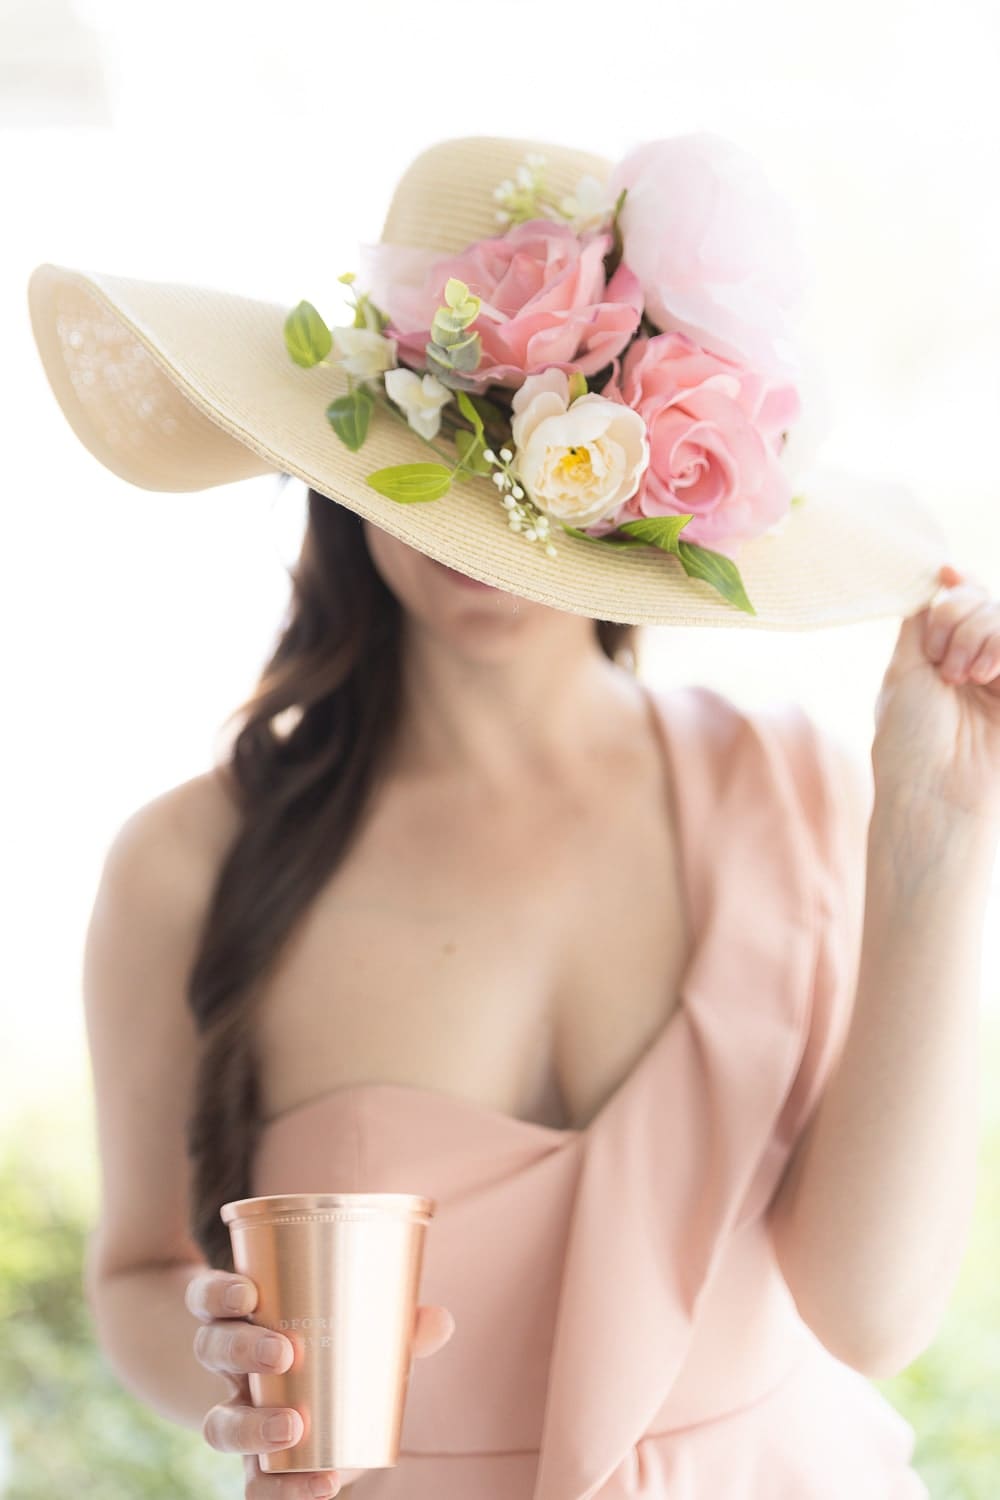


DIY Kentucky Derby Hat
Create a stunning, one-of-a-kind Derby hat with this easy step-by-step guide! Whether you’re attending the Kentucky Derby, a themed party, or just want to embrace Southern charm, this DIY tutorial will help you craft the perfect statement piece using a simple floppy hat, artificial flowers, and a little creativity.
Materials
- Wide Brim Straw Hat
- Heavy-Duty Starch Spray (optional)
- Pink Ribbon
- Artificial Flowers
Tools
- Hot Glue Gun
Instructions
Prep Work
- If your floppy hat lacks structure, use heavy-duty starch spray to stiffen the brim. Set your iron to its highest setting, generously spray the brim, and move the iron back and forth to smooth out wrinkles. Repeat this process, applying more starch as needed, until the brim holds its shape. (For reference, it took about 8-9 passes to perfect mine.)
Step-by-Step Tutorial
- Wrap the Base: Once the brim is smooth, secure a ribbon around the base of the hat using hot glue. Don’t worry about air pockets-- these won’t be visible when the hat is worn.
- Arrange the Greenery: Start by positioning greenery first, as this creates a natural base for your floral arrangement.
- Add Your Flowers: Choose a few statement flowers (I used peonies and roses) and arrange them on top of the greenery. If they have long wire stems, either trim them with wire cutters or tuck them beneath the ribbon to keep them hidden.
- Fill in the Gaps: Use additional greenery and smaller filler flowers to create a full, balanced look.
- Secure Everything: Apply extra hot glue to any flowers, greenery, or sections of ribbon that seem loose. It’s better to reinforce them now than to risk them falling off later!
Notes
- For reference, I got my flowers from this this artificial flower combo, which I love so much. I’m so bummed it’s sold out– and I’m honestly not sure if it’s ever come back in stock. Fortunately, these boxes have equally great reviews and are at a slightly better price point. Another option is to head to Michael’s or Hobby Lobby and hand select your faux flowers, although that could get pricey.
- If you're not into wide-brimmed hats-- or you're on a tighter budget, consider crafting a chic fascinator instead! Use a headband, feathers, and silk flowers (you'll likely only need one or two) for a statement look that’s just as fabulous.
More Derby Day DIYs
If you’re looking for more Kentucky Derby-inspired crafts to elevate your celebration, here are a few of my favorite projects–
- Mini Mint Julep Kits– The cutest party favors! Package mini bourbon bottles with homemade mint simple syrup and DIY derby drink stirrers in a plastic julep cup for a stylish take-home gift.
- DIY Derby Fascinators– Not into wide-brimmed hats? Craft a chic and festive fascinator using a headband, feathers, and silk flowers for a statement look that’s just as fabulous.
- Racing Rosette Award Ribbons– Give your guests a fun way to join in on the Derby excitement! Create custom rosette ribbons for categories like “Best Hat,” “Most Dapper,” or “Luckiest Bet.”
No matter how you celebrate, these easy Kentucky Derby DIYs will add a festive, personal touch to your party!
Anyway, that’s all I’ve got for you today! I absolutely love how this hat turned out, and I can’t wait to wear it for years to come! It’s such a fun and elegant way to add a personal touch to any Kentucky Derby outfit. What do you think? Would you give this DIY a try?
And if you’re wondering what’s in my copper julep cup, it’s my new go-to bourbon whiskey cocktail– the Woodford Spire! I actually partnered with Woodford Reserve to create an entire Kentucky Derby party spread, and this cocktail has quickly become one of my favorites. If you’re planning a Derby party, be sure to check out my bourbon pulled pork sliders and pimento cheese deviled eggs. They’re guaranteed crowd-pleasers!
Finally, for more Kentucky Derby outfit inspiration, DIY projects, and race-day recipes, just search “Kentucky Derby” on my homepage. And as always, if you have any questions about this tutorial or any of my other DIY projects, feel free to ask. I’m happy to help!
Thanks so much for stopping by—happy crafting and happy Derby Day!


Stunning photos!