*This post may contain affiliate links, which means I may receive a commission (at no additional cost to you!) if you make a purchase using any of these links.*

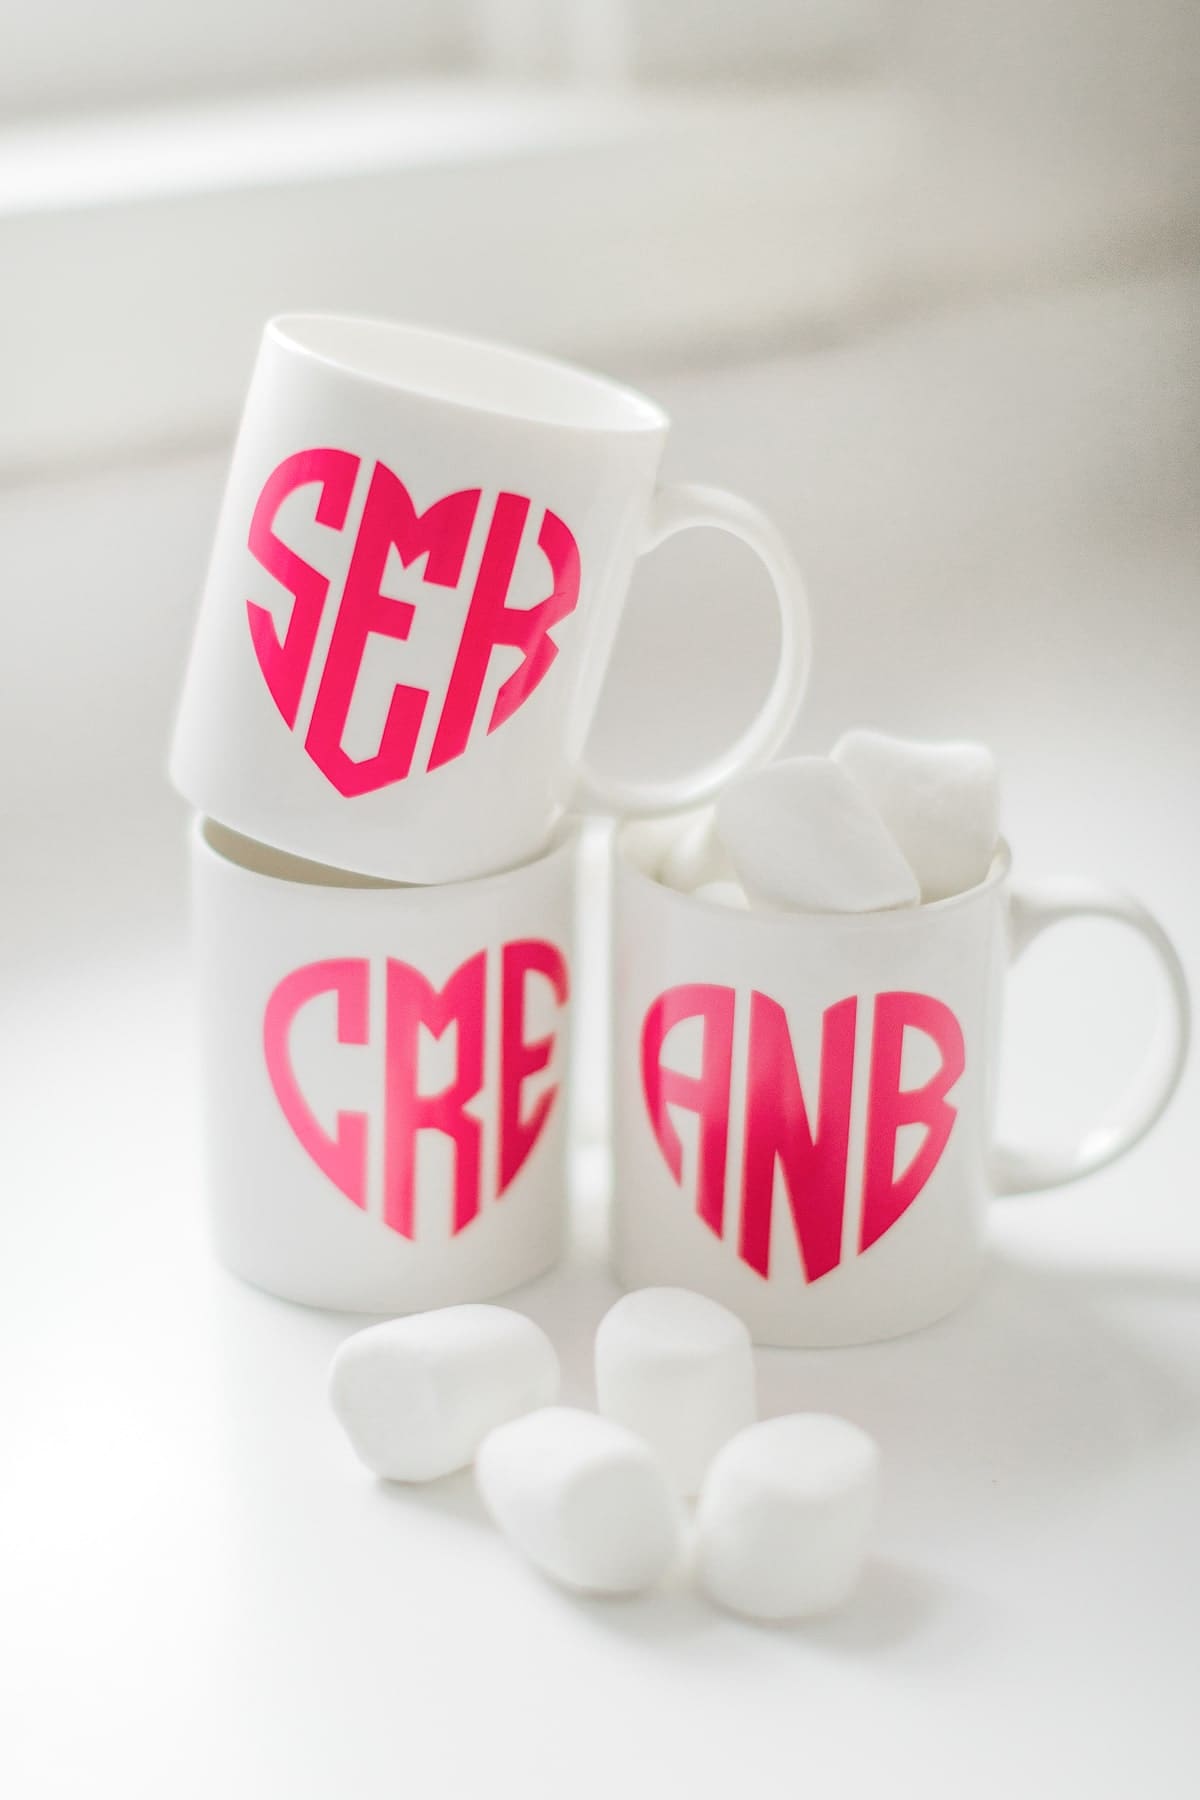
I’ve been on a yuuuge craft kick lately, and I’ve never been more thankful for my Cricut Explore Air 2. It’s just such a cool machine (check out my favorite projects so far here, here, and here), and I feel like I’ve only scratched the surface with what it can do. My latest endeavor? DIY heart-shaped monogram mugs, which (spoiler alert) I made all my girlfriends for Galentine’s Day! They were so incredibly easy, and I love the way they turned out! Keep reading for a step-by-step tutorial on how to create your own heart-shaped Cricut monograms and mugs!
Here’s what I used for this DIY monogram mug project–
- White ceramic mugs– I found a 6-pack on Amazon for $22.
- Permanent pink vinyl– I found this budget brand on Amazon and love it! If you’re a Cricket fan through-and-through, though, you can find a similar vinyl here!
- Heart monogram font– I’m sure you can find a free one somewhere, but if you’re intending to sell products with the font (mugs, shirts, doormats, etc), I like to play it safe and buy it. This one’s under $10 and allows for full commercial use, aside from selling the font itself.
- Cricut Explore Air 2– I’m partial to (and absolutely love) my Cricut, but any smart cutting machine will do!
- Cricut Standard Cutting Mat– I found a 2-pack on Amazon for around $12– such a steal!
- Weeding Tool– You don’t technically need them, but these tools make weeding intricate Cricut monograms quick and easy. This scraper tool is another good one to have on hand.
- Contact Paper– Cricut’s transfer paper works great, but this contact paper gets the job done and is much more budget-friendly!
DIY Monogram Mug Tutorial
Step One: Design Your Cricut Monogram
First thing’s first, head to Cricut Design Space. Then, to create your own heart shaped monogram, you’ll need to buy this font. I’m sure you can find a free version somewhere on the internet, but this one’s under $10– and it’ll save you from any legal issues if you ever decide to use the font to sell physical products. If you can’t bring yourself to buy a font, do a quick Google search for “Cricut monogram fonts.” You’ll find a few different options.
Once you’ve downloaded the font, type each letter in its own text box and adjust the font based on its position. For example, the “a” below uses the Heart Left font. The “n” uses the Heart Center font. The “b” uses the Heart Right font.
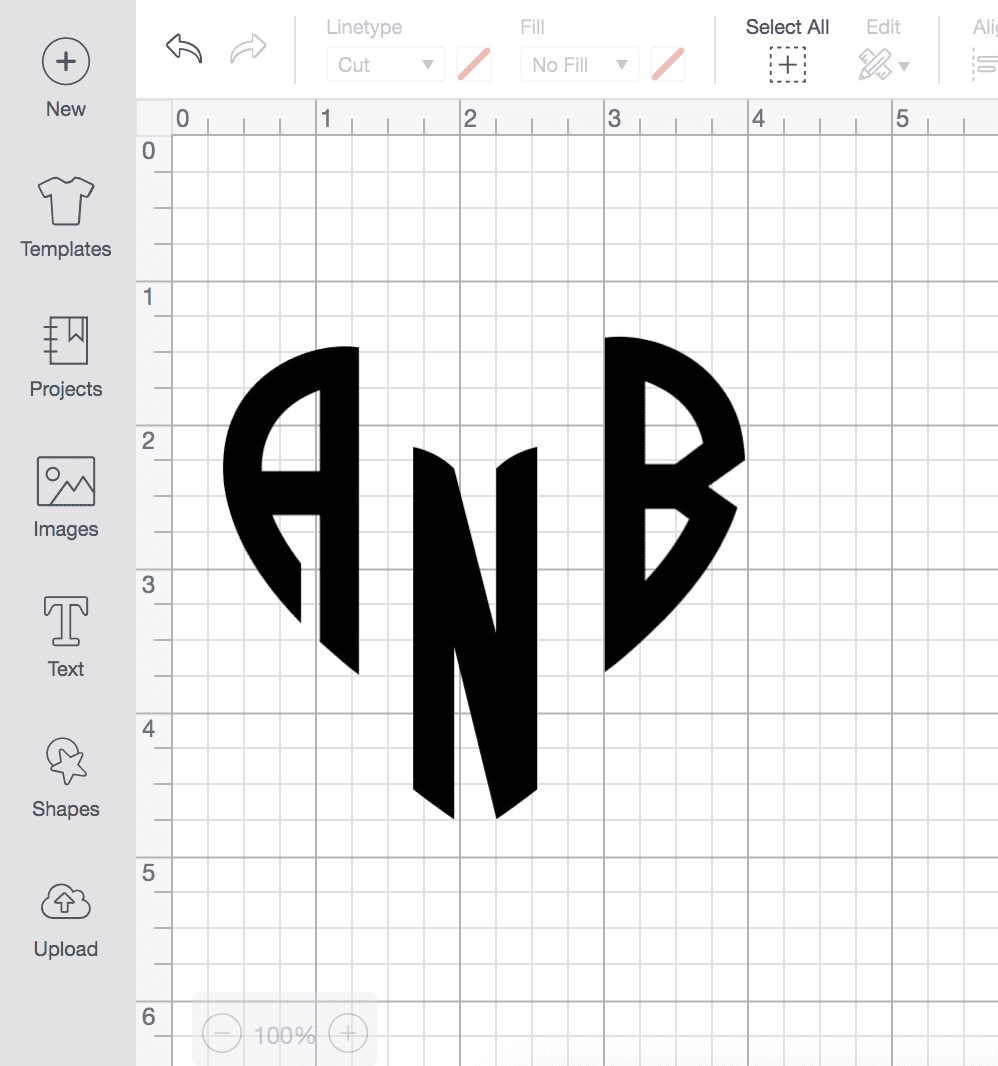
Next, select each letter and arrange them in a heart shape. As a guideline, I made sure to line up the letters’ bottom edges to create a smooth v-shape.
Once you’re happy with the shape and spacing, select all 3 letters and click attach in the bottom right. Don’t hit “Weld” or else you won’t be able to detach the letters later (which is a handy feature if you want to create more than one). You can then click “Make It” in the top right or right click and copy/paste to create more monograms.
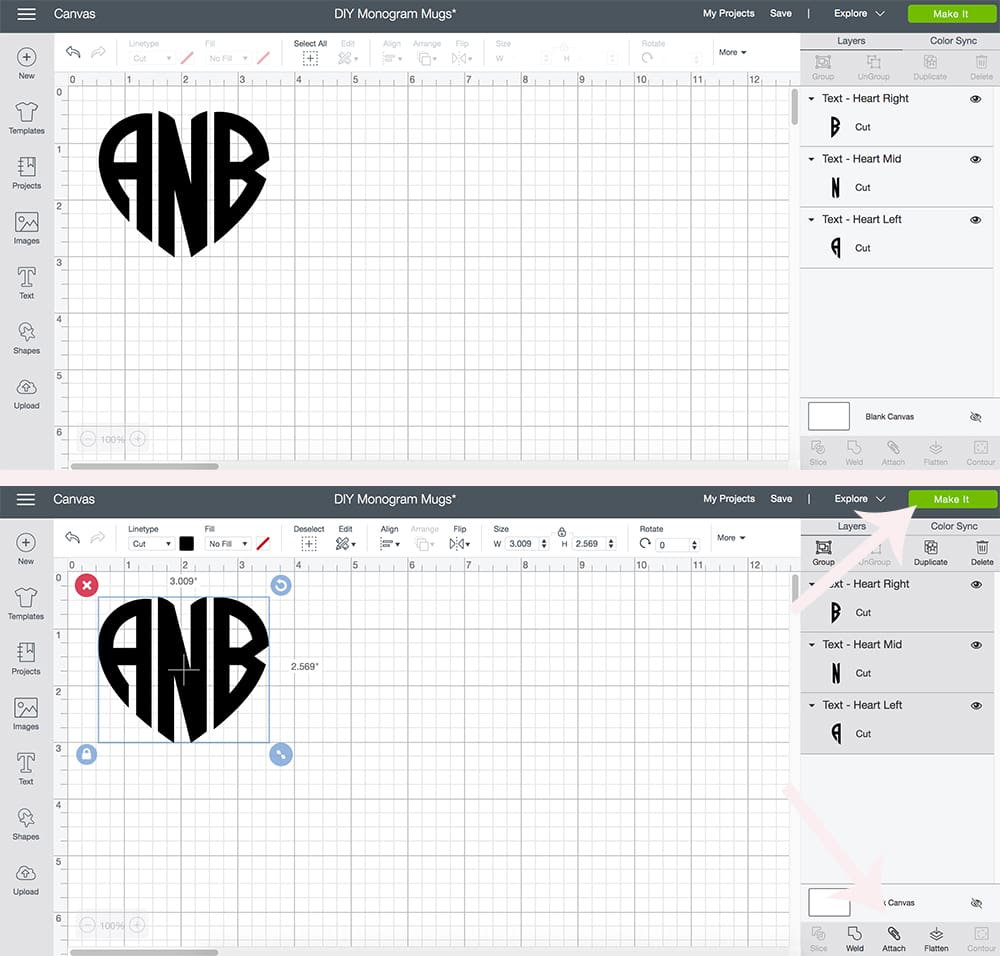
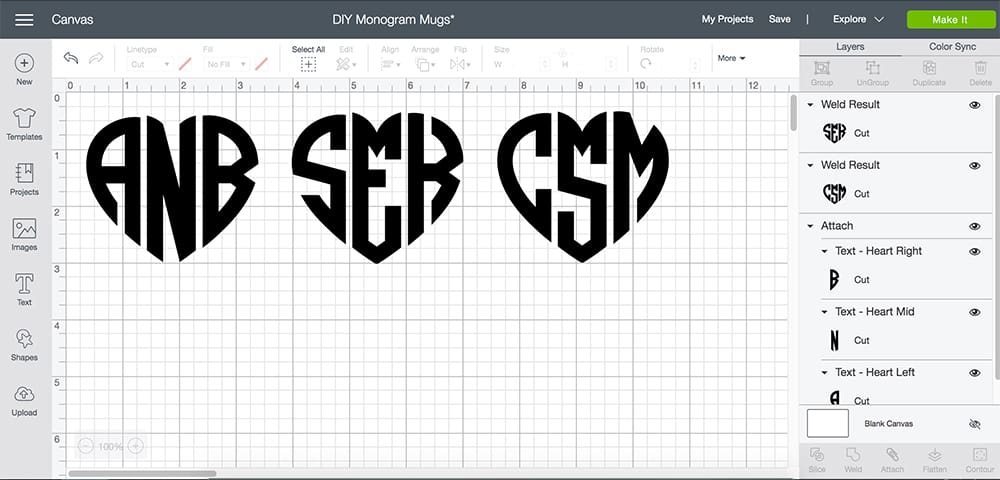
Since all these monograms are attached, you can use this template and adjust the size and spacing to fit your project. To customize it for yourself, you’ll need to select each monogram, detach the letters, and then add in your own. This is the same scenario if you create your own and then copy/paste to duplicate them, as well.
If you’d prefer a more classic monogram (ie. not heart-shaped), I’ll be posting a full Cricut monogram tutorial in the next week or so. Stay tuned! In the meantime, though, you can check out my DIY glitter monogram ornament tutorial here— it shows how to create a more ornament monogram for a fancier look.
Step Two: Transfer Your Cricut Monogram to Your Mug
Once you’ve clicked “Make It,” your Cricut Explore Air 2 will cut each Cricut vinyl monogram. Gently weed out each monogram and cut a piece of contact paper to cover it.
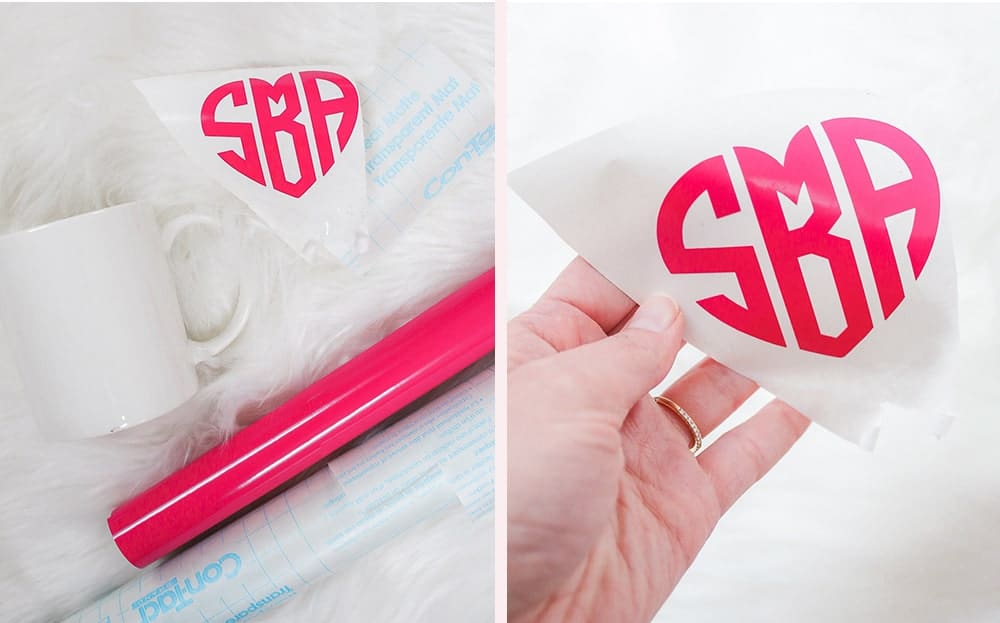
Then, apply pressure over the contact paper (this scraper tool works wonders!) until the monogram has transferred from the back of the vinyl to the contact paper. Then, position the monogram on the mug, and again, apply pressure to transfer the monogram from the contact paper to the mug.
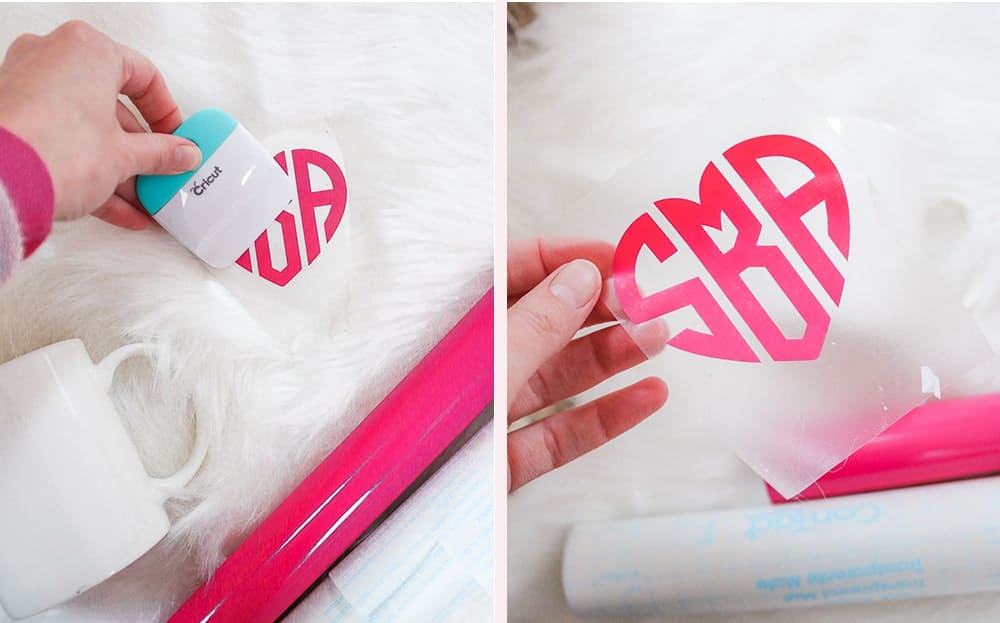
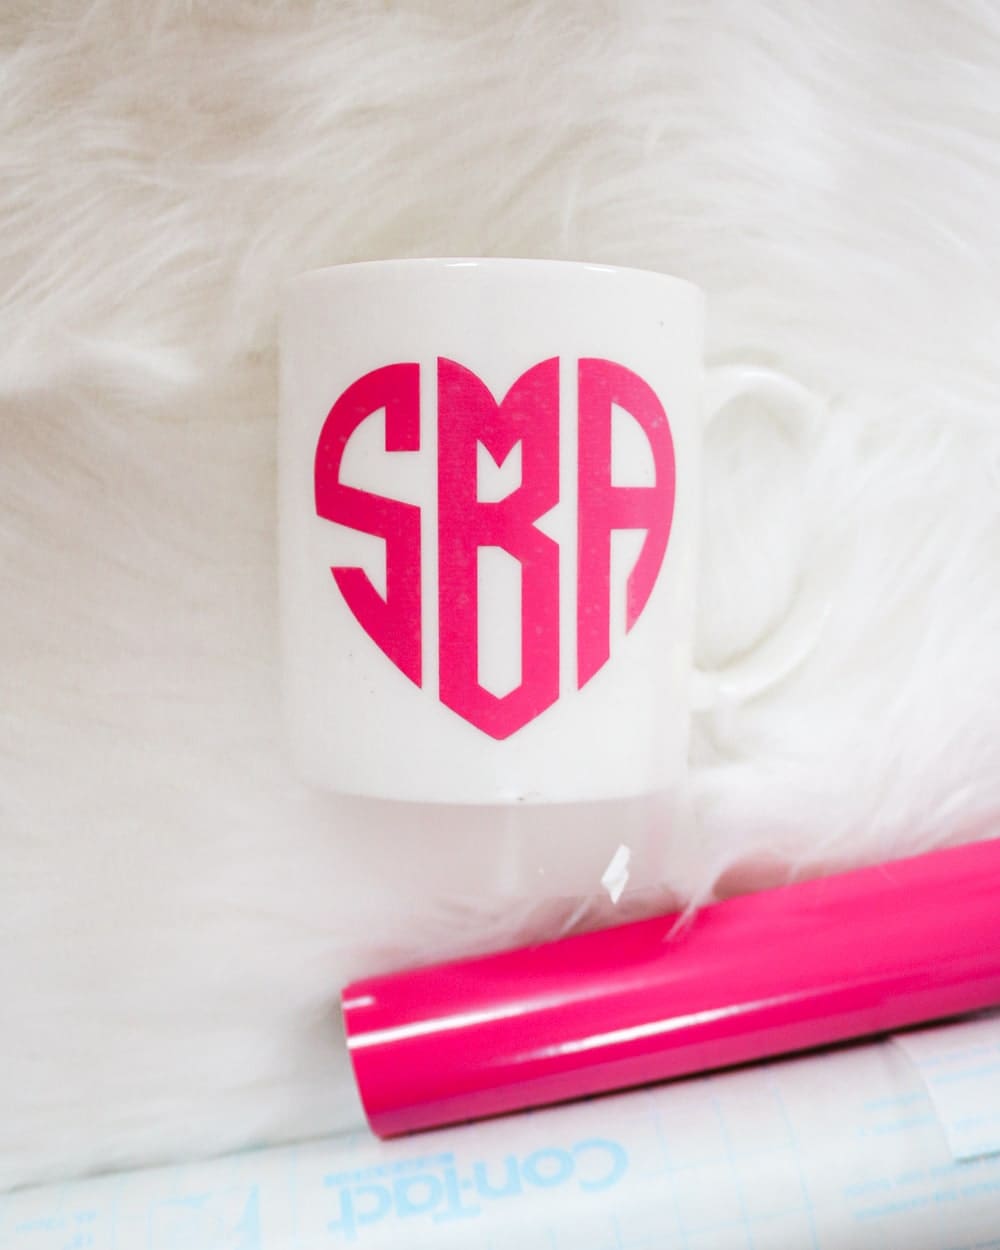
Make sure to smooth out the vinyl as much as possible– and, even though it’s permanent, remind your friends/family/customers to always hand wash their mug.
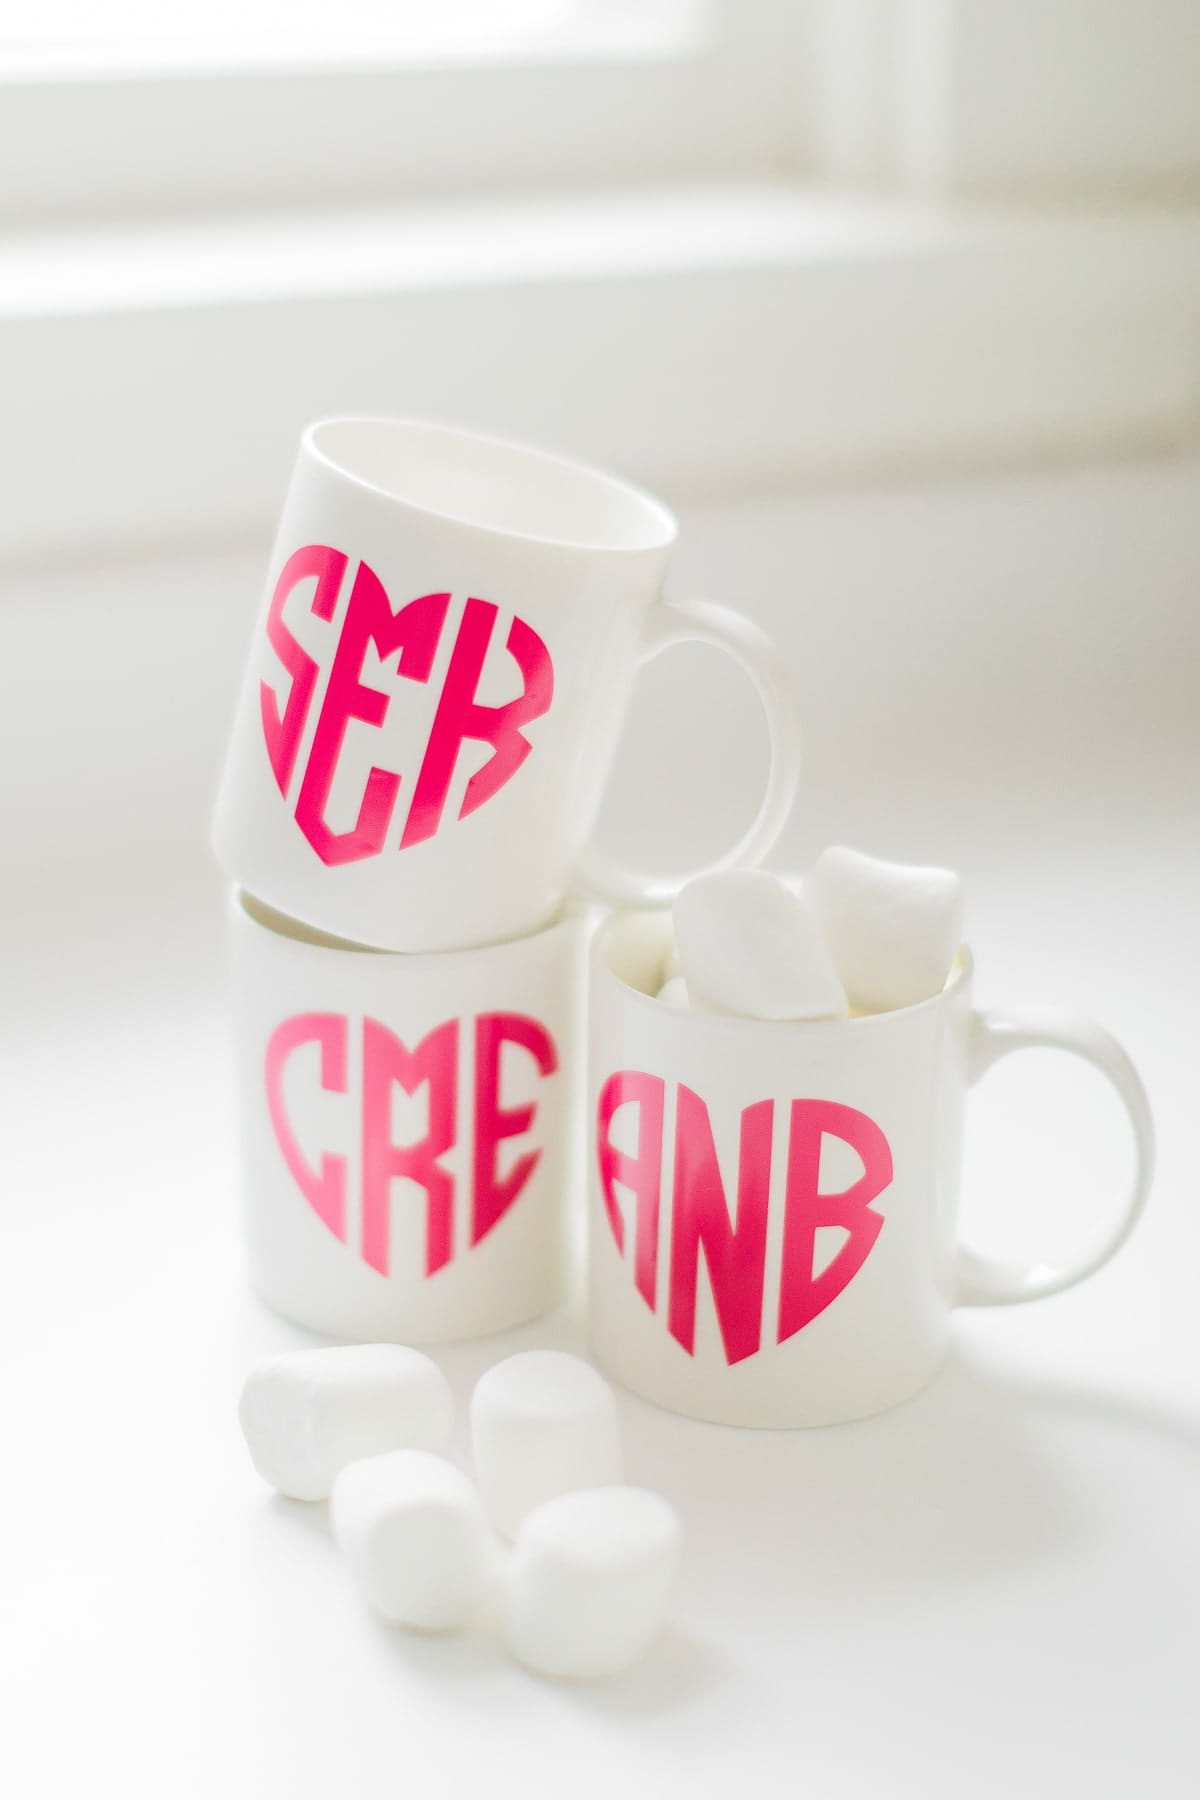
Super cute, right?! I bought this monogram font pack, too, so I’m excited to play around with different fonts and colors. Stay tuned for more fun Cricut monogram tutorials and DIY gift ideas!



Anyways, I hope you love this DIY project as much as I do/did. As always, let me know if you have any questions! I’m happy to help!
Photography by Catherine Rhodes. Pajamas from Amazon.


