*This post may contain affiliate links, which means I may receive a commission (at no additional cost to you!) if you make a purchase using any of these links.*
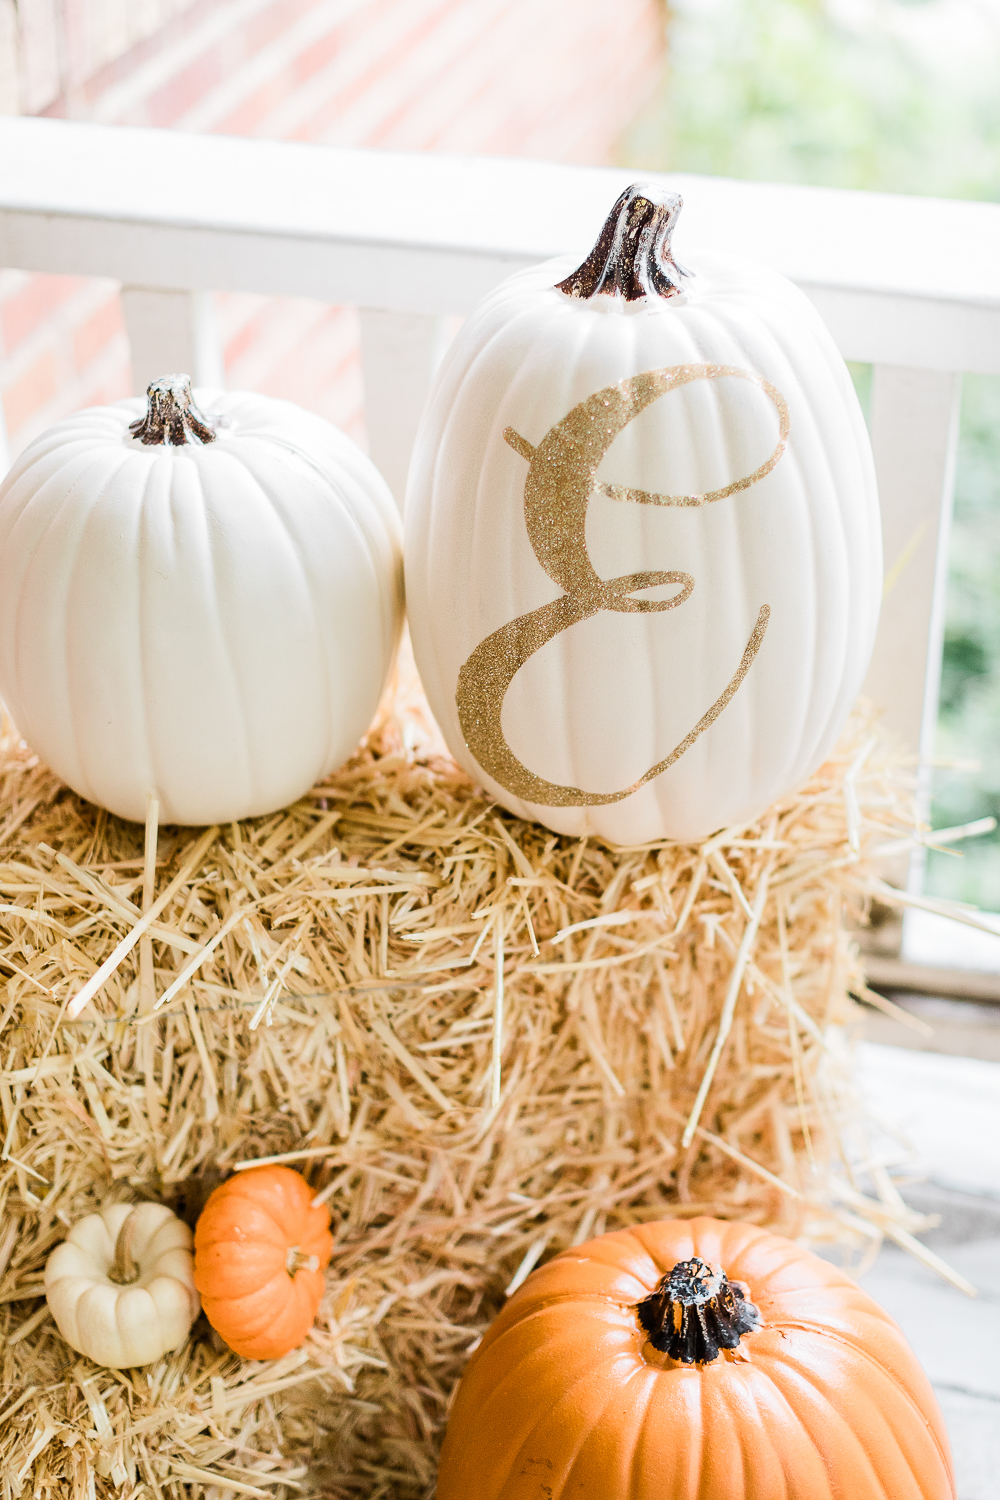
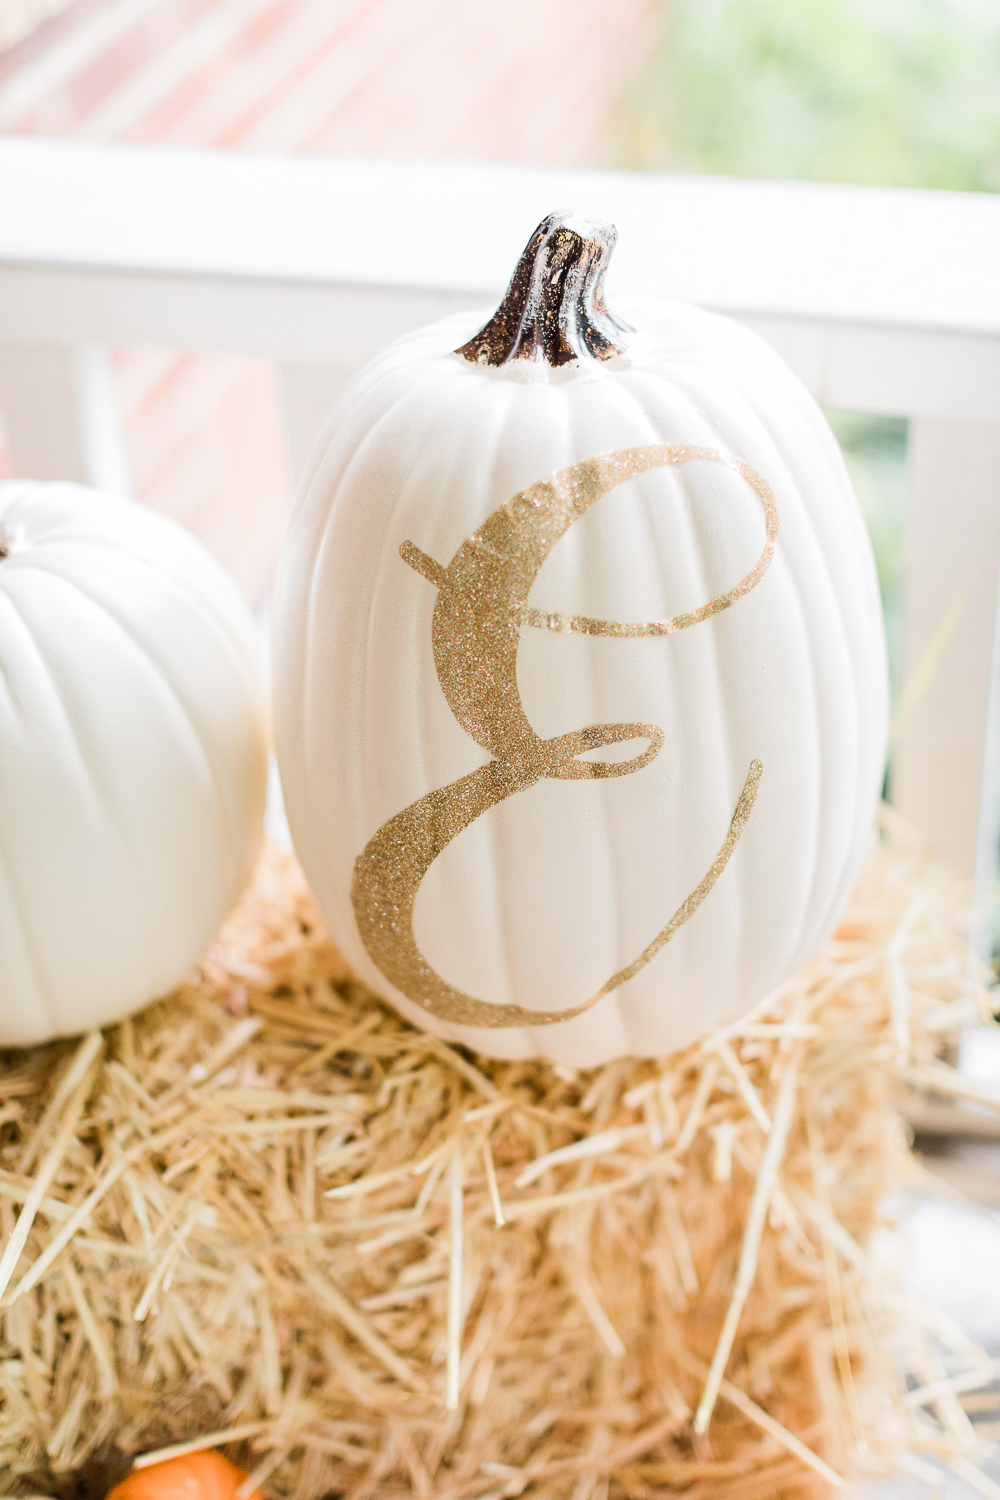
I’ve gotta be honest… this DIY glitter monogrammed pumpkin is one of my favorite DIY projects ever. Maybe of all time. Why, you may be wondering? Because it’s the very first time I’ve ever used an E instead of a Z as my monogram, and I’m having all the feels. As excited as I am to get married (butterflies, y’all), I’m also trying to wrap my head around the fact that I’m going to have the world’s longest name (Stephanie Eschenroeder– I counted, and it’s 21 letters) and that I won’t be called last (or first when teachers would “switch it up” with reverse alphabetical order) anymore. Equally important, it’s super cute and super easy, too!
I actually got the idea for this project from Unoriginal Mom and now I want to add glitter monograms to everything. Here’s what I used to make my glitter monogrammed pumpkin:
- Large craft pumpkin- I found mine at Hobby Lobby.
- Cricut Explore Air 2 with Deep-Point Blade- I love everything about my Cricut Explore Air 2, but I just couldn’t get it to cut right without the deep-point blade. If you have a Silhouette, you won’t need any special blades. It has a setting for cutting double-sided adhesive sheets.
- Double-sided adhesive sheets- I ordered these, and they’re super easy to work with!
- Fine gold glitter- Not all craft glitter is created equal, so I recommend this brand!
- Clear Sealer– It never hurts to apply a clear sealer over craft projects, especially when glitter’s involved. I use this one religiously!
DIY Glitter Monogrammed Pumpkin
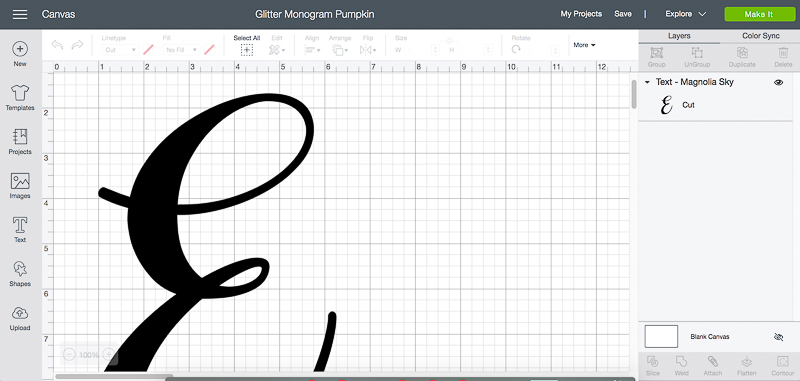
Start by logging into Cricut Design Space. Then, taking the size of your craft pumpkin into account, design your one-letter monogram. If your pumpkin is roughly the same size as mine, you can use this template and just change out the letter. If you’re working with a smaller pumpkin or want to use your full monogram, that’s totally fine, too. Just make sure it’ll fit on your pumpkin before cutting. Also, for reference, the font I used is called Magnolia Sky.
Once you’ve got your monogram all picked out, follow the instructions for the double-sided adhesive sheets. It’s that simple for Silhouette users. Unfortunately, Cricut doesn’t have an adhesive sheet setting (and cutting normally doesn’t work since the adhesive sheets are 3 layers thick), so I had to do a little experimenting to figure out how to use double-sided adhesive sheets with a Cricut machine. After a few botched jobs, I ended up using my deep-point blade on the Cardstock+ setting, and it finally worked! If you don’t have a deep-point blade, use the deepest setting for your blade depth and have it cut twice to make sure you get a clean cut all the way through. That’ll get the job done, too.
Finally, transfer the monogram to your pumpkin and peel off the top adhesive later. I highly recommend moving to the garage or outside over newspaper for this next part. Sprinkle glitter over the adhesive until it’s completely covered. Once your monogram looks perfectly glitter-ified (if that’s a word?), use a makeup brush to lightly dust off any access glitter and spray a light coat of clear sealer over it to keep all the glitter sealed in (and off of everything in your house).
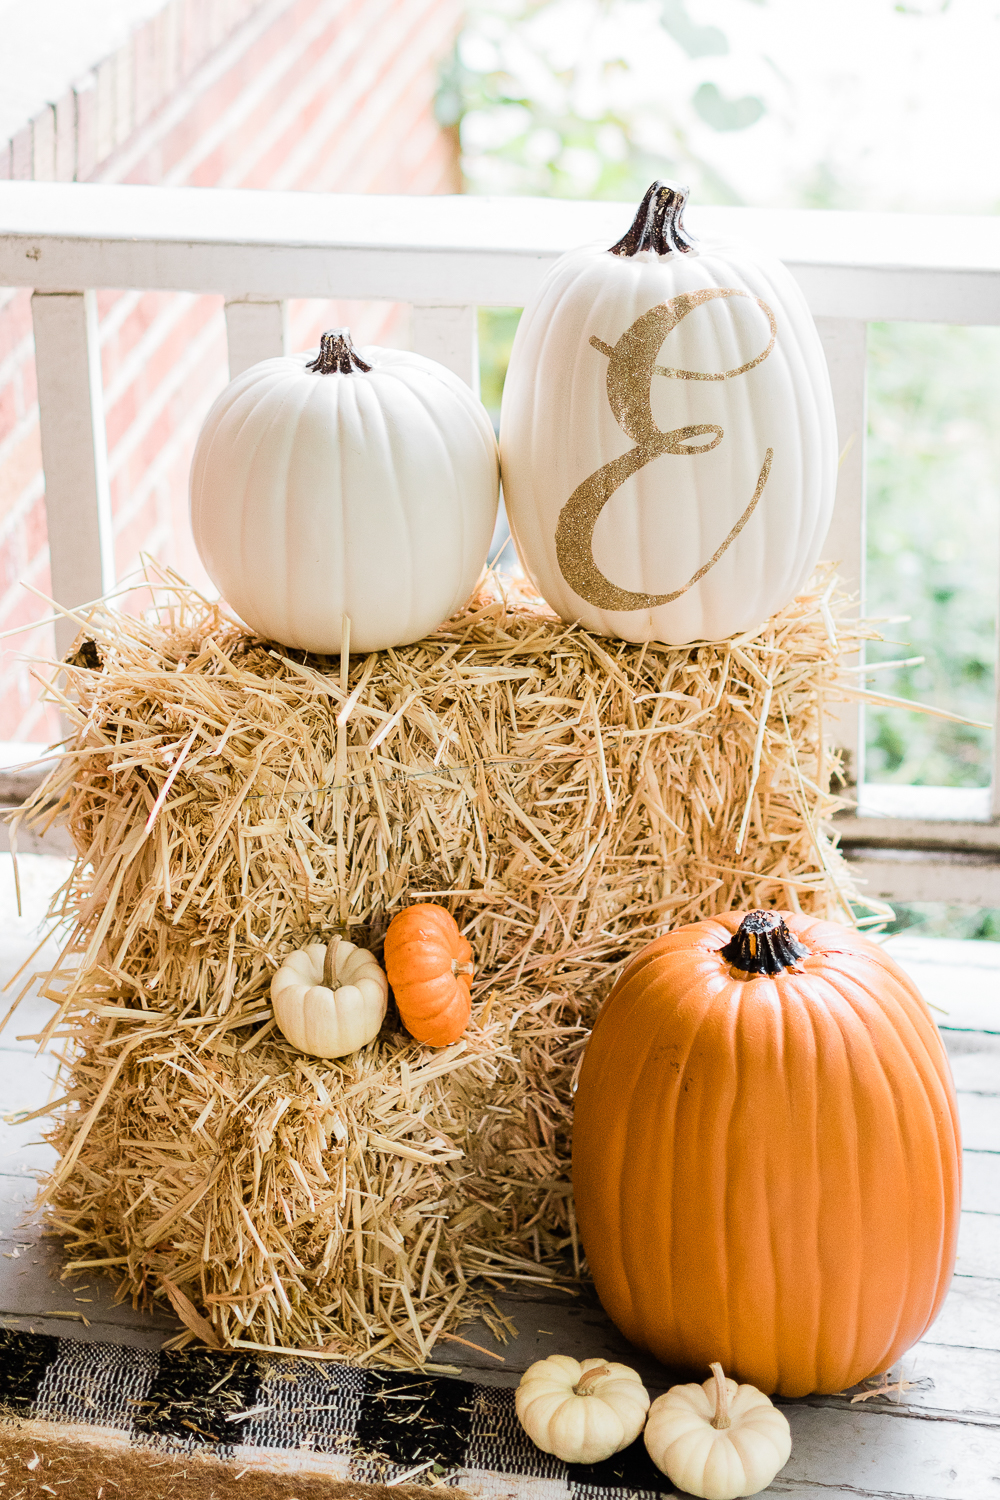
Super cute, right? And, with Thanksgiving around the corner, it’d make an amazing holiday hostess gift, too!
I hope you enjoyed this project as much as I did! As always, please let me know if you have any questions or comments. I’m happy to help! Also, if you’re in a crafty mood and want more DIY fall decor ideas, click here for a DIY pumpkin ice bucket or here for a DIY “Hello Pumpkin” doormat!
Photography by Catherine Rhodes.


