*This post may contain affiliate links, which means I may receive a commission (at no additional cost to you!) if you make a purchase using any of these links.*
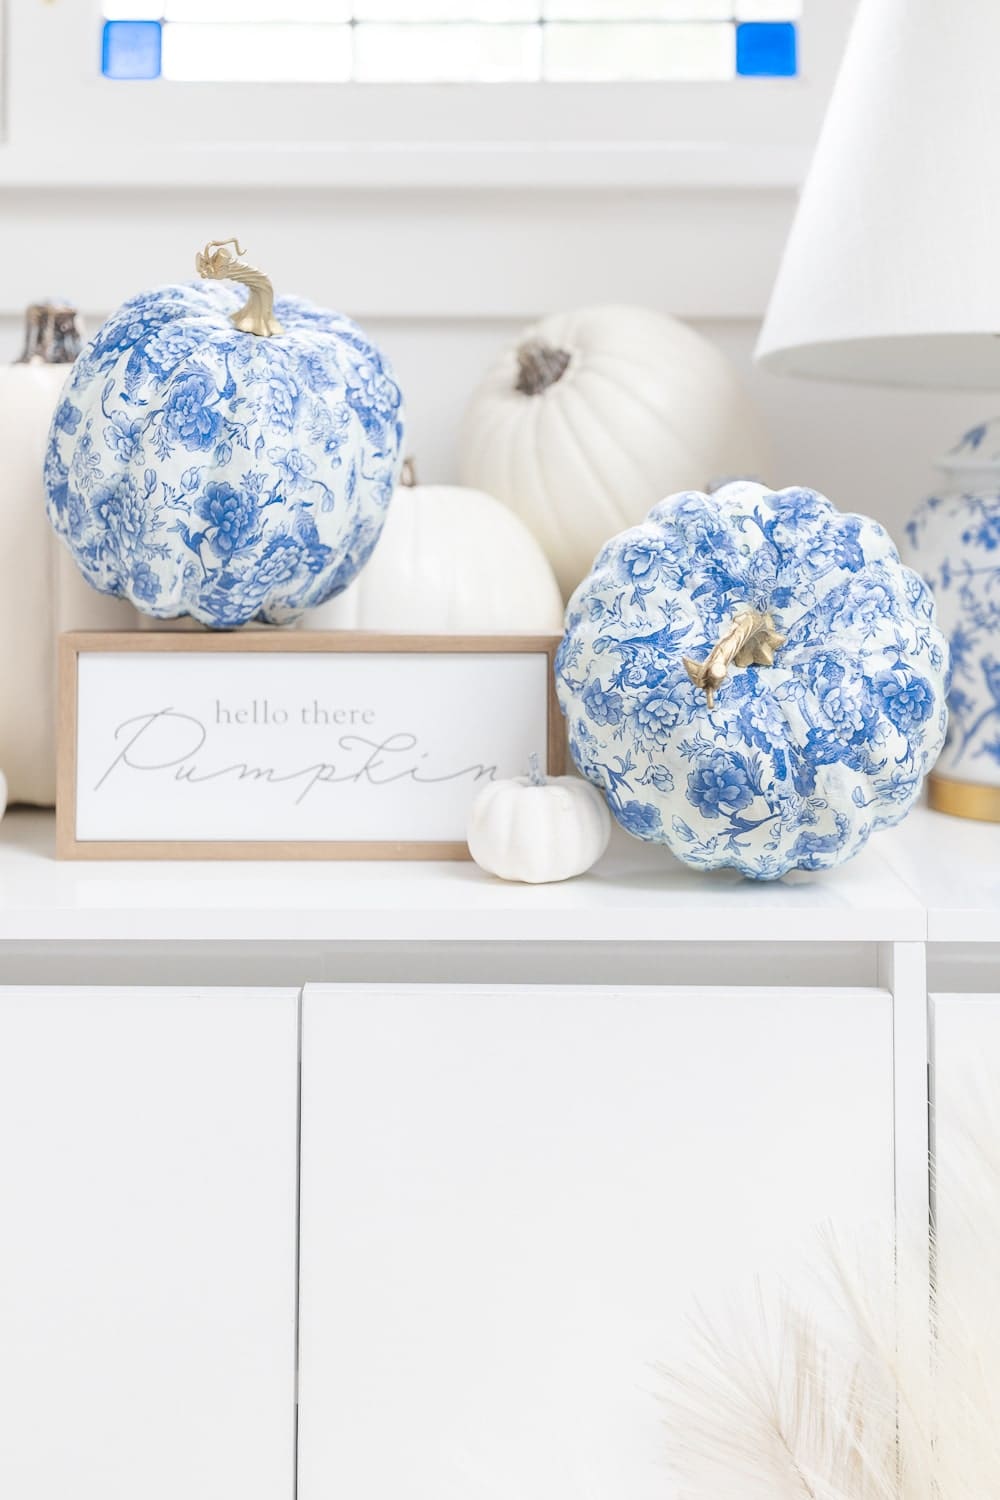
I’m always in awe of artists who can hand paint crafts, especially with Chinoiserie prints. They’re just so beautiful and intricate. I’ve tried, and it’s definitely not in the cards for me. So, I recently learned how to decoupage with napkins instead– and it turns out the decoupage technique works perfectly on craft pumpkins! I used some blue and white cocktail napkins to create these pretty DIY Chinoiserie pumpkins, and I’m seriously still blown away by how easy it was. I don’t consider myself particularly crafty, but I could decoupage pumpkins all day. Keep reading for a step-by-step decoupage pumpkins tutorial!
DIY Chinoiserie Pumpkins
Materials
I’ve seen chinoiserie pumpkins available in magazines for $100+, so that just makes this budget-friendly project that much sweeter! Here’s everything you need to make your own DIY chinoiserie pumpkins–
- Medium-sized craft pumpkin– Ideally a white craft pumpkin with a removable stem. I found mine (which has a really easily removable stems!) at Hobby Lobby.
- Blue and white paper napkins– I found mine on Amazon, but any chinoiserie-inspired napkins will work! If these aren’t your favorite, you can also find pretty blue and white printed napkins here and here.
- Fabric Mod Podge– In my experience, fabric Mod Podge (which, as a random side note, I’ve been pronouncing Modge Podge for the past ten years) is best for decoupage projects across the board. Still, if you only have regular Mod Podge handy, it’ll work just fine.
- Sponge brush– If you’re working with a smaller or medium-sized pumpkin, I recommend a skinny sponge brush (like this one). It’ll be so much easier to work with.
- Gold spray paint– Spray painting the stems gold gives these blue and white pumpkins the final touch they need. For reference, I used this spray paint to make my Chinoiserie pumpkins!
Decoupage Pumpkins Tutorial
Now, let’s decoupage some pumpkins!
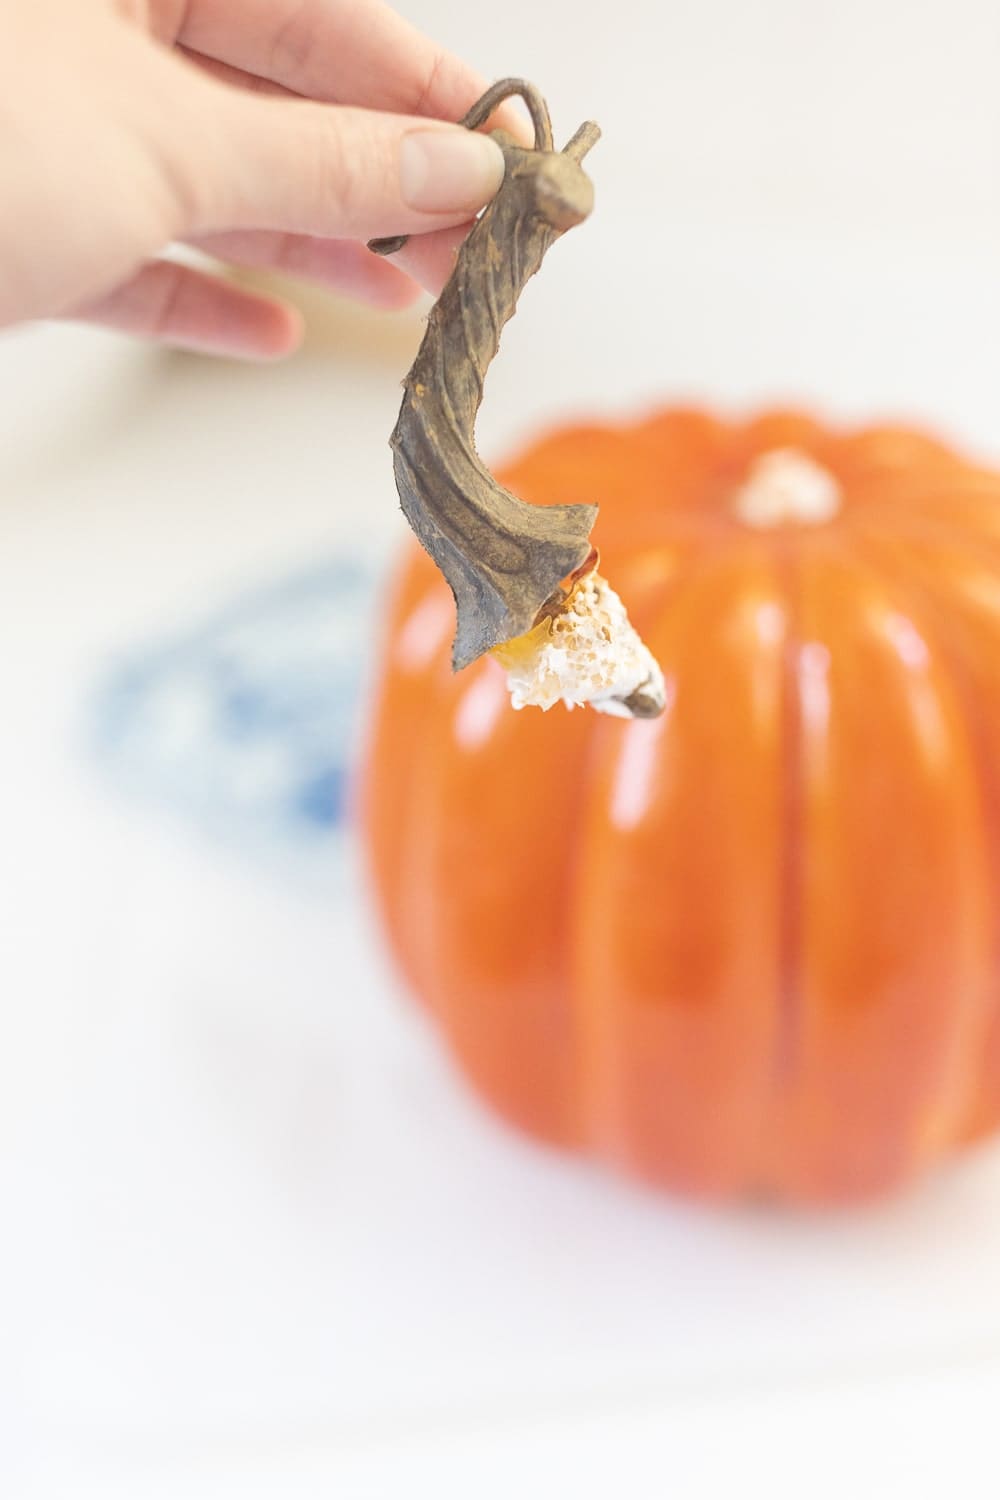
First, prep your craft pumpkin.
To make it easier to work your way around the pumpkin, start by removing the stem (if it’s removable). I had to wiggle it a bit, but mine popped right out. Also, if your pumpkin isn’t white, which mine wasn’t, paint it with a quick coat of white acrylic paint. Otherwise, the orange or any other color foam will show through.
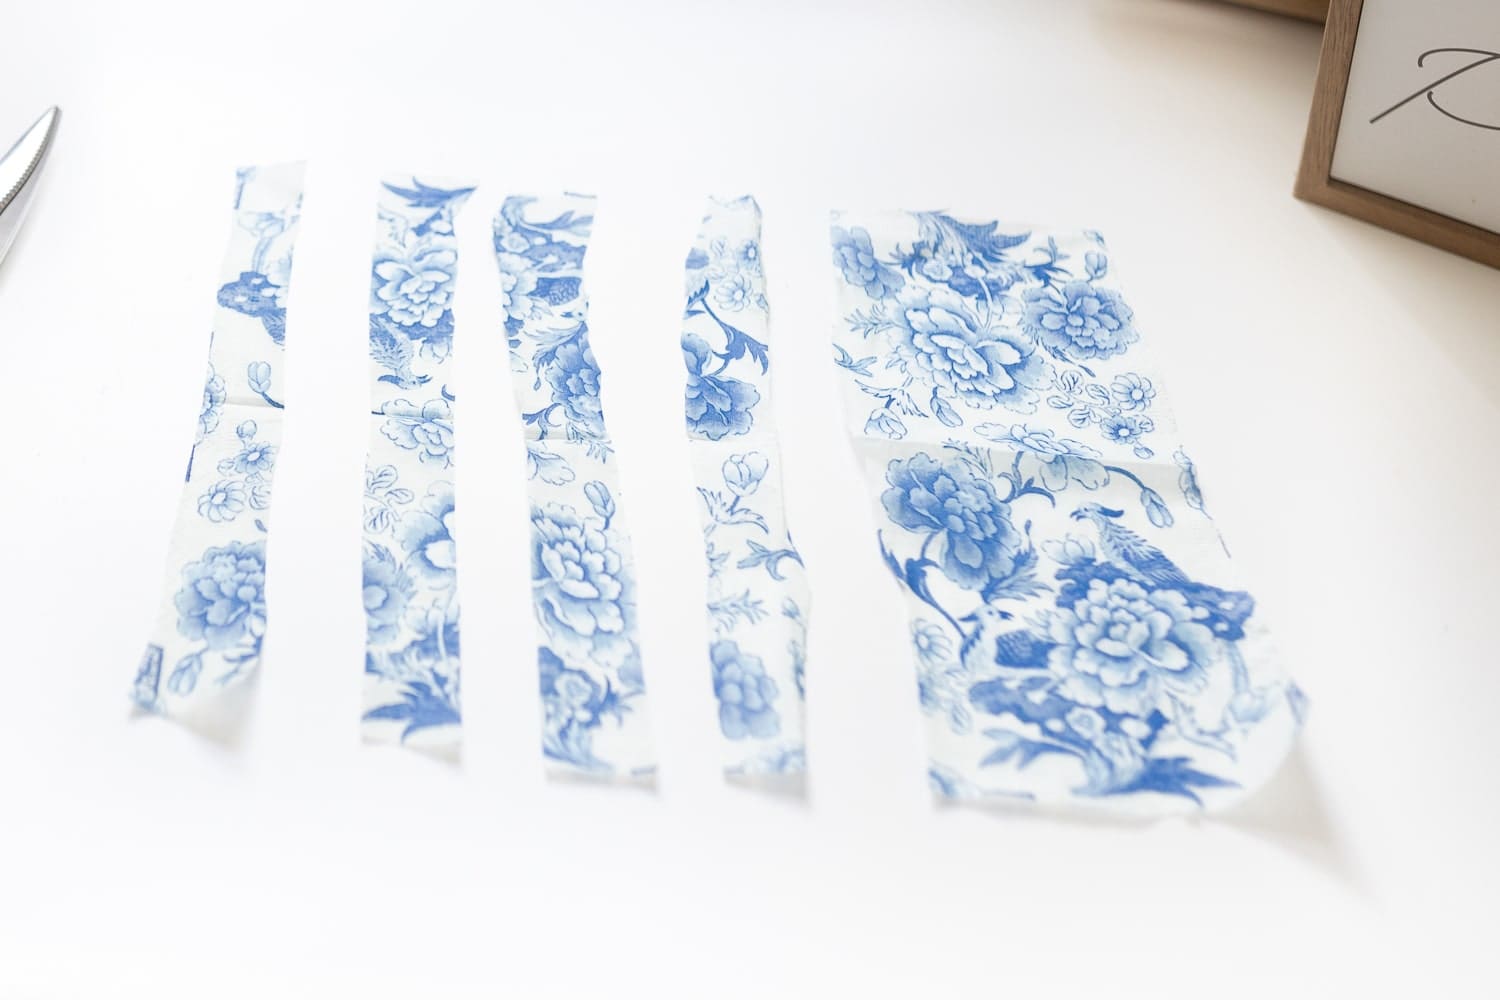
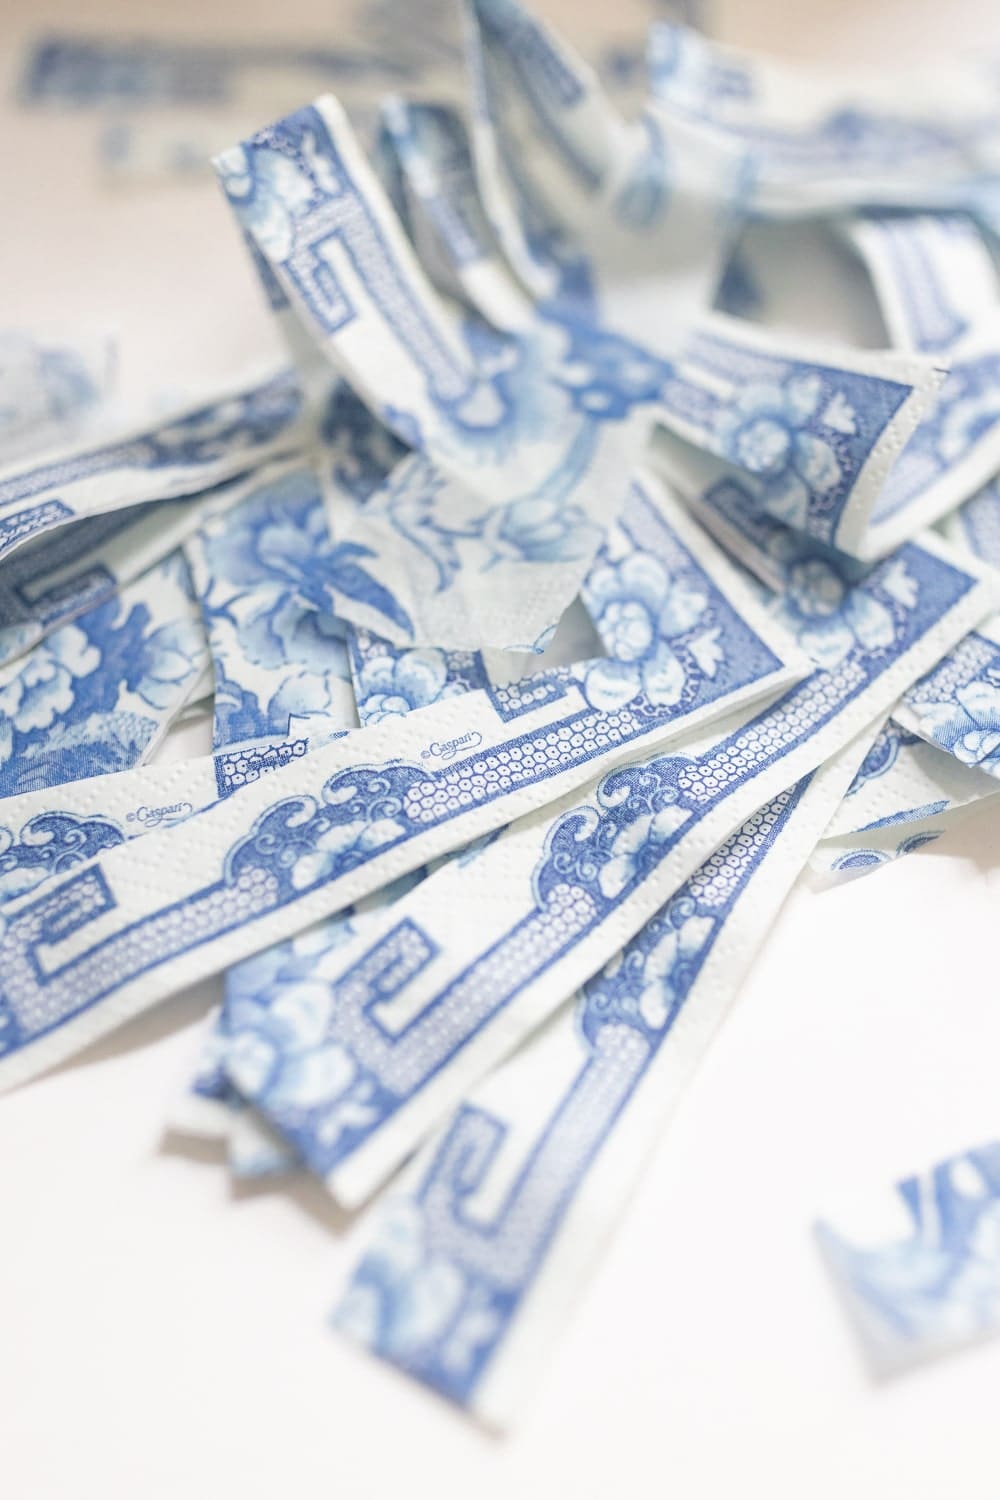
Next, grab your paper cocktail napkins. For reference, I used medium-sized craft pumpkins for this project, and I needed 7-8 small cocktail napkins for each of my decoupage pumpkins. If there’s a border around the pattern, I recommend cutting it off to keep the design cohesive. Be sure to set the scraps aside– they’ll come in handy later if you have any rips or holes.
Unfold the de-bordered napkins and peel off the extra layers of tissue so that they’re only 1-ply thick. For example, the napkins I used are 3-ply, so I peeled off 2 layers of thin tissue.
Next, cut the napkins into long 1-1.5″ strips. I personally recommend keeping them ordered for image continuity, but it’s really not a big deal if you mix them up.
Next, pour some fabric Mod Podge onto a disposable plate. Dip a narrow sponge brush in the Mod Podge and paint a small stroke near the top of the pumpkin (about as wide as the napkin strip). Line up the top of the napkin strip with the top of the pumpkin and then gently apply pressure to glue and smooth it down, adding more Mod Podge as needed to keep it adhered to the pumpkin. The strips won’t be long enough to make it all the way down the pumpkin, but that’s okay. We’ll move on to the bottom in a bit!
Also, just a tip– don’t go crazy with the Mod Podge, otherwise your hands will get sticky and potentially tear any (and all) napkins you accidentally touch.
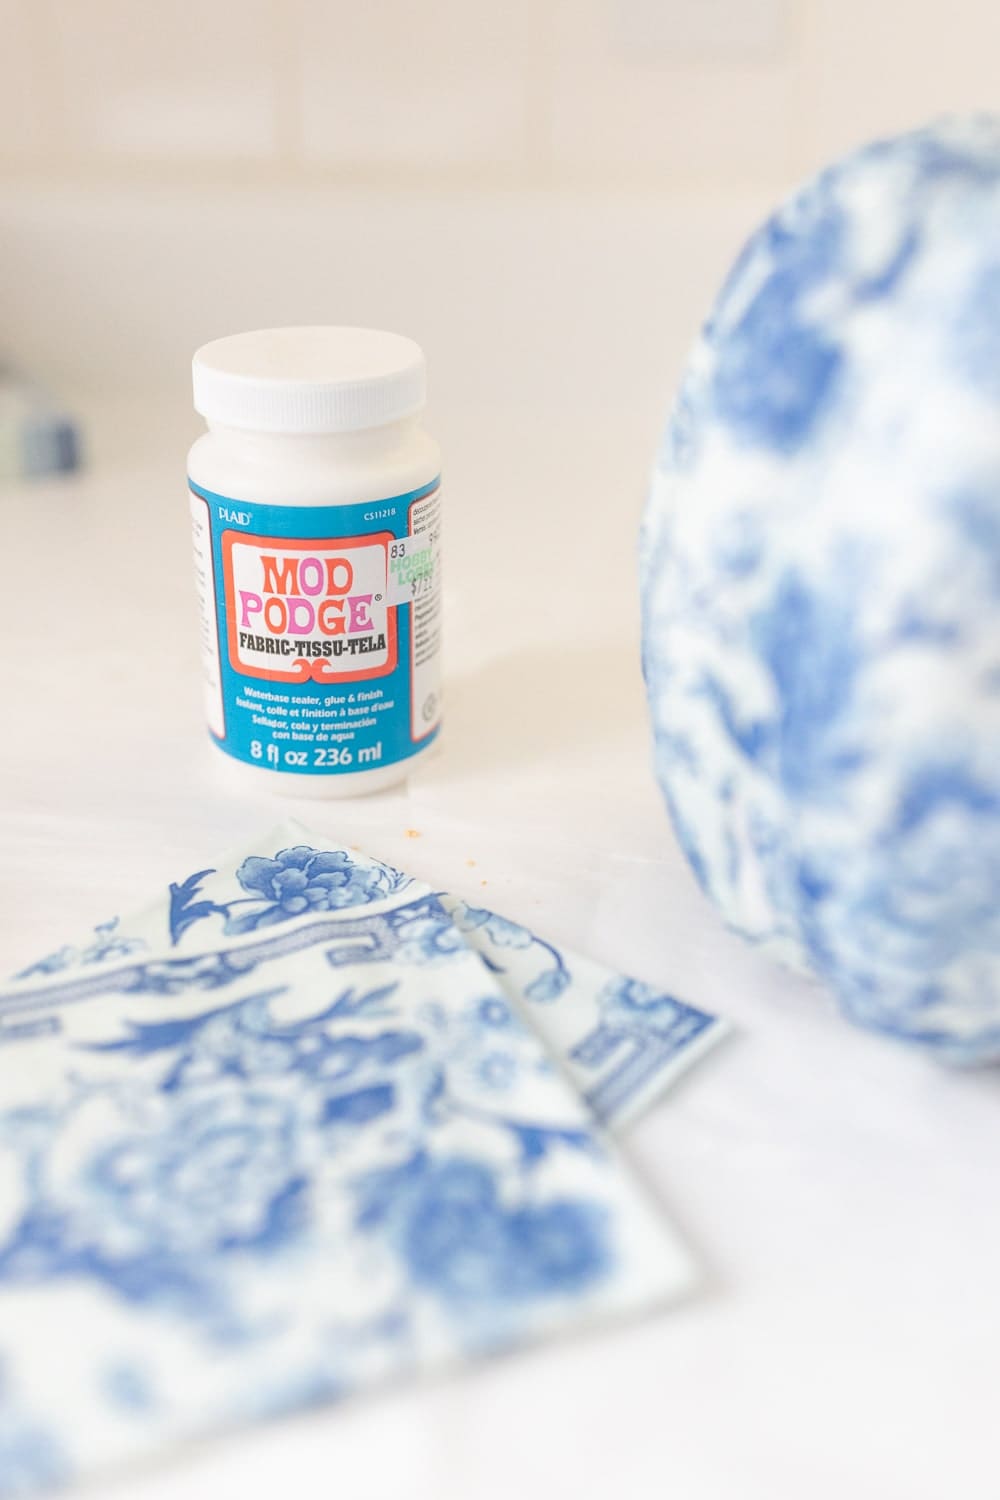
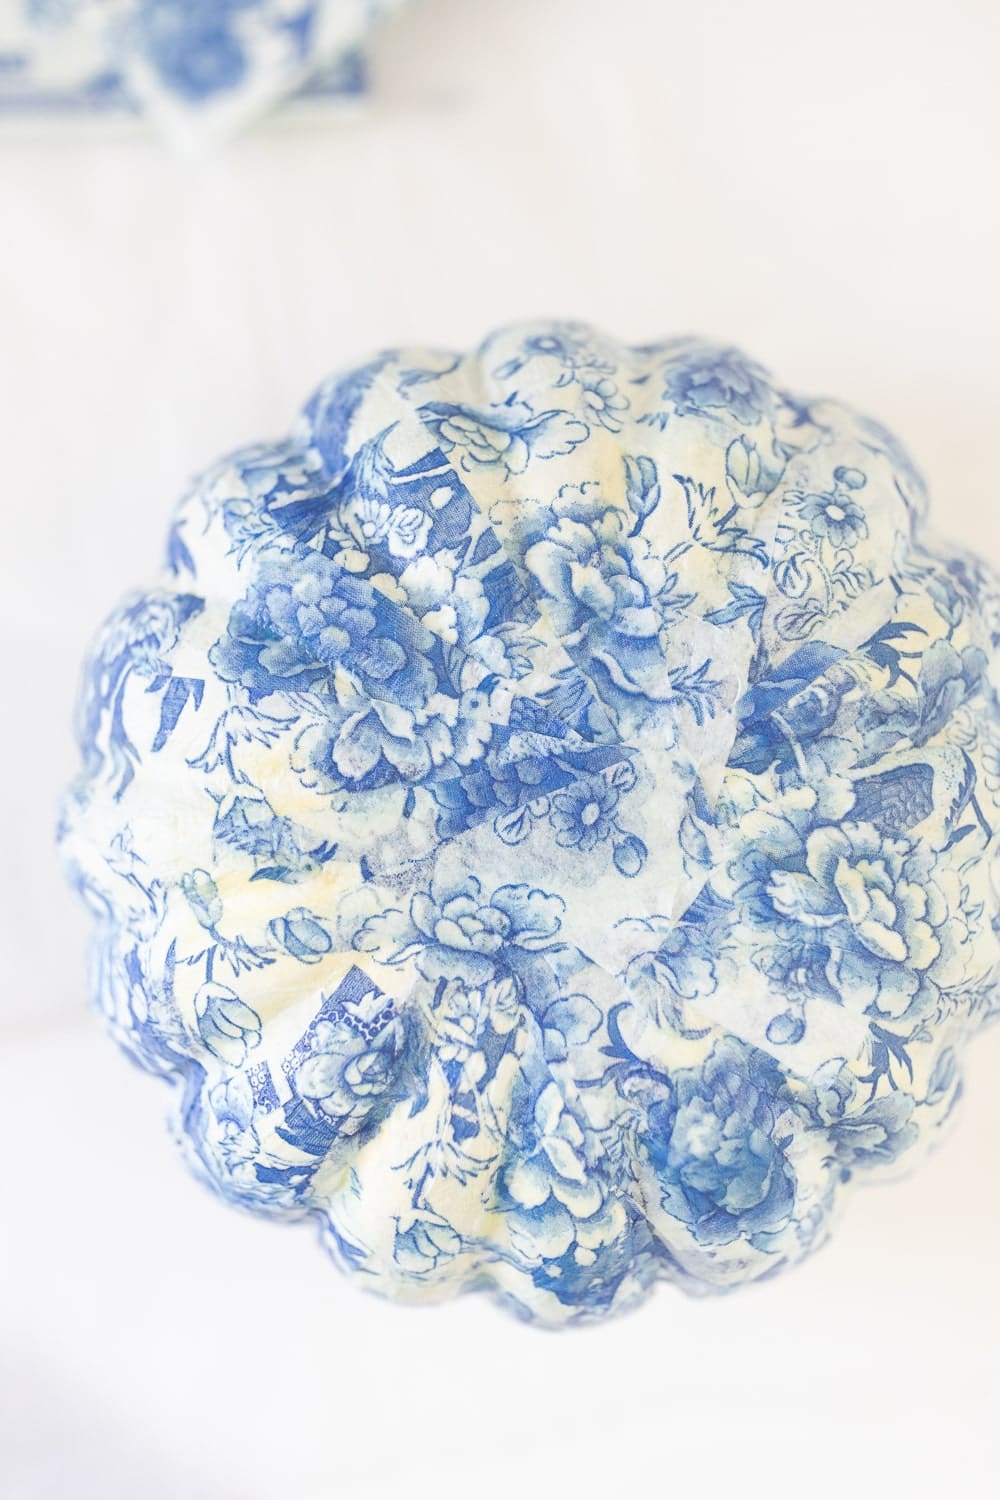
Then, overlapping slightly at the top so that there aren’t any gaps, apply more glue and lay the next napkin strip down. I tried my hardest to line up the napkin strips exactly for image continuity, but it’s okay to overlap and mix up strips. It can actually look really abstract and fun.
Continue until you’ve worked your way around the pumpkin and then apply a generous layer of Mod Podge on top. Use your sponge brush to smooth out any wrinkles while the napkin strips are still wet and be sure to let the Mod Podge dry before moving on to the bottom.
Another tip– don’t beat yourself up if any of the napkins tear. When you combine glue with ultra thin napkin tissue, it’s almost impossible for one or two of them not to. Just use a few of the leftover napkin scraps to fill in any tears or gaps in the pattern. Trust me, nobody will notice!
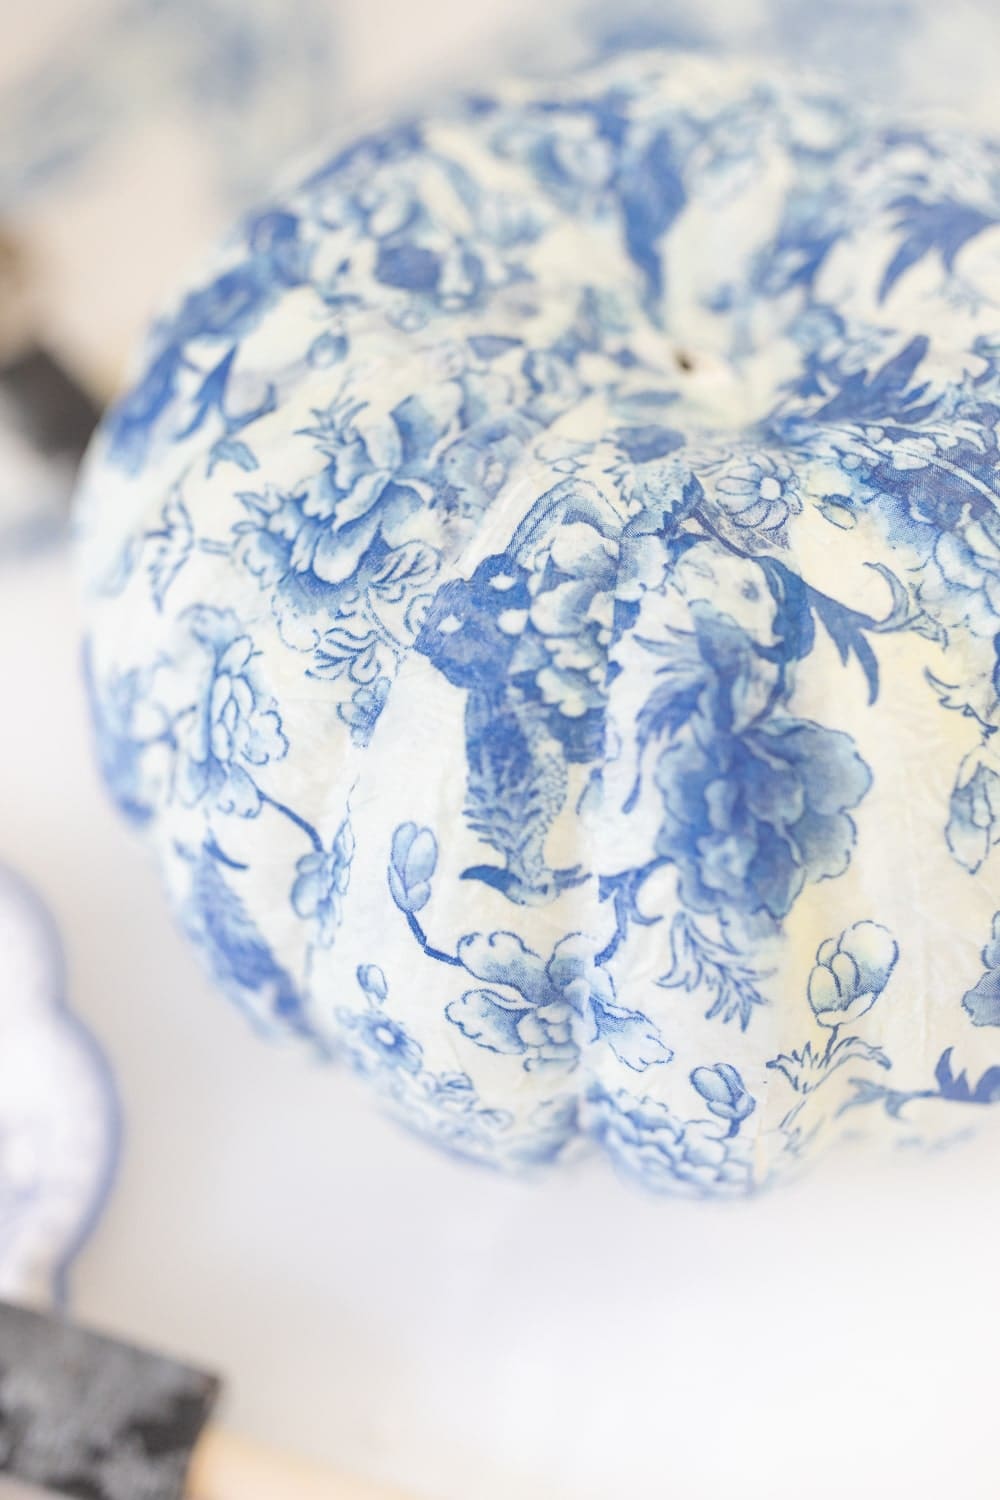
Once the top dries, cut your strips in half and work your way around the bottom, too. Keep in mind that this section will be hard to see (unless you pick up the pumpkin to inspect it), so it’s less important to match up the pattern.
Once you’ve worked your way around the bottom, too, give your decoupage pumpkin sufficient time to dry. I recommend letting it sit overnight, although a few hours should do the trick. Oh, and another tip– the Mod Podge bottle is a great drying apparatus! Just position any wet decoupage pumpkins on the top of the bottle and let them both sides air dry.
While your pumpkin is drying, spray paint the stem gold. For reference, I used this gold spray paint. Once both the pumpkin and stem are totally dry, pop the stem back on– and you’re all done!
Keep in mind that you don’t need to seal Mod Podge. It’s technically a glue, sealer, and finish all in one. Still, if you’re worried about humidity or longevity, apply a varnish or polyurethane finish on top of the dry napkin strips. That should do the trick!
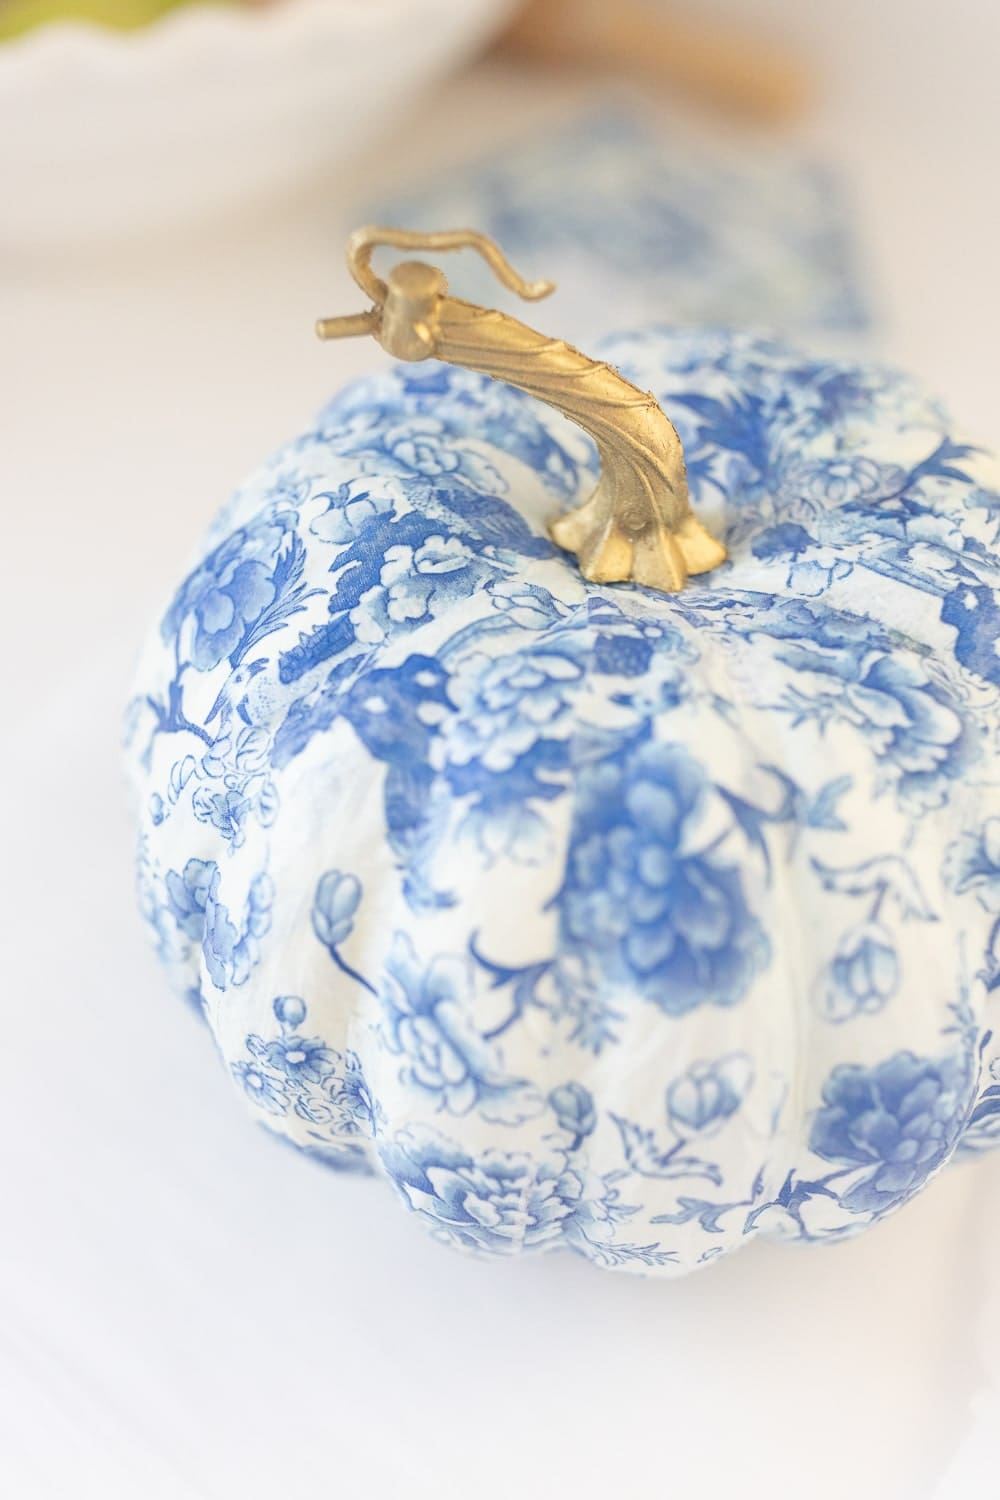
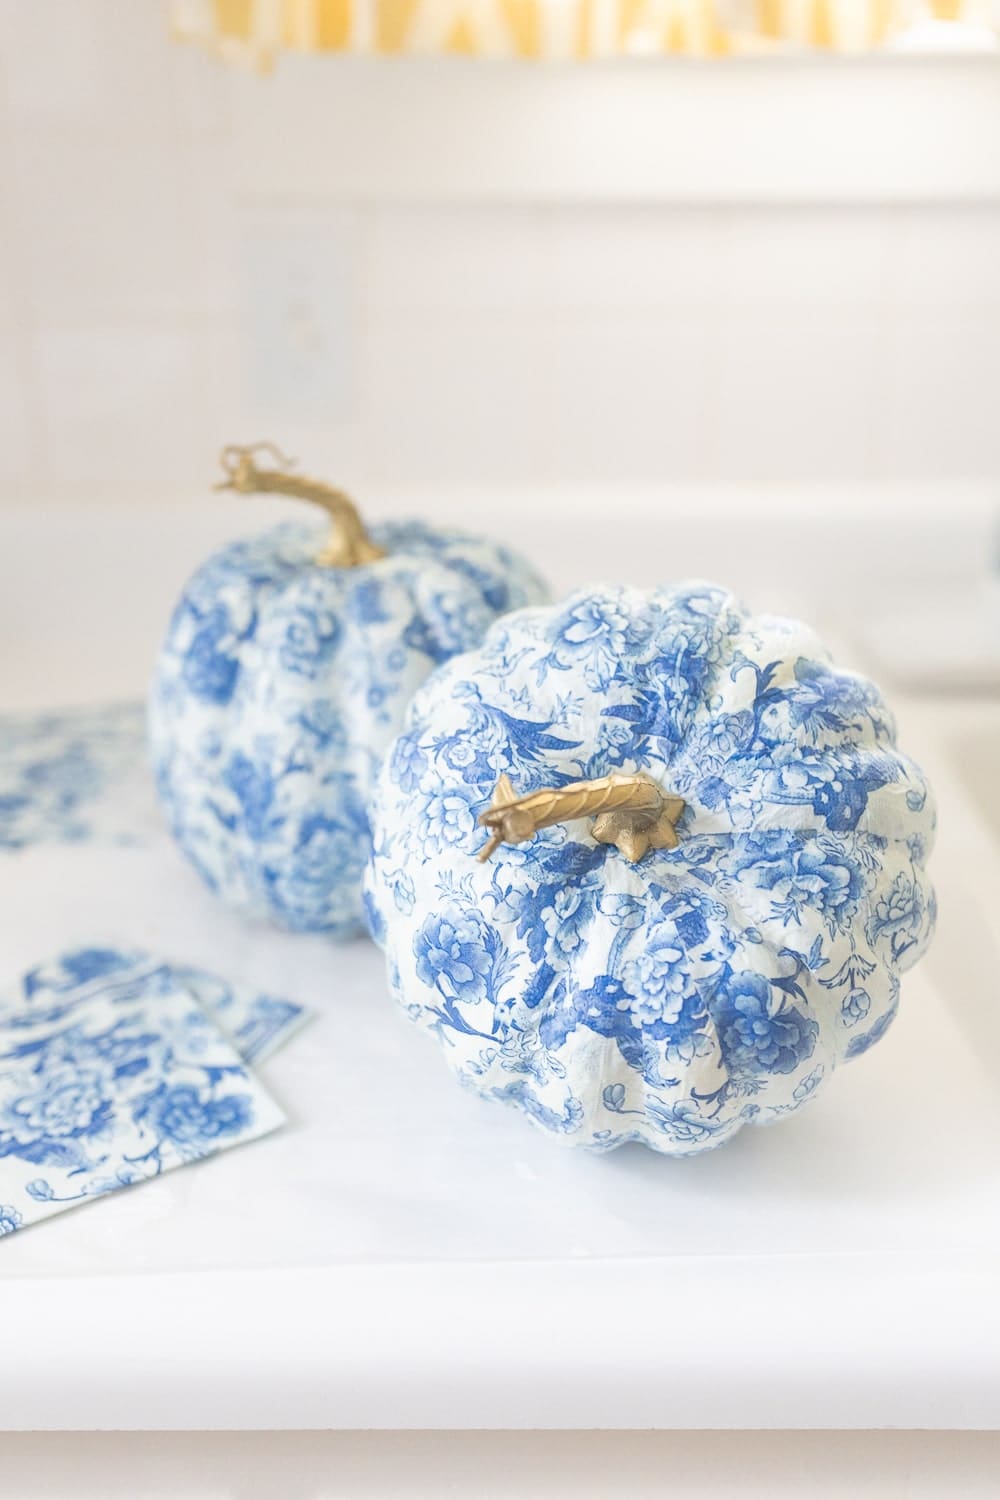
Aren’t they beautiful? I love that you can use this super easy technique with literally any patterned napkins. I also love that you can use this same decoupaged napkin technique on wine bottles, ornaments, and so much more (tutorials to come shortly)!
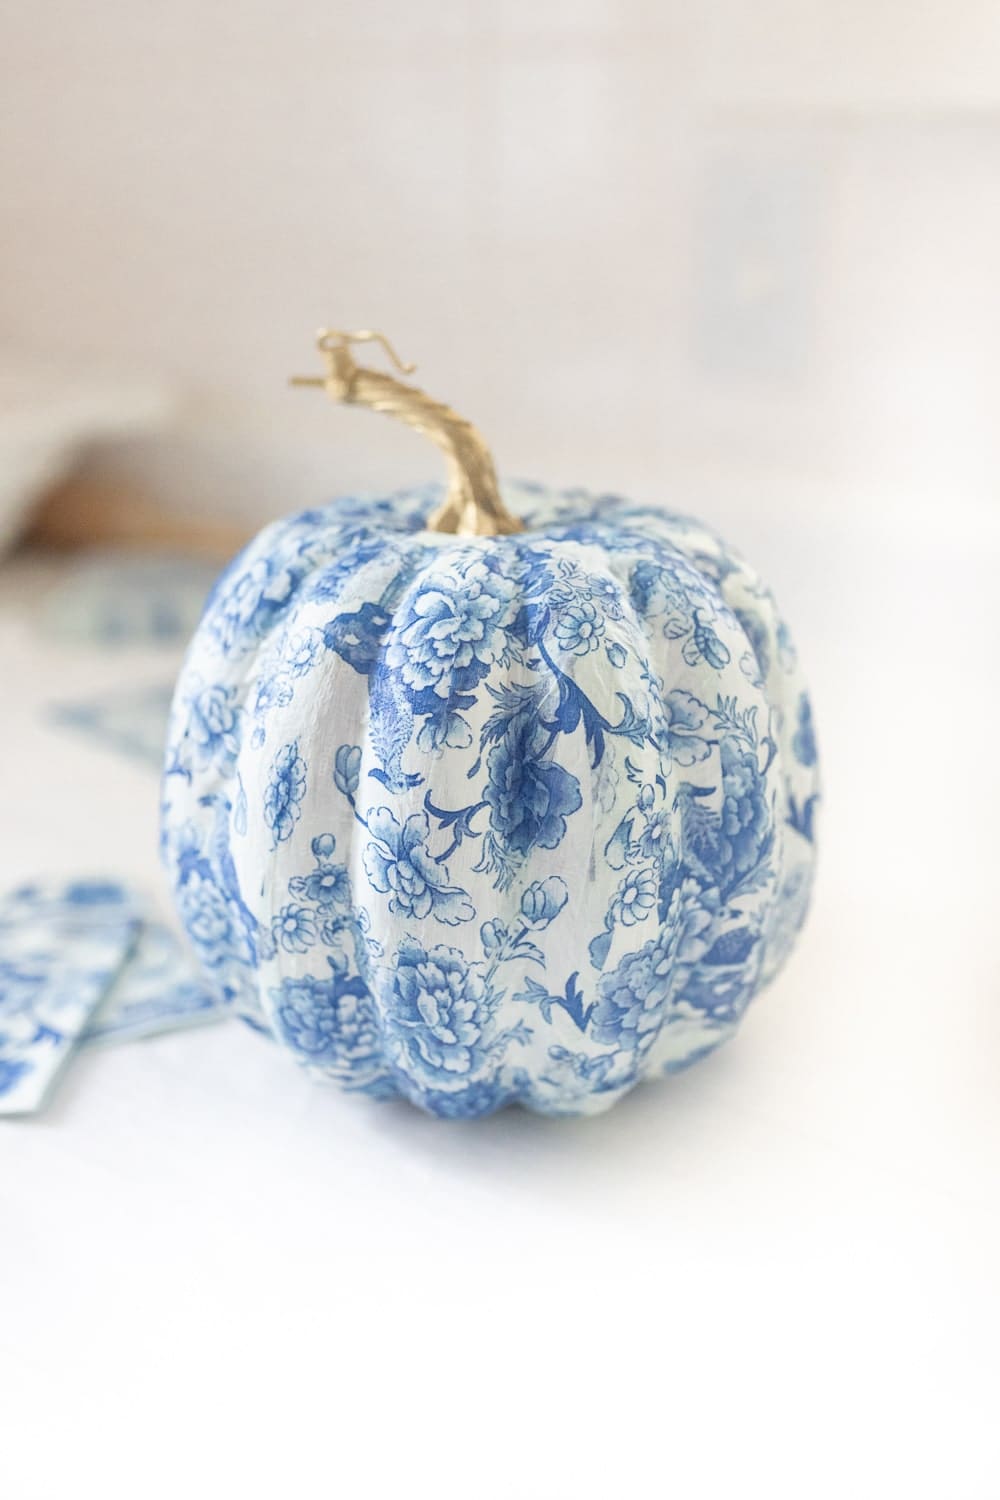

DIY Chinoiserie Pumpkins
These blue and white decoupaged pumpkins are a beautiful addition to classic fall decor, and they're seriously so easy to make, even for those of us who aren't particularly crafty! All you need is a craft pumpkin, some paper cocktail napkins, and fabric Mod Podge to try this project at home.
Materials
- Medium craft pumpkin
- Blue and white paper napkins
- Fabric Mod Podge
- Sponge brush
- Gold spray paint
Instructions
- Remove the stem from your craft pumpkin. Also, if it isn't white, paint it with a coat of white acrylic paint before getting started.
- Grab your paper cocktail napkins and cut off any borders. Unfold the de-bordered napkins and peel off the extra layers of tissue so that they’re only 1-ply thick and then cut the napkins into long 1-1.5″ strips. I personally recommend keeping them ordered for image continuity, but it’s really not a big deal if you mix them up.
- Pour some fabric Mod Podge onto a disposable plate. Dip a narrow sponge brush in the Mod Podge and paint a small stroke near the top of the pumpkin (about as wide as the napkin strip). Line up the top of the napkin strip with the top of the pumpkin and then gently apply pressure to glue and smooth it down, adding more Mod Podge as needed to keep them adhered to the pumpkin. Note: The strips won’t be long enough to make it all the way down the pumpkin, but that’s okay. We’ll move on to the bottom in a bit!
- Overlapping slightly at the top so that there aren’t any gaps, apply more glue and lay the next napkin strip down. Continue until you’ve worked your way around the pumpkin and then apply a generous layer of Mod Podge on top. Use your sponge brush to smooth out any wrinkles while the napkin strips are still wet and allow the Mod Podge to dry before moving on to the bottom.
- Once the top dries, cut your strips in half and work your way around the bottom. After the pumpkin is completely covered, give your decoupage pumpkin sufficient time to dry. I recommend letting it sit overnight, although a few hours should do the trick.
- While your pumpkin is drying, spray paint the stem gold. Once both the pumpkin and stem are totally dry, pop the stem back on– and you’re all done!
Notes
Keep in mind that you don’t need to seal Mod Podge. It’s technically a glue, sealer, and finish all in one. Still, if you’re worried about humidity or longevity, apply a varnish or polyurethane finish on top of the dry napkin strips. That should do the trick!
Decoupage Tips
- Don’t go crazy with the Mod Podge, otherwise your hands will get sticky and potentially tear any (and all) napkins you potentially touch.
- I tried my hardest to line up the napkin strips exactly for image continuity, but it's okay to overlap and mix up strips. It can actually look really abstract and fun.
- Don't beat yourself up if any of the napkins tear. When you combine glue with ultra thin napkin tissue, it's almost impossible for one or two of them not to. Just use a few of the leftover napkin scraps to fill in any tears or gaps in the pattern. Trust me, nobody will notice!
More DIY Fall Decor Projects to Try
If you’re still on a crafting kick, here are some DIY fall projects I think you’ll love just as much as this one–
- “Cheers” Pumpkin Ice Bucket– This adorable DIY pumpkin ice bucket is the perfect fall Cricut project for beginners! If you don’t have a smart cutting machine, you can use pre-cut sticker letters, too.
- Glitter Monogram Pumpkin– This is another great fall decor project for Cricut lovers! These glitter monogram pumpkins make amazing fall hostess gifts, and they look absolutely beautiful displayed on mantles and porches.
- DIY Fall Wine Gift Bags– I always feel guilty giving a plain wine bottle as a gift, and these DIY fall wine gift bags make the process feel so much more personal. This project is definitely geared more towards Thanksgiving than Halloween, but I wanted to include it regardless!
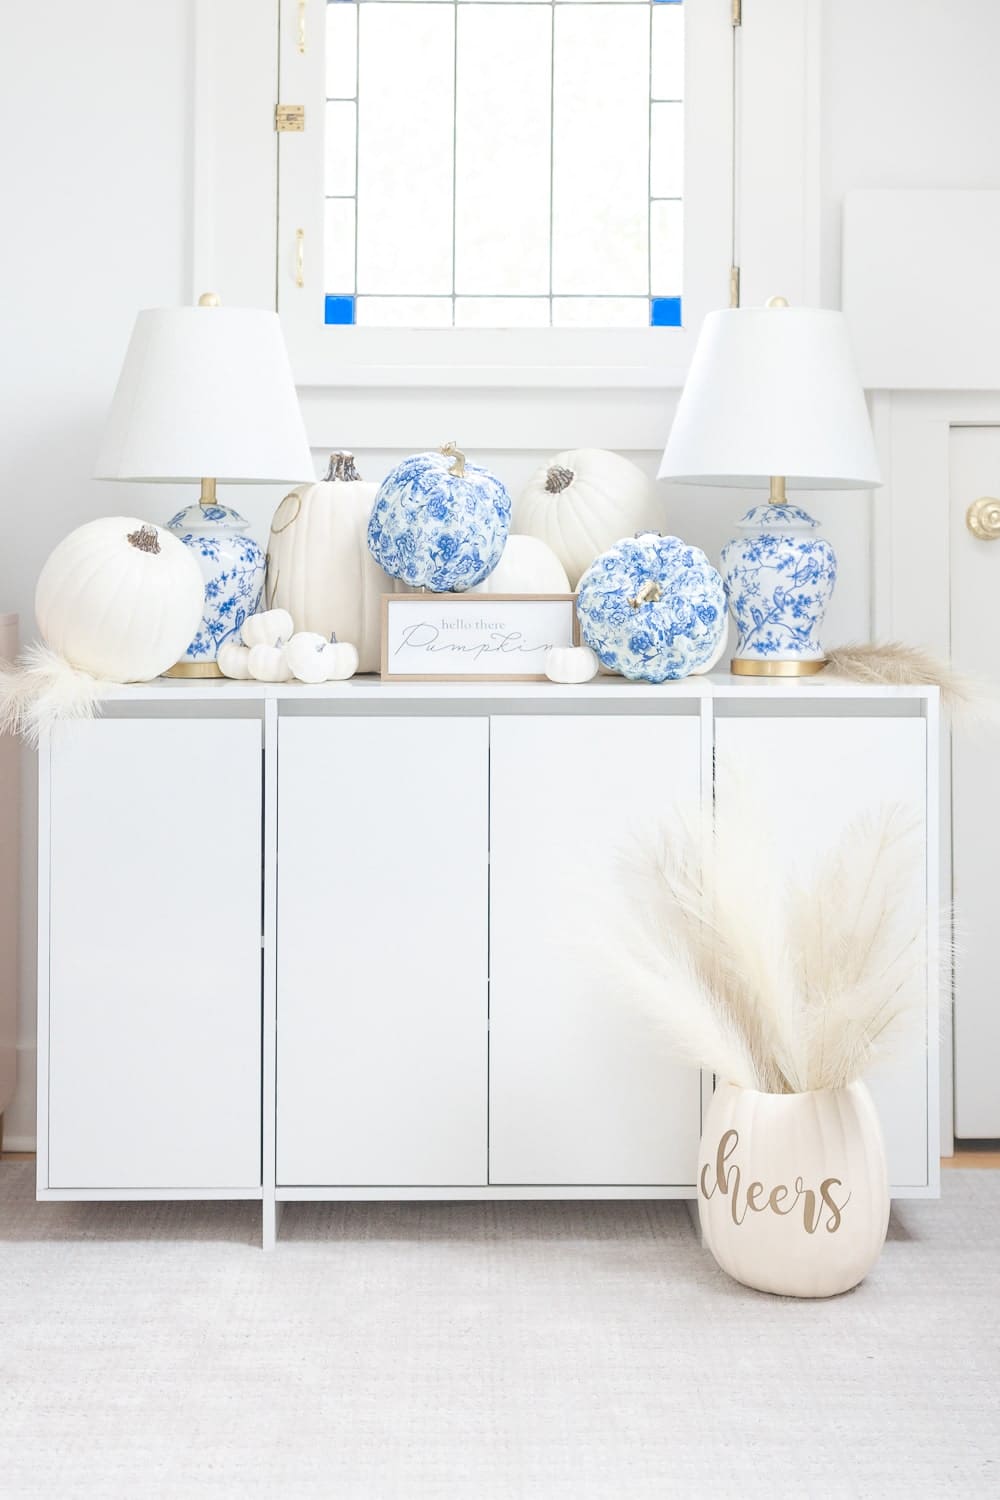
Well, that’s all I’ve got for y’all today! Thanks so much for reaching, and, as always, let me know if you have questions. Whether you need clarification on this DIY Chinoiserie pumpkins tutorial or any of my other DIY fall decor projects, I love hearing from you guys, and I’m happy to help!




Where are your pretty lamps from? Love your kitchen and this display.
Thanks so much, Donna! I found them on Amazon! Here’s a link: https://amzn.to/42NVKXX