*This post may contain affiliate links, which means I may receive a commission (at no additional cost to you!) if you make a purchase using any of these links.*
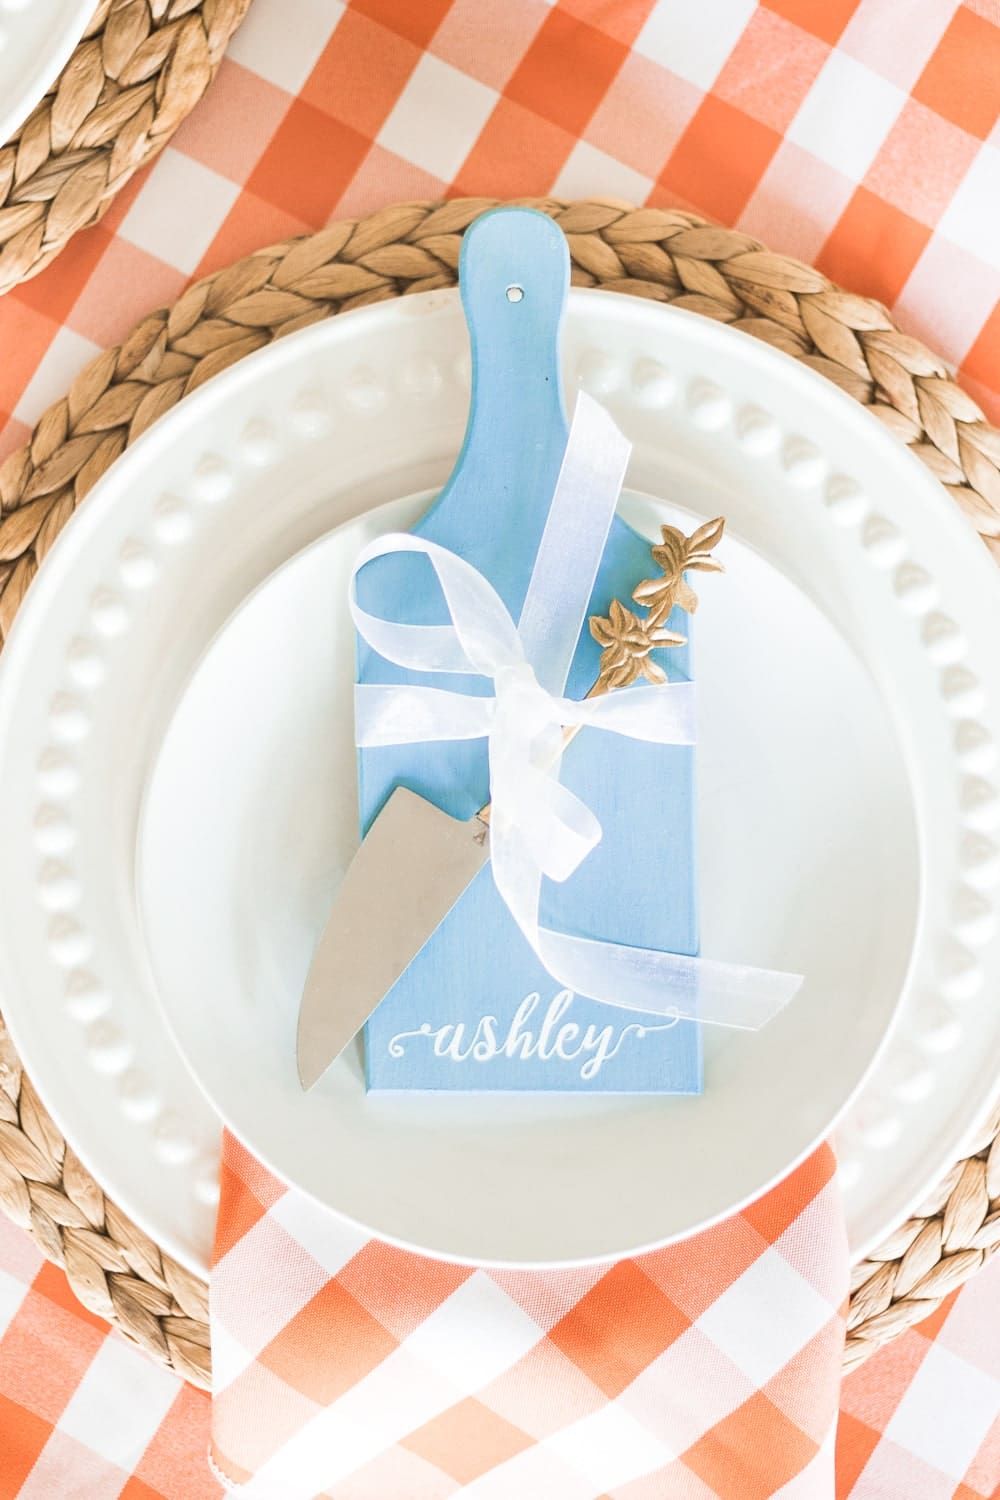
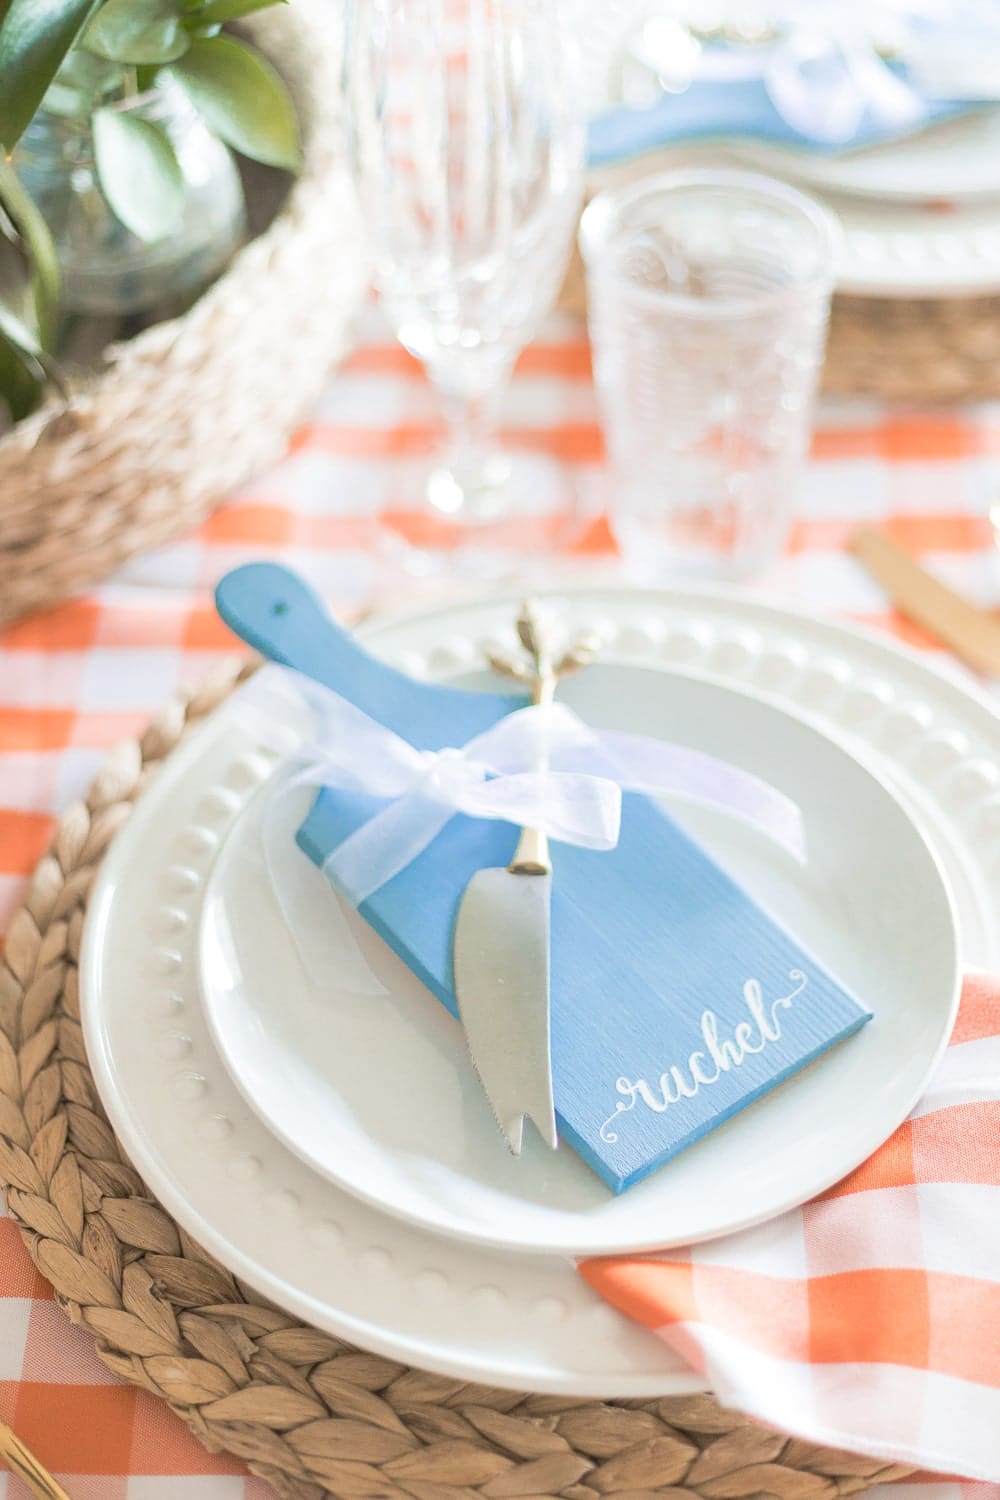
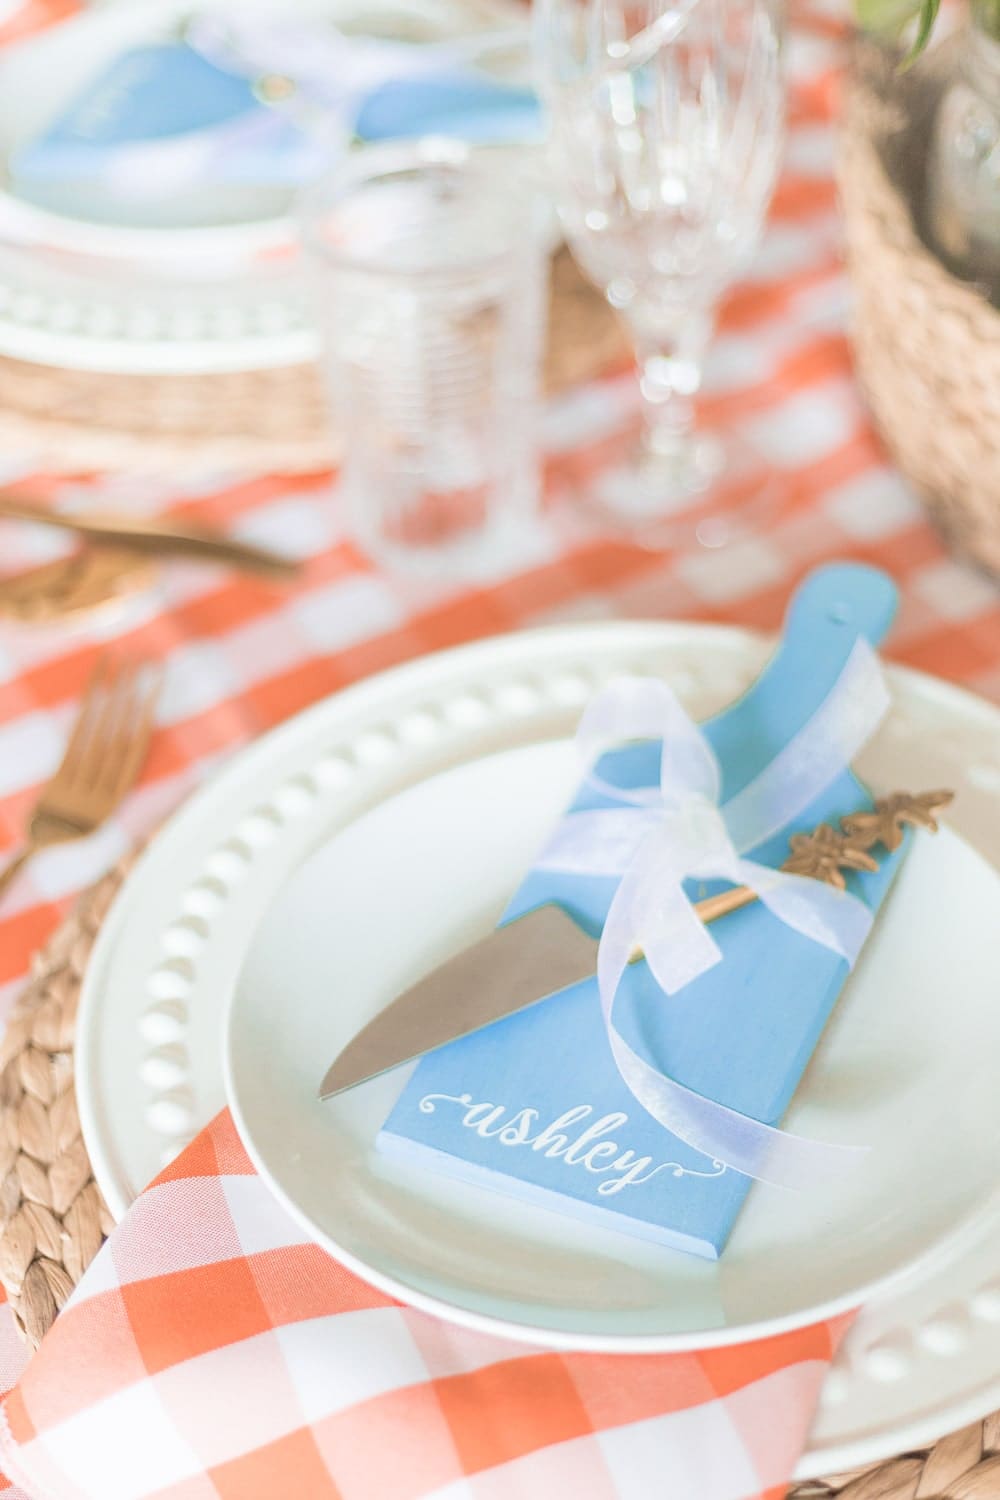
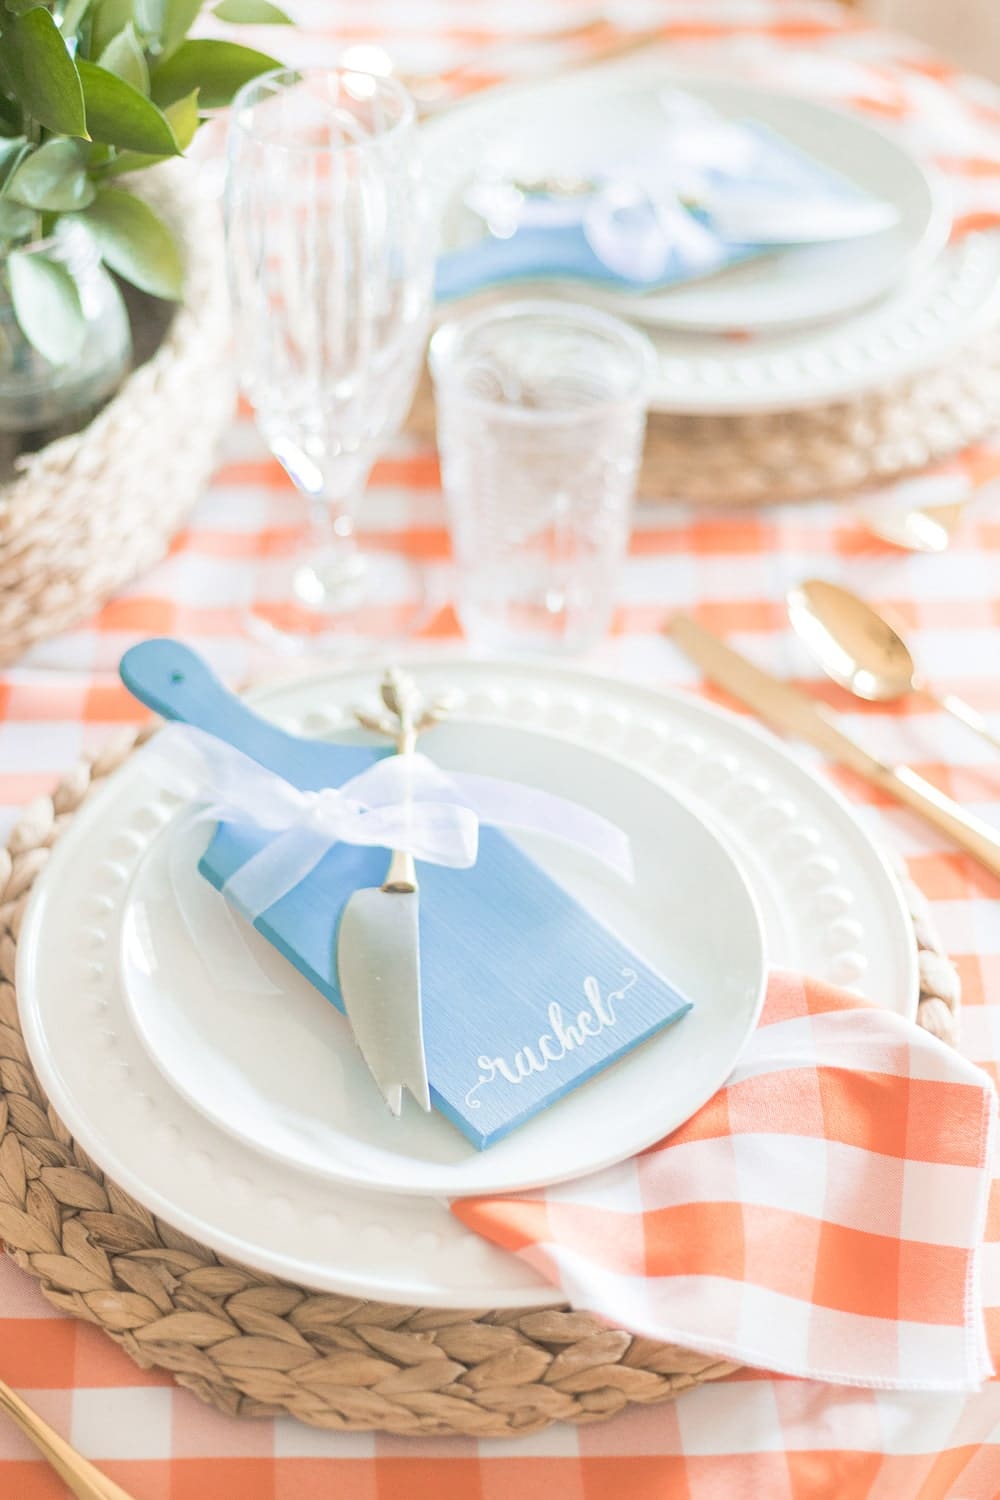
I love a big charcuterie board as much as the next girl, so I never knew how much I needed mini charcuterie boards in my life! Until a few weeks ago, that is. I wanted to do something a little different for our Thanksgiving tablescape, and I landed on personalized charcuterie boards in lieu of place cards. I’m so happy with the way these turned out! I found the mini cutting boards on Amazon, used Real Mint Paint Co (finally found paint that’s organic and non-toxic!) to give them a splash of color, and then personalized them by cutting names out of white iron-on vinyl with my Cricut. The whole process was incredibly easy, and the personalized mini charcuterie boards turned out so perfect. I can definitely see myself keeping up the tradition and reusing/making these beauties year after year. Keep reading for a step-by-step tutorial!
DIY Personalized Mini Charcuterie Boards

Materials and Supplies
Here’s everything you need to make these food-safe mini charcuterie boards-
- Unfinished Mini Wooden Cutting Boards– I love these little cutting boards! They come in a pack of four and are easy to paint, stain, and seal.
- Food-Safe Paint– I’ve wanted to make these mini charcuterie boards for the longest time, but I could never find a legitimately food-safe paint to use. Enter Real Milk Paint Co. They make environmentally-friendly paints, pastes, oiles, and waxes, and I’m literally obsessed with their products. For reference, I mixed stone blue and white milk paint to get this light blue color.
- Food-Safe Wood Wax– It’s easier to find non-toxic wood wax than it is paint, but still, I wanted something that would work well with milk paint. Plus, I love that this one is vegan-friendly and made with plant-based ingredients.
- Iron-On Vinyl– Small cursive print and iron-on vinyl don’t mix well, so make sure your HTV vinyl is good quality, otherwise it’ll likely rip. I personally love this brand. Also, if you don’t want to use iron-on vinyl, you can either use a stencil to paint and personalize your mini charcuterie boards or write directly on the wood with acrylic paint pens like these.
- Cricut EasyPress 2– I’ve gotten so much more use out of my Cricut EasyPress than I thought I would, so if you’re a regular crafter, I highly recommend investing in one. Still, since the decals are so small, you can definitely get away with using an iron and steady pressure for this project.
- Teflon Sheet– Using a teflon craft sheet protects the vinyl decal, paint, and wood from damage from the high heat. If you’re tempted to skip the teflon and use parchment paper instead, I’ve been there, and it doesn’t work the same.
How to Make Food-Safe Mini Charcuterie Boards

Here’s how to make these precious personalized mini charcuterie boards! Click play on the Reel below for a quick video tutorial.
First, mix up your milk paint. I mixed stone blue and white milk paint (about 75/25) with water to create this pretty light blue color and then applied 3 coats to each raw mini cheese board. I didn’t use a primer, although it definitely wouldn’t have hurt.
While the boards are drying, design and cut names out of white iron-on vinyl with your smart cutting machine. I used the Noelan font and my Cricut Maker to create the pretty glyphs. Once the boards are completely dry, position the decals where you want them (and don’t be afraid to play around with different placements). Then, cover each decal with a teflon craft sheet and use a heat press for 25-30 seconds at 325F to affix the decals to the boards. FYI- a regular iron with steady pressure will work just fine for this project, too, since the decals are so small. Whichever method you choose, wait until the HTV liner is cool to the touch and then slowly peel it off, otherwise you’ll risk tearing them and having to start all over.
Finally, to make your personalized mini charcuterie boards more durable/reusable, apply a food-safe wood wax (I used Real Milk Paint’s wood wax) to seal everything in. Remember to allow them to cure for the recommended time before serving food on them.
And that’s it– seriously so simple and so darn cute! If anything’s unclear, click play on the Instagram Reel below for a quick video tutorial! Of course, you can also leave a comment with any questions or concerns you have. I love hearing from you guys, and I’m happy to help!


Well, that’s all I’ve got for y’all today! If you need more Thanksgiving table inspiration, check out this simple Thanksgiving tablescape from a few years back. The decor is basic, but the centerpiece is one of my all-time favorites, and it’s super easy to recreate. You can also find fall table decor details from this year’s orange and blue table here.
Thanks so much for reading, y’all!


this is the cutest mini board ever! love the idea
Thanks so much, Valerie!
These personalized mini charcuterie boards are such a creative and charming idea for any occasion! I love how easy and customizable the process is, definitely going to try this for my next gathering!