
*This post may contain affiliate links, which means I may receive a commission (at no additional cost to you!) if you make a purchase using any of these links.*

We typically don’t travel for Thanksgiving, and both our families are back home in Florida, so I’m a big fan of both Friendsgiving and fall girls’ nights. Accordingly, one of my favorite things to give as a guest (or receive as a hostess) is wine! I mean, in my book there’s pretty much nothing better than a bottle of Layer Cake wine by the fire pit in the fall. Once the weather starts cooling off, that’s my definition of paradise. I also love jazzing up gifts this time of year, so I thought it’d be fun to show how to make your own personalized wine gift bags in today’s post! Keep reading for the step-by-step DIY wine bag tutorial, along with some of my favorite Layer Cake wines for celebrating fun fall occasions!
Full disclosure, I’m by no means a wine expert, but I’m learning…and I do know good vino when I taste it. Layer Cake wines are filled with richly layered flavors from the best winemaking regions on earth and taste absolutely amazing. I keep my fall bar cart stocked with Layer Cake Malbec, Layer Cake Cabernet Sauvignon, Layer Cake Pinot Noir, and Layer Cake Bourbon Barrel Aged Cabernet Sauvignon this time of year. Whether we’re serving it ourselves or popping it in a DIY wine gift bag (tutorial below!), they’re some of the best bottles out there. They don’t break the bank either, which is always a huge plus!


Probably my favorite thing about Layer Cake, though, is that they make it easy for me to access wines from the best wine regions of the world without having to leave my home (or blow my budget). Click here to discover Layer Cake wines now!
If I had to pick a favorite, which is difficult for me to do, it’d be Layer Cake Bourbon Barrel Aged Cabernet Sauvignon. It’s from Northern California and aged for 3+ years in old charred oak barrels from some of America’s top bourbon distilleries. I typically save those bottles (the swanky black one above) for gifts, though, so Layer Cake Cabernet Sauvignon is a close second. Well, it’s tied with the Malbec. And the Pinot Noir. Can you tell I like red wine?

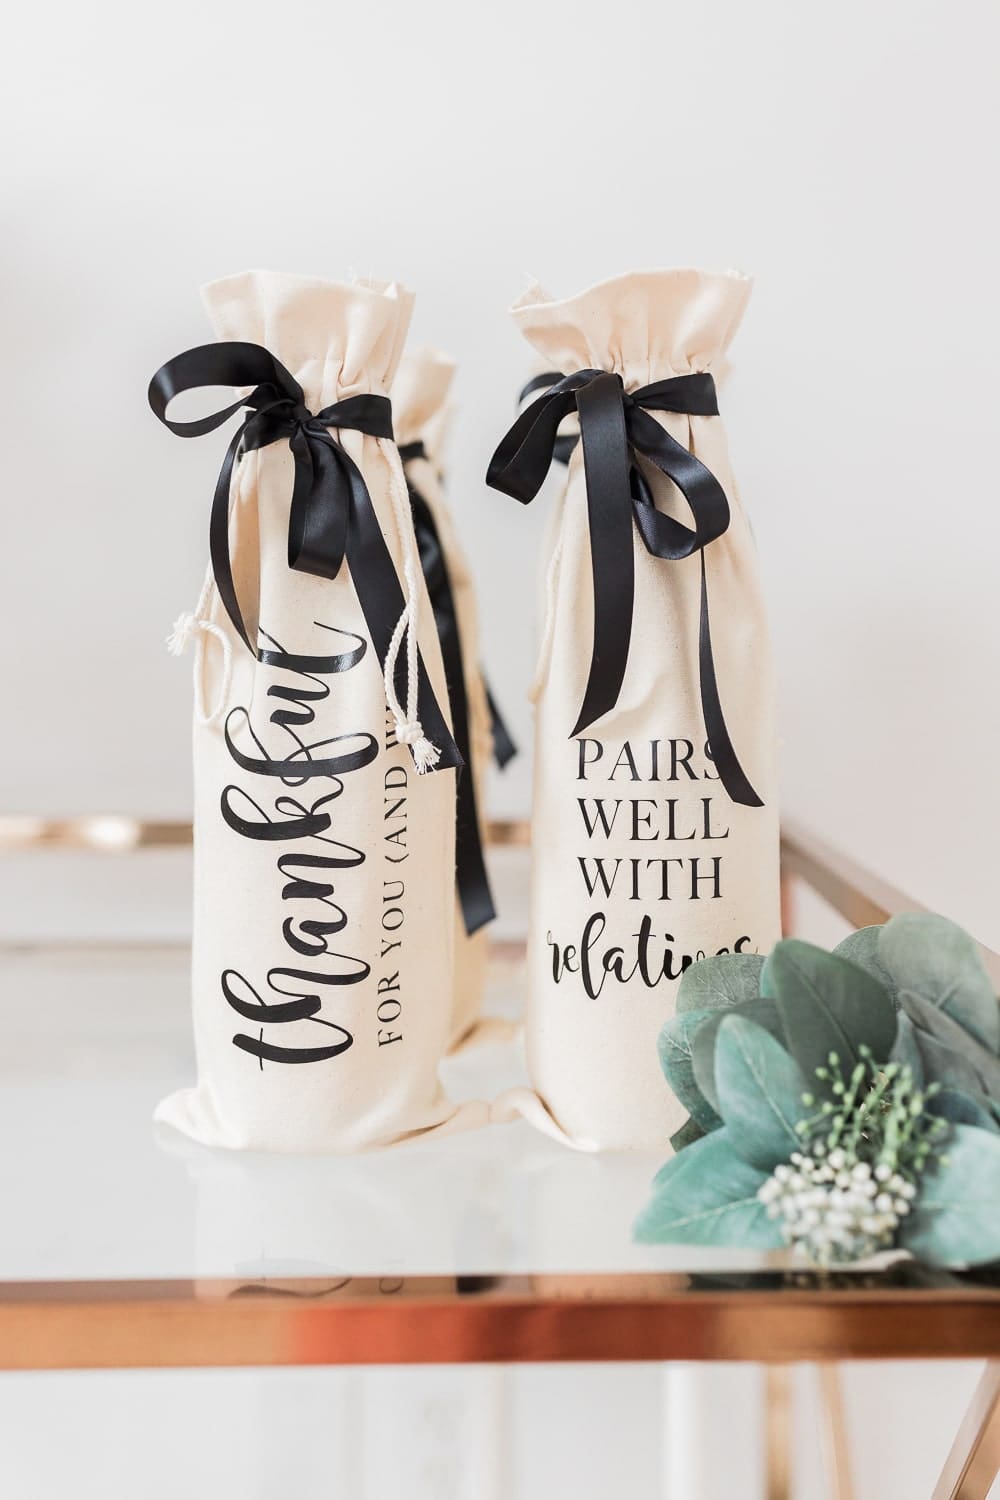
Also, how fun are these DIY wine gift bags?! I made six for a fall girls’ night, and I love the way they turned out. It doesn’t hurt that they look pretty darn cute on my fall bar cart either!

DIY Wine Gift Bags

Making your own DIY wine gift bag is the perfect way to add a little something extra when gifting a bottle of vino. Plus, once you’ve got the hang of ironing onto canvas, each bag only takes a few minutes. I made this particular batch Thanksgiving-themed, but you can also monogram your bags, add cute graphics, and/or come up with your own cute wine quotes/sayings. Keep reading for the full personalized wine gift bag tutorial!
Wine Bag DIY Materials

Here’s everything you’ll need to make your own personalized wine gift bags–
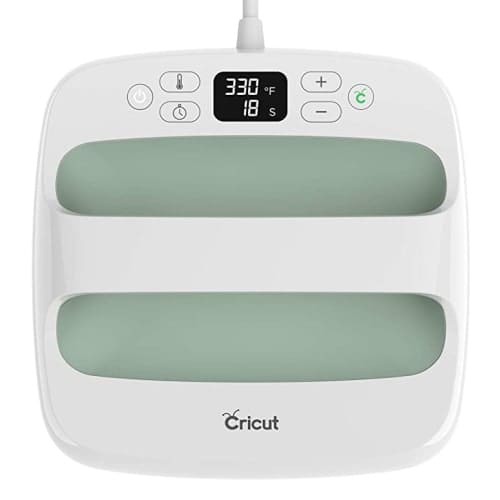
- Cricut EasyPress 2– If you don’t have an EasyPress, a regular old iron will work, too. Just make sure to apply equal pressure on all parts of the decal.
- Heat press mat– Any heat-safe mat will work, but I don’t recommend using an ironing board. They move around too much, and the movement can mess up your design.
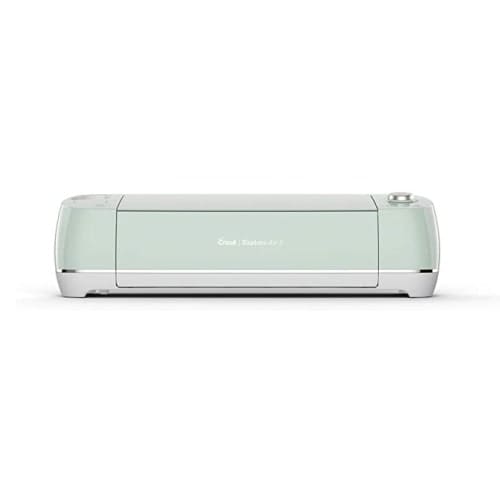
- Iron-on decal– Create your own using a small cutting machine (I love my Cricut Explore Air 2!) and heat transfer vinyl (I use this brand)! You can also check out a few that I’ve already designed here!
- Canvas wine bags– I used these, but any canvas bags will work. To make sure the vinyl adheres properly to the canvas, your wine bags should be clean and non-wrinkled.
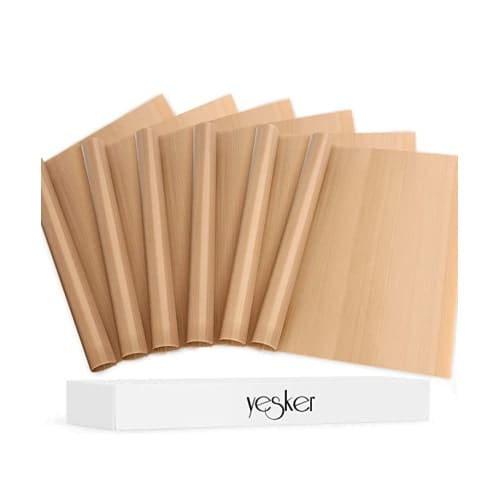
- Teflon sheet– Teflon helps protect the surface (and the vinyl) from excess heat. I ordered this six-pack online for under $15. If you don’t have any sheets on hand, wax or parchment paper works well, too.
How to Make a Personalized Wine Gift Bag

Step One: Create a Decal
Making your own personalized wine gift bags is seriously SO easy, y’all! You do need a heat transfer vinyl (HTV) decal beforehand, though, so keep that in mind. It’s totally up to you whether you design your own in Design Space, use one of my already-made fall templates, or order one online. If you do create your own, here are a few things to remember–
- First, be sure to use a font that works well for iron-on projects. Heat transfer vinyl is a little tougher to work with, and delicate small text can be an absolute nightmare to weed out. Two of my personal favorite fonts for iron-on projects are Magnolia Sky (script) and Big Caslon (print).
- Next, re-size your decal to fit your gift bags before cutting. Fortunately, almost all wine gift bags are roughly the same size, so 3″ wide is a good place to start. For reference, I made all my decals 3″ wide.
- Finally, remember to set your material to iron-on vinyl and remember to check Mirror and before cutting. I’m bolding mirror because I forget about 20% of the time, and it’s just a heartbreaking waste of HTV.


Step Two: Prep the Surface
Once your decal’s cut and ready to go, set your EasyPress or iron to 340F. Then place a clean* canvas wine tote on your ironing mat and preheat the material for 15 seconds. Once the canvas is preheated, position your vinyl where you want it and cover it with a Teflon sheet.
*I recently tackled ironing onto burlap, and it’s significantly easier when you remove all the extra fuzz with a lint roller beforehand. Canvas is much easier to work with anyways, but running a lint roller over the surface beforehand can’t hurt.

Step Three: Iron the Decal Onto the Canvas Wine Bag
Cricut iron-on instructions can be intimidating, but this project’s as easy as it gets. With your EasyPress pre-heated to 340F, iron on the decal for 30 seconds using light pressure. Then, flip the bag over (yes, to the blank side) and heat for another 15 seconds. It’s probably not necessary, but I like to cover the blank side of the bag with a Teflon sheet, too, to protect the canvas.

Step Four: Carefully Remove the Iron-On Liner
Let everything sit for at least 10 minutes and then slowly remove the liner when it’s cool to the touch. Trust me, as tempting as it is, you’ve got to wait those 10 minutes. Otherwise, the vinyl won’t fully adhere and you may end up pulling some letters up with the cover sheet.

Step Five: Add a Ribbon
Finally, pop a bottle of wine inside and tie a ribbon around the top to add a little extra flair! I chose black ribbon for these fall wine gift bags, but pink would be cute for Galentine’s Day, red, green, or gold would be great for Christmas, etc.

For example, here are six DIY wine bottle bags I created for friends at a fall girls’ night. Once I got the hang of the whole iron-on-canvas process, I just couldn’t stop! Plus, pro tip: if you work in batches, you can get six or seven personalized wine bags hammered out in under an hour.
Click play on the Instagram Reel below to watch a short little how-to video or keep scrolling for a savable DIY instruction card!


DIY Fall Wine Gift Bags
Making your own DIY wine gift bag is the perfect way to add a little something extra when gifting a bottle of vino! Plus, once you’ve got the hang of ironing onto canvas, each bag takes less than 5 minutes. I made this particular batch Thanksgiving-themed, but you can also monogram your bags, add cute vinyl decals, and/or come up with your own cute wine quotes!
Materials
- Iron-on vinyl decal
- Canvas wine bag
- Lint roller
- Teflon sheet
Tools
- Cricut Explore Air 2
- Heat press mat
Instructions
- Design and cut your own iron-on vinyl decal using Cricut Design Space. If you don't have a smart cutting machine, you can also often find iron-on decals in craft stores and online.
- Set your EasyPress or iron to 340F and run a lint roller over the canvas wine tote to remove any fuzz. Place the clean canvas wine tote on your ironing mat and preheat the material for 15 seconds. Once the canvas is preheated, position your vinyl where you want it and cover it with a Teflon sheet.
- Iron on the decal for 30 seconds using light pressure. Next, flip the bag over (onto its blank side) and heat for another 15 seconds.
- Let everything set for at least 10 minutes and then slowly remove the iron-on liner when it’s cool to the touch.
- Pop a bottle of wine inside and tie a ribbon around the top to add a little extra flair.
Notes
If you'd like to use one of my pre-made fall wine bag templates, click here. If you'd prefer to design your own, be sure to use a font that works well for iron-on projects, like Magnolia Sky (script) or Big Caslon (print), and re-size your decal to fit your gift bags before cutting. After you've designed and/or selected your decal, remember to set your material to iron-on vinyl and check Mirror and before cutting.
If you don’t have an EasyPress, a regular old iron will work, too. Just make sure to apply equal pressure on all parts of the decal.
Once everything's ironed on, remember that you’ve got to wait those 10 minutes for everything to cool down. Otherwise, the vinyl won’t fully adhere and you may end up pulling some letters up with the cover sheet.
Recommended Products
As an Amazon Associate and member of other affiliate programs, I earn from qualifying purchases.
More Fall Wine Bag Ideas
One of my favorite things about designing your own vinyl decals is that you can get as creative as you want and really tailor the project to any particular holiday or season. If you need some fall wine bag ideas, here are a handful of cute ones (including the ones I chose)–
- Pairs Well with Relatives
- Let the Gourd Times Roll
- Eat, Drink, and Be Thankful
- Thankful for You (and Wine)
- Cheers
- Liquid Therapy
- This Wine Pairs Well with Turkey and Relatives
- Happy Wines-Giving
- Love the Wine You’re With
- You Can’t Dine Without Wine
I also went with a classic “Happy Thanksgiving” and a basic “E” monogram. If you prefer classic 3-letter monograms, check out this guide to creating monograms in Design Space!


Which personalized wine bag is your favorite?! Mine is hands down “Pairs Well with Relatives”—it just hits close to home (ha)!
More Fall Cricut Projects
If you loved these DIY wine gift bags, you’ll be pleased to know that there’s a world of Cricut vinyl projects out there! For more fun Cricut fall projects, check out these posts–
- DIY Monogram Glitter Pumpkin– If you’re new to working with vinyl, this Cricut fall decor project is as basic as it gets! The step-by-step Cricut vinyl tutorial shows how to create a gold glitter monogram and then transfer it to an artificial pumpkin. Ours has an E and looks adorable on the front porch!
- “Hey There, Pumpkin” DIY Cricut Doormat– If you’ve ever wondered how to design your own DIY doormat, this is the tutorial for you! This Cricut fall decor project is a tad bit more involved than the DIY monogram glitter pumpkin, but it’s definitely still doable for Cricut beginners!
Anyway, thanks so much for reaching, y’all! As always, let me know if you have questions. Whether you need help designing your own DIY wine gift bag or finding Layer Cake wines, I’m happy to help!
Just so you’re aware, this post has been sponsored by Layer Cake Wine. As always, though, all thoughts and opinions are my own. Thank you so much for supporting the brands that make Diary of a Debutante possible!


OMG….Stephanie, I love the wine bags!!!! What a great idea <3
You are so creative!!!!
Thank you for sharing such amazing DIY wine gift bag tips! As someone who loves giving and receiving wine during fall gatherings, this post is right up my alley.