*This post may contain affiliate links, which means I may receive a commission (at no additional cost to you!) if you make a purchase using any of these links.*
This post was sponsored by Worx Tools as part of an Influencer Activation for Influence Central. As always, all opinions and ideas expressed in this post are my own. Thank you for supporting the brands that make Diary of a Debutante possible!
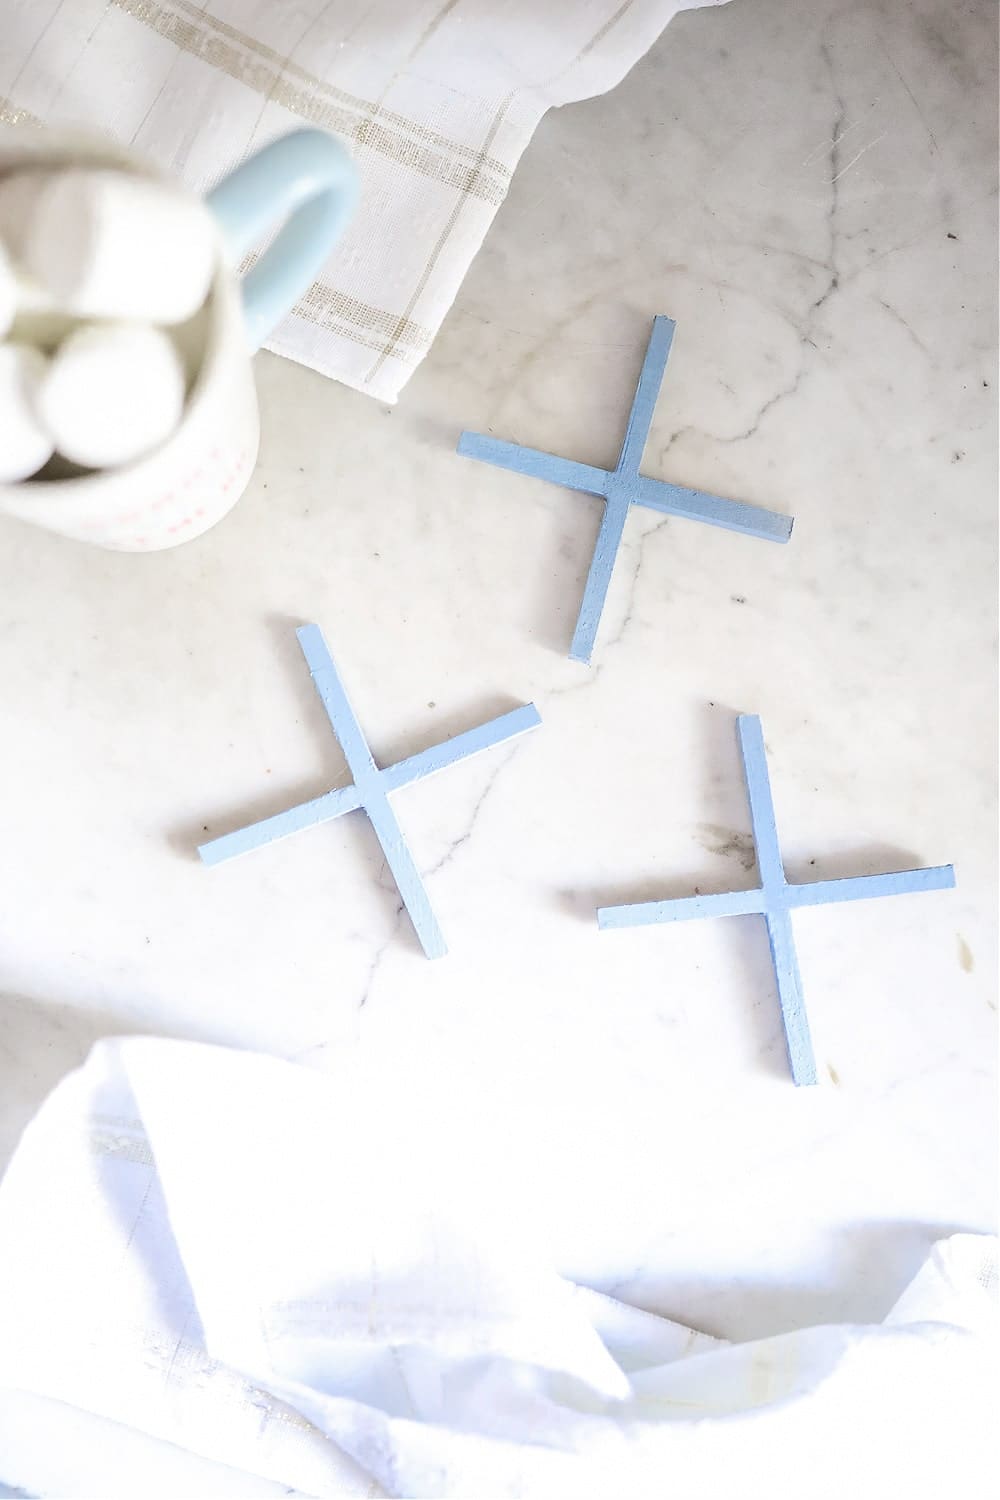
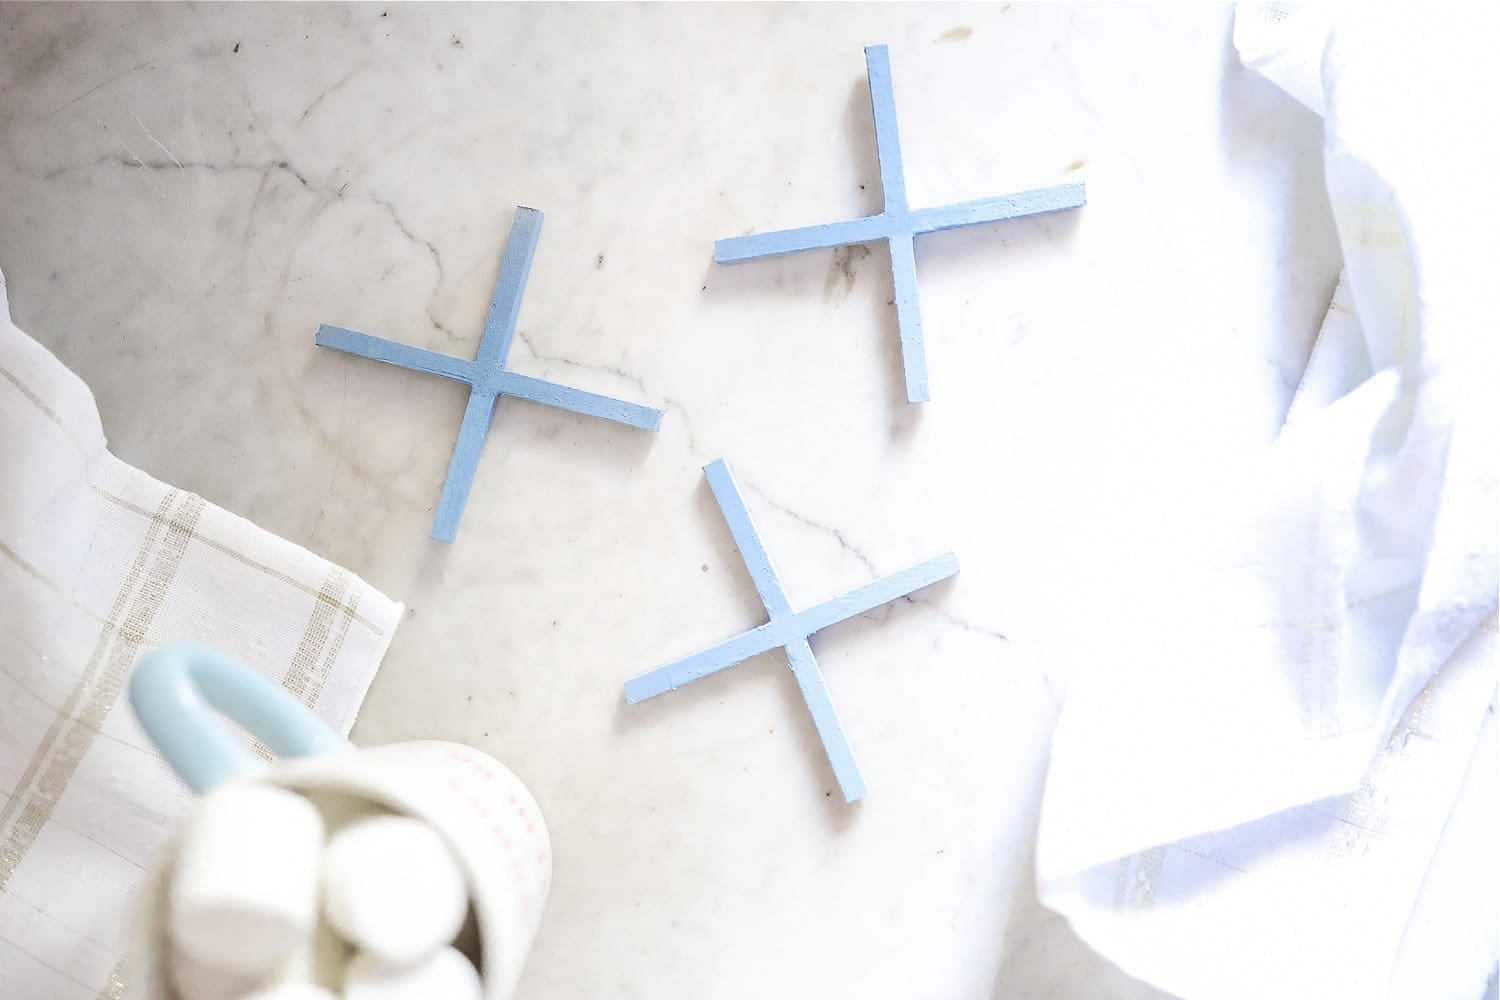
I’ve had my WorkX MakerX creative tools for a couple of weeks now, and I’ve gotta say– they’re pretty awesome. I knew nothing about power tools prior, so I love that they’re handheld and user-friendly, even for total newbies like me. In addition to a few other fun homemade Christmas gifts (I used the wood and metal crafter to make personalized wooden cheese boards, and they’re precious!), I used them to create these fun x-shaped wooden coasters for the WorkX Power of X contest, and I love how they turned out! They were surprisingly easy, too, and they gave me an excuse to test out two different MakerX attachments simultaneously. Keep reading for a step-by-step DIY painted wood coasters tutorial, plus information on how to enter Worx’s “Power of X” contest. You have until January 8th to enter and could win up to $5,000, so definitely check it out!
DIY Painted Wood Coasters
Materials
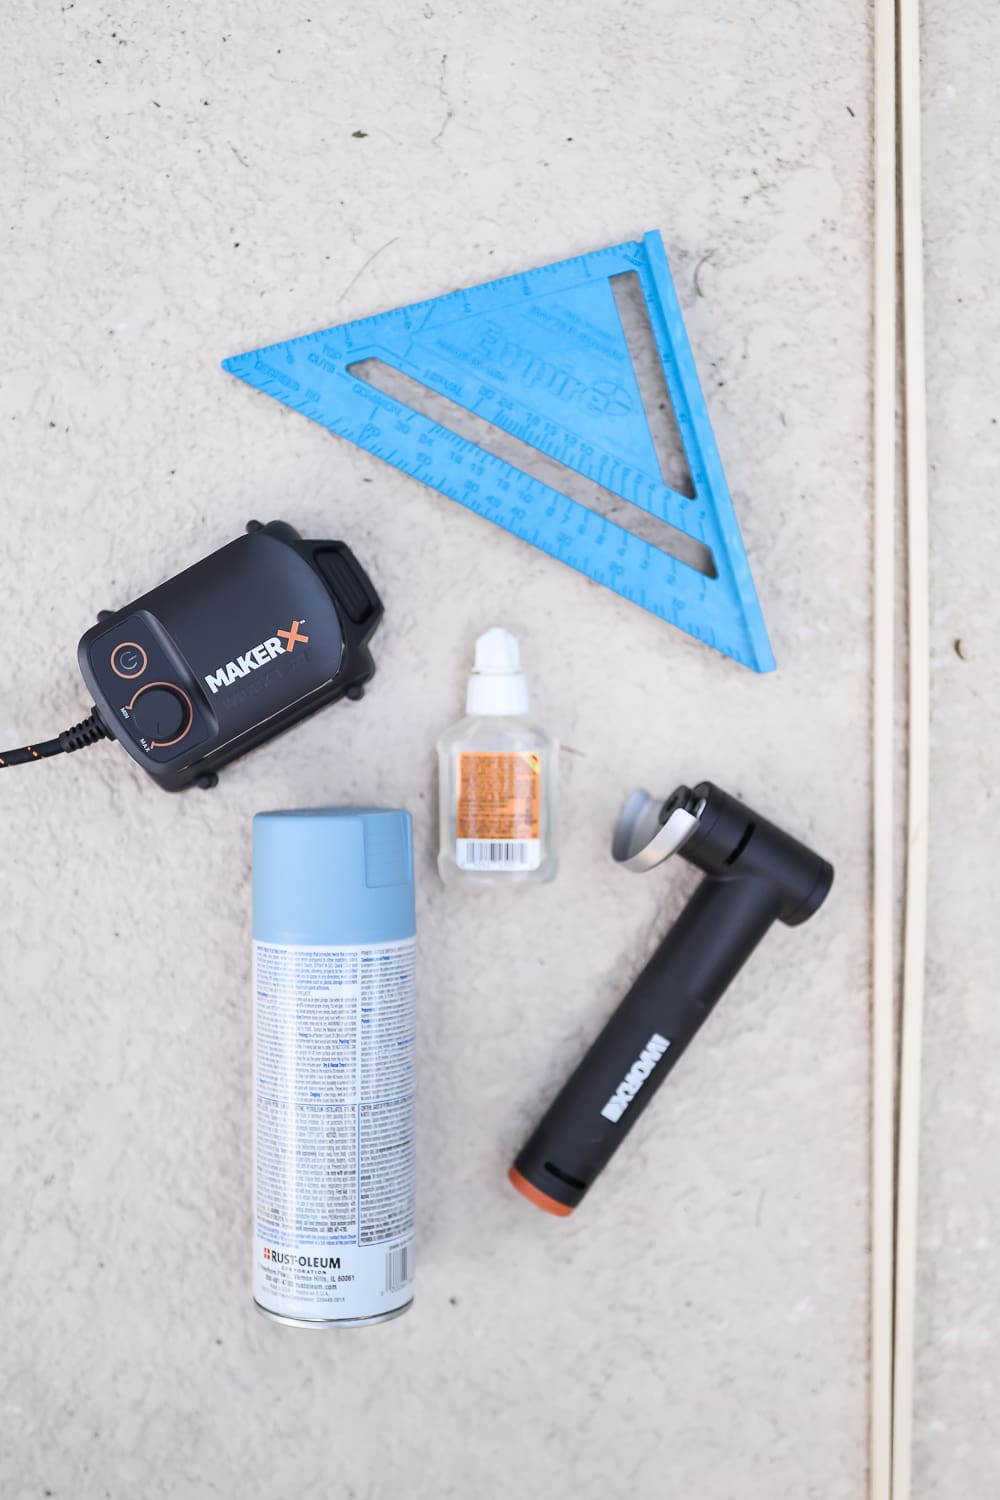
Here’s everything I used to make my DIY wooden coaster set–
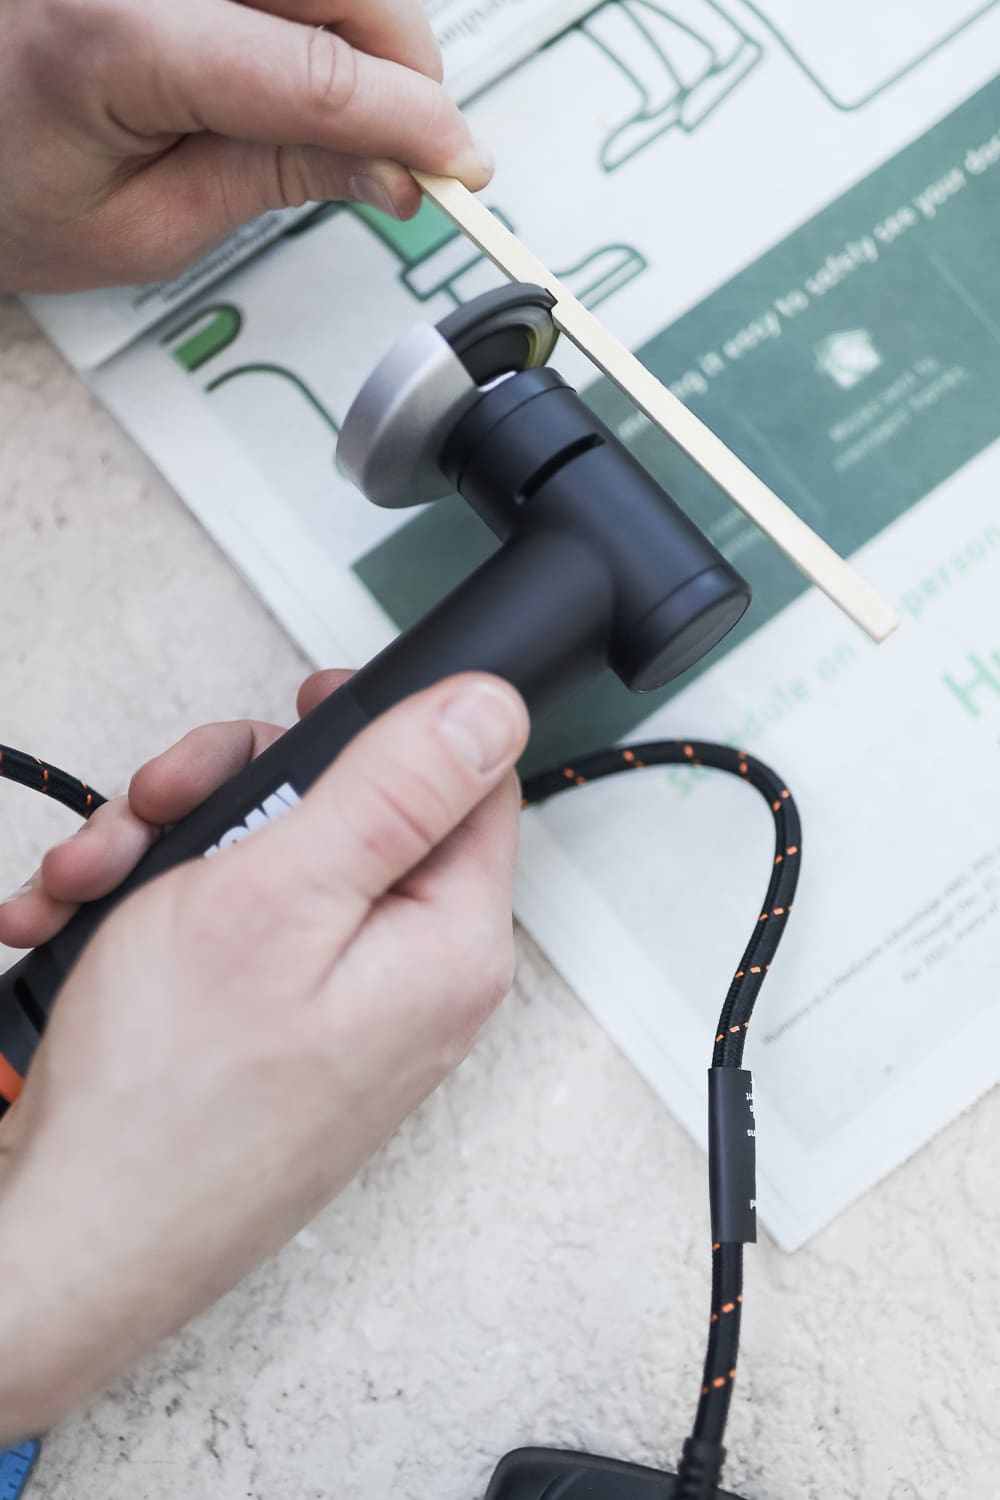
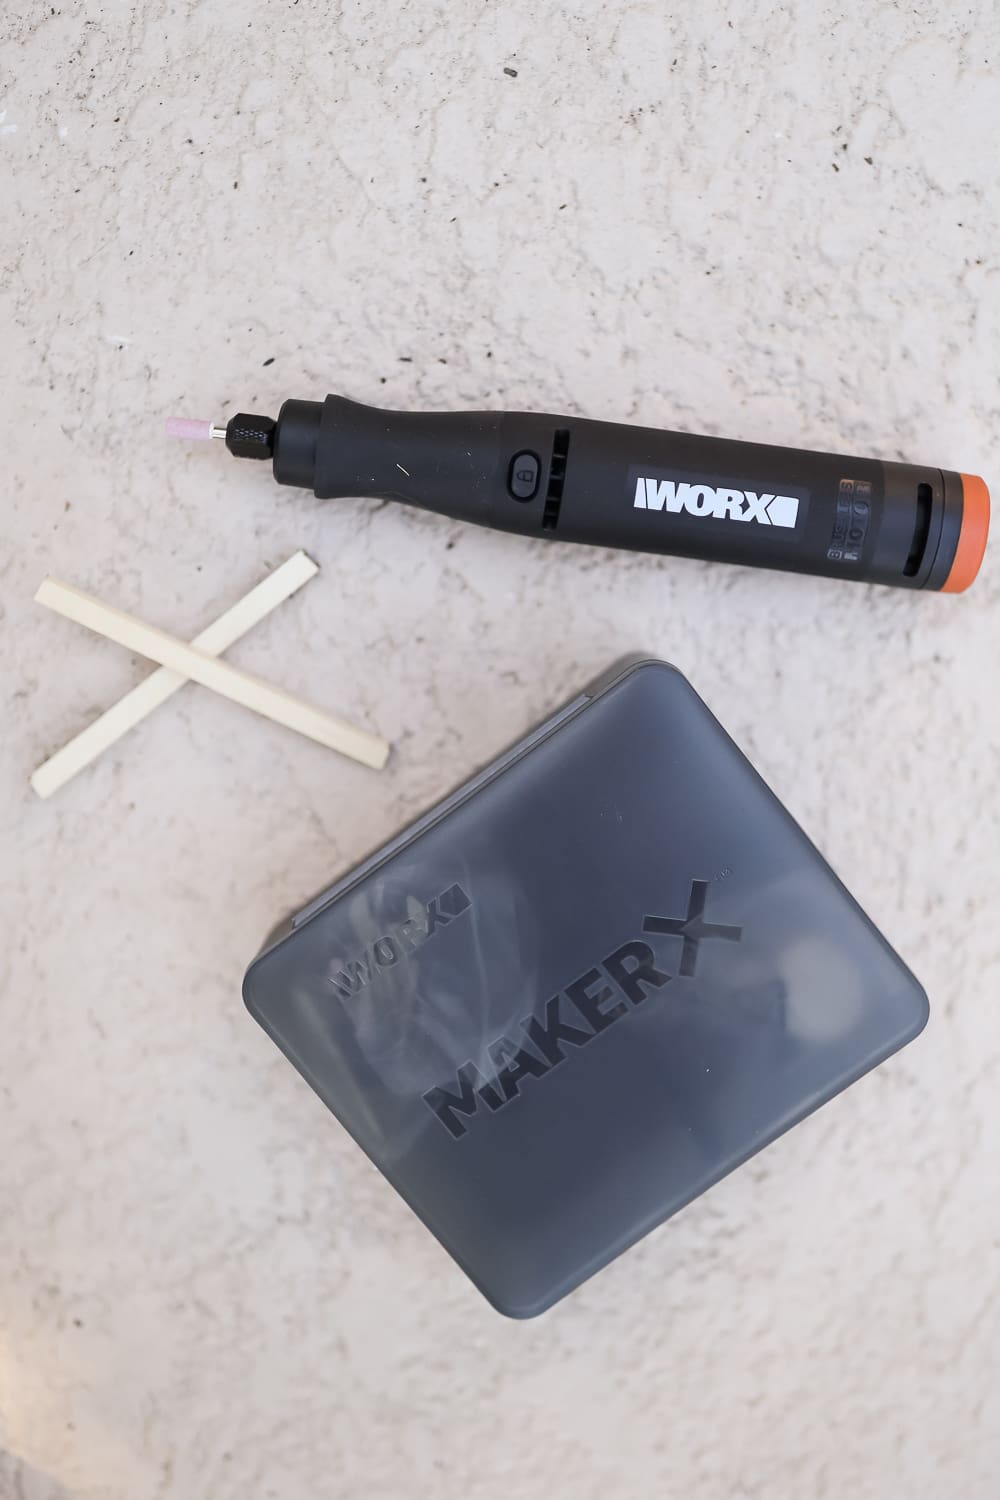
- WorkX MakerX Creative Tools– If you’re not familiar, MakerX tools are go-anywhere creative tools that revolve around a 20V Power Hub! You can learn more about all five attachments here, but I used the angle grinder and rotary tool for this project.
- 1/4″ hardware square dowels– I found mine at the hardware store in the lumber aisle. If you can’t find them, you can also use wooden strips, but they require some extra steps.
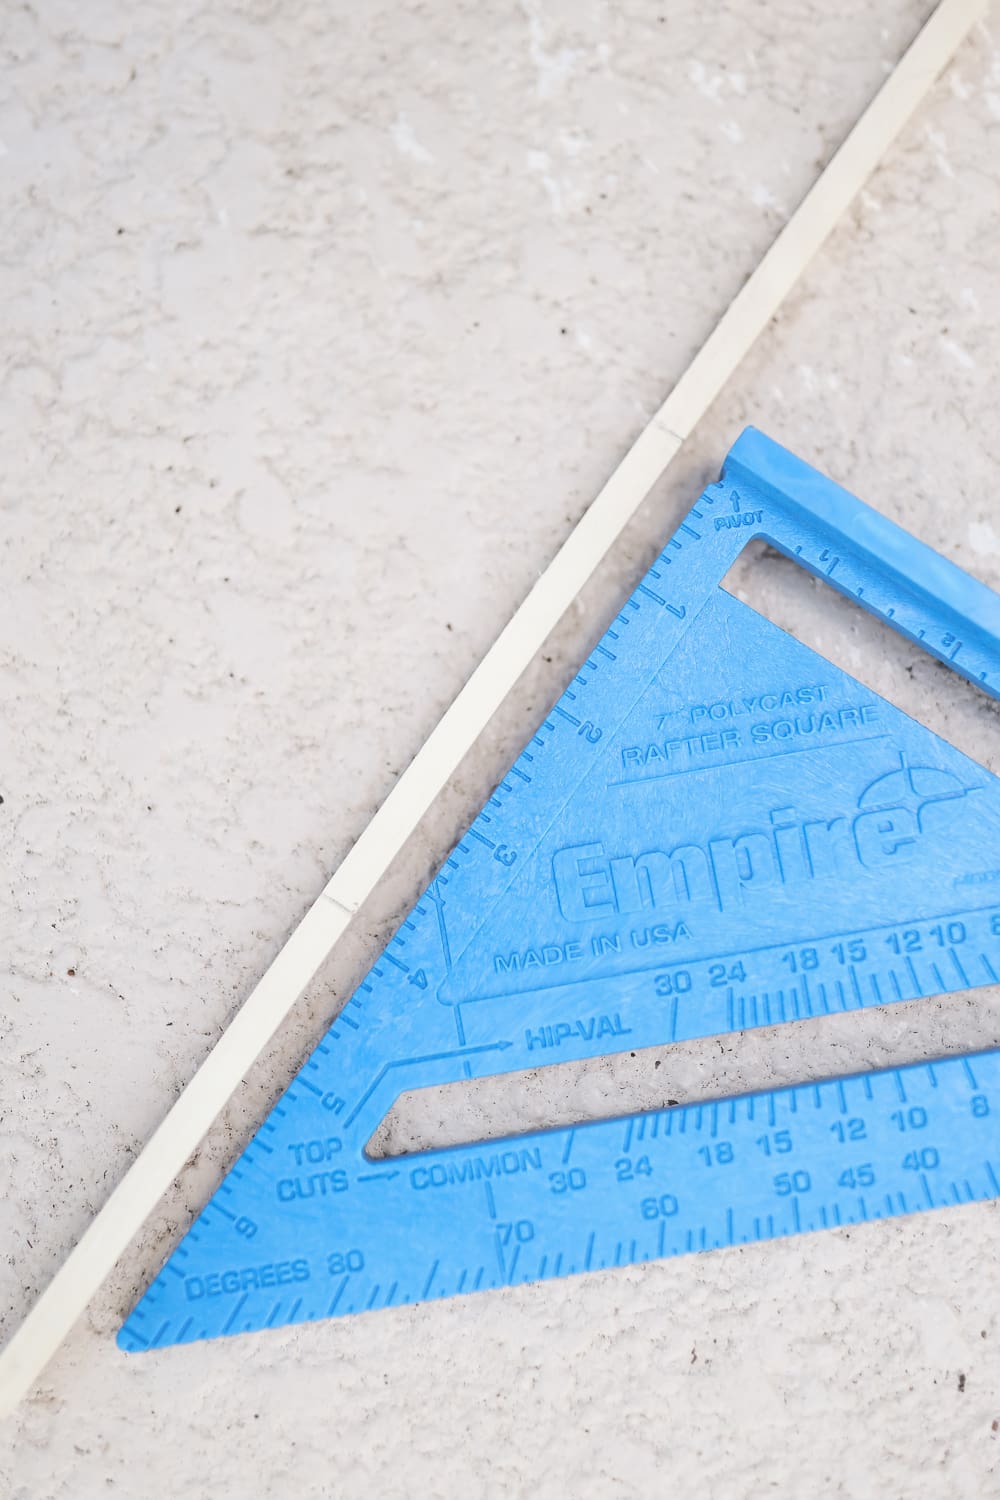
- Ruler or T-square– Your x-shaped wooden coasters should be identical, and a t-square is perfect for making precise measurements.
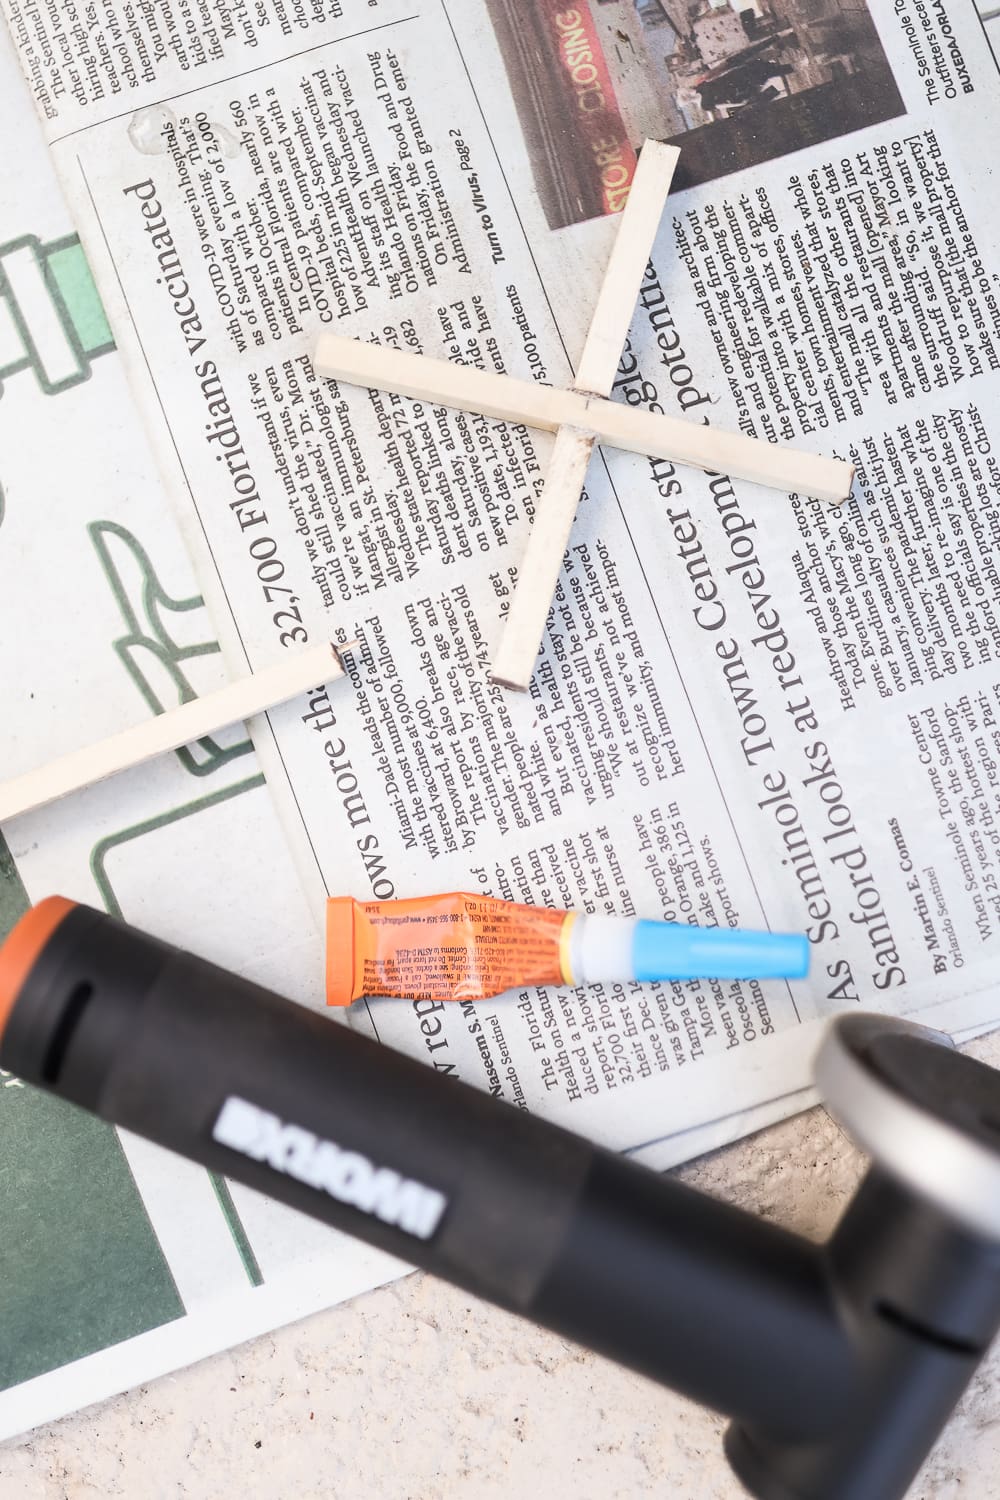
- All-purpose glue– As much as I love hot glue, I recommend a clear wood glue that doesn’t clump up.
- Light blue spray paint– I used a color called French Blue, but you can obviously use whatever you color you like! I just recommend that you choose a formula that’s a paint and primer in one.
DIY Wooden Coaster Set Tutorial
I’m a complete neophyte when it comes to both power tools and woodworking, so I got the inspiration for this project from homedit. I made a handful of modifications (full disclosure– this project is much easier with the MakerX creative tools!) and am so happy with how they turned out! Here’s a step-by-step tutorial for how to make these DIY wooden coasters–
Step One
Measure out four 4″ strips and eight 1 3/4″ strips and cut them using the MakerX angle grinder attachment. Use a pencil and straight edge to mark the middle of each 4″ strip (right at 2″).
Step Two
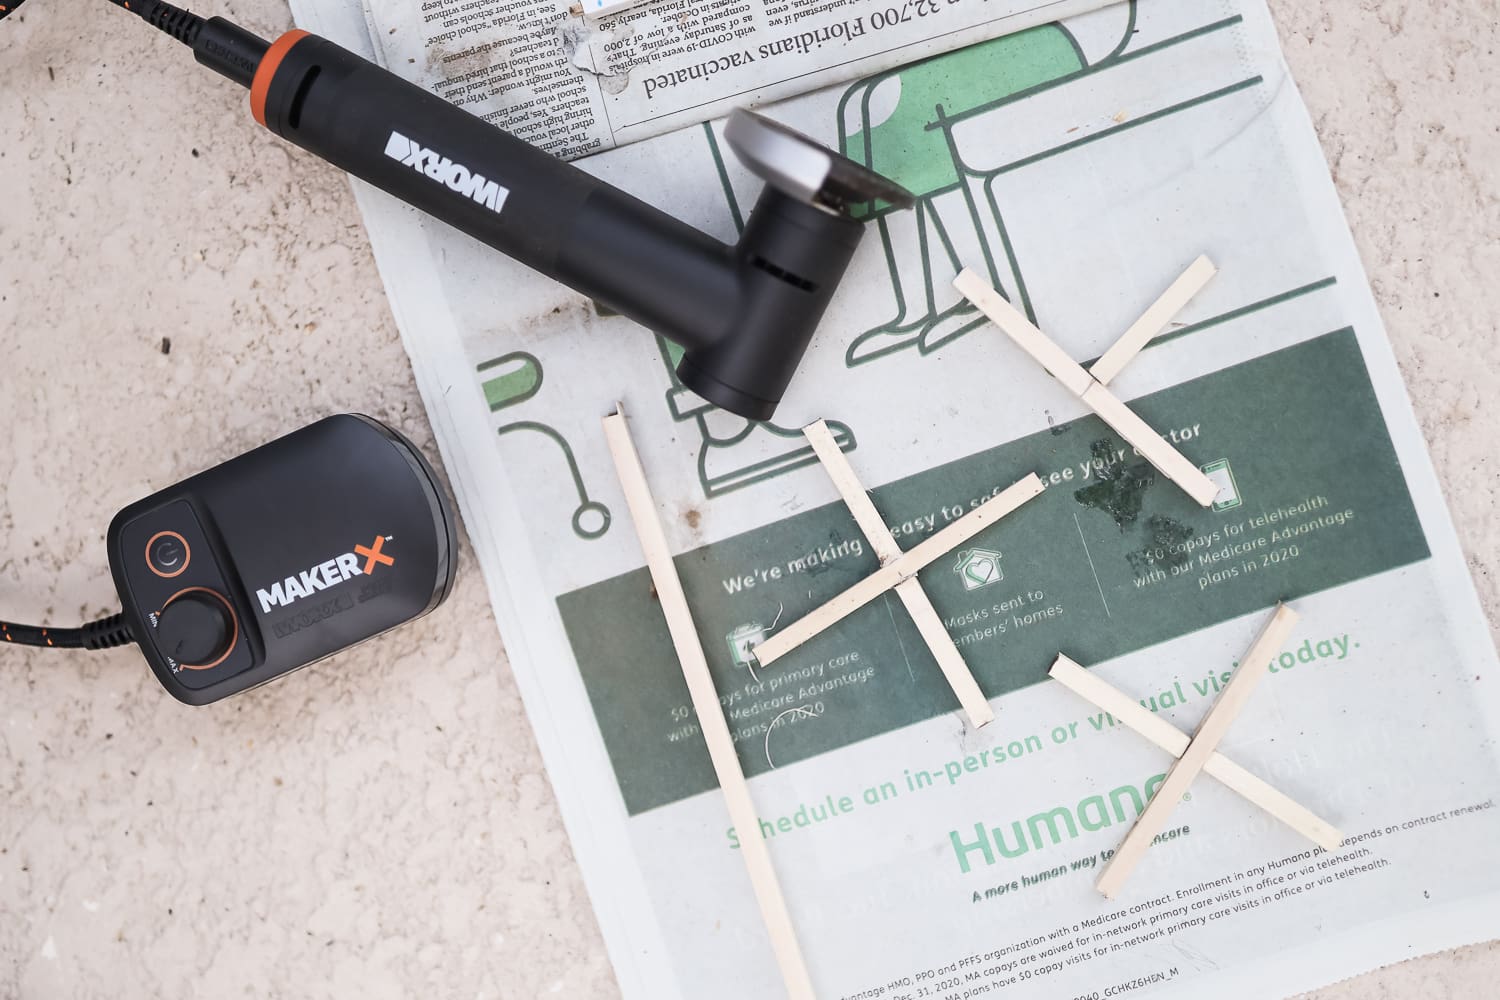
Place a dot of all-purpose glue on both sides of each 4″ piece and match up two 1 3/4″ pieces on both sides to form an X shape. Press together tightly and allow ample time to dry. Repeat until you have four x-shaped wooden pieces.
Step Three
After the glue has completely dried, use the MakerX rotary tool to sand down any globs of glue or rough edges.
Step Four
Move your project to a well-ventilated area and cover the ground with newspaper or cardboard. Spray coasters with light blue spray paint (or whatever color you like), making sure you cover all the sides. Depending on the color, you may need to do multiple coats. Allow ample time to dry!
Step Five
Enjoy your new coasters! Whether you give them as a gift or use them to decorate your home, I highly recommend entering them into the MakerX Power of X Contest. Sharing more details on that below!
Power of X Contest Details
Worx is hosting a fun contest called the Power of X, and I’m pretty pumped about it. The contest tasks enterprising crafters, makers, and DIY-ers with using their MakerX tools to create an X-shaped project. Once you’ve created your project, all you need to do is share a photo to Instagram, Twitter, or Pinterest by January 8th and tag #PowerofX, #Contest, and @WorxTools in the photo/caption! Click here for the official rules and contest specifics.
Six winners will be selected to win one of four cash prizes–
- 1st Place: $5,000
- 2nd Place: $2,500
- 3rd Place: $1,000
- Honorable Mentions (x3): $500
Crossing my fingers these x-shaped coasters bring me some luck in the new year! What do y’all think?
So… what kind of x-shaped projects are you (or would you) make with your MakerX creative tools? I’m thinking I’ll try some large wooden planters next. Kyle bought me lemon and lime trees as early Christmas gifts, and I think they’ll look great by our front door. It’s a little ambitious, but I’m crossing my fingers I can pull it off with my MakerX tools!
As always, let me know if you have any comments or questions about how I made these DIY painted wood coasters in the comments. I’m happy to help! Also, if you need more DIY inspo, check out some of my favorite holiday projects and DIY gift ideas!

