This post has been sponsored by Faultless Brands. All thoughts and opinions are my own.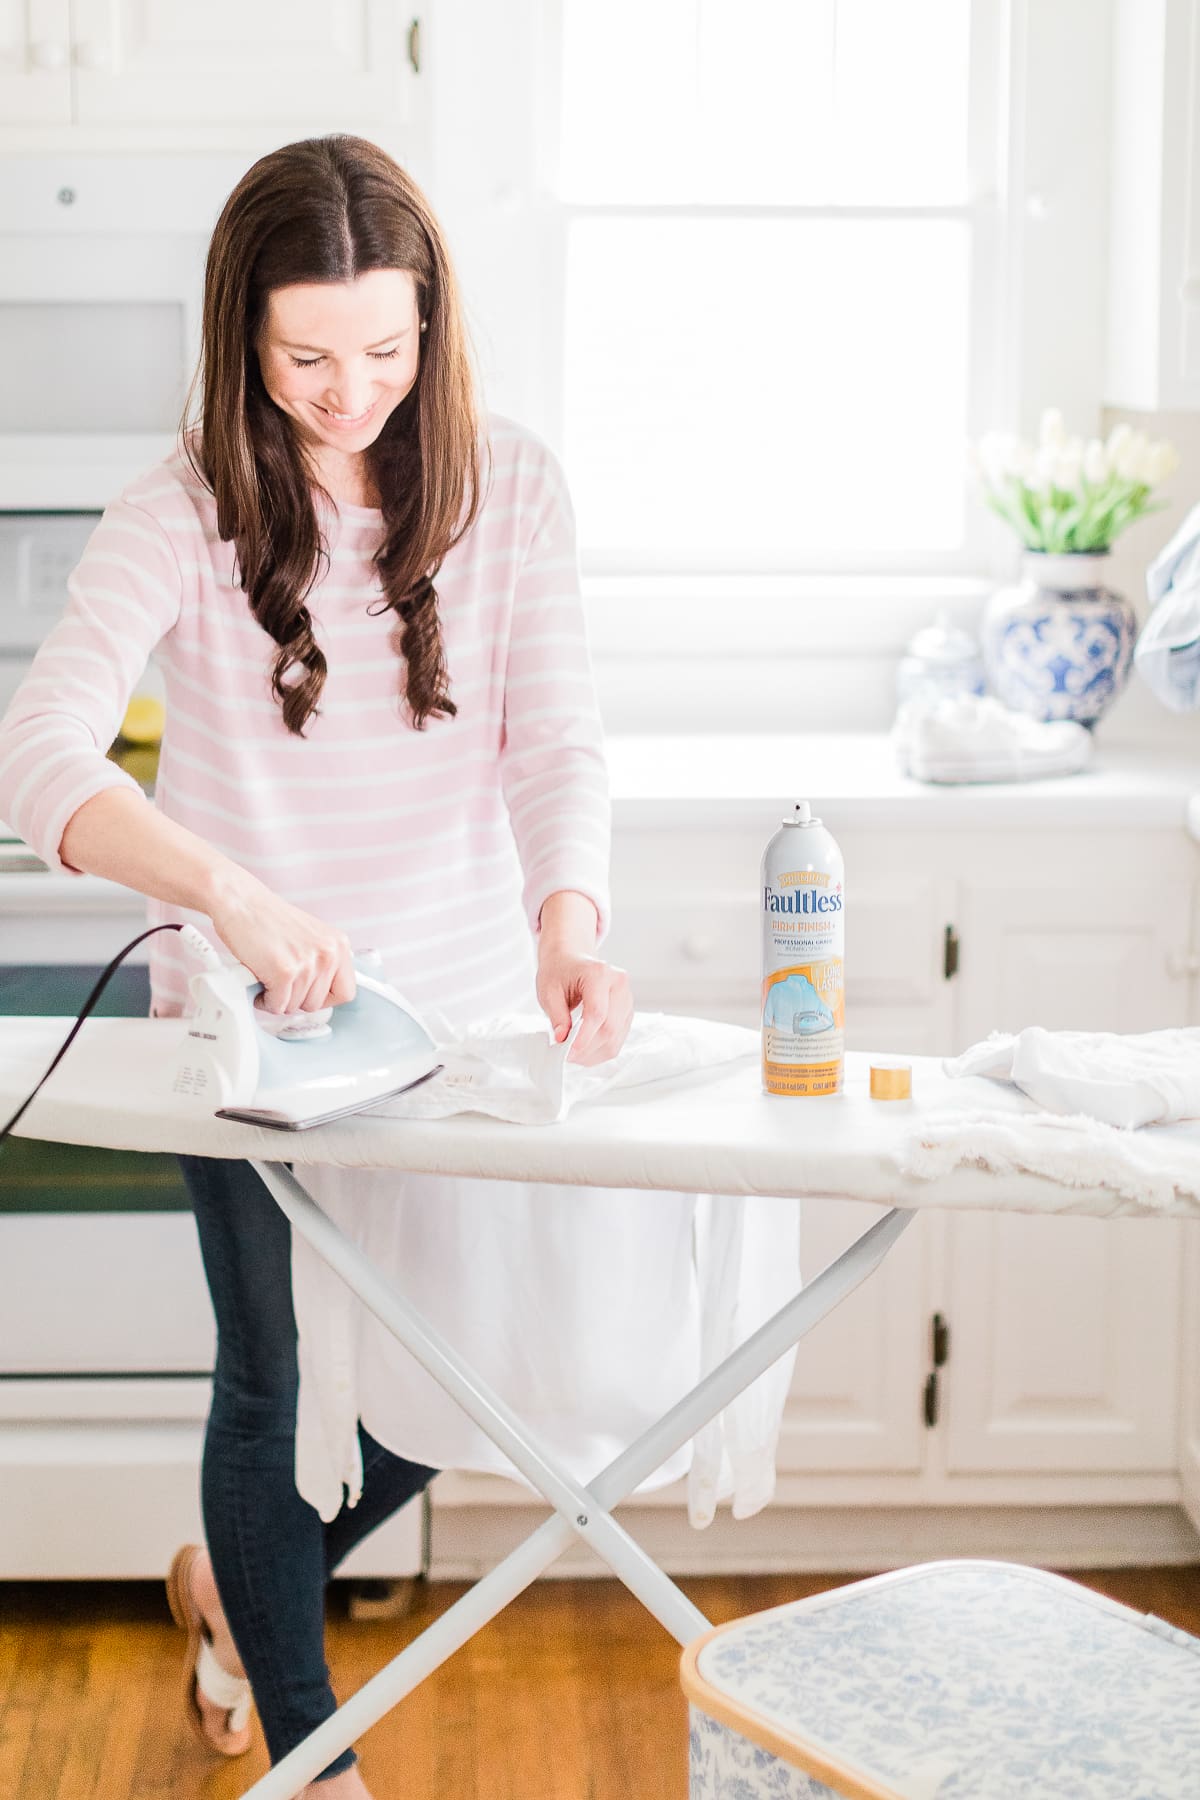
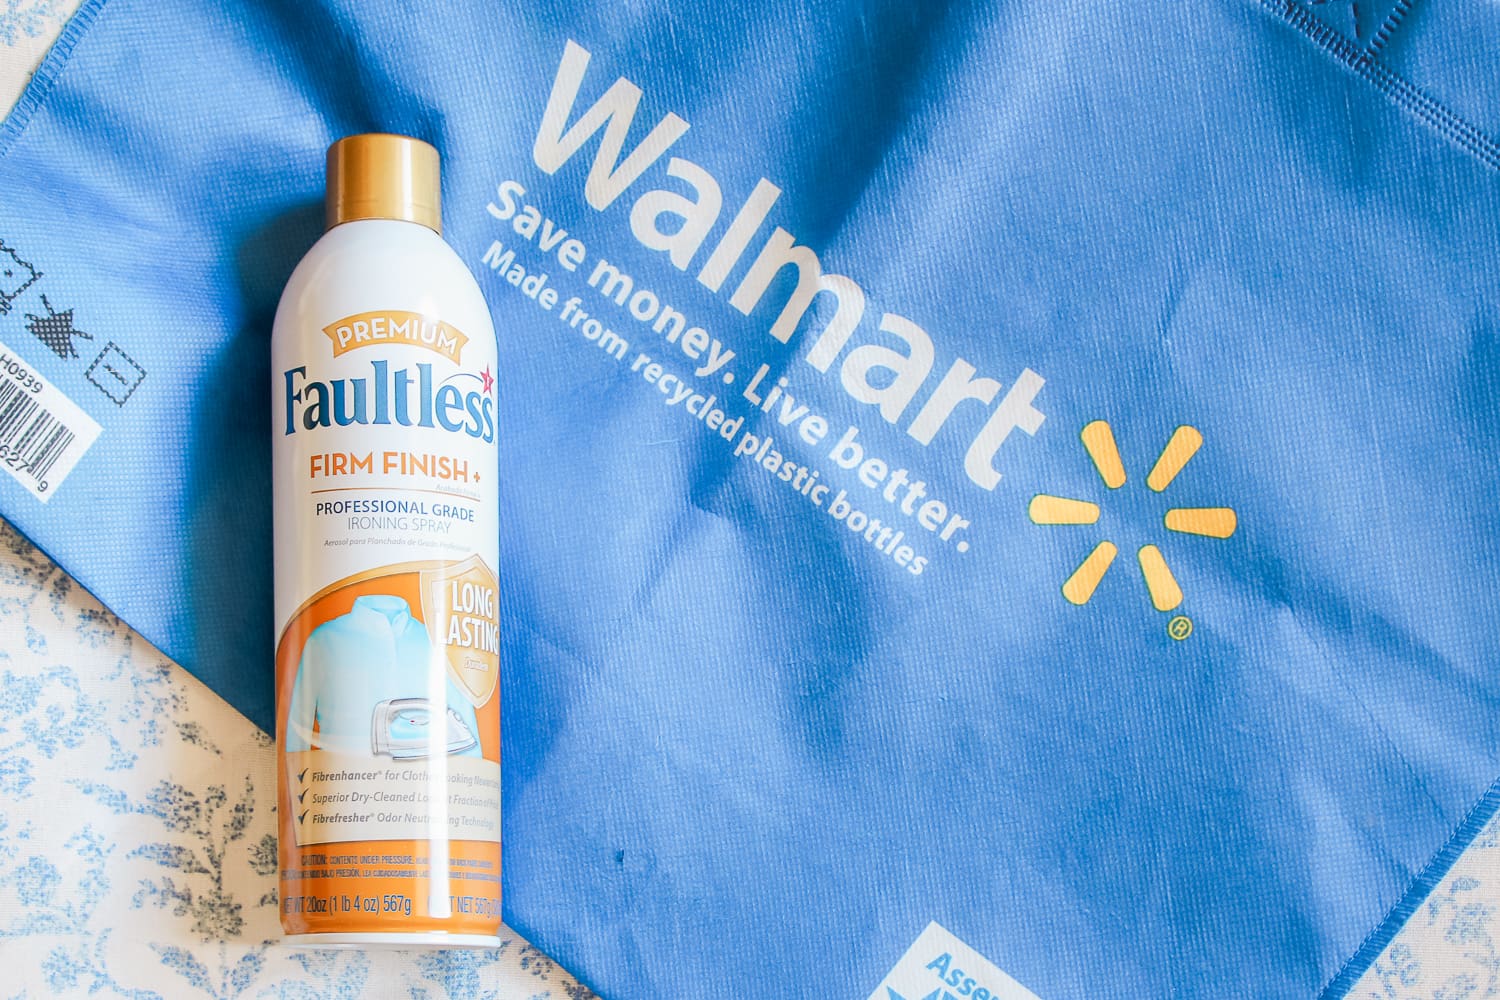
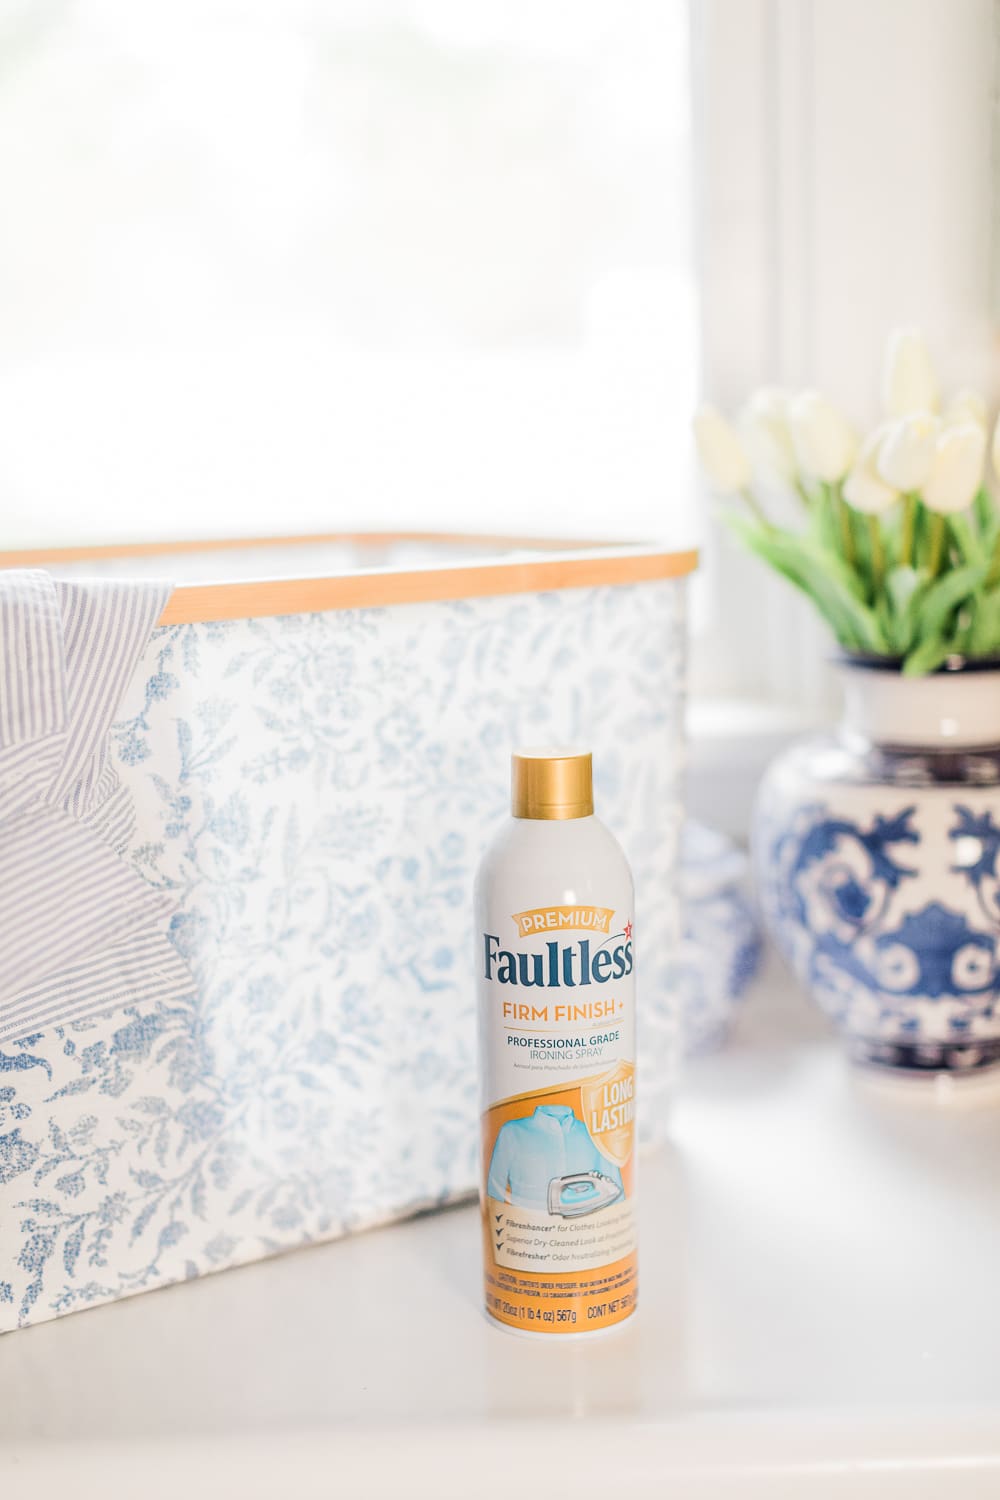
Kyle and I are in major savings mode right now, so I’ve been looking left and right for ways to cut expenses. I’m going to let you in on a little secret I learned during my search: half the things you’re sending to the dry cleaner don’t actually need to be dry cleaned. Dry cleaners use a regular starch spray, like Faultless® Premium Ironing Spray (which you can get at Walmart), to get the fresh, clean, professional laundering look that we all love, and it’s painfully easy to do yourself. I’m still kicking myself for not knowing how to use ironing spray earlier on, since it easily could’ve saved us hundreds over the past year alone. I also picked up a handful of super simple no-sew clothing hacks that’ve eliminated the need for a seamstress altogether, and they’re all things you can easily do at home.
So, if you’re hoping to cut back on your dry cleaning or tailoring bill—or if you’re just busy and want to be able to do these things yourself on your own time, keep reading for my top 5 tried-and-true clothing hacks!
1. Starch Your Clothes at Home
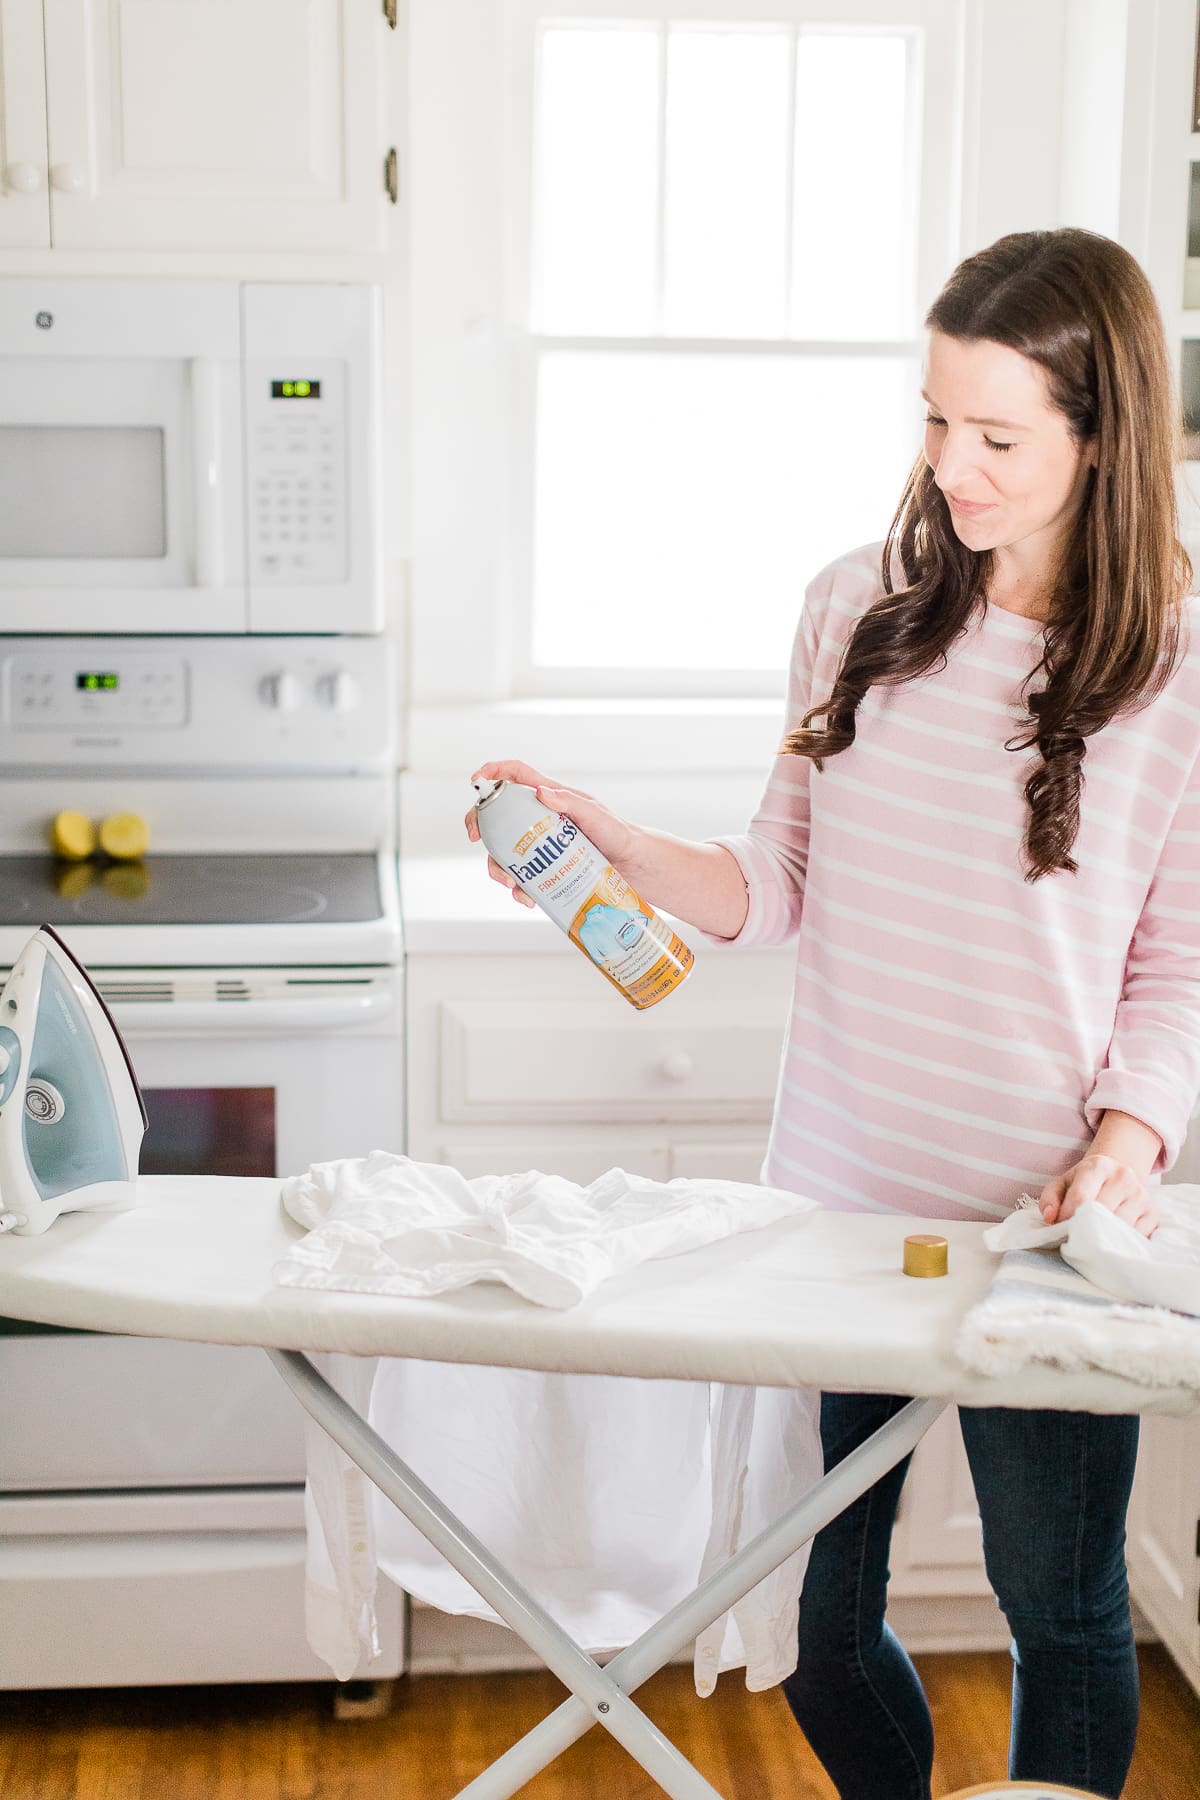
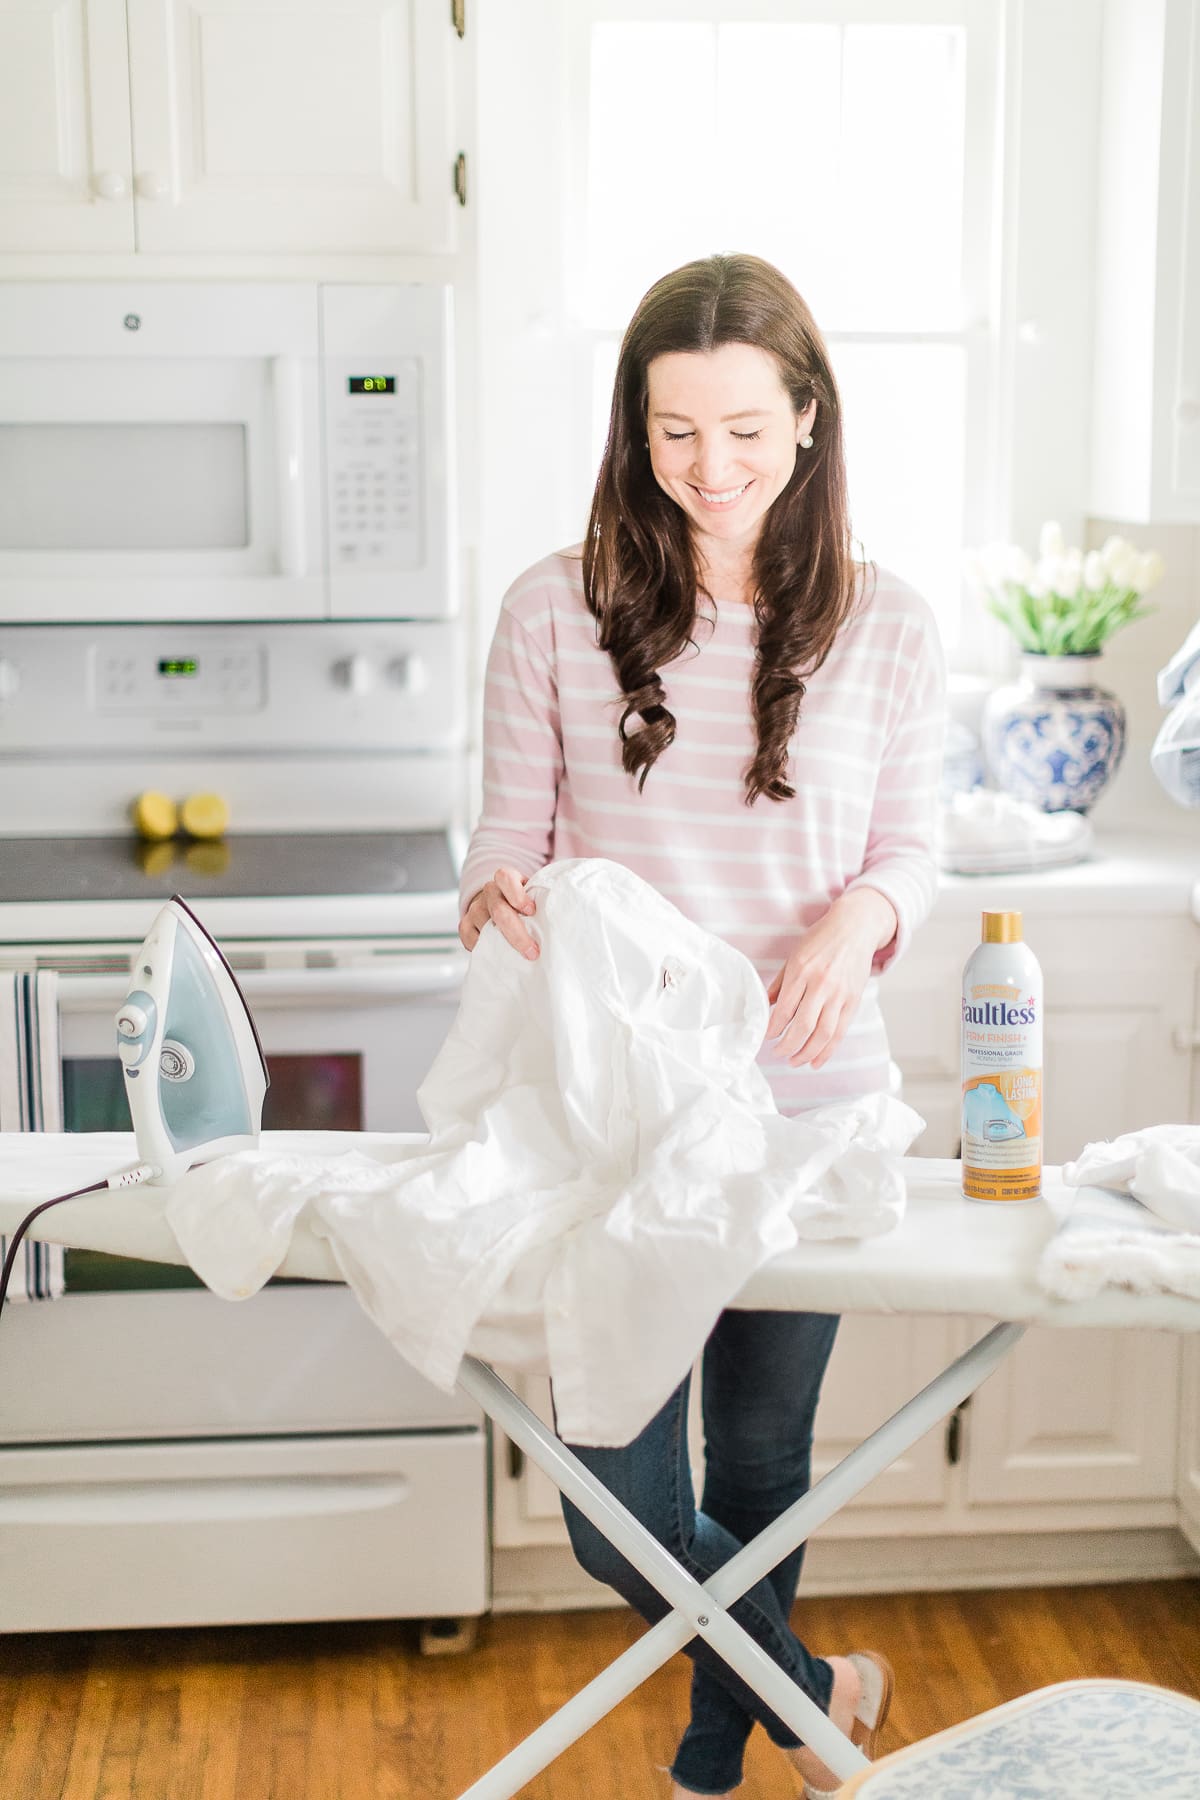
Starch spray is pretty awesome. Not only does it add structure to clothing, it creates a higher resistance to wrinkling and stains. Plus, it’s so easy to use—and you can pick up a bottle of Faultless Premium Ironing Spray at Walmart! Just head to the household essentials section next time you make a grocery run, and you’ll see it in the laundry aisle. This starch spray is actually used by dry cleaners already, and it’s a fraction of the price of professional laundering. So, if you want your clothes to look fresh, new, and professionally pressed without the professional price tag, here’s how to use starch spray at home…
Step 1: Set up your ironing board in an open, well ventilated area.
Before getting started, make sure your garment is clean and dried. This helps remove any dirt and/or existing spray layers that could interfere with the properties of the spray. Also, make sure each garment is made of iron-friendly material, like cotton or linen, before jumping in. Just to be safe, always check the garment label. If there aren’t any instructions, start with a low-heat setting and test on a very small area. Then, gradually increase the heat as necessary.
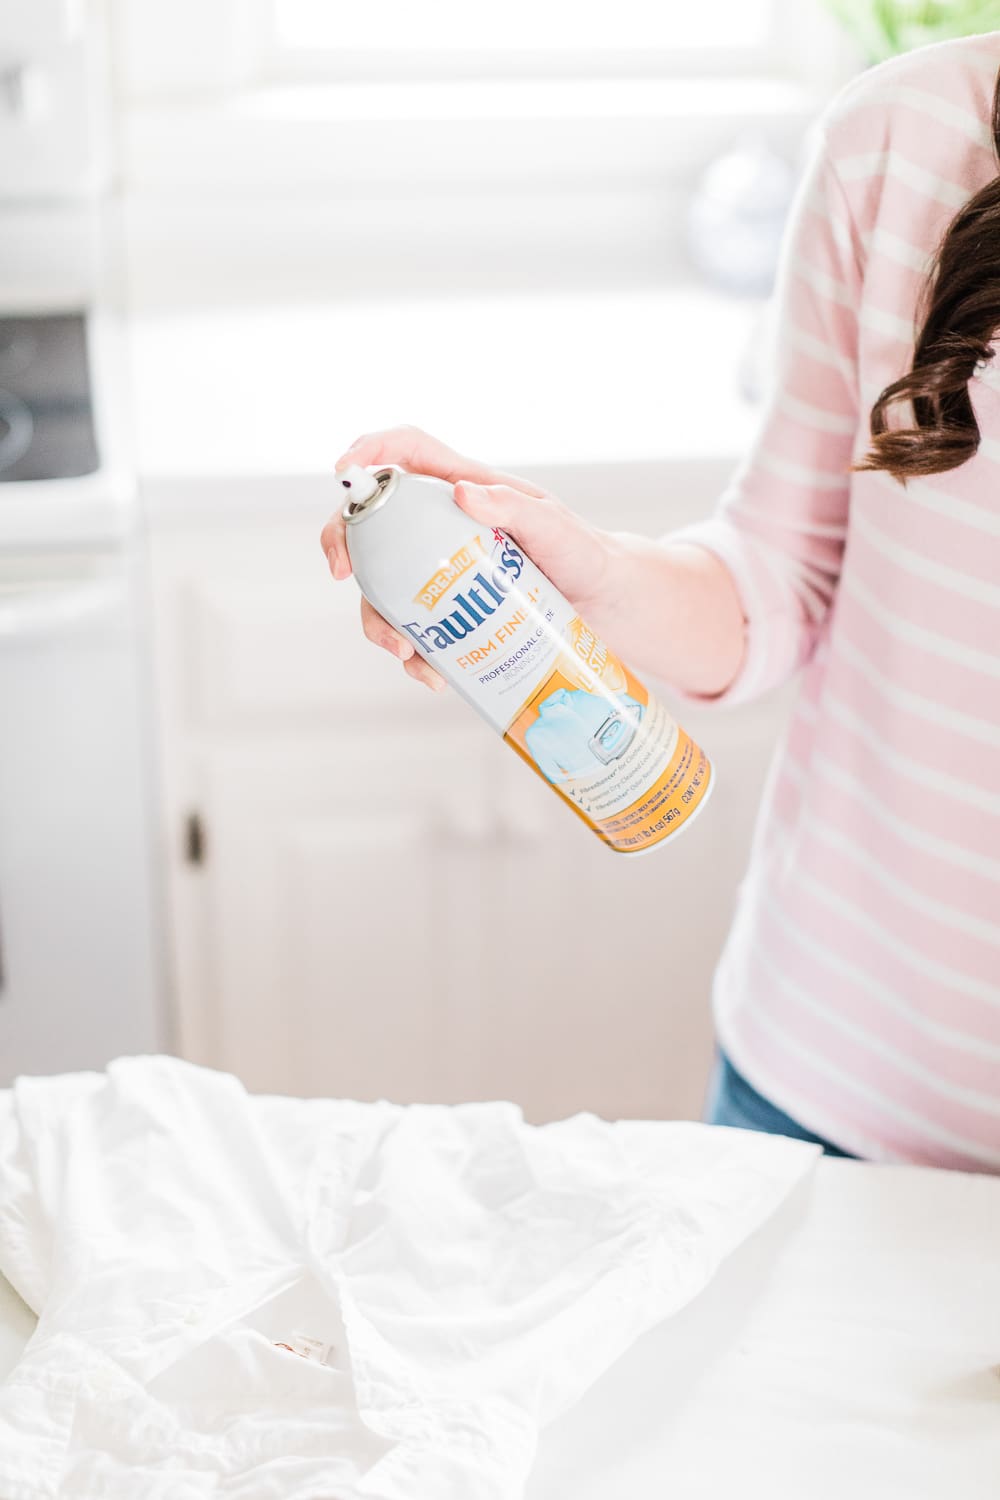
Step 2: Lightly shake the can and spray fabric lightly.
For best results, tilt the can slightly and hold 6″ – 10″ away from your garment. Also, I prefer to spray as I go, but do whatever works best for you!
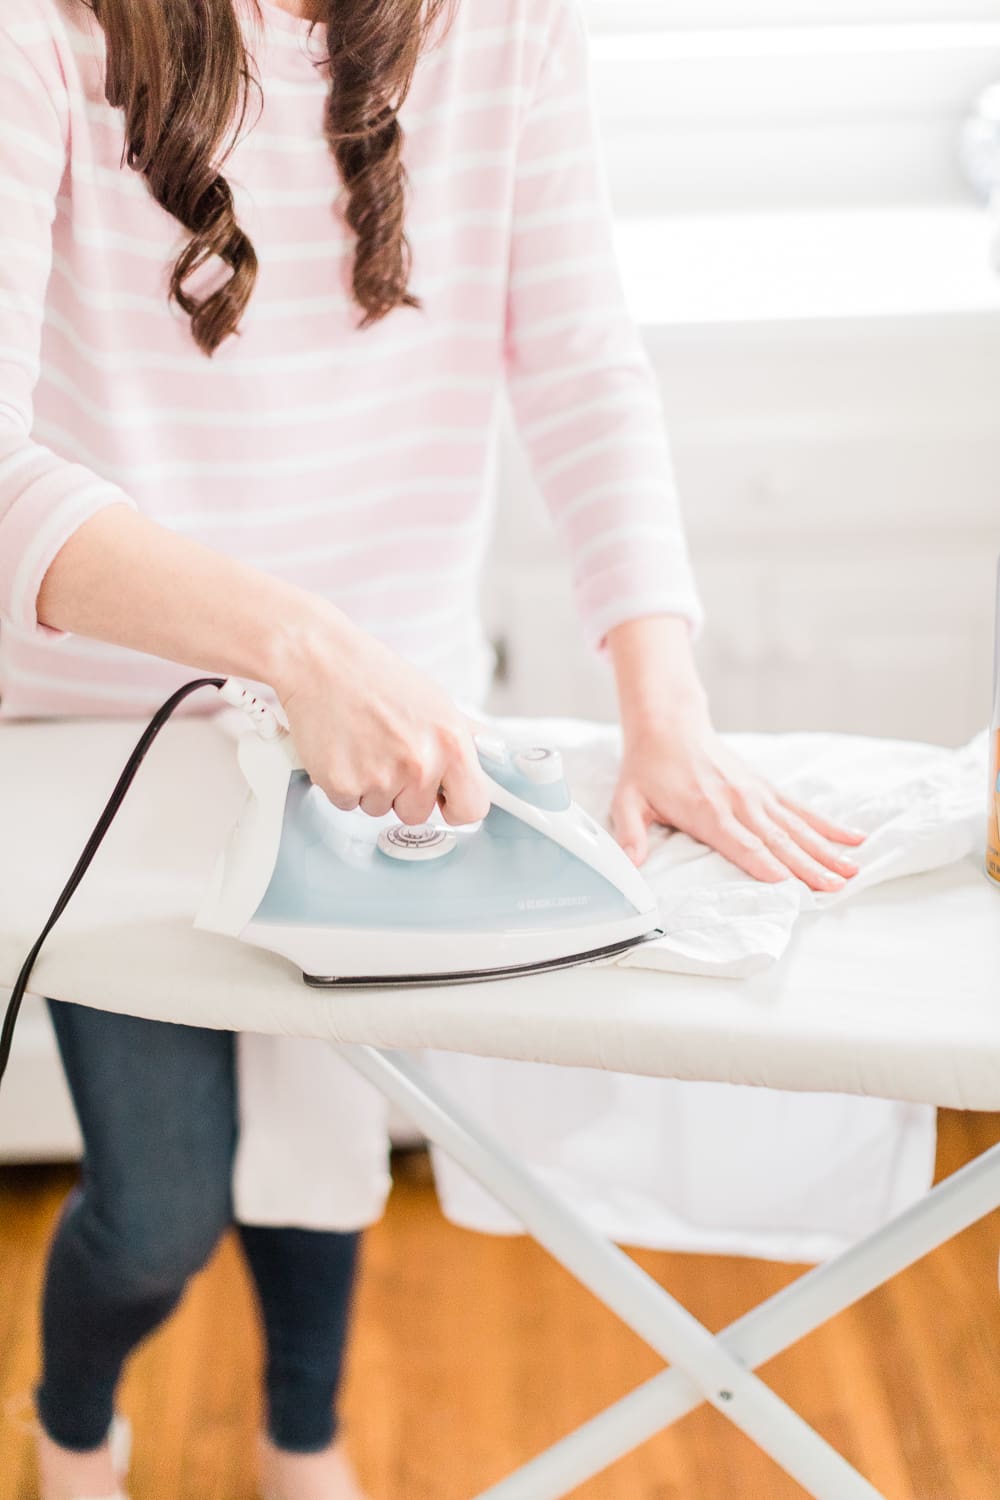
Step 3: Iron your garment.
As a rule of thumb, I start with both sides of the collar, followed by the shoulders. Then I work my way to the sleeves, cuffs, and body.
Step 4: Hang each item on a hanger after spraying.
Admire your work and help your garments keep their shape simultaneously by hanging them on hangers. Also, make sure each garment is dry before wearing or storing in a closet, otherwise it’ll wrinkle.
Oh, and another one of my favorite starch spray uses is for securing pant leg cuffs! If you’re tired of the folds of your favorite capri pants or jeans coming undone, spray on some Faultless Premium Ironing Spray! They’ll stay folded and wrinkle-free until their next wash.
2. Use Faultless Premium as a Stain Shield
I used to think spraying your sneakers with starch spray was an old wive’s tale, but I stand corrected. Spraying your canvas sneakers with Faultless Premium Ironing Spray after they’ve been cleaned is an amazing (and legitimate) way to protect them from future stains. Fortunately, the same goes for table linens, too. After spraying with starch spray and ironing out wrinkles, not only are my napkins and tablecloths pressed and pristine, they’re more resistant to future stains, too.
3. Fix Broken Zippers with Pliers
I can’t count the number of bags, jeans, and random camping equipment I’ve tossed and/or sent to the tailor because of a broken zipper. Turns out, everything’s fixable, and you probably don’t need a professional to do it. Just grab a pair of pliers and gently squeeze the front and back plates of the zipper slider until they look even. Be careful not to apply too much pressure or you could break the zipper altogether. Also, when all else fails, ask the internet for guidance.
4. Alter Clothing with Double-Sided Tape
One of my favorite fixes for just about any wardrobe malfunction is double-sided tape. I don’t travel without the stuff. First and foremost, when you’re in a rush to wear something before you’re able to have it altered, use a strip of double-sided tape to shorten the length to where you want it. You can also use tiny squares of tape to close gaps between buttons and avoid flashing skin in ill-fitting button down shirts and dress. While a tailor can permanently improve the fit, double-sided tape is a quicker, more cost effective solution, especially when you’re in a bind.
5. Use a Paperclip to Turn a Bra into a Racerback
There’s nothing worse than falling in love with a top and realizing you don’t have a bra to wear with it. Instead of running out to buy a new bra (or a painfully overpriced bra converter clip), use a paperclip to create a makeshift racerback bra. Simply hook one bra strap through one end of a paper clip under your shirt. Then take the other strap, hook it to the other end of the clip, and viola! Your straps are completely concealed underneath your top.
Oh, and bonus– you can also check out another one of my favorite shoe hacks here! What are your favorite budget-friendly clothing hacks? Any special starch spray uses I should know about? I’ll take any tips you’ve got!
Photography by Catherine Rhodes.

