
*This post may contain affiliate links, which means I may receive a commission (at no additional cost to you!) if you make a purchase using any of these links.*

Cake decorating has become somewhat of a surprising hobby for me lately! I’m not the best baker, but I love taking plain white cakes and turning them into beautiful desserts. You can see a small cake I decorated with flowers for Mother’s Day here! For this year’s Father’s Day tablescape, I used blackberries, blueberries, and thyme to decorate a plain white 7″ cake from Hy-Vee and decided… what the heck?! Why not try and make my own DIY cake topper for a change? I’ve been wanting to get into more Cricut cardstock projects lately anyway, so I played around in Cricut Design Space and came up with something that worked perfectly.
I was initially a little skeptical of using glitter cardstock, but I’ve gotta be honest– it made all the difference. Not only is it extra thick, it adds that extra sparkly pop that every good cake topper needs, especially for holiday occassions. Keep reading for a step-by-step tutorial on how to make a cake topper from start to finish!
DIY Cake Topper Tutorial

As far as experience level goes for Cricut projects with cardstock, this glitter cake topper DIY is for everyone– from beginner Cricut users to expert crafters. If any of my instructions are confusing and/or you’d just prefer a video tutorial, scroll down to the printable how-to card at the bottom of the post. There’s a video at the very bottom, which you may need to disable your ad blocker to view!
Cake Topper Materials
One of the best things about this cardstock Cricut project? You only need a handful of craft materials, which is super convenient considering cake toppers can be on the pricier side on Etsy! Here’s all you need to make your own DIY cake topper-
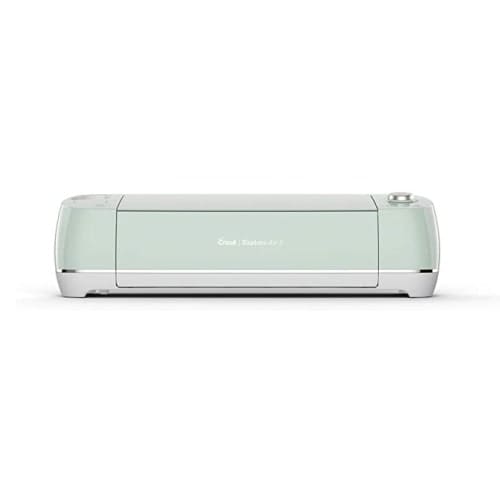
- Smart cutting machine– Any Cricut or Silhouette machine will do, but I love my Cricut Explore Air 2! You’ll also need a cutting mat and weeding tool.
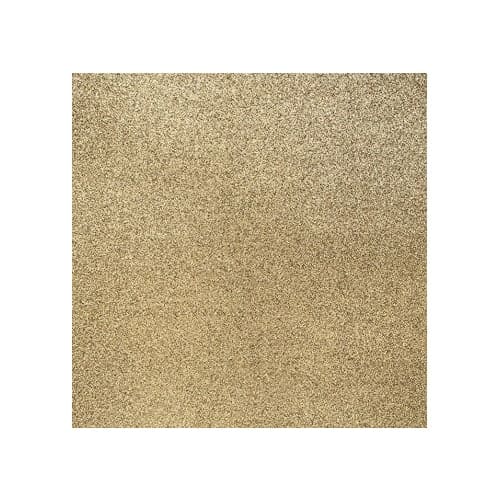
- Gold glitter cardstock– I bought this pack of gold glitter cardstock off Amazon. I love the thickness, and the glitter (for the most part) stays put.
- Wooden skewers– We just had these lying around our kitchen, but you can find wooden skewers on Amazon here.
- Multipurpose adhesive spray– I love this spray! I use it for all my glitter projects, my favorite being these DIY glitter champagne bottles.
- Hot glue gun– If you don’t have a hot glue gun, you can also use regular craft glue. I just personally prefer hot glue because it’s mess-free and dries so quickly.
Best Fonts for Cake Toppers
If you love this exact design and want to use it for Father’s Day, download the template directly in Design Space! If you want to design your own cake topper, though, it’s all about choosing the right font. You need a font that’s thick enough to survive the cut, is legible, and can easily interlock words, preferably at three or four different spots.
Here are a few fonts that work well for cake toppers–
- October Twilight (my personal favorite– and it’s free!)
- Noelan (another one of my favorite– and it’s also free!)
- Shink (free for personal use)
- Tingler (paid)
- Milkshake (free for personal use)
How to Make a Cake Topper

To make your own glitter cake topper, start by opening Cricut Design Space and choosing a font. I used October Twilight for this project, mainly because it’s thick and easy to overlap letters. Once you’ve chosen a font, type the text (Happy Father’s Day, Happy Birthday, Mr and Mrs so-and-so, etc) and adjust the line height so that the words are practically right on top of each other.
Next, ungroup the words and letters to create a design that’s condensed and combines the upper and lower letters in at least three places. The more, the better, though, really. Once you’re done arranging the letters, attach, weld, and resize the design to fit the diameter of the cake. For reference, this cake was 7″, so I made the cake topper about 6.5″ in width. Because gold glitter cardstock is thicker than normal cardstock (I’m not sure if it’s the glitter or what), set the material to Poster Board and cut the design.
Once your Cricut’s done cutting, carefully weed out your design, making sure to be extra careful around the frills. They can tear pretty easily. To help fortify the cardstock and avoid a total glitter explosion, layer parchment paper on top of newspaper (or your garage floor or whatever) and spray the topper with adhesive spray.

Next, trim two wooden skewers to fit the height of the cake and then hot glue them to the back of the topper. You want to glue the skewers as far up the back of the topper as you can without being visible. This just gives your DIY cake topper a little extra stability.

Finally, insert your DIY glitter cake topper into the cake—and enjoy!

DIY Glitter Cake Topper
If you're looking for easy Cricut cardstock projects, this DIY cake topper is for you! DIY blogger Stephanie Ziajka shares her step-by-step process on how to make a cake topper with a Cricut Explore Air 2 (or any smart cutting machine), gold glitter cardstock, adhesive spray, and wooden skewers in this tutorial!
Materials
- Smart cutting machine
- Gold glitter cardstock
- Wooden skewers
- Multipurpose adhesive spray
- Hot glue gun
Instructions
- Open Cricut Design Space and choose a font. I used October Twilight for this project, mainly because it’s thick and easy to overlap letters. Once you’ve chosen a font, type the text (Happy Father’s Day, Happy Birthday, Mr and Mrs so-and-so, etc) and adjust the line height so that the words are practically right on top of each other.
- Ungroup the words and letters to create a design that’s condensed and combines the upper and lower letters in at least three places. Once you’re done arranging the letters, attach, weld, and resize the design to fit the diameter of the cake. Because gold glitter cardstock is thicker than normal cardstock (I’m not sure if it’s the glitter or what), set the material to Poster Board and cut the design.
- Once your Cricut’s done cutting, carefully weed out your design, making sure to be extra careful around the frills. To help fortify the cardstock and avoid a total glitter explosion, layer parchment paper on top of newspaper and spray the topper with adhesive spray.
- Trim two wooden skewers to fit the height of the cake and then hot glue them to the back of the topper. You want to glue the skewers as far up the back of the topper as you can without being visible.
- Insert your DIY glitter cake topper into the cake—and enjoy!
Notes
Creating a cake topper-friendly design is all about choosing the right font. You need a font that’s thick enough to survive the cut, is legible, and can easily interlock words, preferably at three or four different spots.
Here are a few fonts that work well for cake toppers–
- October Twilight (my personal favorite– and it’s free!)
- Noelan (another one of my favorite– and it’s also free!)
- Shink (free for personal use)
- Tingler (paid)
- Milkshake (free for personal use)
Recommended Products
As an Amazon Associate and member of other affiliate programs, I earn from qualifying purchases.
And that’s it– making your own glitter cake toppers is super duper easy! I know I kind of glazed over the design part, so please let me know if you have any questions or concerns about this Father’s Day cake topper tutorial (or any of my others). I love hearing from you guys, and I’m happy to help!
More Cricut Cardstock Projects
Cricut cardstock projects are some of my all-time favorites. They’re fun, easy, and, most importantly, super inexpensive. Here are some ideas for holiday Cricut projects with Cardstock–
-
-
- DIY greeting cards
- Paper flower projects (wreaths, bouquets, ornaments– the sky’s the limit)
- Custom invitations (you can even use a Cricut pen to address all the envelopes!)
- Party banners (I’ve made martini glass-shaped banners, watermelon banners– Cricut makes these super easy)
- DIY gift boxes (for baked goods, jewelry, and/or small trinkets!)
- Holiday gift tags
-
What are some of your favorite Cricut cardstock projects and ideas?
For more Father’s Day dinner/dessert inspiration, check out this year’s simple Father’s Day tablescape. It was fun incorporating more blues and gender-neutral tones into my table settings for a change.
Thanks so much for reading, y’all!
Click below to shop the post!


