
*This post may contain affiliate links, which means I may receive a commission (at no additional cost to you!) if you make a purchase using any of these links.*

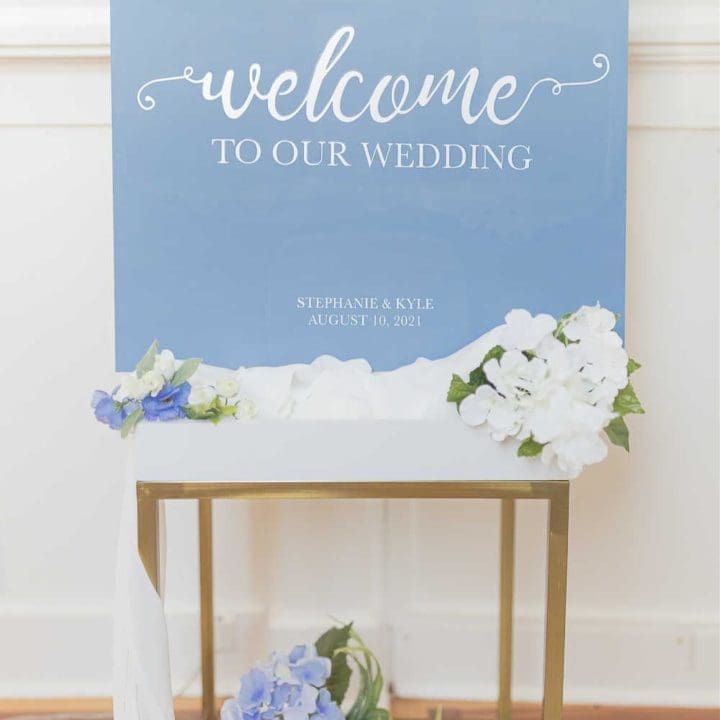
Last year, Kyle and I went to Lowe’s and bought two 24″x24″ pieces of sanded birch plywood for an “All Is Calm, All Is Bright” sign duo I was planning on making. I didn’t end up getting around to it, so I decided to use one of the pieces of birch plywood to make our own DIY wedding welcome sign instead! If you haven’t checked Etsy, custom wedding welcome signs can cost upwards of $200 depending on the size, so it ended up saving us a nice chunk of our decor budget. Also, I’m legitimately so pleased with the way it turned out. I’m still amazed by how natural the iron-on vinyl looks and feels– it could easily pass for real paint! Keep reading to learn how to make your own! I’m sharing a step-by-step Cricut wedding welcome sign “how-to” card down below.
Side note— please excuse the backdrop and makeshift bar cart stand. We forgot to take pictures of the sign at our actual wedding, so this was my attempt at its re-creation.
Cricut Wedding Welcome Sign

DIY Wedding Welcome Sign Materials
This Cricut wedding welcome sign project should really be broken up into two sections– the paint and the iron-on vinyl. I’m glazing over the painting because it’s so straightforward and because I really want to highlight how easy it is to use HTV vinyl on wood. I always assumed I’d need to be an expert level crafter to pull it off, but that was just nowhere near the case.
Here’s all I needed to make this Cricut wedding welcome sign–
- Cricut Explore Air 2– Any smart cutting machine will work! If you don’t have one, you can order a vinyl decal off Etsy.
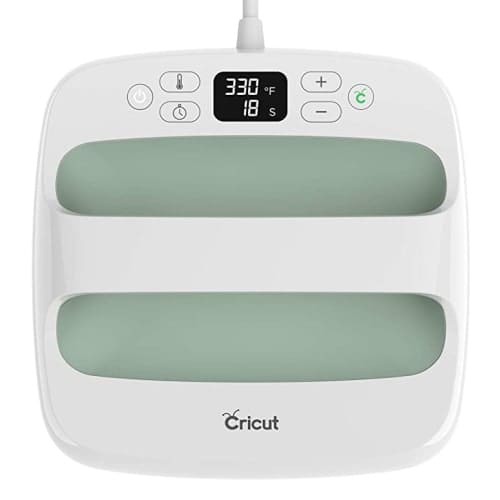
- Cricut EasyPress 2– While a normal iron can technically work, I love my EasyPress so much. It applies heat evenly under its 9″x9″ plate.
- Long Standard Grip Cutting Mat– Your decal will be larger than 12 inches, so you’ll need a longer mat. Cricut’s mats aren’t too pricey, but I’ve started buying mine in three-packs from this brand. They work just as well for about half of the price.
- 24″x24″ piece of birch plywood– As is the case with all Cricut wood projects, the first step is to find the right piece of wood. I purchased this piece of sanded birch from Lowe’s and had them cut it in a perfect 24″x24″ square. Birch is a tad bit pricier than normal plywood, so if you’re trying to be extra cost-conscious, regular old plywood sheathing will work, too. If it’s not pre-sanded, you’ll need to do that before painting, though.
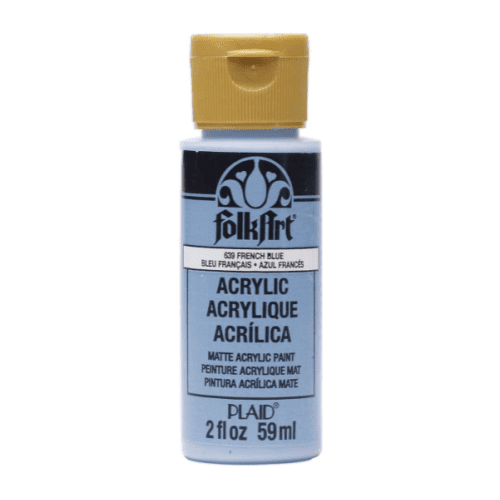
- Blue acrylic paint– I knew our sign would be under a covered patio, so I used this matte french blue acrylic paint as a base. I didn’t even need a primer– a tiny 2oz bottle was all it took to cover the board evenly.
- White HTV vinyl– I use this brand and love it! It’s easy to work with and super budget-friendly.
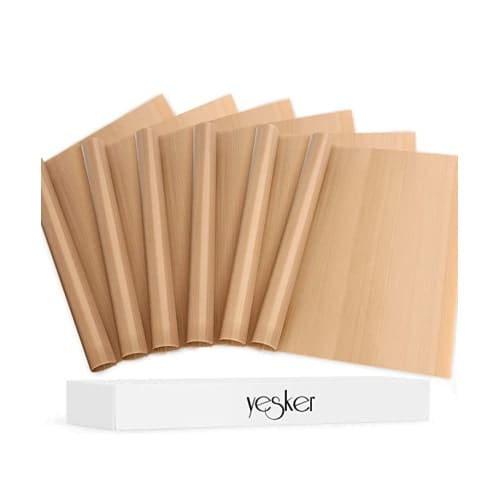
- Teflon sheet– As a safeguard from the heat, Telfon helps protect the surface you’re ironing onto. I bought this six-pack, but if you don’t have any handy, wax and/or parchment paper get the job done, too.
Best Heat Transfer Vinyl for Wood
HTV is tricky enough as it is. Using HTV on wood is a whole other ballgame. In my experience, the best HTV for Cricut wood projects isn’t Cricut. Don’t get me wrong, though. Cricut’s iron-on vinyl is great… it’s just also super pricey. I use this brand and will never switch back. You can get a 12″x20′ roll for under $25!
How to Design Your Welcome Sign
To design your own custom wedding welcome sign, open up Cricut Design Space. If you haven’t noticed before, which I admittedly hadn’t, you’ll find that it’s really difficult to add swirls to fonts in Design Space. No matter which font I tried, I couldn’t get the pretty flourishes to show up to frame “Welcome.” There are a handful of YouTube videos on how to add swirls to fonts in Design Space, but I was on a time crunch (and was really really tired), so I opened up PicMonkey instead.
I used the Noelan font to write “Welcome” in a text box in PicMonkey, and lo and behold, the flourishes appeared. So, I saved my text box as a PNG image and then uploaded it as an image in Cricut Design Space.

Once it was uploaded, I selected the “Simple” image type and then used the Select & Erase tools to eliminate all the white space in and around the text, including the swirls.

Next, I selected “Cut Image” and clicked Upload, and then Insert Image. And voila— the problem of adding swirls to fonts in Design Space was (temporarily) solved!

Finally, I used the Big Caslon font in all caps to write “TO OUR WEDDING” and positioned it directly underneath using the align –> center horizontally tool. I attached both lines together and then re-sized the cut to 16″. Then I clicked Weld. I also used Big Caslon in all caps to type STEPHANIE & KYLE and AUGUST 10, 2021, which I also positioned using the center alignment tool. I attached the two smaller lines together and then clicked Weld again.
FYI– If you’d like to use mine as a template, you can access it here!
Cricut Iron-On Vinyl Instructions
Once you’re ready to cut, Cricut iron-on vinyl instructions are pretty much the same no matter what medium you use. In this case, though, there’s one extra element to be mindful of– size. Since your decal will be longer, you’ll need a 12″x24″ standard grip cutting mat. With a larger mat in mind, remember to do these five things before cutting your decal–
- Make sure each text grouping in your design is welded together. Attaching alone won’t do it.
- Click “Mirror.”
- Select the 12″x24″ mat setting.
- Choose iron-on vinyl as the setting on your Cricut machine.
- Position the HTV shiny side down, matte side up.
Both blocks of text will be positioned right on top of each other, so I like to manually cut the decal into two sections before weeding. It’s not necessary but makes it so much easier to be delicate around the smaller text. Whichever way you choose to do it, once it’s cut, weed it out and get ready to iron it on!
How to Use Heat Transfer Vinyl on Wood
Using HTV vinyl on wood is surprisingly easy. After designing, cutting, and weeding out my decal, I pre-heated my EasyPress 2 to 325F. Once the iron reached 325F, I covered the section of wood I was using with a Teflon sheet and preheated it for 5 seconds.
Next, I positioned both decals on the painted wood and taped them down firmly. Don’t skip the taping part (at least not with the larger decal), otherwise, moisture can get underneath and create bubbling in the vinyl.
My larger decal was about 1.5′ wide, so I broke it up into three sections. Once the iron was pre-heated, I covered the decal with a Teflon sheet and firmly pressed each section for 40 seconds. I marked each section beforehand, too, so I wouldn’t go over any letters twice. Overheating HTV vinyl yields notoriously disappointing results, so I recommend doing something similar! FYI– the Cricut Heat Guide suggests pressing for 40 seconds at 300F for wood. However, I was finding that wasn’t quite enough, so I did presses at 325 for the same length of time.
The smaller decal on the bottom only needed one press, so I covered it with a Teflon sheet and did one pass at 325F for 40 seconds with firm pressure.

Wait until the HTV liner is cool to the touch before removing– and that’s it! If you know your sign is going to be uncovered, you may want to put a waterproof coat on top. We knew ours would be underneath a covered patio, so I didn’t use a topcoat or sealant or anything, and it’s held up perfectly!
I genuinely love the way our Cricut wedding welcome sign turned out and am so glad I went the DIY route! It’s hard to tell from photos, but the vinyl really looks like it’s painted on there.

DIY Wedding Welcome Sign
DIY blogger Stephanie Ziajka shows how to use a piece of birch plywood and some white iron-on vinyl to make your own custom DIY wedding welcome sign in today's Cricut wood project tutorial.
Materials
- Cricut Explore Air 2
- Cricut EasyPress 2
- Long Standard Grip Cutting Mat
- 24″x24″ piece of birch plywood
- Blue acrylic paint
- White HTV vinyl
- Teflon sheet
Instructions
Step One: Paint Your DIY Wedding Welcome Sign
Find a matte acrylic paint that matches your overall wedding aesthetic. Use a sponge brush to paint over the entire piece of plywood, including the sides.
Allow the paint to dry for at least one hour before applying any HTV vinyl.
Step Two: Design Your Cricut Wedding Welcome Sign
Open Cricut Design Space and choose your text and fonts. If you have trouble adding flourishes to any of the words, open up a design program like PicMonkey and type the text you want. Save it as a PNG file and then upload it as an image into Cricut Design Space.
Step Three: Cut Your Iron-On Vinyl Decal
Once you've designed your HTV decal(s), make sure you do these five things before clicking "Make It":
- Make sure each text grouping in your design is welded together. Attaching alone won’t work right.
- Click “Mirror.”
- Select the 12″x24″ mat setting.
- Choose iron-on vinyl as the setting on your Cricut machine.
- Position the HTV shiny side down, matte side up.
Both blocks of text will be positioned right on top of each other, so I like to manually cut the decal into two sections before weeding. It’s not necessary but makes it so much easier to be delicate around the smaller text. Whichever way you choose to do it, once it’s cut, weed it out and get ready to iron it on!
Step Four: Iron the Heat Transfer Vinyl on Wood
- After designing, cutting, and weeding your decal(s), preheat your EasyPress 2 to 325F. Once it's reached 325F, cover the wood with a Teflon sheet and preheat for 5 seconds.
- Position the decals on the painted wood and tape them down firmly. Don’t skip the taping part, otherwise, moisture can get underneath and create bubbling in the vinyl.
- Your larger decal should be about 1.5′ wide, so I recommend breaking it up into three sections. Once the iron is preheated, cover the decal with a Teflon sheet to protect the wood and firmly press each section for 40 seconds. You may want to mark each section beforehand, too, to avoid going over any letters twice.
- The smaller decal on the bottom should only need one press, so cover it with a Teflon sheet and press for 40 seconds at 325F with firm pressure.
- Slowly remove the HTV liner once it's cool to the touch.
Notes
- The Cricut Heat Guide suggests pressing for 40 seconds at 300F for wood. However, I was finding that wasn’t quite enough, so I did presses at 325 for the same length of time.
- If you know your sign is going to be outside and uncovered, you may want to put a waterproof coat on top. We knew ours would be underneath a covered patio, so I didn't use a topcoat or sealant or anything, and it's held up perfectly.
Recommended Products
As an Amazon Associate and member of other affiliate programs, I earn from qualifying purchases.
More Cricut Wedding Projects to Try
If you loved this Cricut wedding welcome sign tutorial, I’ve got a few other projects I think you’ll enjoy, too. Here are some more Cricut wedding projects to try–
- Burlap Wedding Welcome Bags– I created custom welcome bags for our wedding guests using iron-on vinyl and some cute burlap tote bags!
- Wine Gift Bags– I designed these DIY wine gift bags as hostess gifts for fall, but they’re equally perfect as wedding thank-yous. All you need to make a batch is iron-on vinyl and some blank canvas wine bags.
- DIY Glitter Cake Topper– I made this particular DIY glitter cake topper for Father’s Day, but you can also use the tutorial to create your own bridal shower or wedding cake topper.
Thanks so much for reading, y’all! As always, please let me know if you have any questions whatsoever about this Cricut wedding welcome sign tutorial. I love hearing from you guys, and I’m happy to help!

