*This post may contain affiliate links, which means I may receive a commission (at no additional cost to you!) if you make a purchase using any of these links.*
I absolutely love decorating for the holidays, but when you’re starting from scratch in a new house like we are, Amazon/Target/Michaels purchases add up real quick. That’s why I’ve tried to go the DIY route wherever possible this year. I bought a Cricut Explore Air 2 earlier this summer, and it can tackle some seriously cool projects. I’ve already tried my hand at DIY garlands and monogrammed ornaments (tutorial to come!), and this post marks my second successful Cricut doormat project! That being said, y’all liked this Hey There Pumpkin doormat tutorial so much that I wanted to share a Christmas-themed DIY painted doormat tutorial, too. These look fabulous and festive on your front porch or stoop, and (bonus!) they make amazing DIY Christmas gifts! Keep reading for the full tutorial!
Here’s everything you’ll need to create your own doormat stencil (and paint your own doormat):
- Solid Doormat (this one’s from Target, but you can also find a smaller and cheaper version at Ikea)
- Cricut Explore Air 2 (or any other comparable smart cutting device)
- Cricut Standard Grip 12×24″ Cutting Mat
- Vinyl (can be any color and doesn’t need to be Cricut brand, although that’s what I used)
- Contact Paper
- Masking Tape
- Black Acrylic Paint
- Paintbrushes (one large and one small for touch-ups)
- Polyurethane Spray
- Optional: Basic Cricut Tools
Step 1: Create Your DIY Doormat Stencil
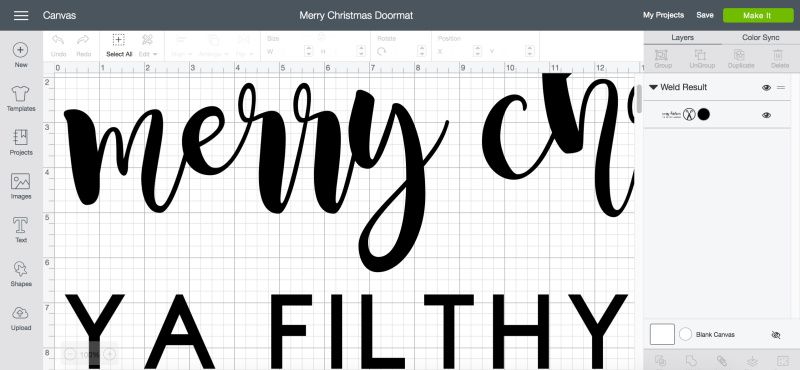
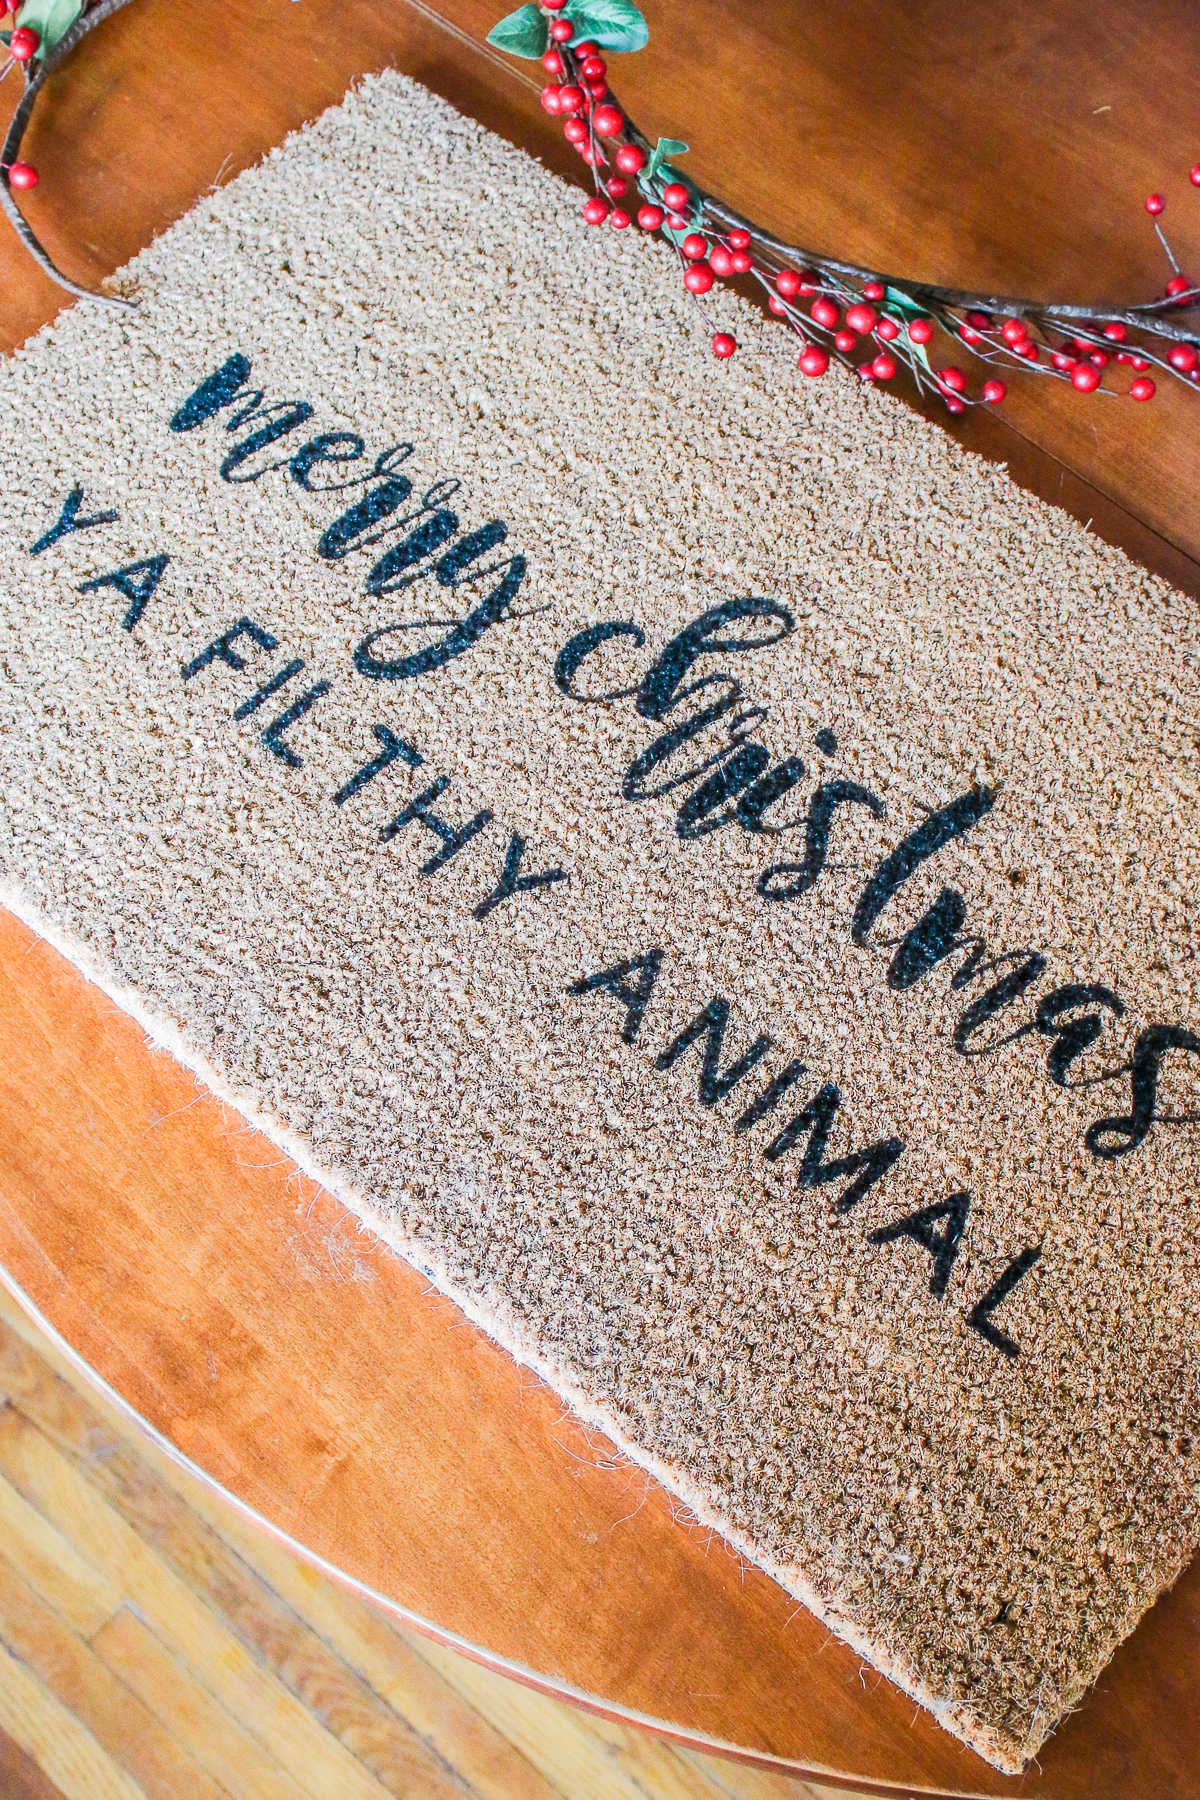
Design Space talks directly to your smart cutting machine. If you’re new to Cricut, all design projects start there. I’ve already made this stencil, so if you love the “Merry Christmas Ya Filthy Animal” design, you can access that file directly here. Otherwise, you can head to Cricut Design Space to completely design your own. If you need help designing your personalized DIY doormat stencil, this video taught me everything I know!
Step 2: Cut Your DIY Doormat Stencil
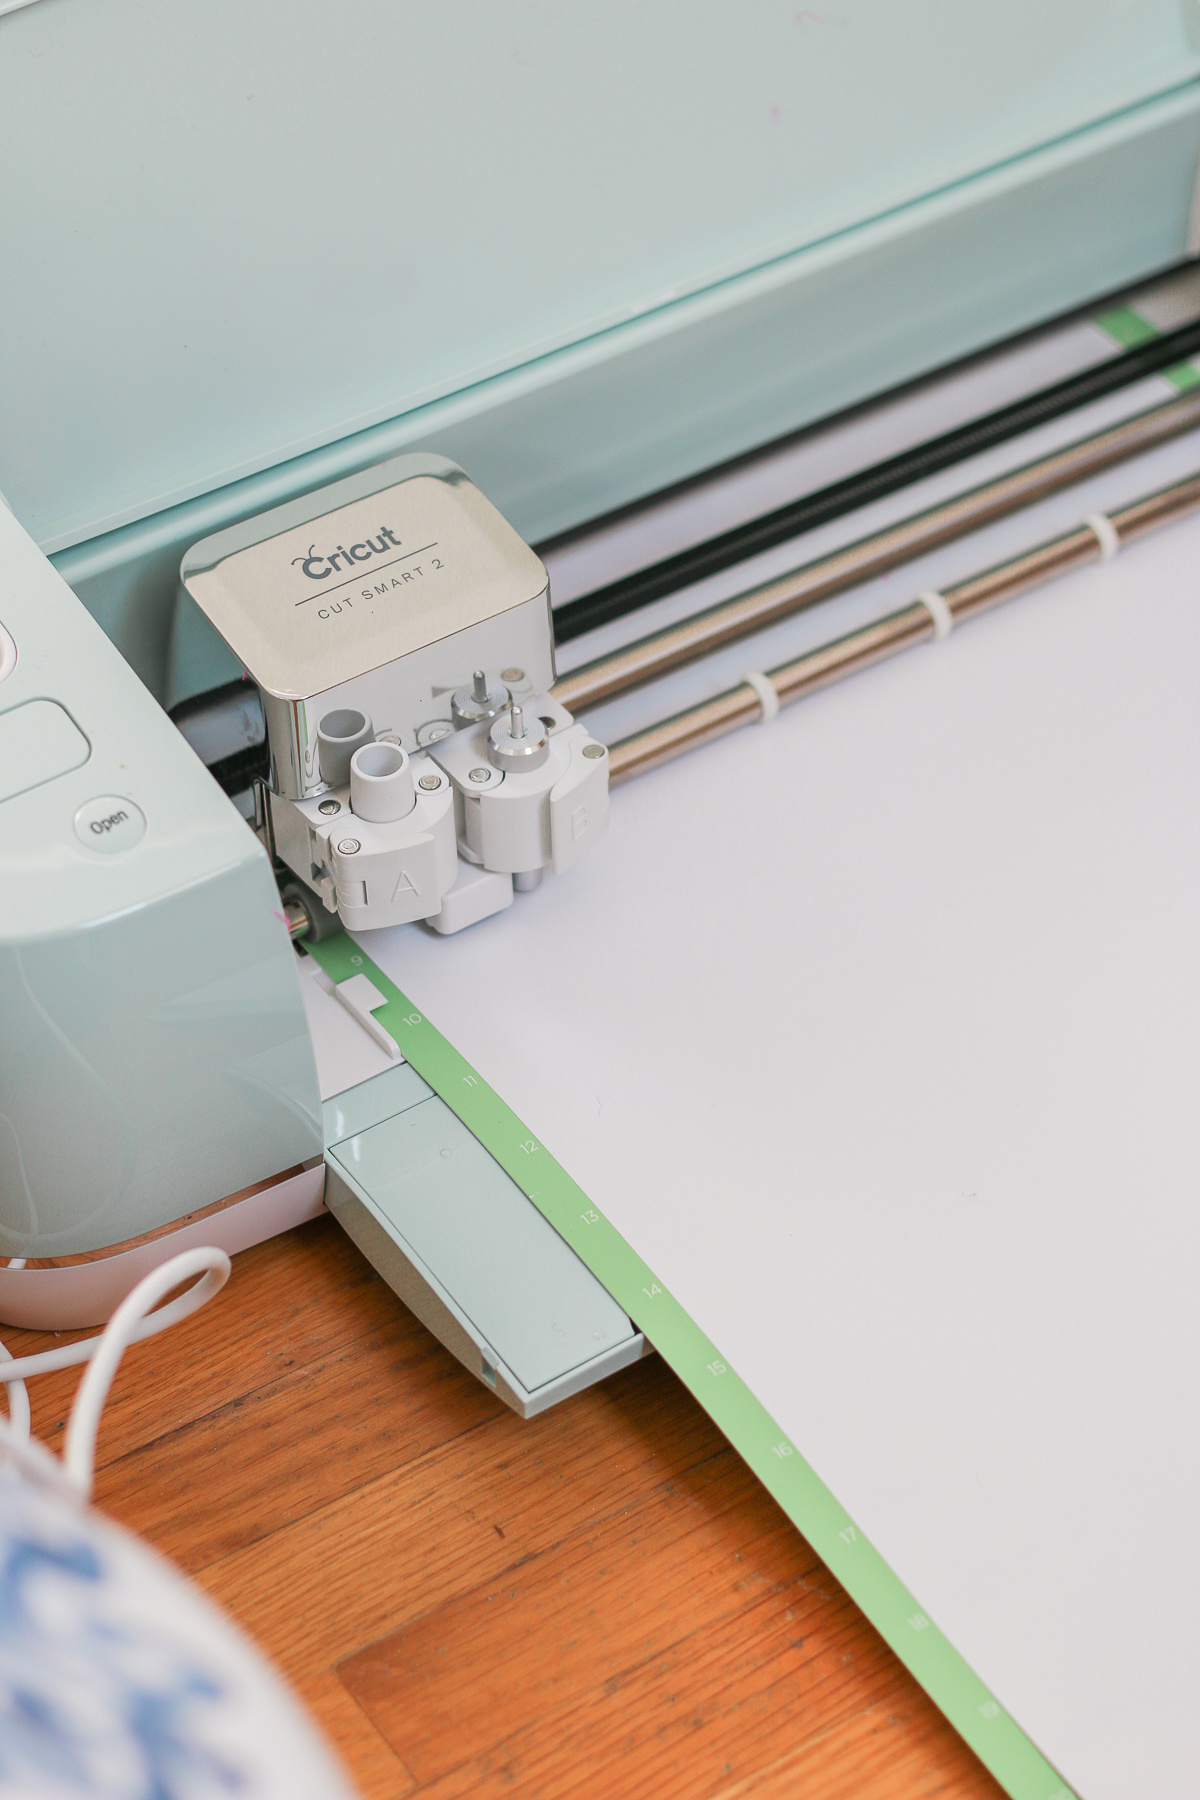
Once you’ve designed your DIY doormat stencil in Design Space, you literally push a couple buttons, and your Cricut cuts it for you. Unfortunately, I used white vinyl (whoops), so it’s really hard to see the actual cuts in photos. Click here to see better pictures of the cutting and weeding process.
Also, they’re not totally necessary, but these basic Cricut Tools have been game changers. I find myself using them for all sorts of random household projects.
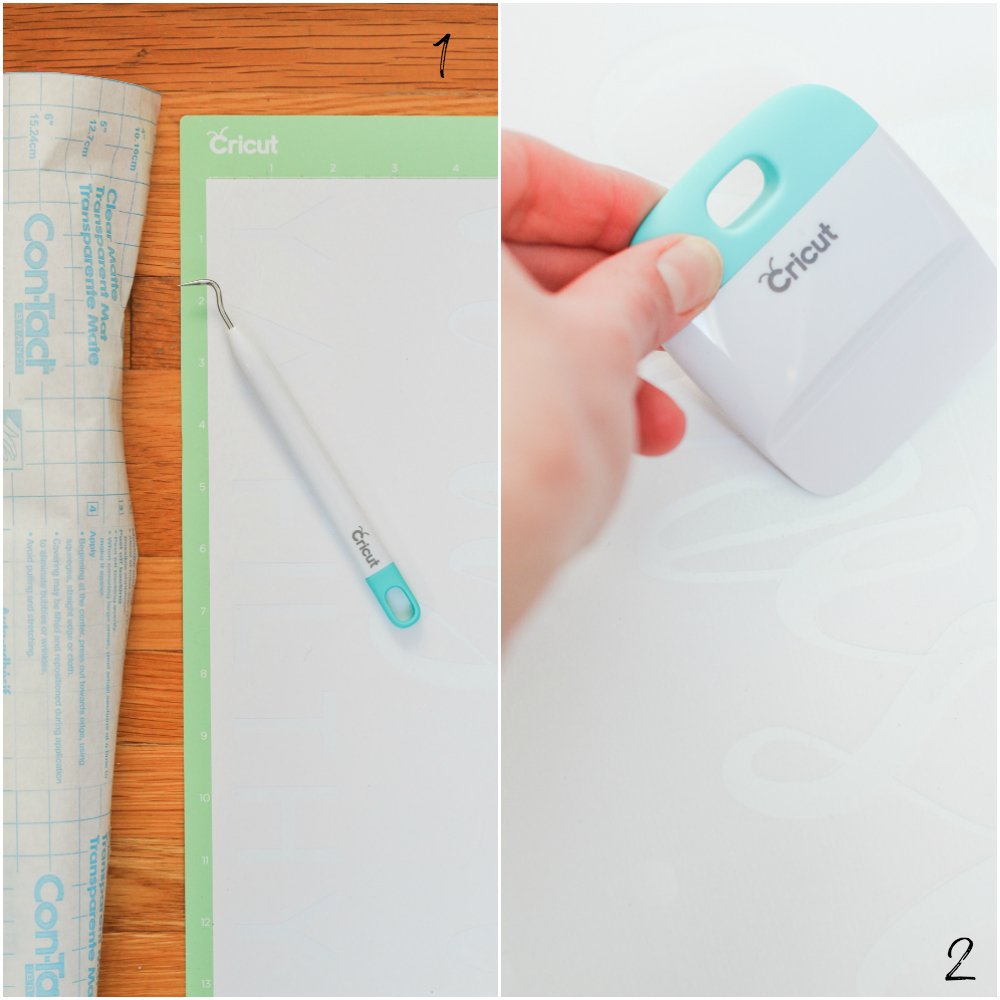
Once your stencil is cut, use your weeding tool (or finger nails) to carefully remove any cut vinyl from your stencil (step 1). After your stencil is weeded and ready to go, apply contact paper to transfer it to your doormat. Use your scraper tool to make the contact paper as flat and bubble-free as possible (step 2). This makes the stencil so much easier to peel and position on your mat.
Steps 3-4: Position the Stencil and Paint Your Own Doormat
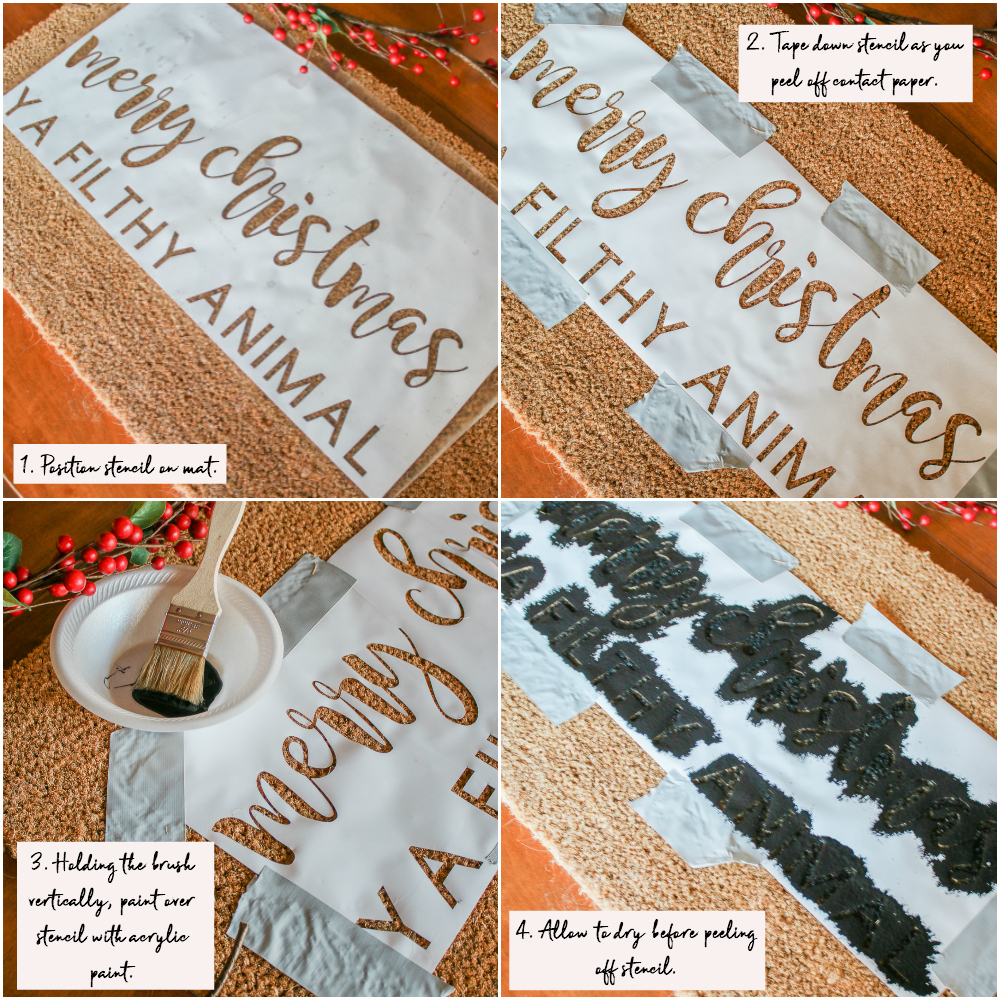
Before doing anything else, peel off the back of the vinyl, so the stencil is the only material sticking to the contact paper. Then, position the stencil in the center of the doormat. Starting from one side (I always go from left to right), gently start peeling off the contact paper, taping the stencil down as you go. Peel slowly and carefully to avoid ripping the vinyl or allowing the vinyl to tangle on itself. Don’t be discouraged if you lose your patience and rip part of the stencil. From experience, you can salvage lots of ripped lettering, and worst case scenario, you can always re-cut the stencil altogether. Next, grab any stray letter pieces left on the contact paper (like for the “r” in merry, for example) and position them manually on your mat.
Then, once your stencil is positioned and secured on the doormat, apply some pressure to the letter centers to make sure they stick to the mat while painting. Then, to paint your own doormat, hold the paintbrush vertically and start dabbing on black acrylic paint. It’s very important that you hold the paintbrush straight up and down, otherwise the bristles will reach underneath the stencil, and your letters won’t look as clean. Be gentle, since you don’t want to accidentally move any letter centers, but don’t be afraid to apply a good deal of paint. Once you’ve painted over the whole stencil, let it try for at least one hour. Then, peel off your DIY doormat stencil and use tweezers to carefully remove painted letter centers. Grab a smaller paintbrush and make any necessary touch-ups.
5. Weatherproof Your Doormat
To weaterproof your holiday doormat, allow the acrylic paint to fully dry for 6-8 hours– and preferably overnight. Next, spray on a few coats of polyurethane spray to protect against rain and moisture. Follow the instructions on the bottle in terms of drying time.
Once the polyurethane spray has set and your mat is dry, enjoy your new doormat!
Finally, I’ve gotta say it– Merry Christmas, ya filthy animals! Oh, and let me know if there are any other Cricut projects you’d like me to cover over the next few weeks! I’ve already got a DIY monogrammed ornament post in the works, but I’m open to whatever other projects y’all would like to see, as well!






This turned out so well!! Love it <3
Rebecca | http://www.peppermintdolly.com
Thanks so much, Rebecca! I had so much fun making it. I swear Cricuts are the coolest machines ever!
xo,
Steph
I absolutely love this! Thank you so much for showing us! But where can i find that doormat rug? I would love this for the holidays 🙂
Hi Glenda! I found it at Target last year, but I don’t see it on their site to link it for you. Sorry about that!!
I purchased mine at IKEA. They are $4.99 for the smaller mats and $9.99 for the large ones.
Thanks for sharing, Meredith!! That’s where I originally found mine, too! I just wish they shipped 🙁