*This post may contain affiliate links, which means I may receive a commission (at no additional cost to you!) if you make a purchase using any of these links.*
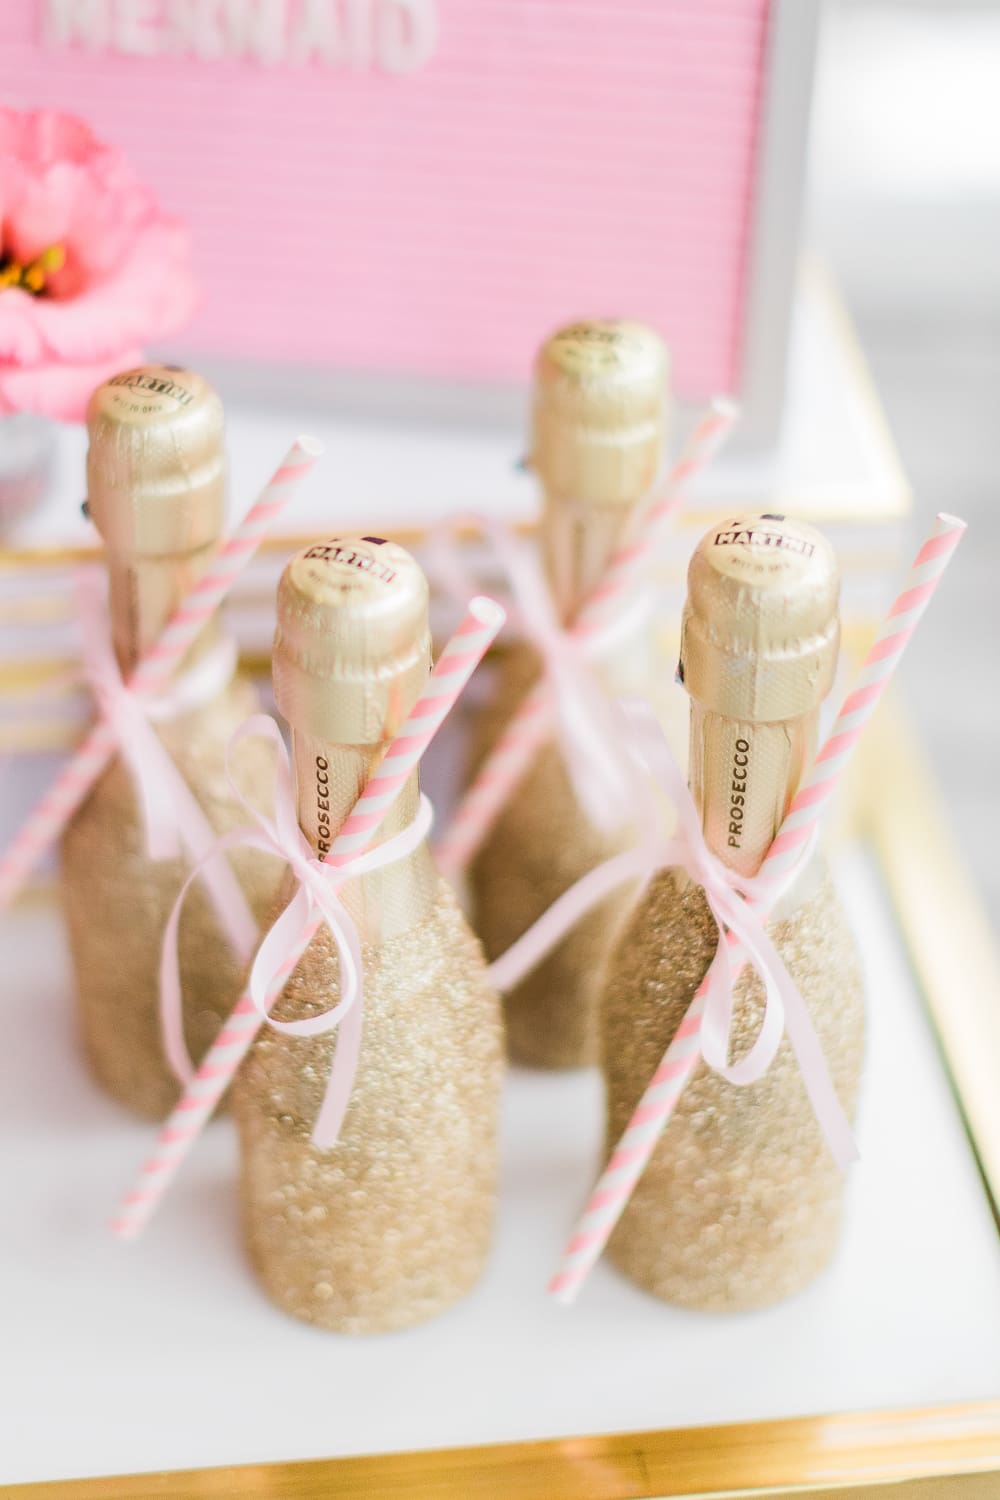
I’ve always loved the look of special edition glitter champagne bottles, but wow– are they pricey! When Kyle and I were planning our wedding, we wanted to send out little celebration packages to guests who couldn’t make it. Naturally, we thought mini glitter champagne bottles would be the perfect festive touch. But when we started looking them up, we were shocked. They cost around $12 per bottle! Since we were trying to save every penny, I figured, why not take a stab at a glitter bottles DIY myself?
Spoiler alert: DIY glitter champagne bottles are incredibly easy to make! Not only do they look just as stunning as store-bought versions, but they also cost a fraction of the price. With just a few supplies, like fine glitter, adhesive spray, and a clear sealer, you can transform ordinary mini champagne bottles into gorgeous sparkling party favors for weddings, bridal showers, bachelorette parties, New Year’s Eve celebrations, or any special occasion.
Even better? This DIY method isn’t just for champagne. You can use it on wine bottles, liquor bottles, or even sparkling water bottles to create eye-catching, custom party decor. So, if you’re not afraid of a little glitter, keep reading for a step-by-step guide on how to make your own DIY glitter champagne bottles at home!
DIY Mini Glitter Champagne Bottles
Materials Needed
To create these sparkly DIY glitter champagne bottles, you’ll need the following supplies–
- Mini bottles of sparkling wine– You can use mini bottles of Champagne, Prosecco, Cava, or sparkling rosé—whatever fits your theme! I used Martini & Rossi Prosecco and Martini & Rossi Sparkling Rosé, but most liquor stores and big retailers like Walmart and Target carry a variety of mini splits.
- Newspaper or disposable tablecloth– Prepping your workspace is essential when working with glitter. Lay down newspaper or a disposable tablecloth to make cleanup quick and easy.
- Alcohol pads or wipes– Wiping down each bottle removes dust, oils, and residue, ensuring the adhesive sticks properly.
- Extra or micro-fine gold glitter– Highly recommend this glitter! I ordered both gold and pink holographic for my last round of glitter bottles, and it was so easy to work with. Whichever color(s) you chose, ultra or micro-fine cut glitter is essential because is provides smooth even coverage. I’ve also used this more affordable glitter (used champagne gold for this tutorial actually!), and it’s great, too– it’s just not as fine as the Hemway glitter.
- Multipurpose adhesive spray– A strong adhesive spray is key for getting the glitter to adhere evenly without clumping. I used this one. It’s not too pricey, and it works like a charm!
- Painter’s tape– Use repositionable painter’s tape (I used this one) to block off areas where you don’t want glitter, such as the bottle’s neck or label. This ensures a clean, polished final look.
- Acrylic sealer spray– A clear acrylic sealer (I used this one) is a must to lock in the glitter and prevent fallout. Without it, you’ll end up with glitter everywhere!
- Light pink ribbon (¼-inch)– This ribbon is the perfect width for the finishing touch! It’s available in multiple colors, so you can match it to your party theme.
- Pink striped paper straws– I found a 50-pack on Amazon!
Mini Glitter Champagne Bottles Tutorial
First thing’s first– you’ve got to find the right splits. I used Martini & Rosso Prosecco and Sparkling Rose because I wanted clean-looking gold and pink foil wrapping. Other great options are Korbel, Cook’s, Chandon, La Marca, and (if your budget allows) Moet.
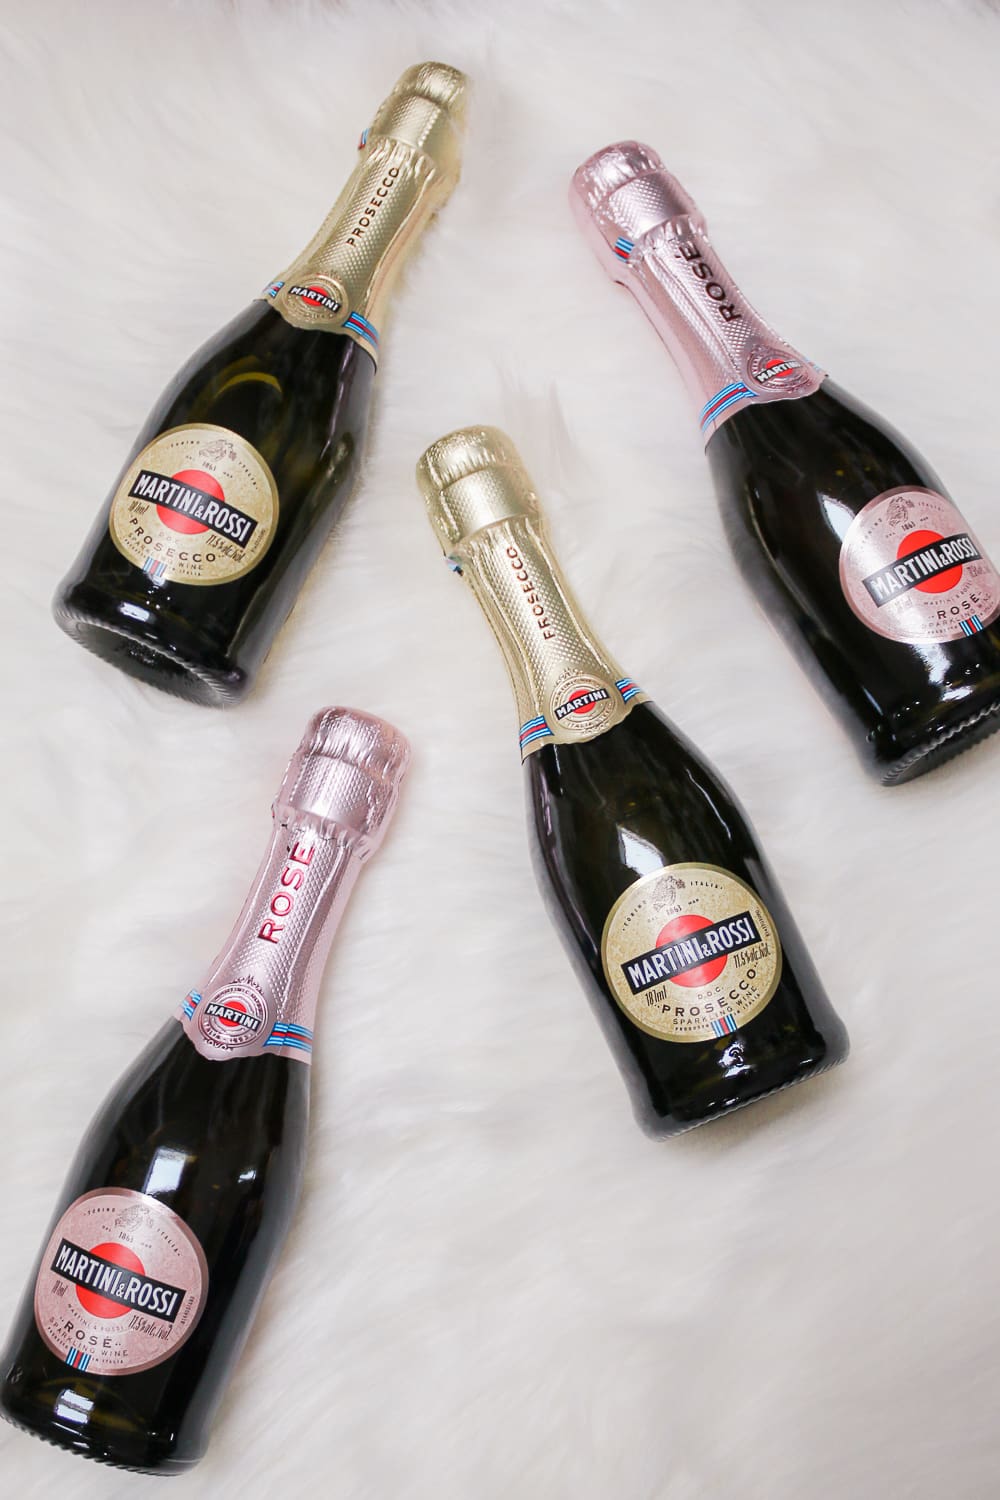
Before getting started, prepare your workspace to make cleanup easier. Lay down several sheets of newspaper or a disposable tablecloth. If possible, work inside a cardboard box or in a well-ventilated area like a garage to contain excess glitter. It’s snowing in Columbia, so going outside wasn’t an option. Instead, I put down pages upon pages of newspaper in my upstairs office and opened the window for faster drying. Worked like a charm.
Next, take an alcohol pad or disinfecting wipe and thoroughly clean the surface of each mini champagne bottle. This removes any dust, oils, or residue that could prevent the adhesive from sticking properly. Allow the bottles to dry completely before moving on to the next step.
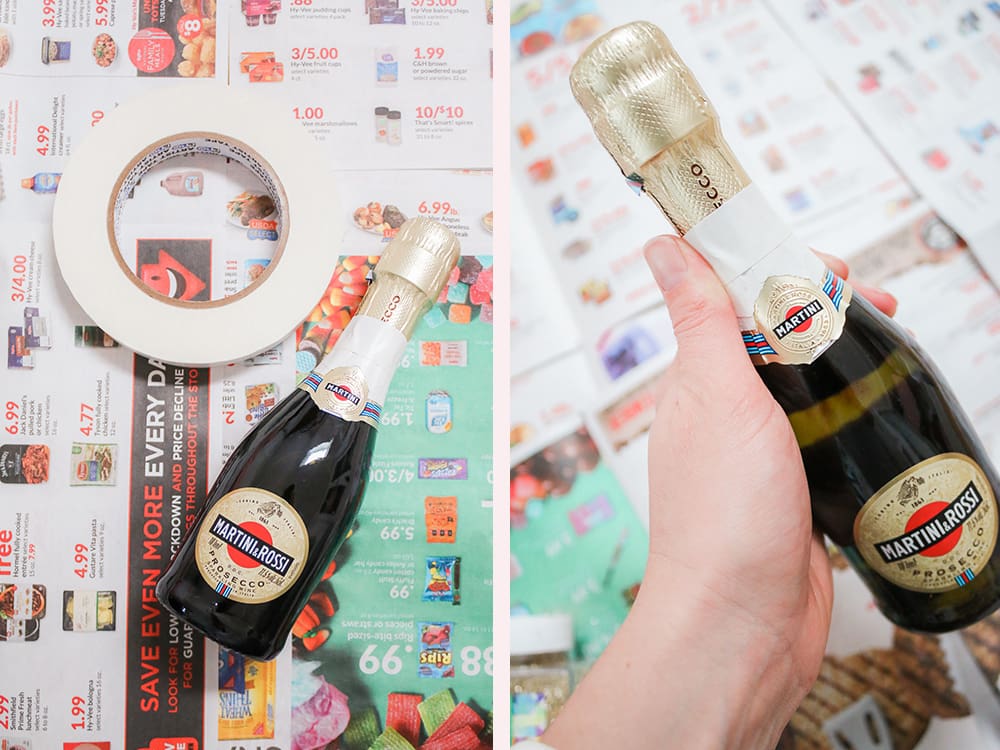
Once your workspace is ready and bottles are clean, use small pieces of painter’s tape to cover any areas you don’t want covered in glitter, such as the neck of the bottle, the label, or the foil top. This helps create clean lines and a polished final look.I recommend this painter’s tape over other tape (masking tape, packing tape, etc) because it’s thinner, super easy to remove, and doesn’t leave any residue.
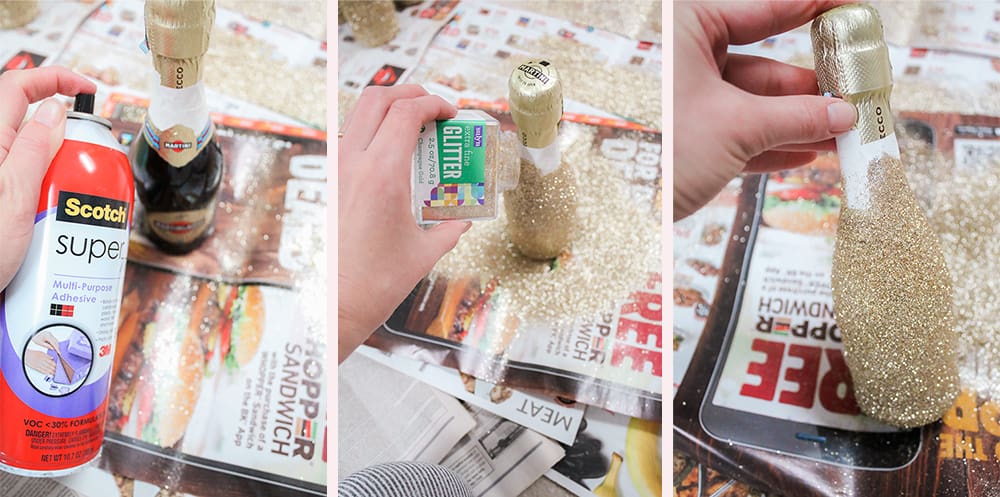
Working one bottle at a time, hold a can of multi-purpose adhesive spray about 8–10 inches away and apply an even coat. Spraying from too close can cause the glue to pool or drip, leading to uneven glitter coverage.
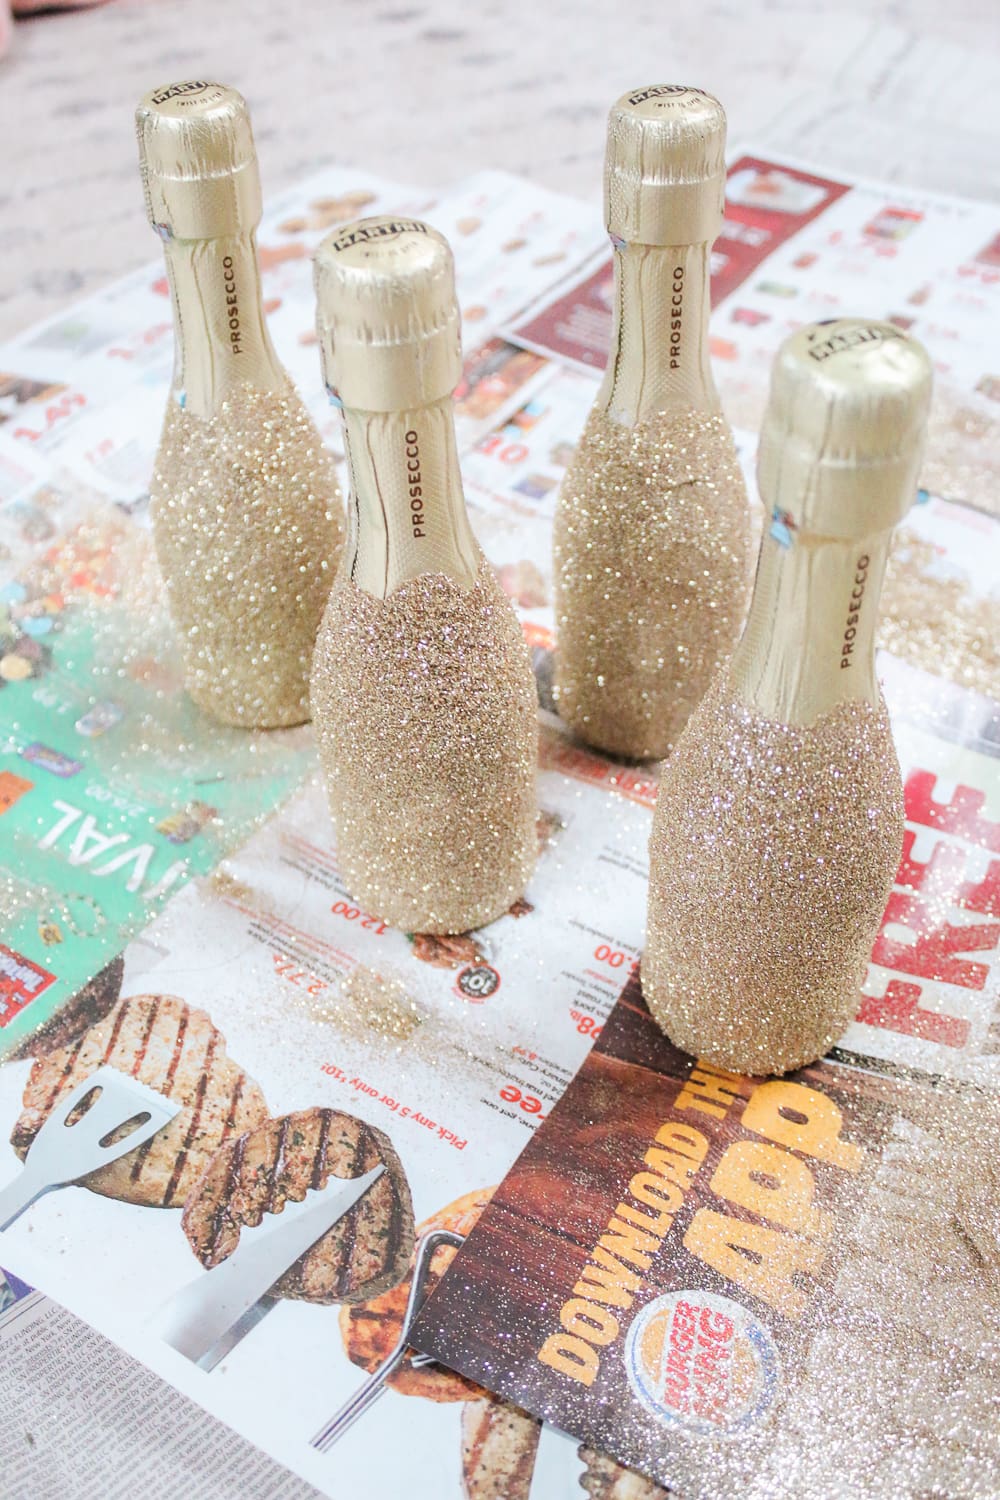
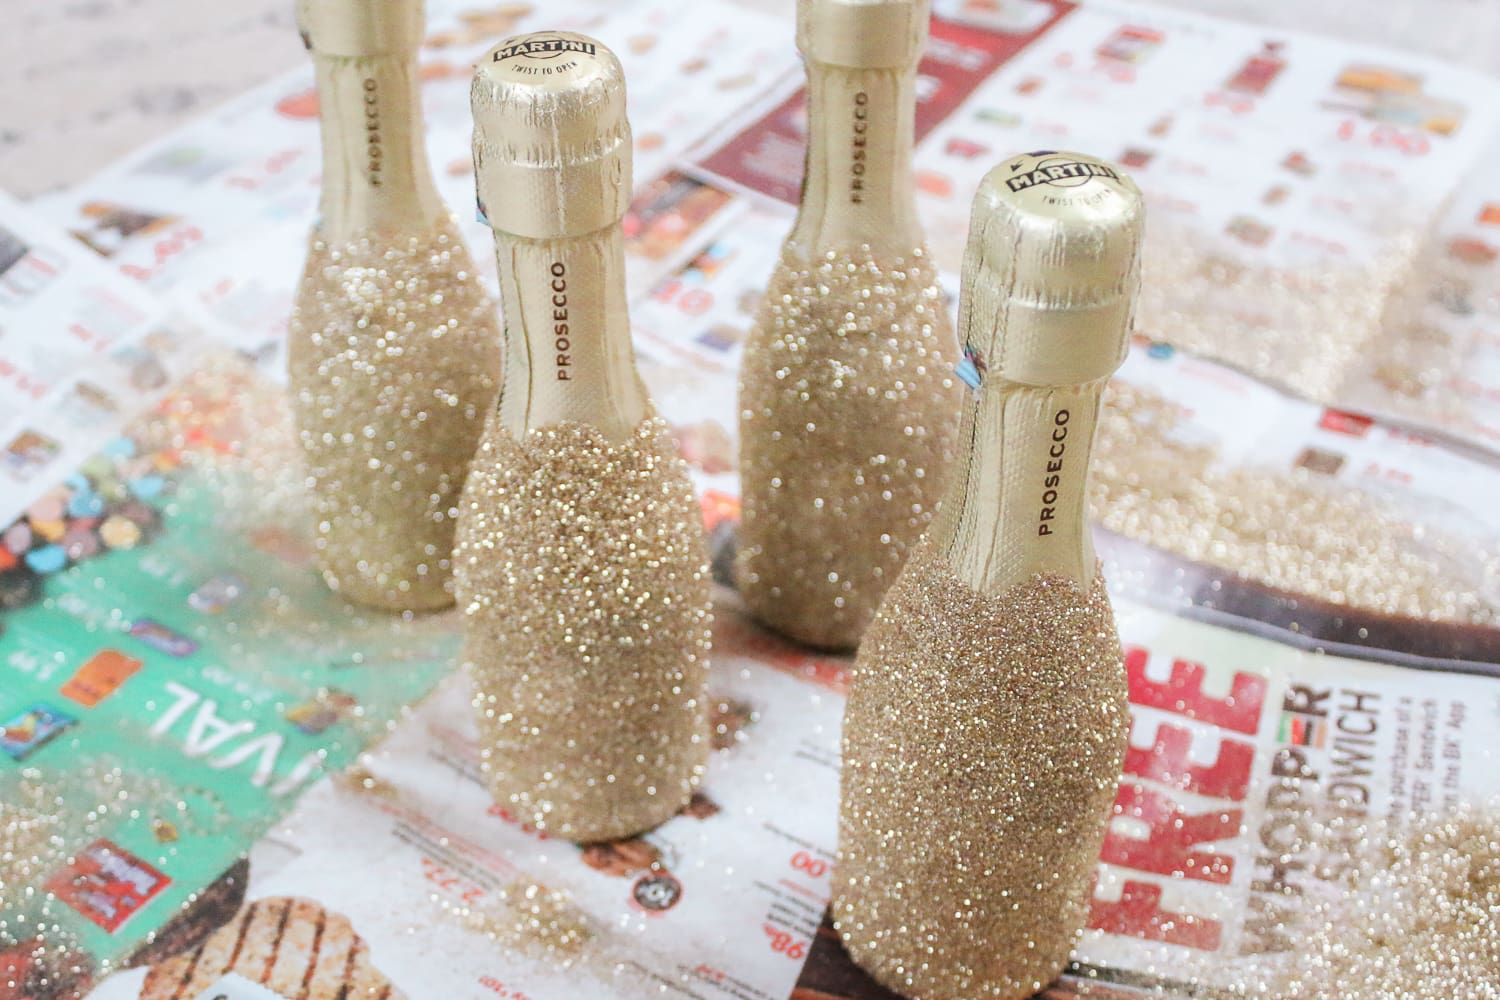
While the adhesive is still tacky, sprinkle a generous amount of fine gold glitter over the bottle, rotating it as you go to ensure even coverage. Pay special attention to small gaps near the painter’s tape and the base of the bottle. If any areas appear patchy or you can still see too much of the bottle underneath, wait about 20 minutes for the first layer to set, then apply another light coat of adhesive and repeat the glittering process.
FYI- I needed one coat of gold glitter for the prosecco bottles and 3+ coats to make these pink glitter rose bottles. Keep that in mind if you choose a lighter color, like white or light pink. Also, make sure you only use ultra or micro-fine gold craft glitter, otherwise you won’t get the same look.
Once the bottle is fully coated in glitter, carefully remove the painter’s tape and set the bottle aside to dry. Repeat the process with the remaining mini bottles. Allow all bottles to dry for at least 2 hours before moving on to the next step. The longer, the better, though, honestly. If you’ve got the time, it’s best to let them dry overnight.
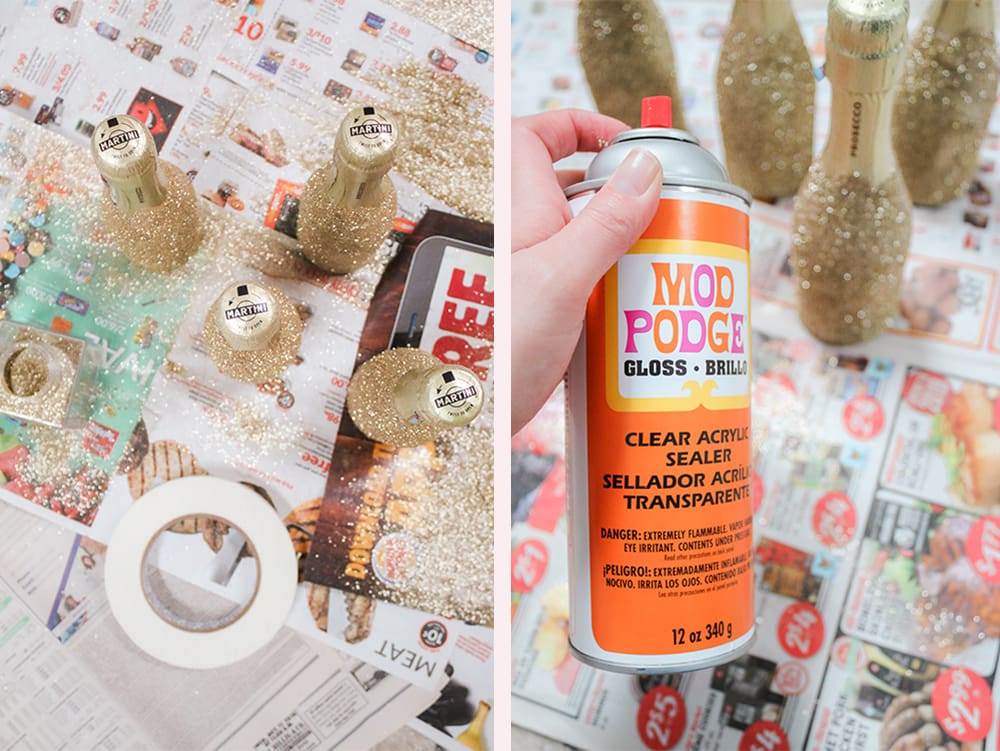
Once dry, generously spray each bottle generously with clear acrylic sealer to prevent glitter fallout. This step is crucial for keeping in the glitter in place and avoiding a huge mess later. Allow to dry for at least 6 hours, although (again) overnight is preferable. Let the bottles dry for at least 6 hours, although overnight drying is best for maximum durability.
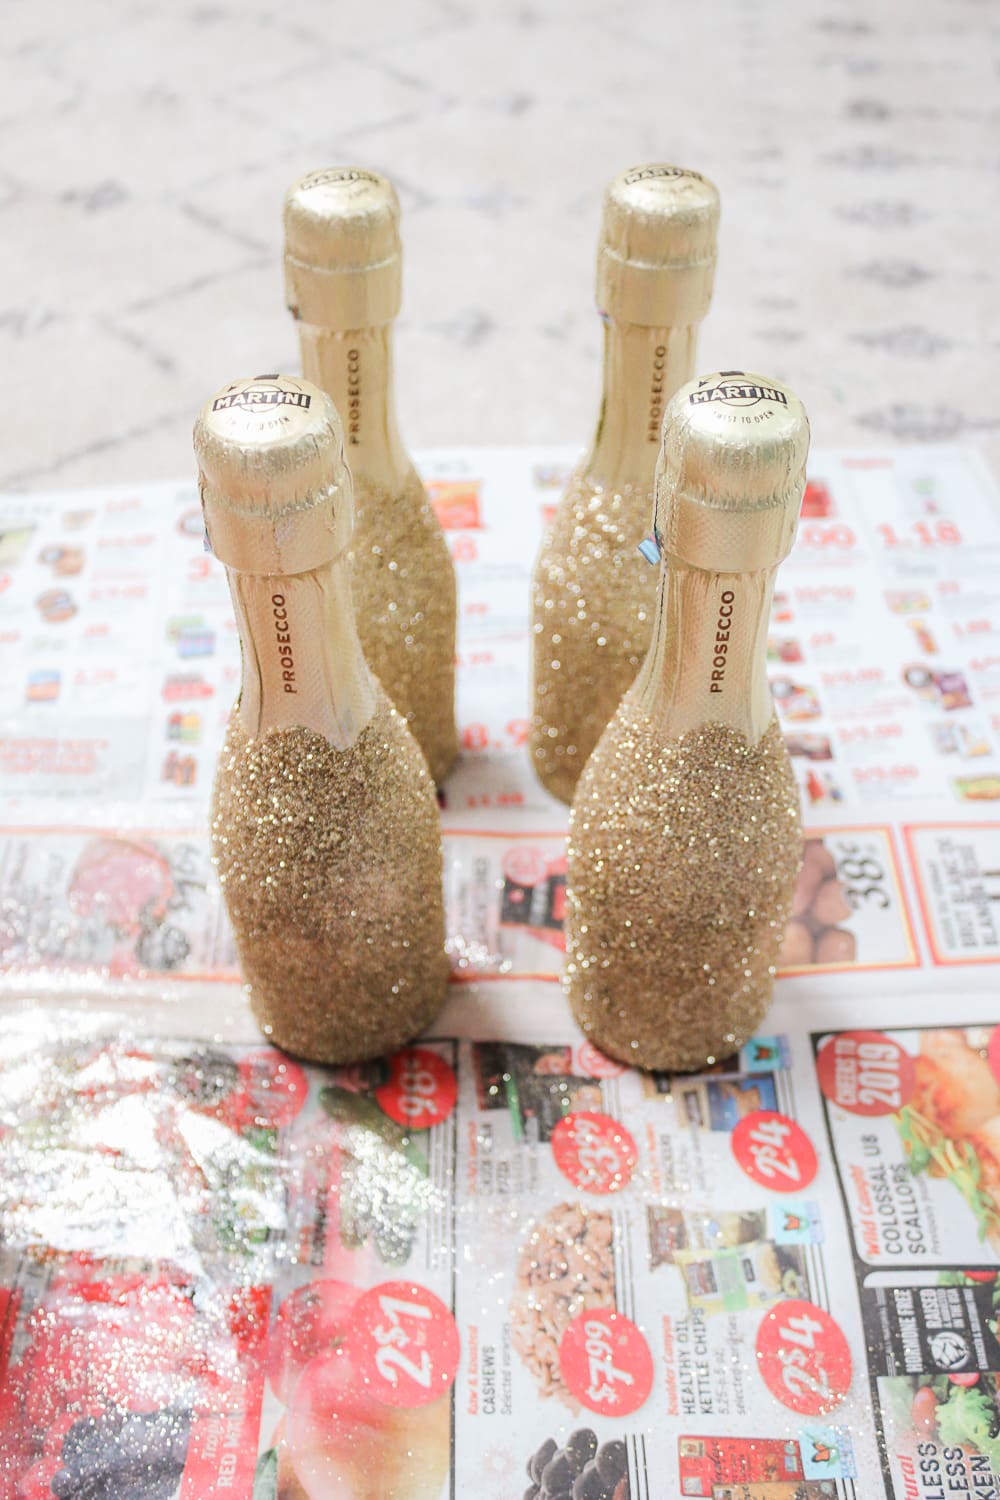
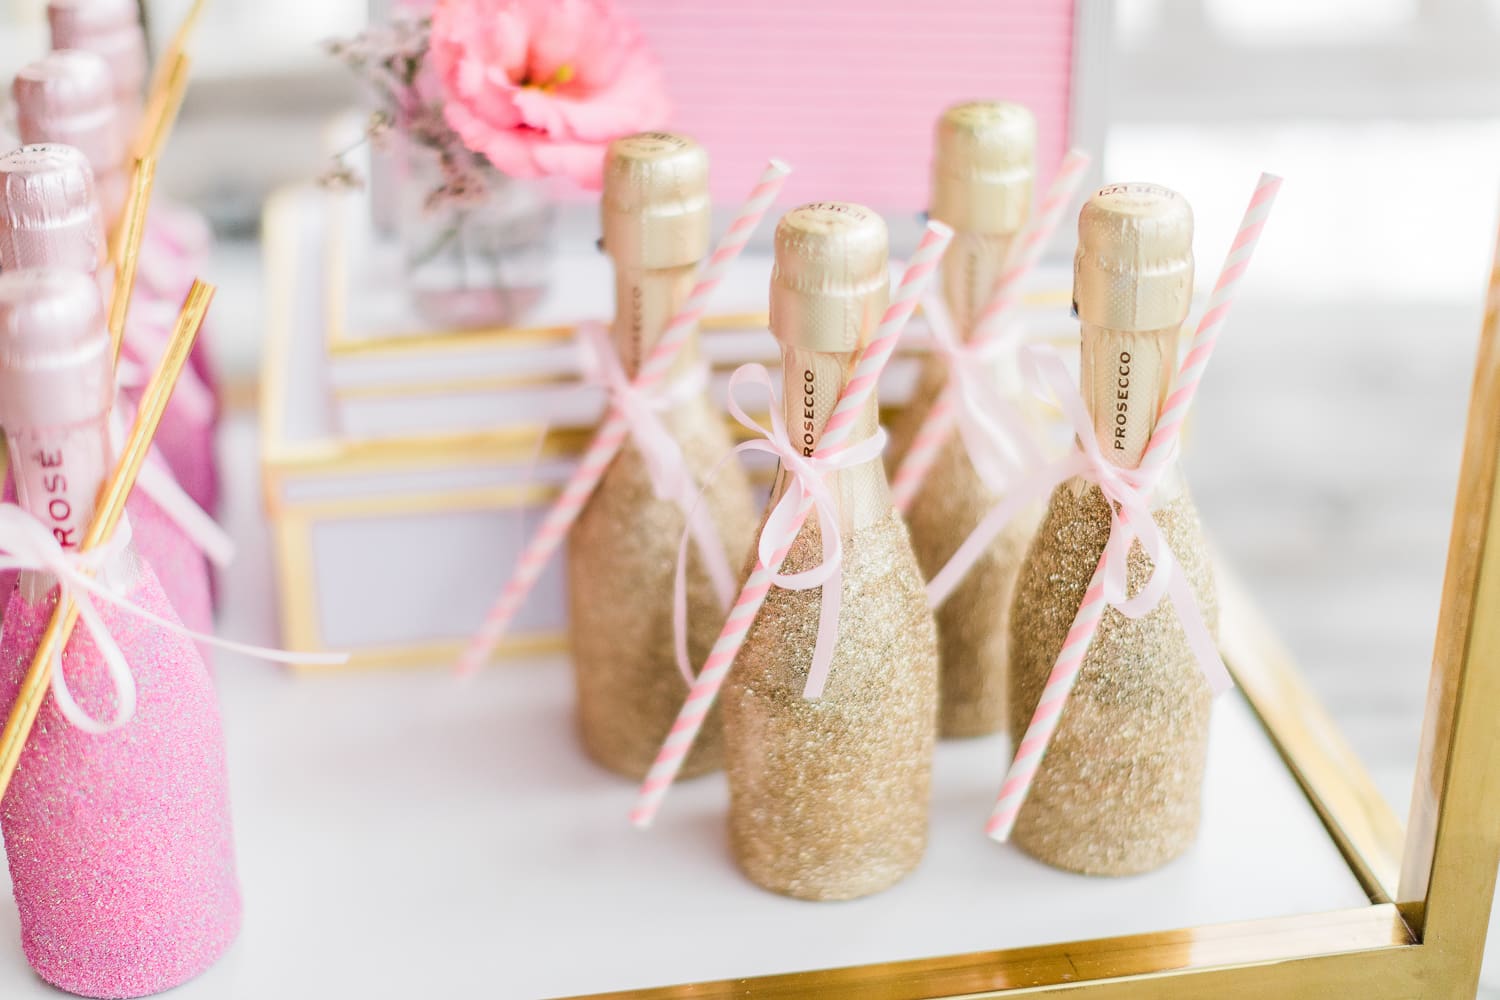
Finally, use a 1/4-inch ribbon (I found this ribbon on Amazon) to attach paper straws to the bottles– and viola! You’ve got some absolutely adorable little mini glitter champagne bottles ready to go! They look adorable on bar carts, event drink stations, wedding gift bags, PR gifts, etc. The sky’s the limit!
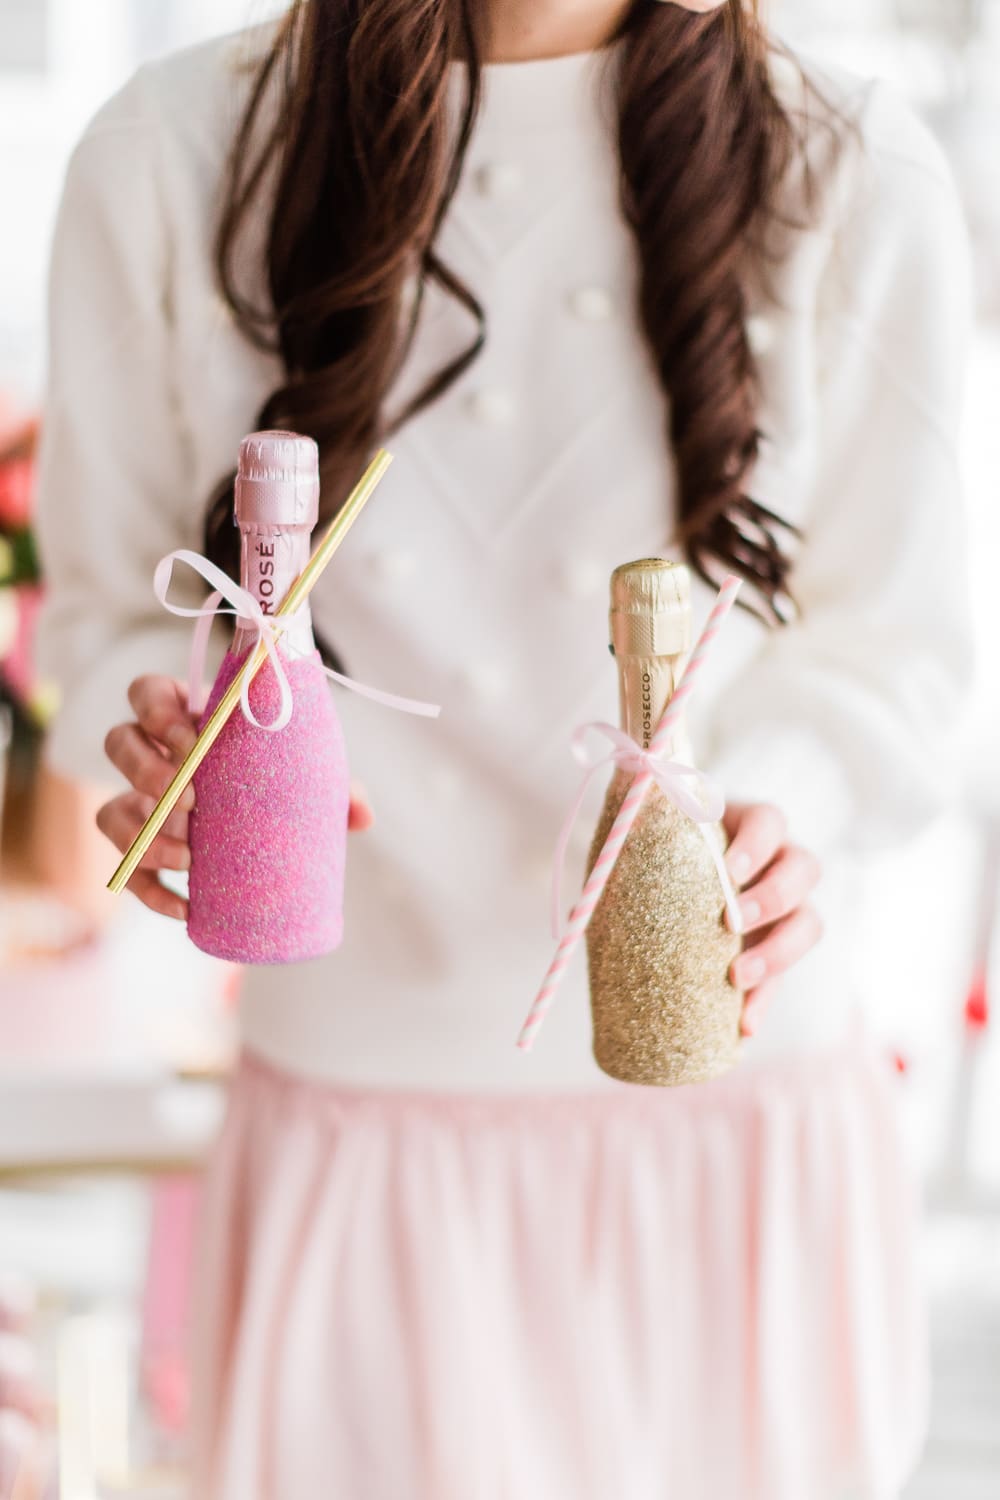
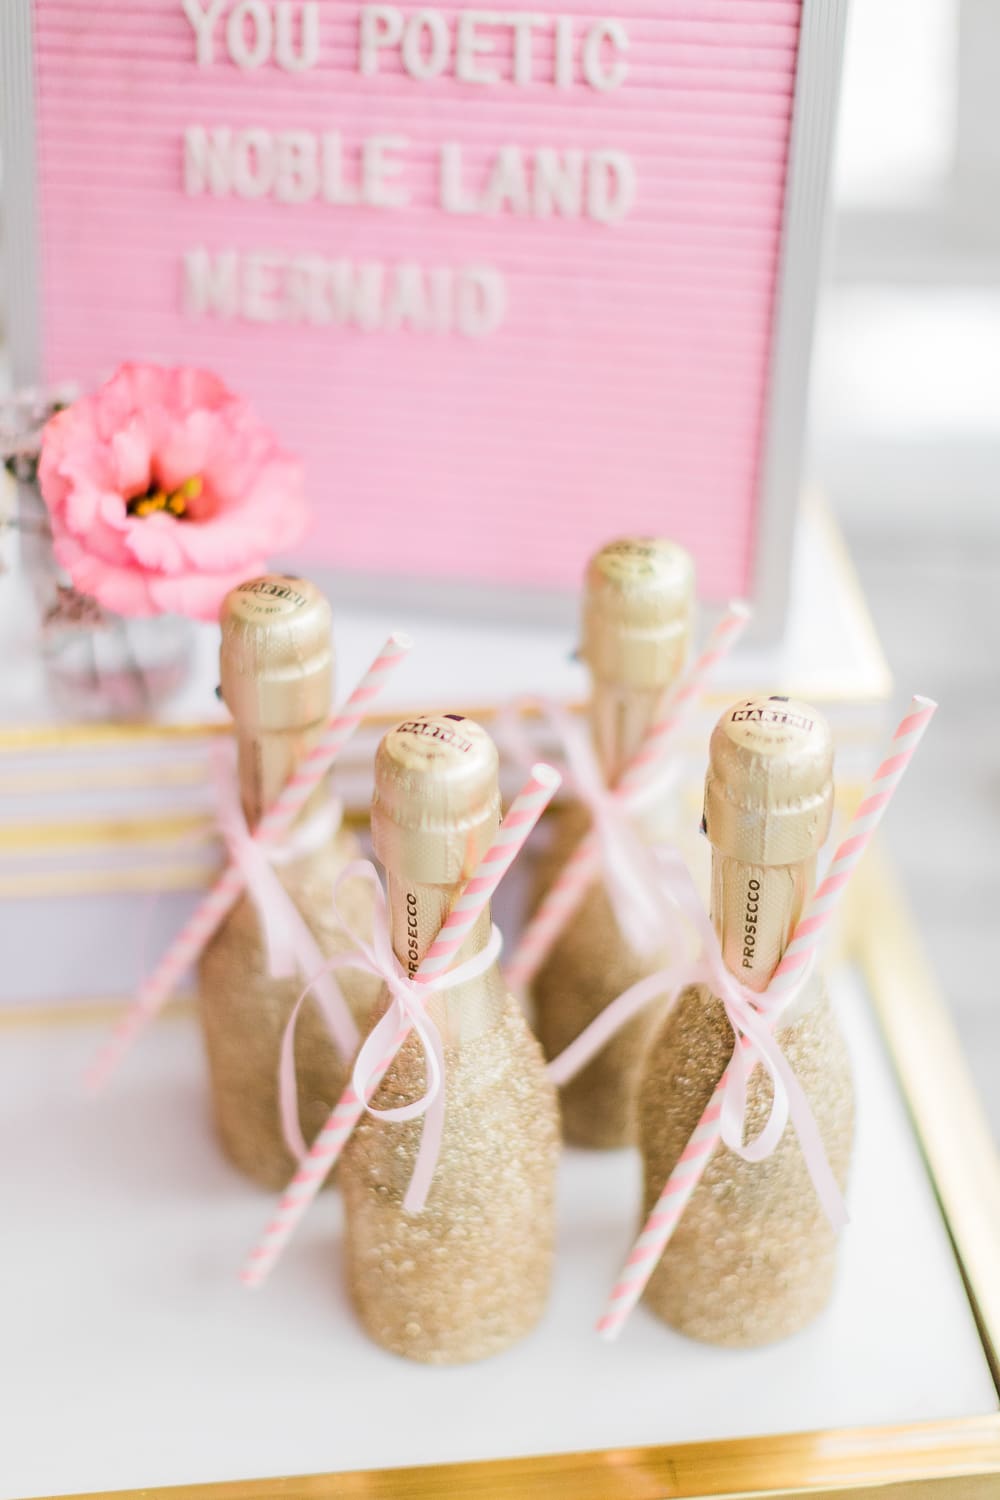
Super cute, right?! Again, DO NOT get frustrated if you have trouble covering your Rose mini bottles in pink glitter. It took me 4ish tries to cover mine completely.
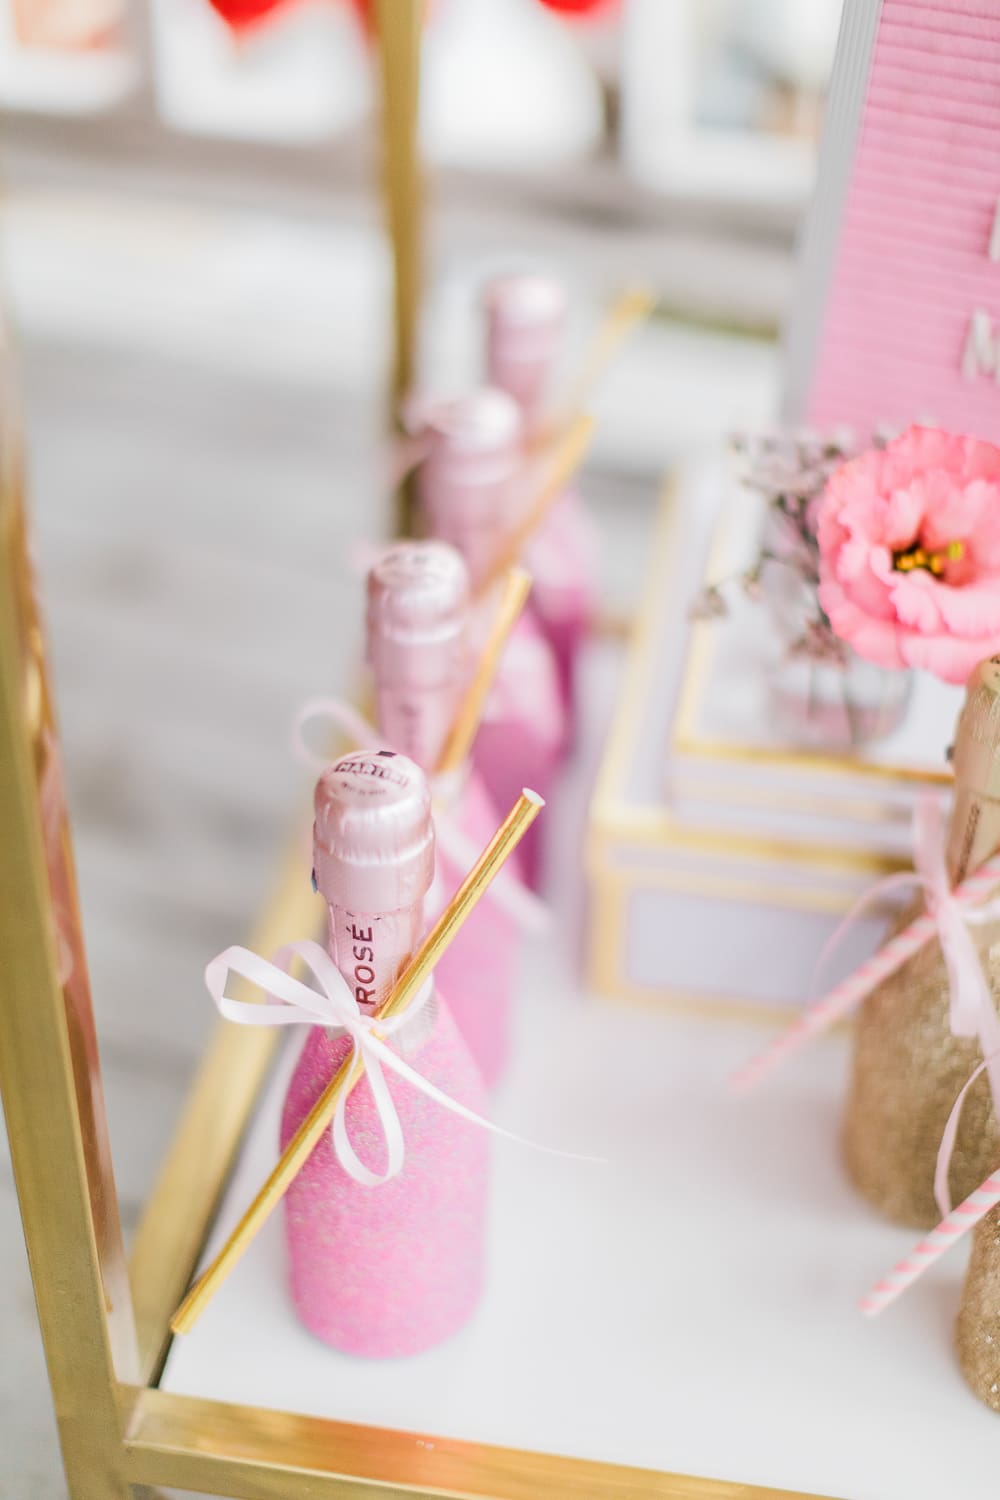
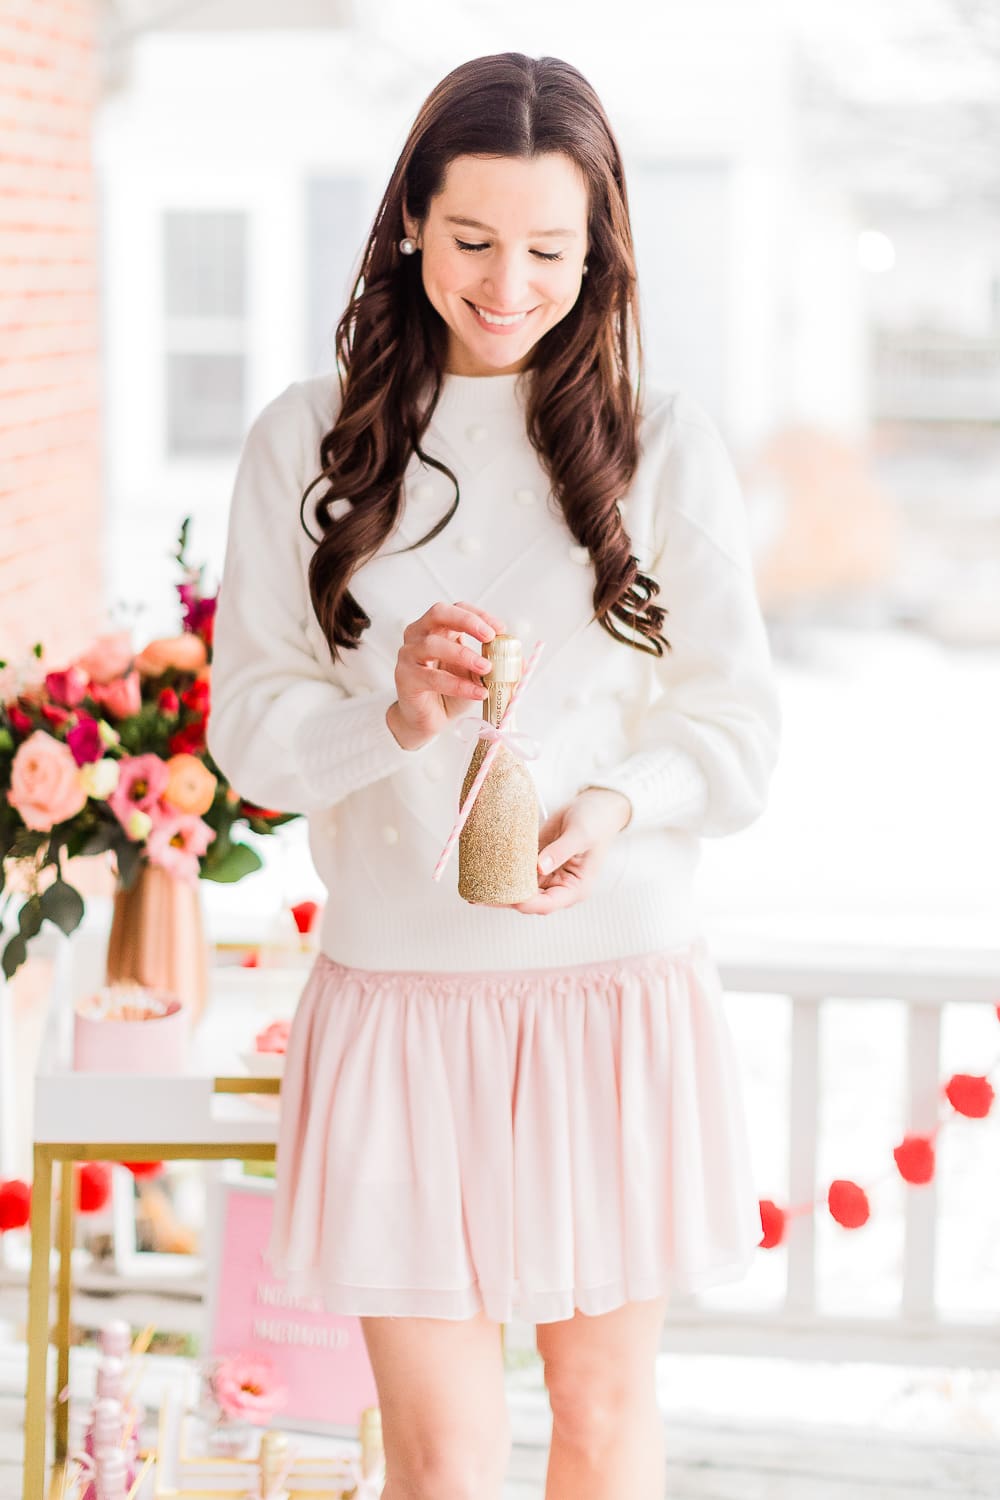

DIY Mini Glitter Champagne Bottles
Learn how to make DIY mini glitter champagne bottles with this easy step-by-step guide! These sparkling party favors are perfect for bridal showers, bachelorette parties, Galentine's Day, and festive celebrations. With just a few supplies, you can create custom glitter bottles that add a touch of glam to any event.
Materials
- 4 Mini Bottles of Sparkling Wine (a.k.a. Champagne Splits)
- Newspaper or Disposable Tablecloth
- Alcohol Pads
- Extra or Micro-Fine Gold Glitter
- Multipurpose Adhesive Spray
- Painter's Tape
- Acrylic Sealer
Instructions
Prep Work
- Before you start, prepare your workspace to make cleanup easier. Lay down several sheets of newspaper or a disposable tablecloth. If possible, work inside a cardboard box or in a well-ventilated area like a garage to contain excess glitter.
- Next, take an alcohol pad or disinfecting wipe and thoroughly clean the surface of each mini champagne bottle. This removes any dust, oils, or residue that could prevent the adhesive from sticking properly. Allow the bottles to dry completely before moving on to the next step.
Step-by-Step Tutorial
- Apply Painter’s Tape – Use small pieces of painter’s tape to cover any areas you don’t want covered in glitter, such as the neck of the bottle, the label, or the foil top. This helps create clean lines and a polished final look.
- Spray with Adhesive – Working one bottle at a time, hold a can of multi-purpose adhesive spray about 8–10 inches away and apply an even coat. Spraying from too close can cause the glue to pool or drip, leading to uneven glitter coverage.
- Add Glitter – While the adhesive is still tacky, sprinkle a generous amount of fine gold glitter over the bottle, rotating it as you go to ensure even coverage. Pay special attention to small gaps near the painter’s tape and the base of the bottle.
- Repeat If Needed – If any areas appear patchy or you can still see too much of the bottle underneath, wait about 20 minutes for the first layer to set, then apply another light coat of adhesive and repeat the glittering process.
- Drying Time – Once the bottle is fully coated in glitter, carefully remove the painter’s tape and set the bottle aside to dry. Repeat the process with the remaining mini bottles. Allow all bottles to dry for at least 2 hours before sealing.
- Seal the Glitter – To prevent glitter fallout, generously spray each bottle with a clear acrylic sealer. This step is crucial for keeping the glitter in place and avoiding a mess later. Let the bottles dry for at least 6 hours, although overnight drying is best for maximum durability.
- Add Finishing Touches – Once the bottles are fully dry, use ¼-inch ribbon to tie decorative paper straws to the neck of each bottle. This adds an extra festive touch, making them perfect for bridal showers, bachelorette parties, New Year’s Eve, and other celebrations!
Notes
- I needed one coat of gold glitter for the prosecco bottles and 3+ coats to make these pink glitter rose bottles. Keep that in mind if you choose a lighter color, like white or light pink.
- Make sure you only use extra fine or microfine gold craft glitter, otherwise you won’t achieve the same matte look.
More DIY Party Favor Ideas
If you love the idea of personalized party favors, there are so many fun and budget-friendly DIY options to complement your mini glitter champagne bottles. Whether you’re hosting a bridal shower, bachelorette party, holiday gathering, or wedding, these creative ideas will add thoughtful handmade touches to your event!
- Etched Monogram Champagne Flutes– Who knew DIY etched champagne flutes were so easy to make?! With just a little etching cream and a stencil, you can customize each flute with monograms, names, or a special date. These make elegant party favors and bridesmaid gifts– or you can create a set of two or four for a more formal gift. Note: Make this project extra budget-friendly by buying your flutes at the dollar store!
- DIY Wine Gift Bags– Handmade wine gift bags add a stylish and personal touch to any bottle of wine or champagne. I originally designed these for Thanksgiving, but you can easily customize the decals for Christmas, birthdays, weddings, or any special occasion. Simply swap out the design to match your event’s theme!
- Personalized Drink Charms– Create adorable custom drink charms using beads, wire, or shrink plastic. These are perfect for wine tastings, bridal showers, and dinner parties, allowing guests to easily keep track of their glasses.
I hope you loved this DIY glitter champagne bottle tutorial as much as I did! These sparkly mini bottles are a fun and affordable way to add a touch of glamour to any celebration. Whether you’re making them for weddings, bridal showers, bachelorette parties, or New Year’s Eve, they’re sure to make your guests smile!
If you have any questions or need extra tips, feel free to drop a comment. I’m always happy to help. And if you’re in the mood for more party-planning inspiration, check out these fun ideas:
- Galentine’s Bar Cart Ideas + Letter Board Inspo– Perfect for hosting a stylish and Instagram-worthy girls’ night on a budget.
- How to Host the Perfect Chocolate Fondue Dessert Bar– Because no party is complete without chocolate.
Happy crafting, and cheers to making your next celebration extra special!
Photography by Catherine Rhodes.




How precious are these!! They look so cute I never would’ve guessed they were DIY. I’m totally saving this for the future!
xoxo A
http://www.southernbelleintraining.com