*This post may contain affiliate links, which means I may receive a commission (at no additional cost to you!) if you make a purchase using any of these links.*
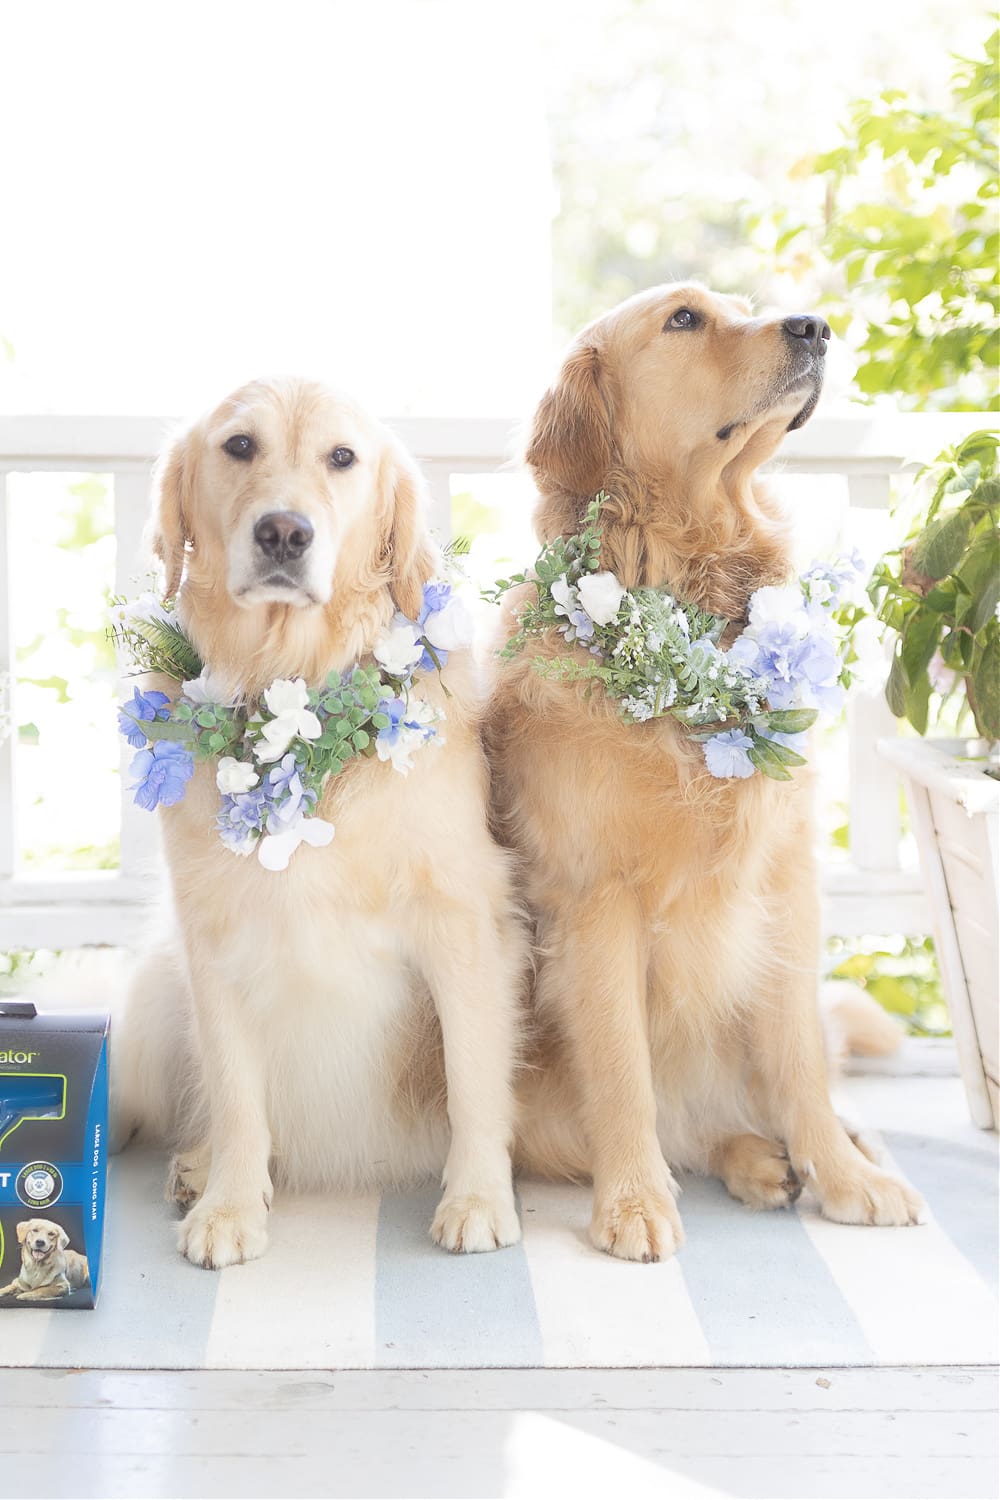
There was never any question about whether or not Nala and Nellie would be involved in our wedding. It was always just a matter of how much. Since we had an intimate ceremony with no formal bridal party, we decided to make them our Best Dog and Dog of Honor. They laid up next to us during the ceremony, and it was all the kinds of precious I dreamt it would be. To solidify to my completely crazy dog mom status, though, I also wanted them to have matching dog flower collars. I mean, they deserved to look pretty, too, right?! I looked online everywhere but couldn’t find the exact right colors, so I decided to make my own! It was super easy and saved us about $100 at the end of the day. Keep reading for a simple, step-by-step DIY dog flower collar wedding tutorial!
Also, just FYI– this DIY dog flower collar tutorial is meant for collars (obviously), but a similar approach can be applied for matching leashes, too!
DIY Dog Flower Collars: Wedding DIY
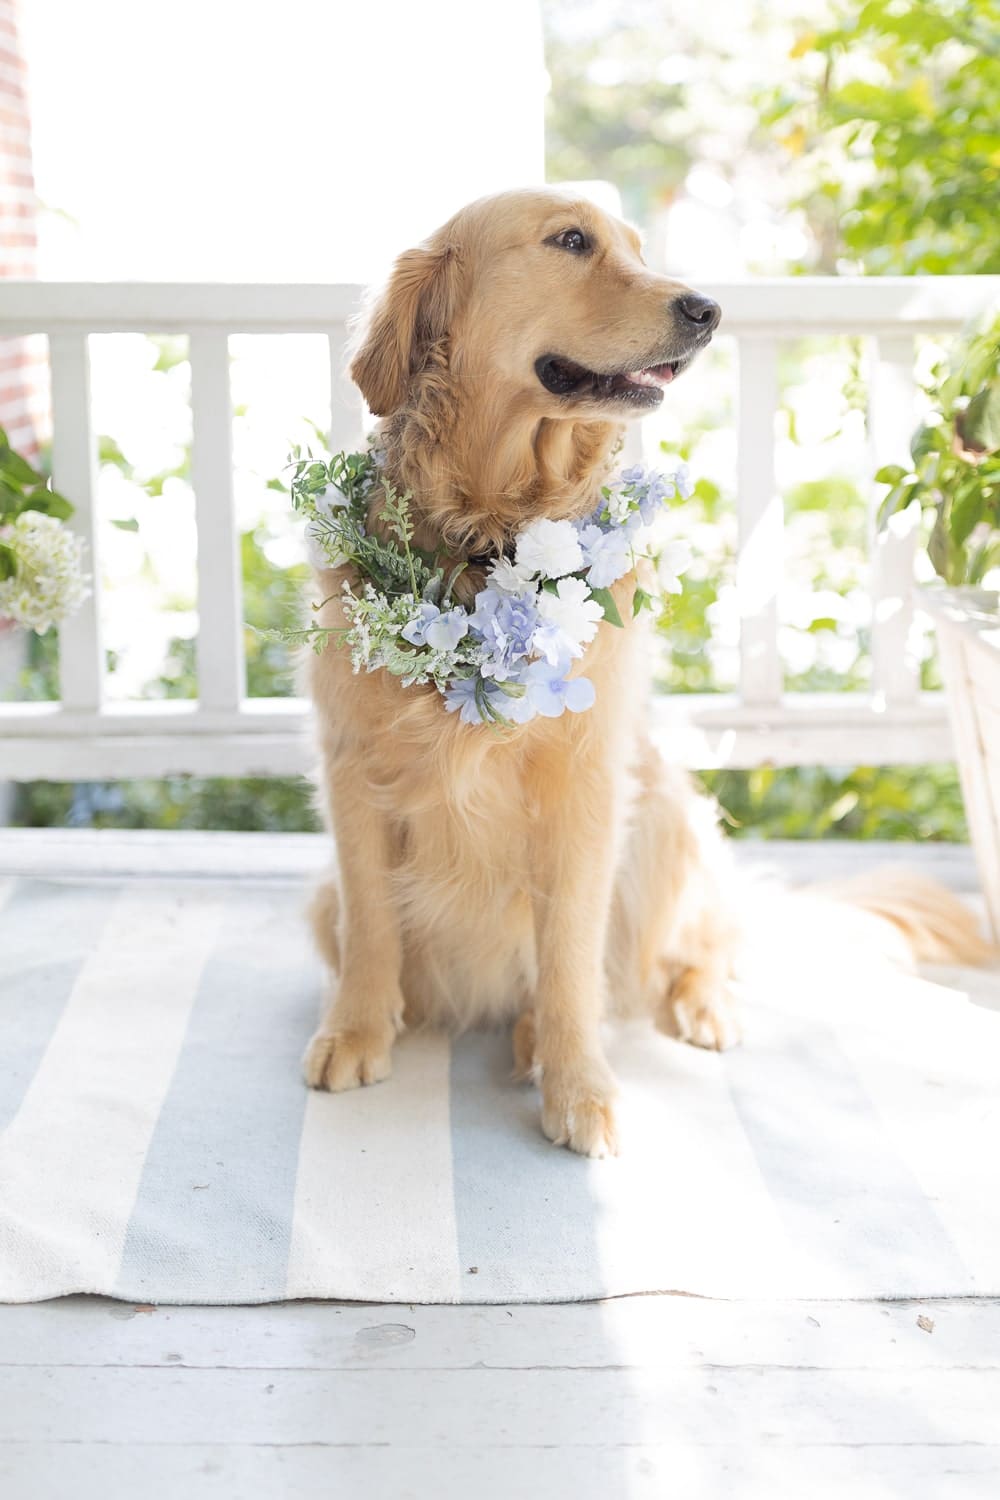
Although it can be a little time-consuming (maybe about an hour per collar), making your own dog flower collar for a wedding definitely has its benefits. For one, you choose the exact flowers and colors you want in it. Second, you control how lush it looks. And lastly, it doesn’t cost upwards of three figures on Etsy. Keep reading for a full list of the necessary materials and a step-by-step tutorial!
Materials
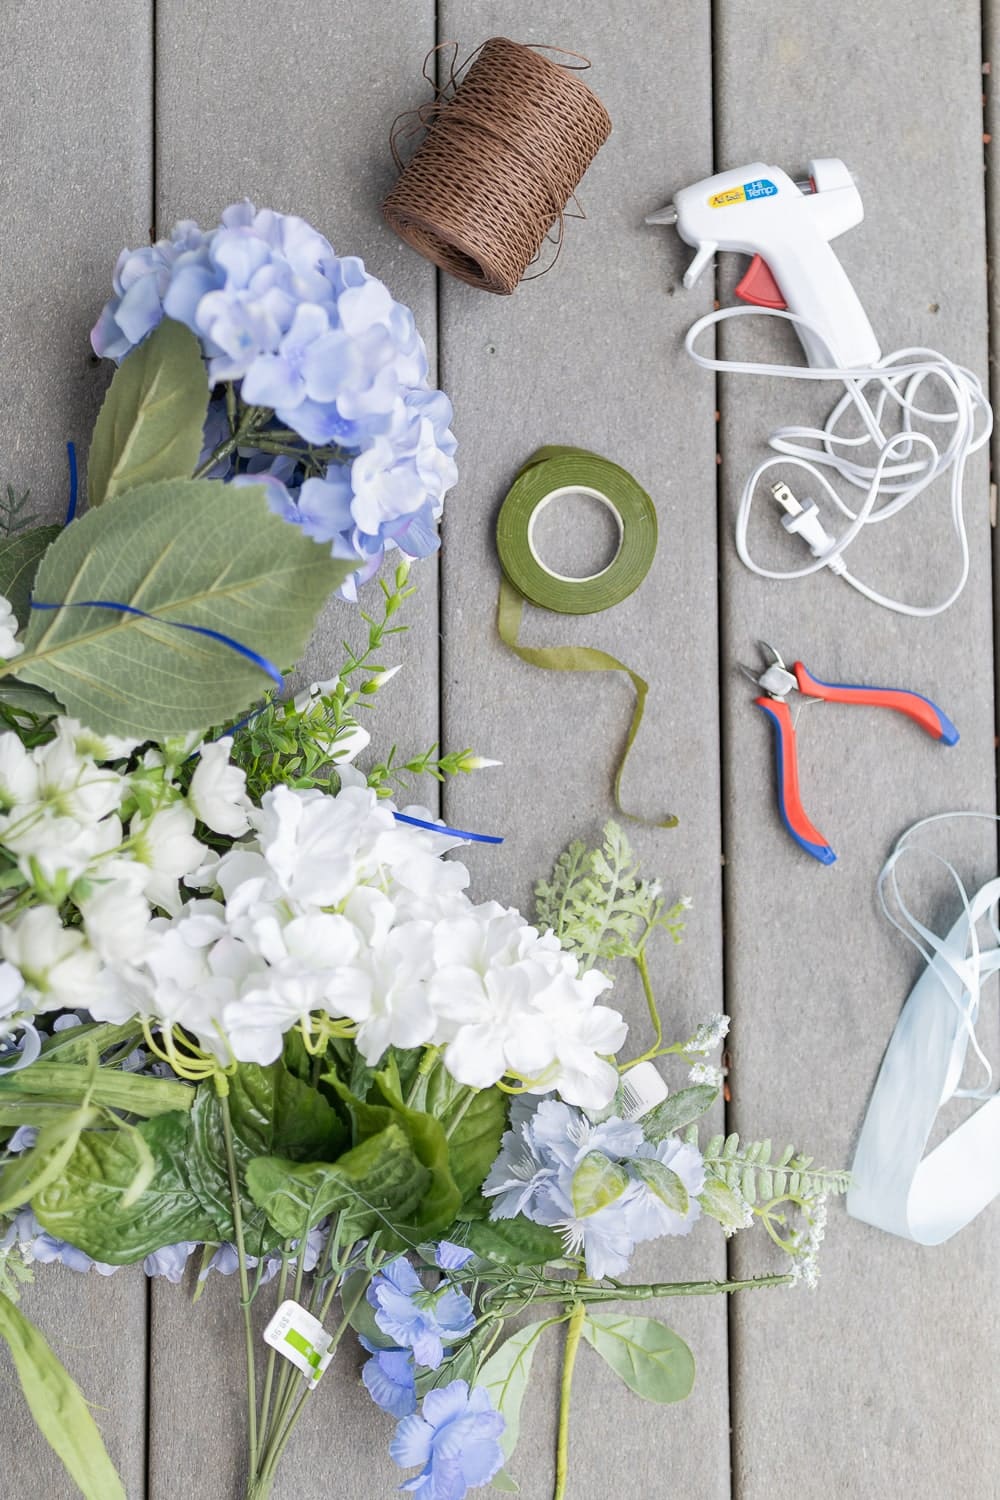
Here’s everything you’ll need to make your own dog flower wedding collars–
- Artificial flowers– Artificial flowers can be crazy expensive, so try to time your purchase right. I bought these from Michael’s right as they were switching out summer flowers for fall flowers, and I got everything I needed (literally dozens of flower picks) for under $10! If the timing’s not right, you can also find a bunch of budget-friendly silk blooms on Amazon.
- Floral wire– Floral wire is the perfect moldable base for any DIY flower crown or dog collar. I found mine on Amazon!
- Wire cutters– It looks dainty, but floral wire is actually pretty hard to cut. Normal scissors just won’t cut it (pun intended), so you’ll probably need legitimate wire cutters. I found mine in this floral arrangement kit!
- Green floral tape– I also got my floral tape from this floral arrangement kit! It comes in a few colors, but I recommend green so that it blends in better.
- Hot glue gun– Hot glue is perfect for filling in gaps and securing some of the smaller flowers.
- Thin ribbon– I used a piece of this ribbon to tie the two ends of the flower collar together. It is visible (even in our goldens’ hair), so I recommend finding a pretty ribbon that matches your palette.
Click below to shop DIY dog flower collar materials!
DIY Dog Flower Collar Wedding Tutorial
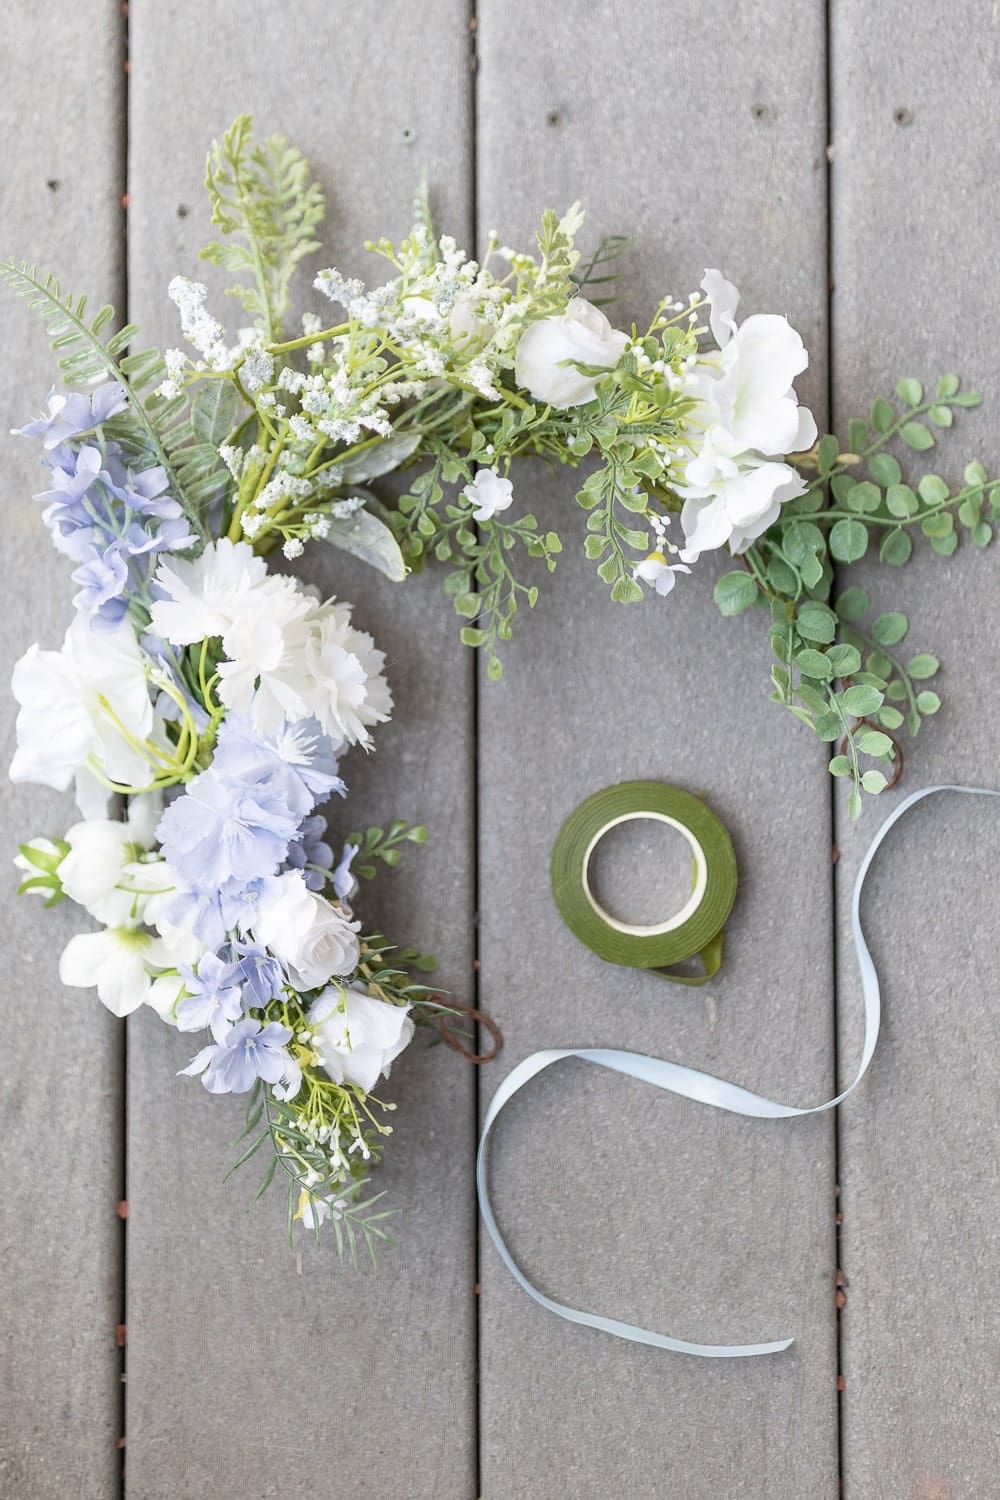
Making your own floral dog collar is really fun and a great way to include your dog in your wedding ceremony! Here’s how to make one–
To start, measure around your dog’s neck and cut a piece of floral wire that’s 3-4 times the size. For reference, both of mine ended up being about three feet long. If your dog is significantly smaller than our goldens, you won’t need nearly as much.
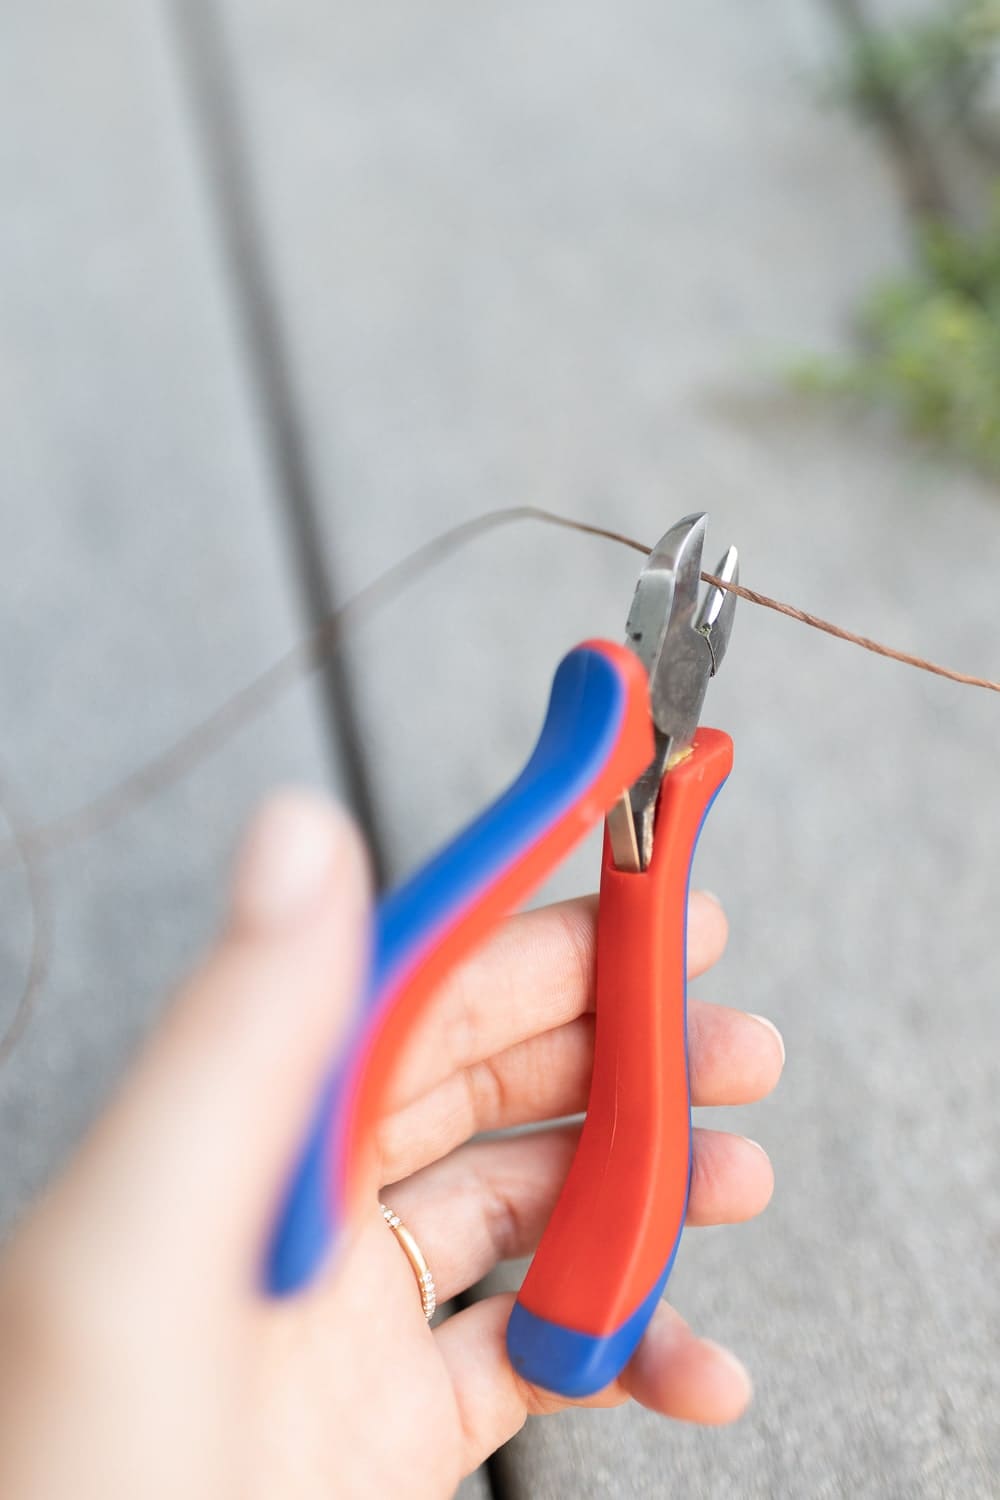
Next, fold the floral wire in half and then in half again (you’ll have two ends on both sides). Twist the ends around each other to create a more robust, braided-like collar base.
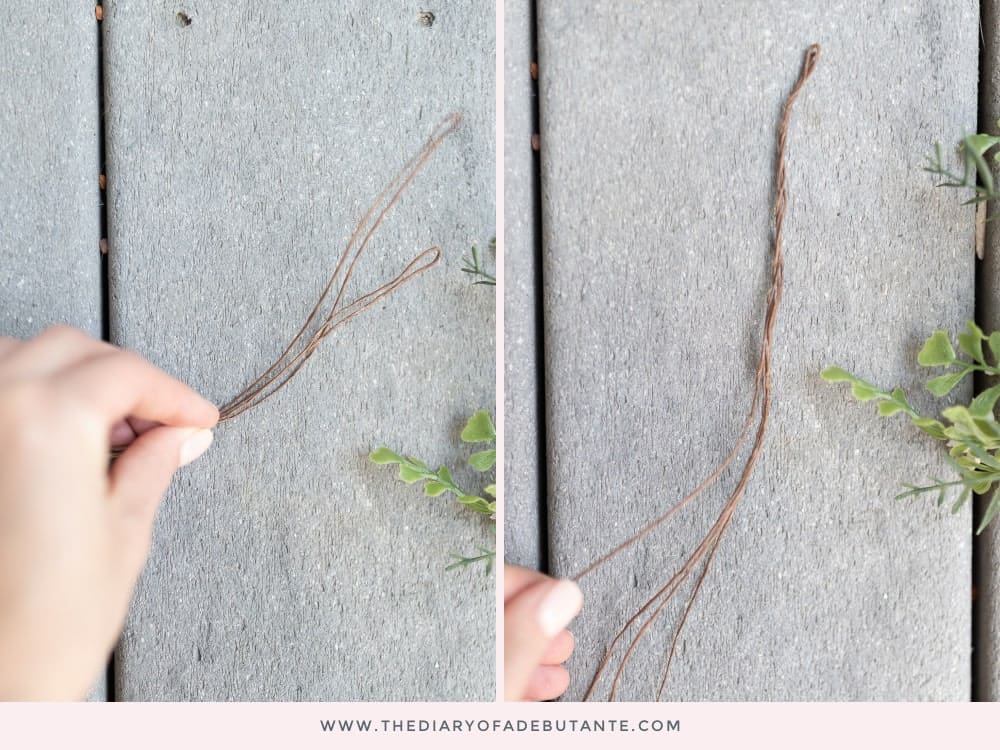
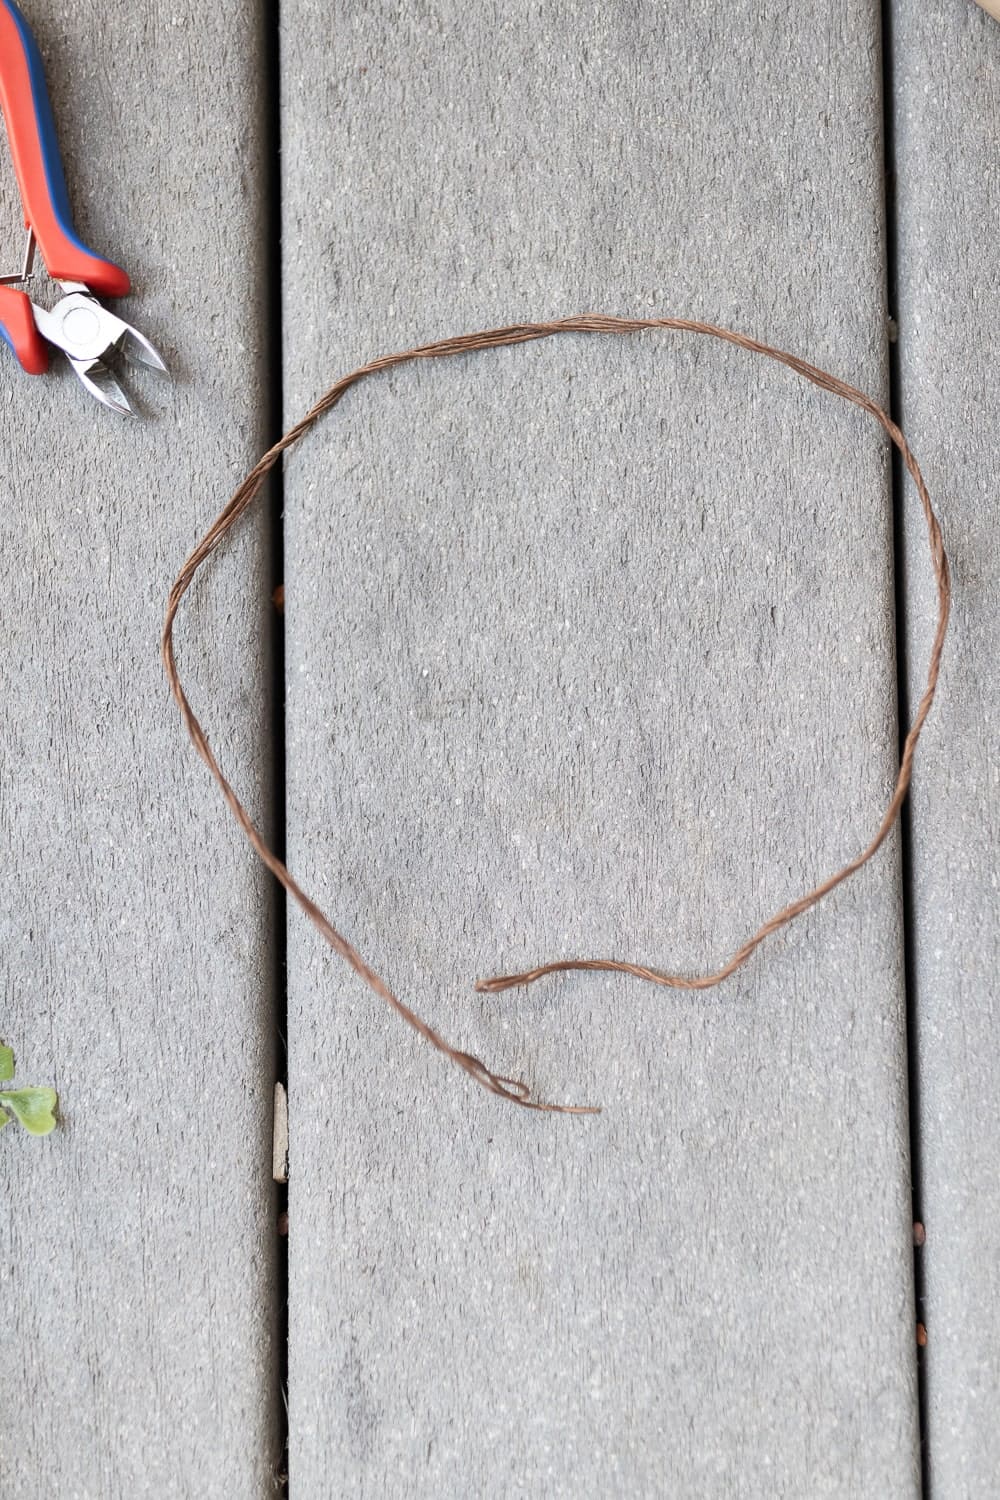
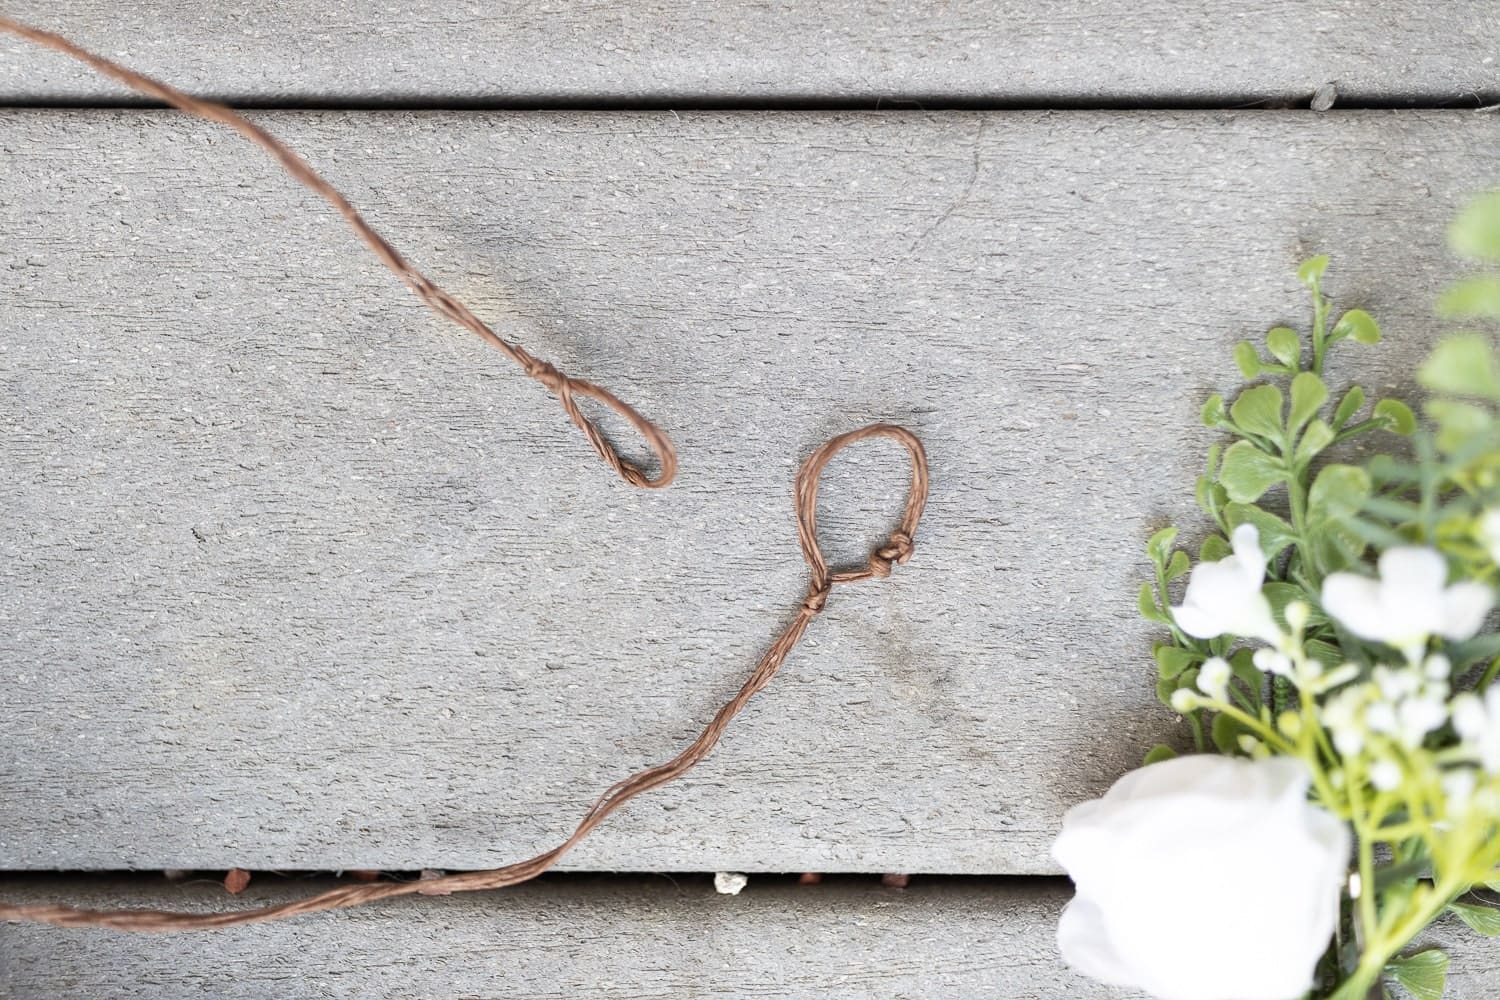
Once you’ve twisted everything into a single piece of floral wire, create small loops at both ends. I did this by taking about an inch and a half at the end of both sides, folding it over, and again twisting to create a secure knot. Yours should look something like the photo below–
Also, remember that you’ll be threading ribbon through these loops to tie the collar around your dog’s neck. The wire collar by itself shouldn’t be long enough, otherwise, you’ll have to go back in and remove some of the flowers.
Now comes the fun part– it’s time to add your flowers! Trim each pick so that it’s only an inch or so long and then position it on your collar. Tightly wrap green floral tape around the stem so that nothing but the flower(s) is showing. Be sure to hold the tape taut, stretching it slightly as you wrap it around the stems. Wrapping the tape over itself is actually what makes it stick (it’s covered in a wax adhesive that doesn’t activate until the tape is stretched, and it pretty much only sticks to itself).
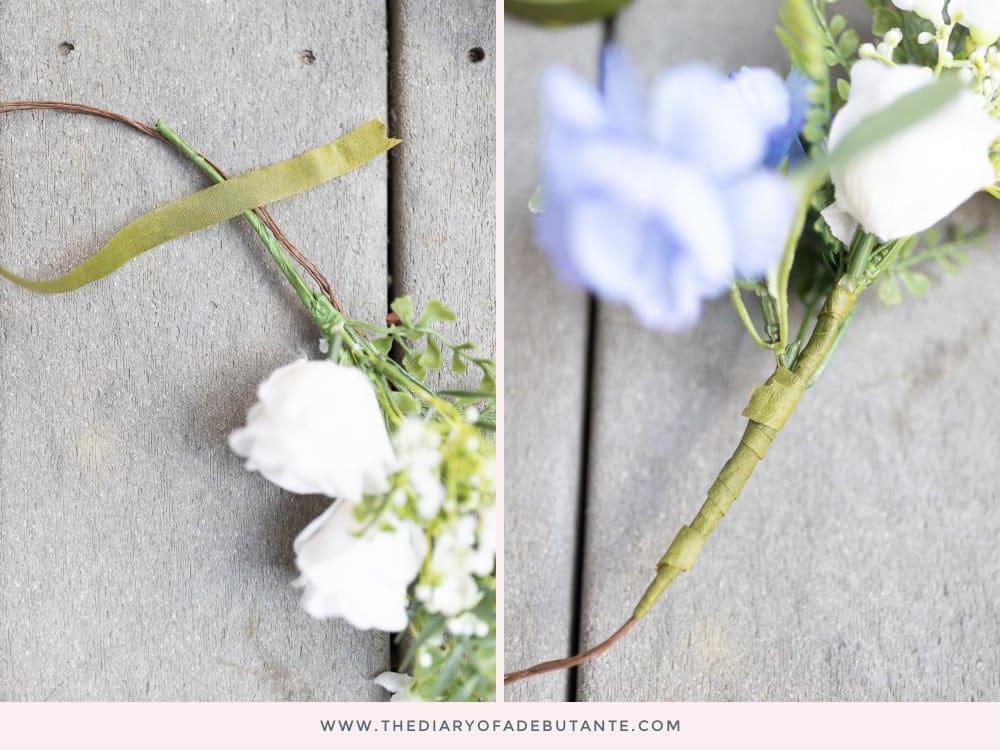
Continue adding flowers and greenery throughout the collar. So that it’s easier to utilize the stickiness of the floral tape, start from the outside and work your way to the center.
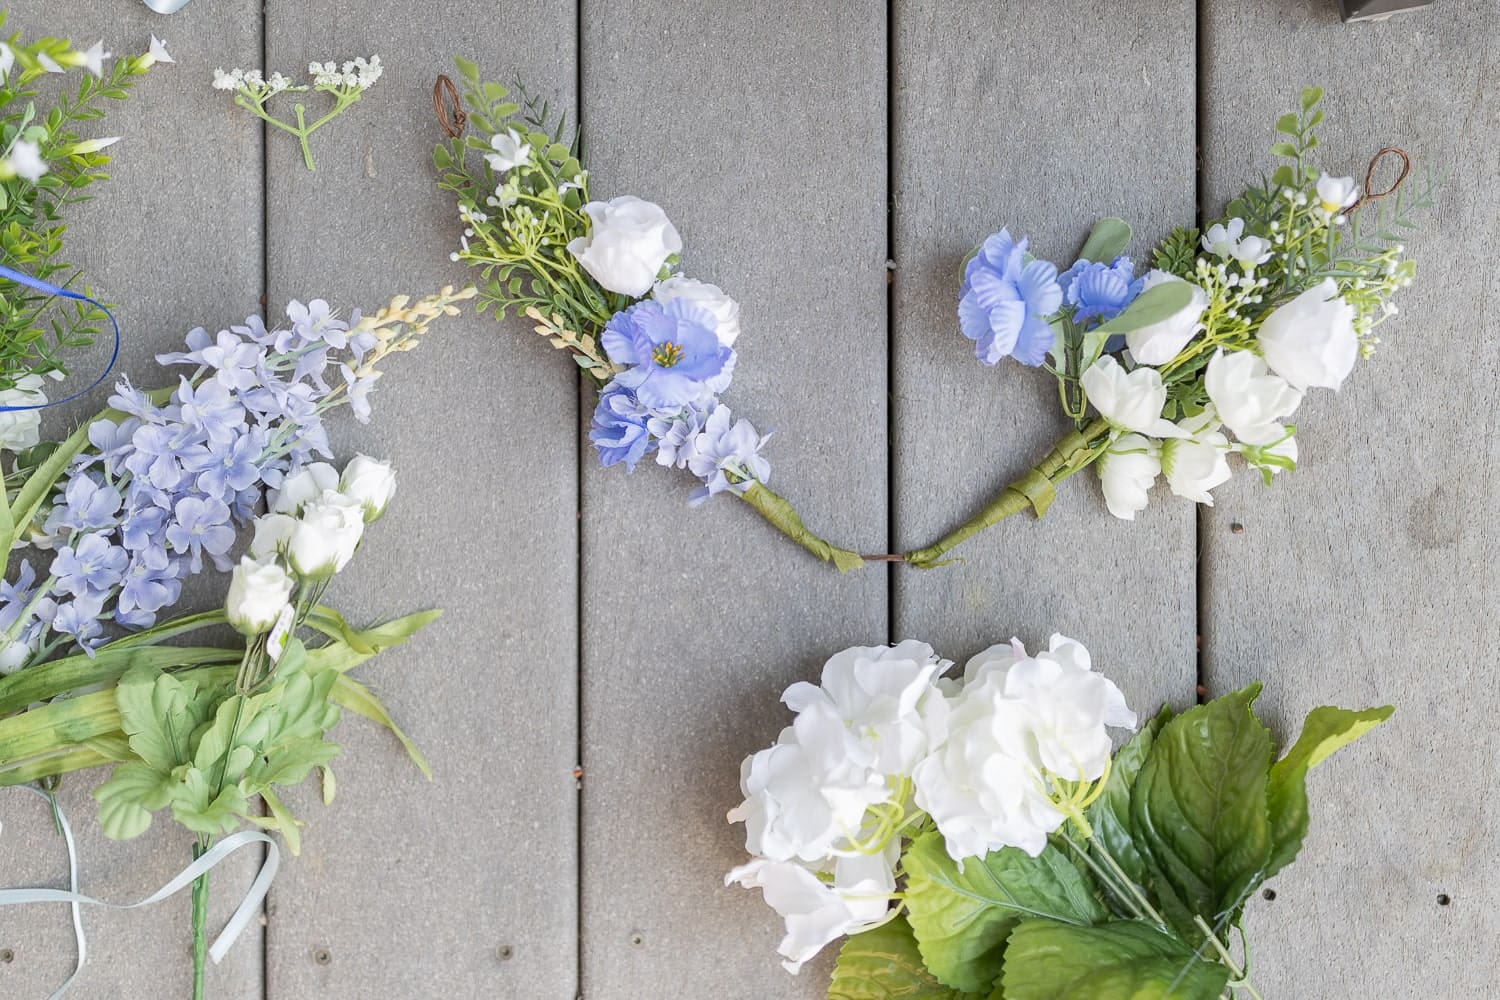
Floral tape can only cover so much, so once your collar base is looking pretty full, heat up a hot glue gun and glue smaller filler flowers and greenery into place. I also glued some of the leaves and petals of the larger flowers together to make sure nothing fell off. Keep in mind, though, that anything glued is going to be more vulnerable to scratching/erratic dog movements than anything that’s secured with floral tape. These collars hold up pretty darn well, but Nellie found a weak spot and left a trail of fake flowers all over the venue.
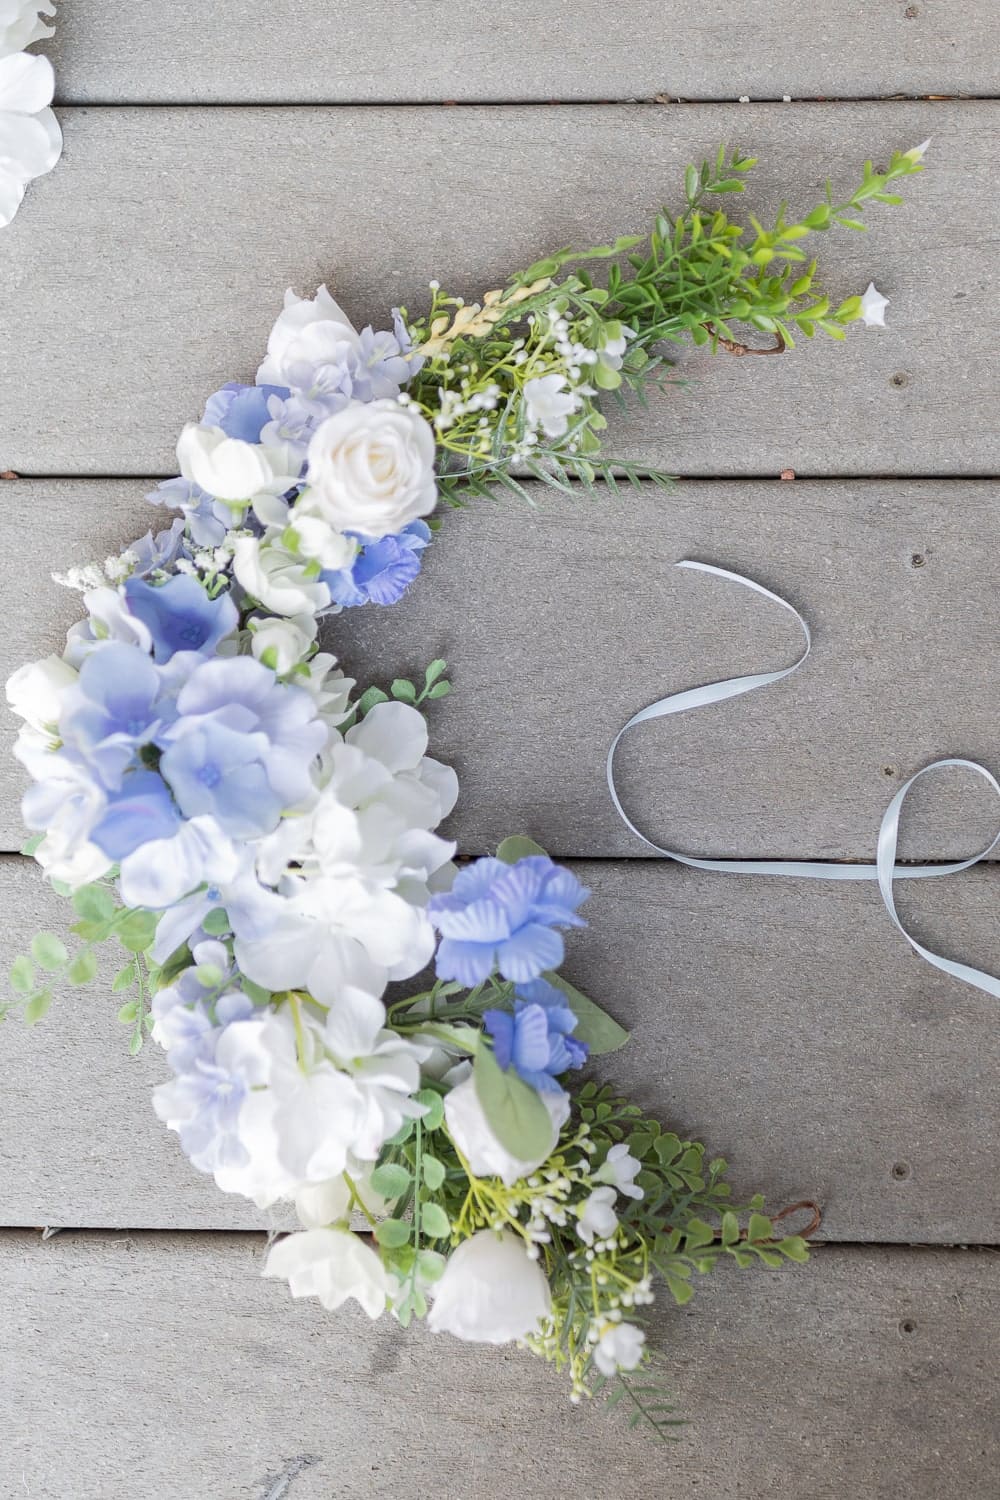
Finally, grab a pretty piece of ribbon and use it to connect the two ends of the flower collar around your doggo’s neck. You definitely don’t want the collar to be too tight, so make sure you can easily fit two or three fingers underneath. Trust me, at the very least, they’ll be slightly bothered by the flower collar (Nala and Nellie loved the attention so much they didn’t really care, aside from Nellie doing a little bit of neck scratching), so you don’t want to give them more ammo to try and rip it off.
Be sure to test it on your dog before you throw in the towel, too. You want to make sure that (A) it fits and (B) you like the fullness of the flowers.
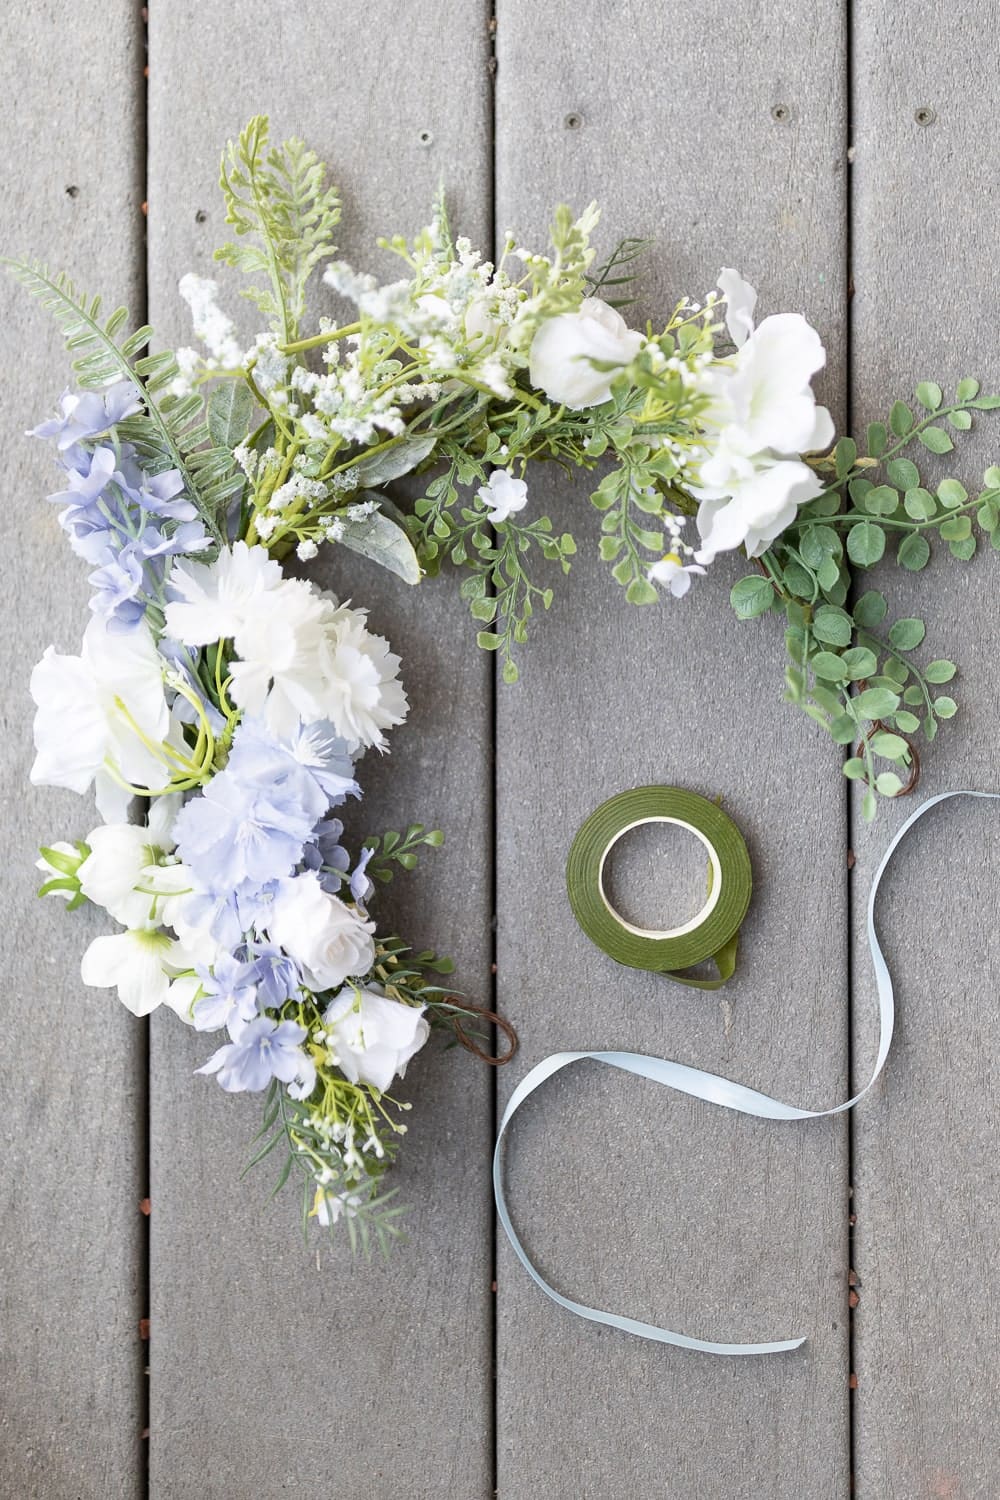
So, yeah– that’s how you make your own DIY dog flower collar! They were a huge hit at the wedding, and the girls ended up loving all the extra attention they got from everyone at the ceremony (and on the street!). I mean, just how pretty they are!
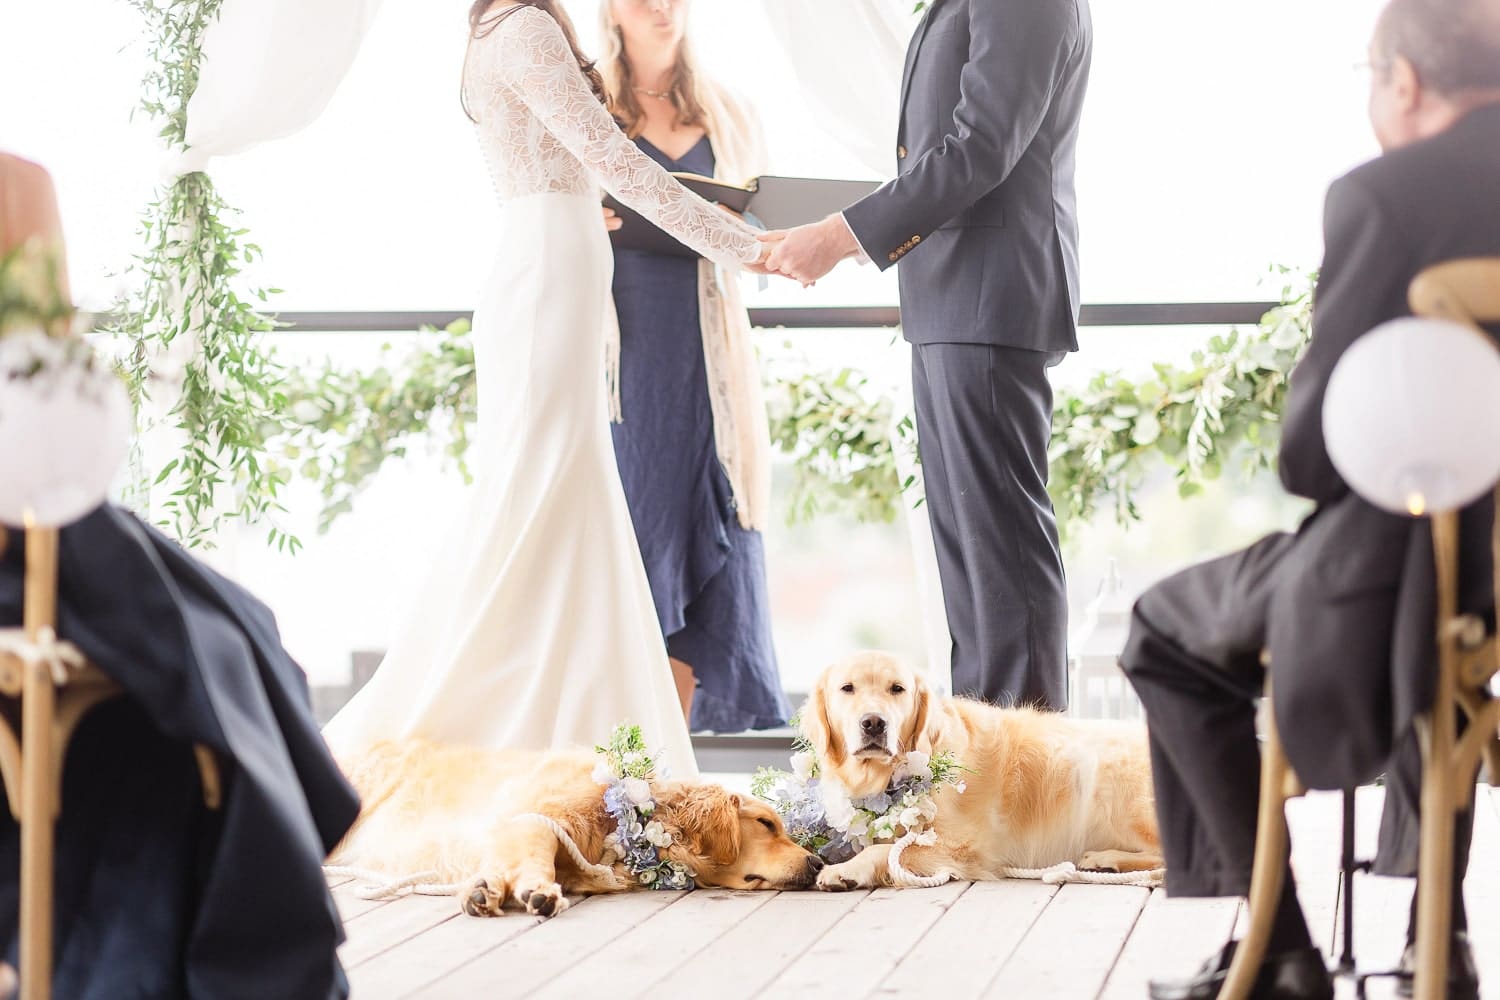
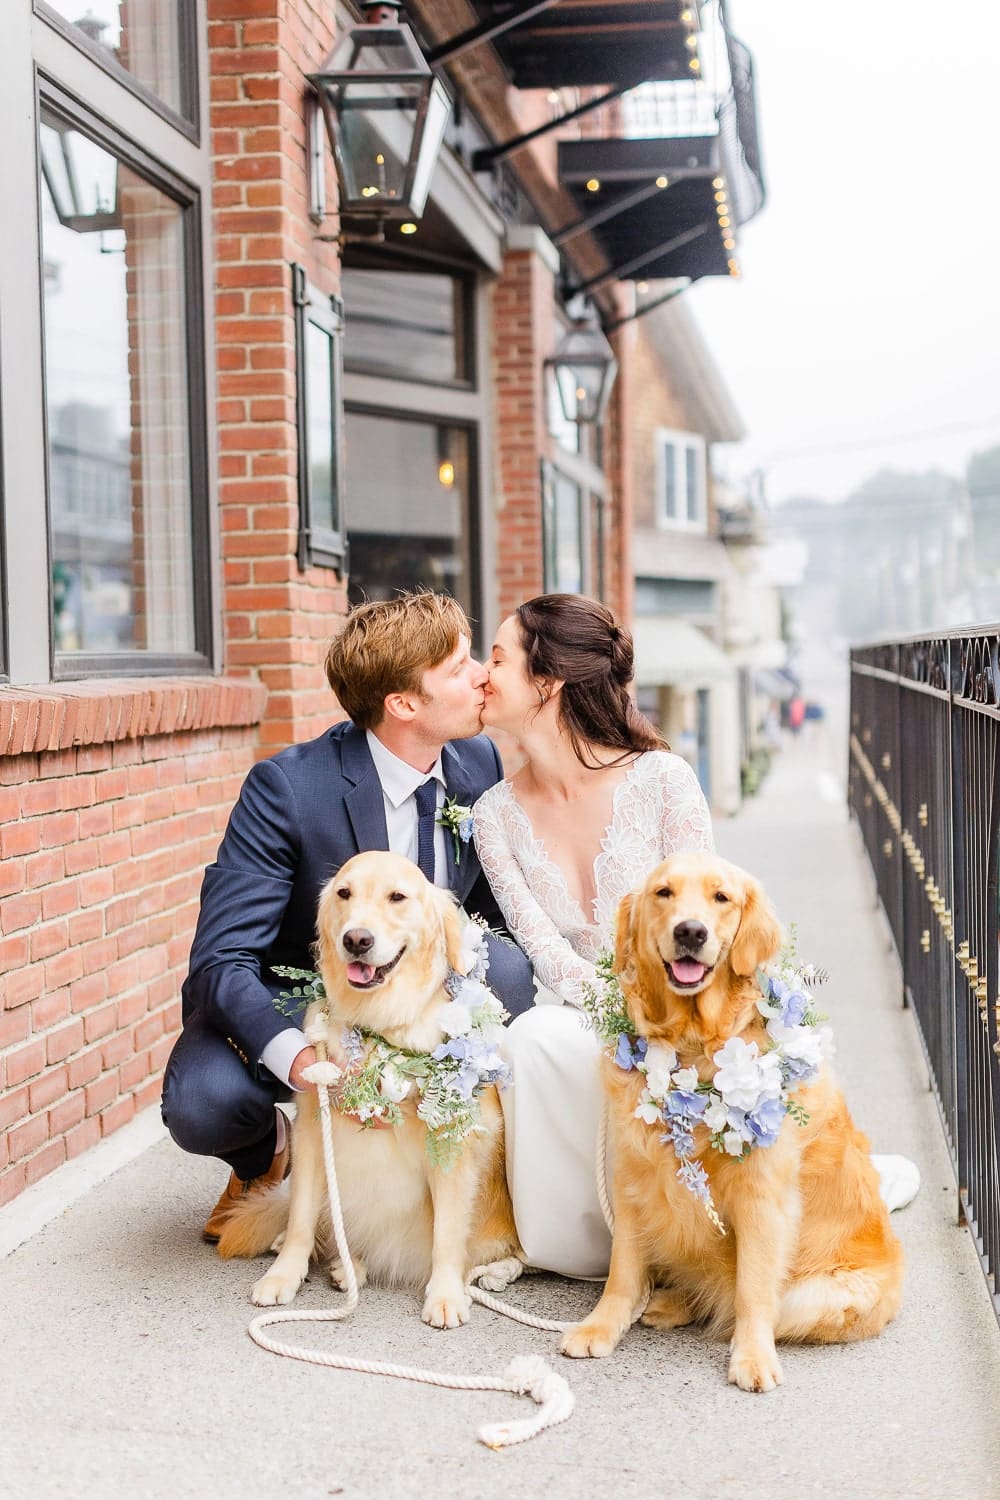
Stay tuned for more wedding pics– can’t wait to share more of our day with y’all!
More DIY Wedding Ideas
If you loved this DIY dog flower collar wedding tutorial, you’ll love these DIY wedding projects, too–
- DIY Destination Wedding Gift Bags– I used burlap bags, iron-on vinyl, and my Cricut EasyPress to make custom welcome bags for our Maine wedding guests.
- DIY Mini Glitter Champagne Bottles– These DIY mini glitter champagne bottles are perfect for Bachelorette parties and wedding welcome bags!
- How to Make Your Own Cake Topper– I created a glitter cake topper for Father’s Day, but you can also use this tutorial to make a custom wedding cake topper!
- DIY Bachelorette Survival Kits– Hosting a bachelorette party? Avoid stressful beauty and personal care predicaments with these cute DIY Bachelorette Survival Kits.
- DIY Wedding Welcome Sign– Custom wedding welcome signs can cost upwards of $200 on Etsy. Make your own for a fraction of the cost with some plywood, paint, and iron-on vinyl!
As always, please let me know if you have any questions whatsoever. I’m happy to help!
Wedding photography by Catherine Rhodes


Great tutorial!
Thank you! <3
These look adorable! I am a small business florist and I’m attempting my first pet flower collar for a client and your tutorial was great! Looking forward to making it.
So glad to hear that, Kimberly! Wish I could see the adorable collars you created!