*This post may contain affiliate links, which means I may receive a commission (at no additional cost to you!) if you make a purchase using any of these links.*

If it’s not moving, monogram it, right?! I’ve been on a little bit of a crazy monogram/glitter kick lately, and these DIY glass glitter ornaments are hands down my favorite holiday project so far. They’re so gorgeous, and they look like they take hours to make, even though the process is so quick and simple! I’ve actually been wanting to make a batch of DIY personalized Christmas ornaments for the past few years, but I had no idea how to handle the monogram component. Enter: Cricut Explore Air 2. This machine, y’all– I tell you what. It can do some incredible things, including Cricut monograms! Keep reading to learn how to make glitter ornaments with polycrylic and how to make monograms on the Cricut!
Here’s everything you’ll need to get started:
- Cricut Explore Air 2– I love my Cricut Explore Air 2, but any comparable smart cutting device will do.
- Cricut Standard Grip 12×12″ Cutting Mat– I buy mine in packs of two!
- Permanent Craft Vinyl– I found this amazing budget brand on Amazon, but I still love my Cricut vinyl.
- Large clear plastic or glass ornaments– I found mine on sale at Michaels.
- Polycrylic
- Extra fine glitter– I used Sulyn, which is available at Walmart, Michaels, and Amazon.
- Transfer tape– If you’re trying to cut down on DIY Christmas gift costs, grab some from DollarTree!
- Pretty holiday ribbon
- Hot glue gun
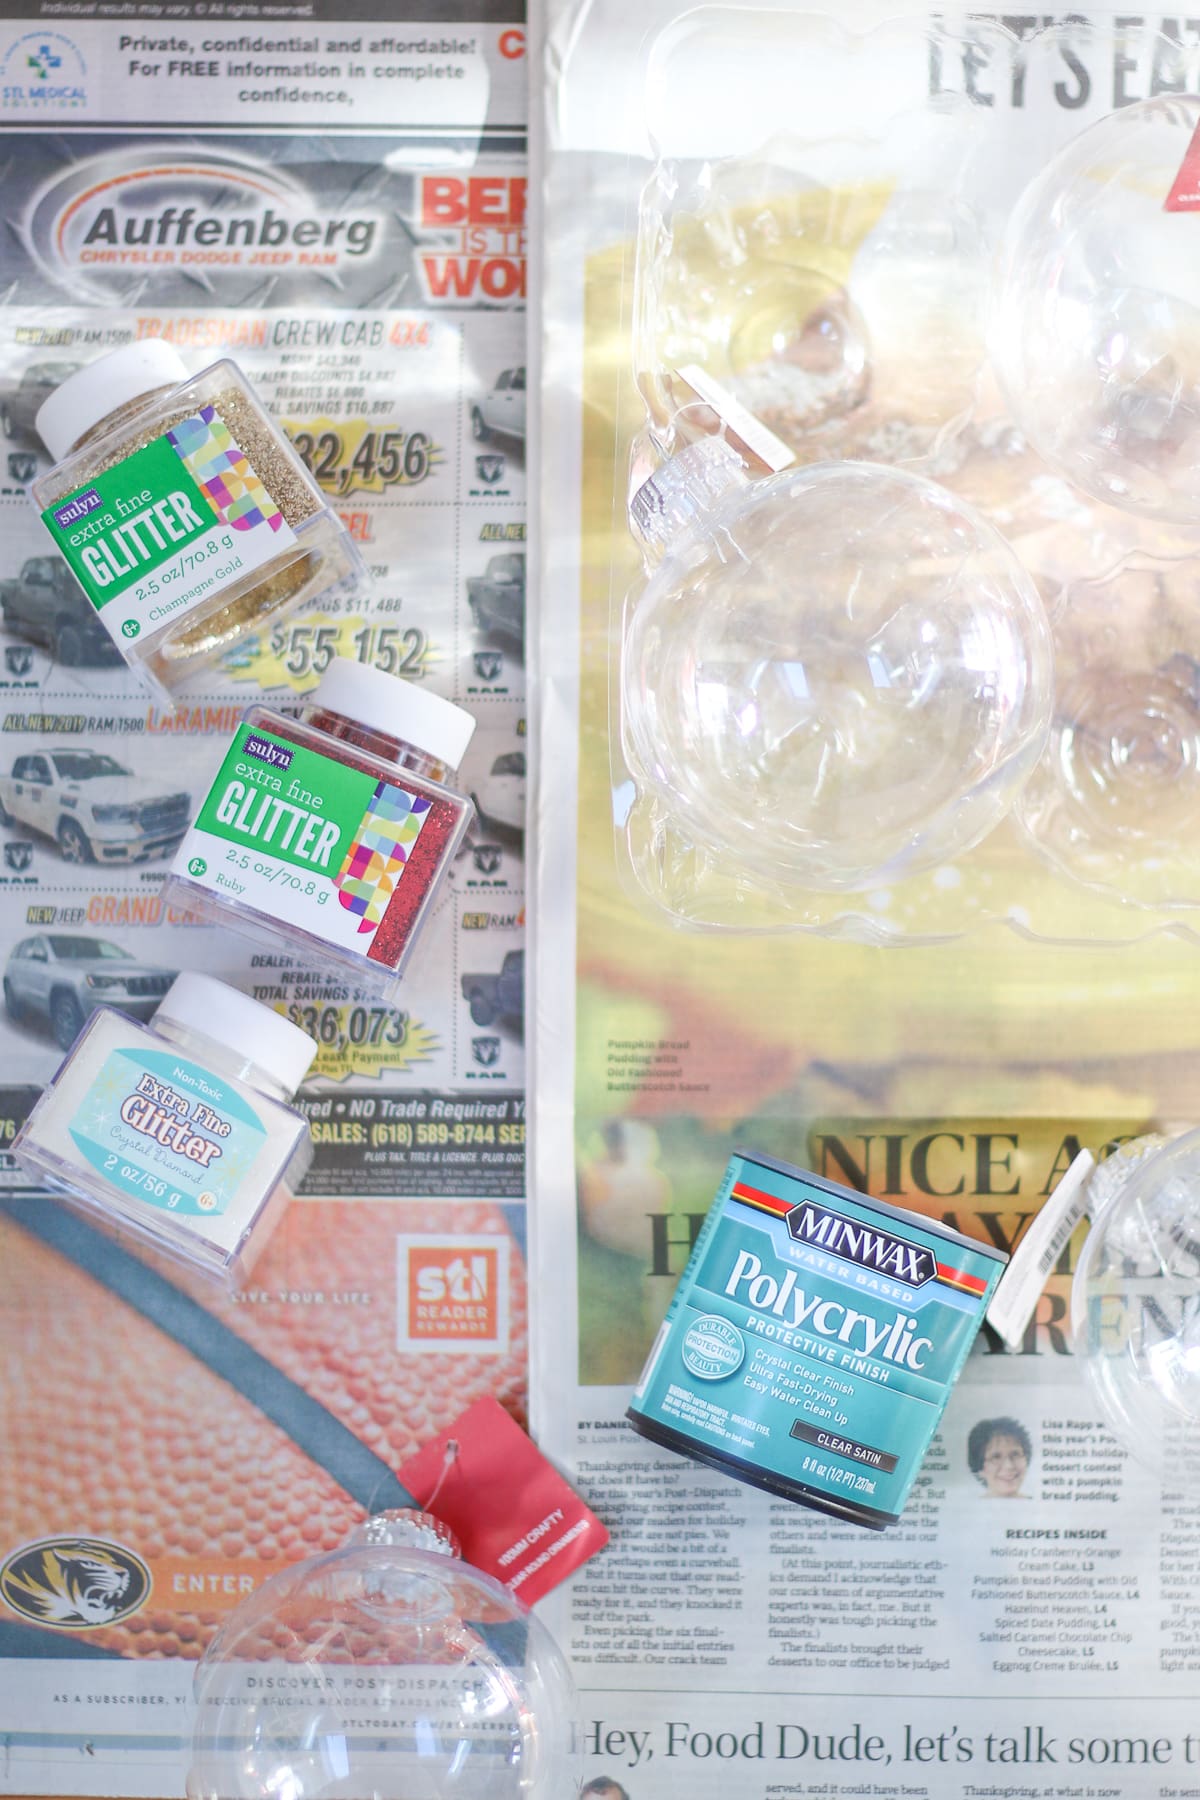
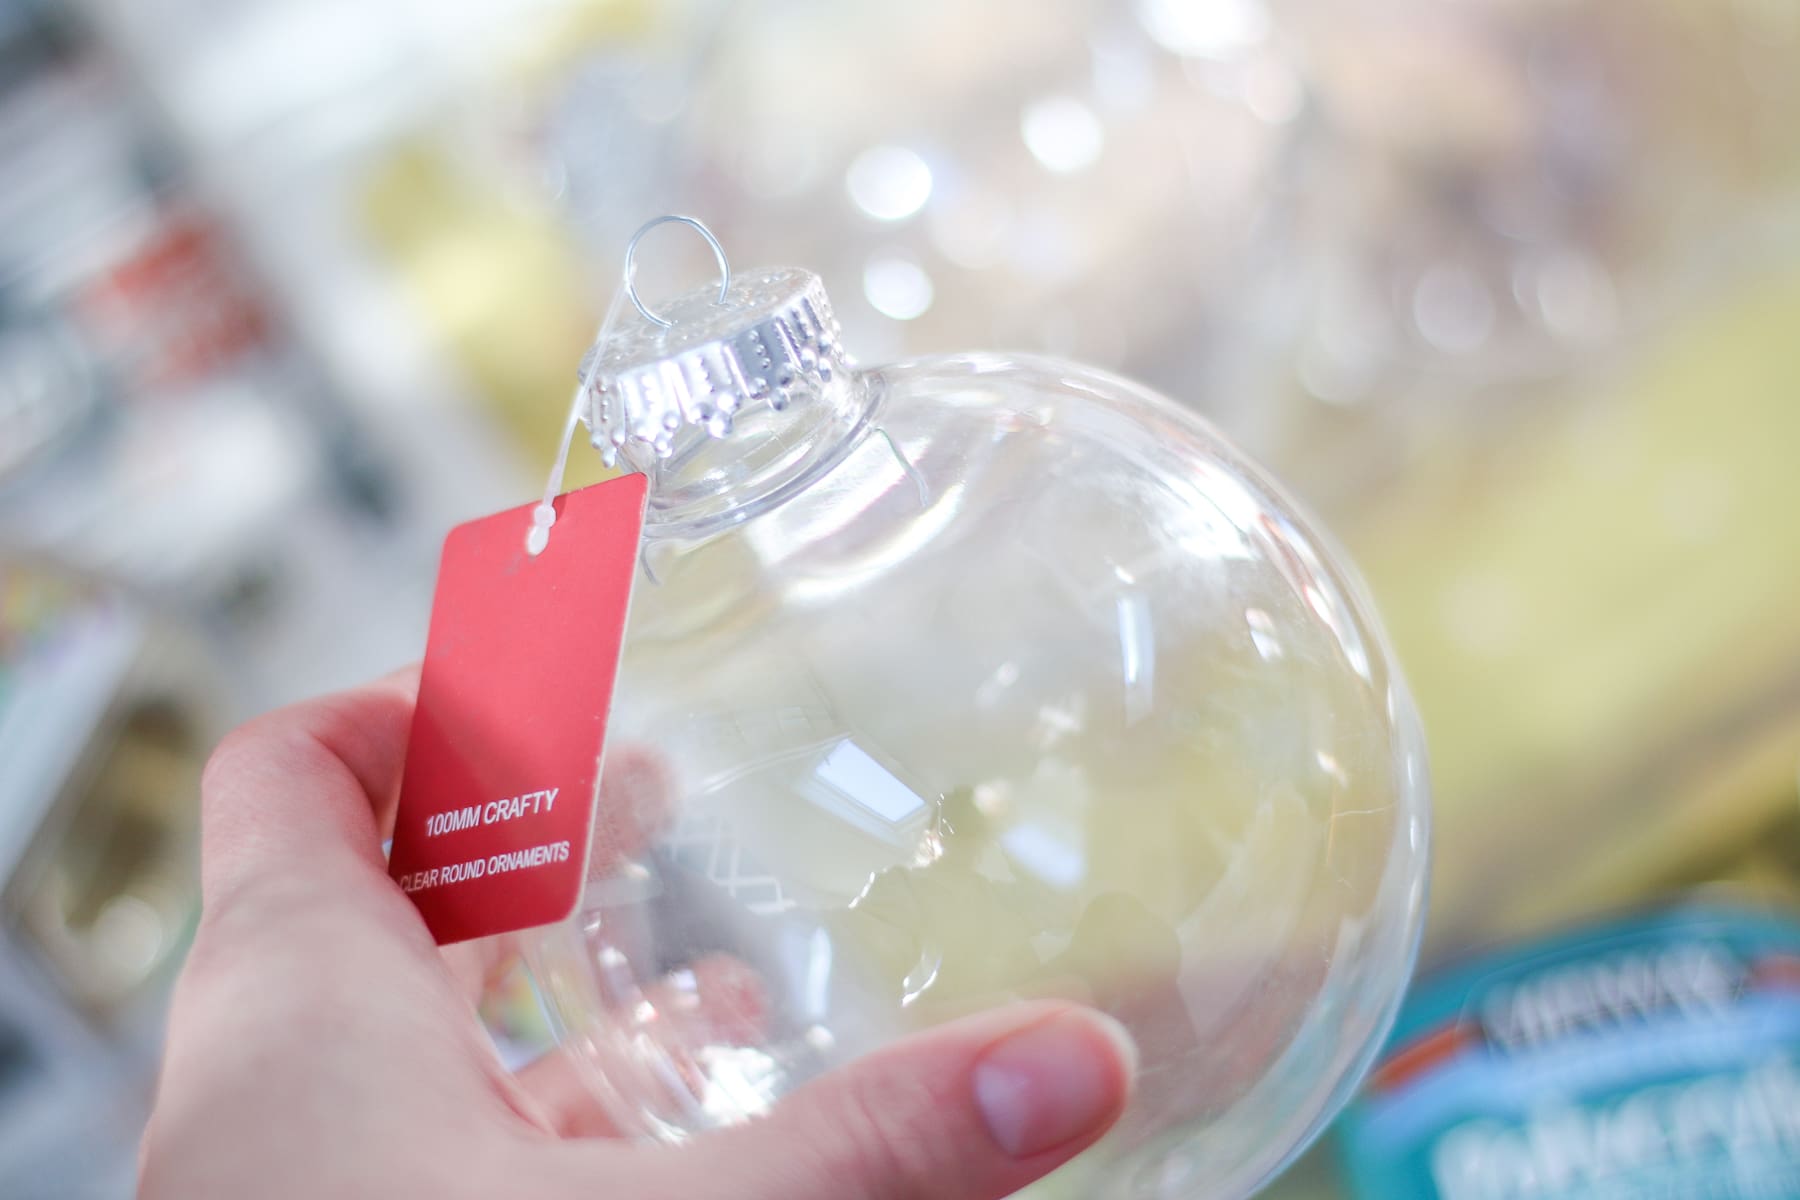
Step 1: Coat each ornament with polycrylic.
Pour a small amount of polycrylic into each glass ornament and swirl it for a few minutes around until the inside of the ornament is completely covered. Then, let the polycrylic drain back out into the can. This step is very important for getting even glitter coverage. I basically ruined the first few by leaving too much in, so hopefully this’ll save yours from a similar fate.
I’ve heard you can make DIY glitter ornaments with floor cleaner, but making glitter ornaments with polycrylic is my preference. One of the main reasons why? You can keep reusing the same can of polycrylic over and over!
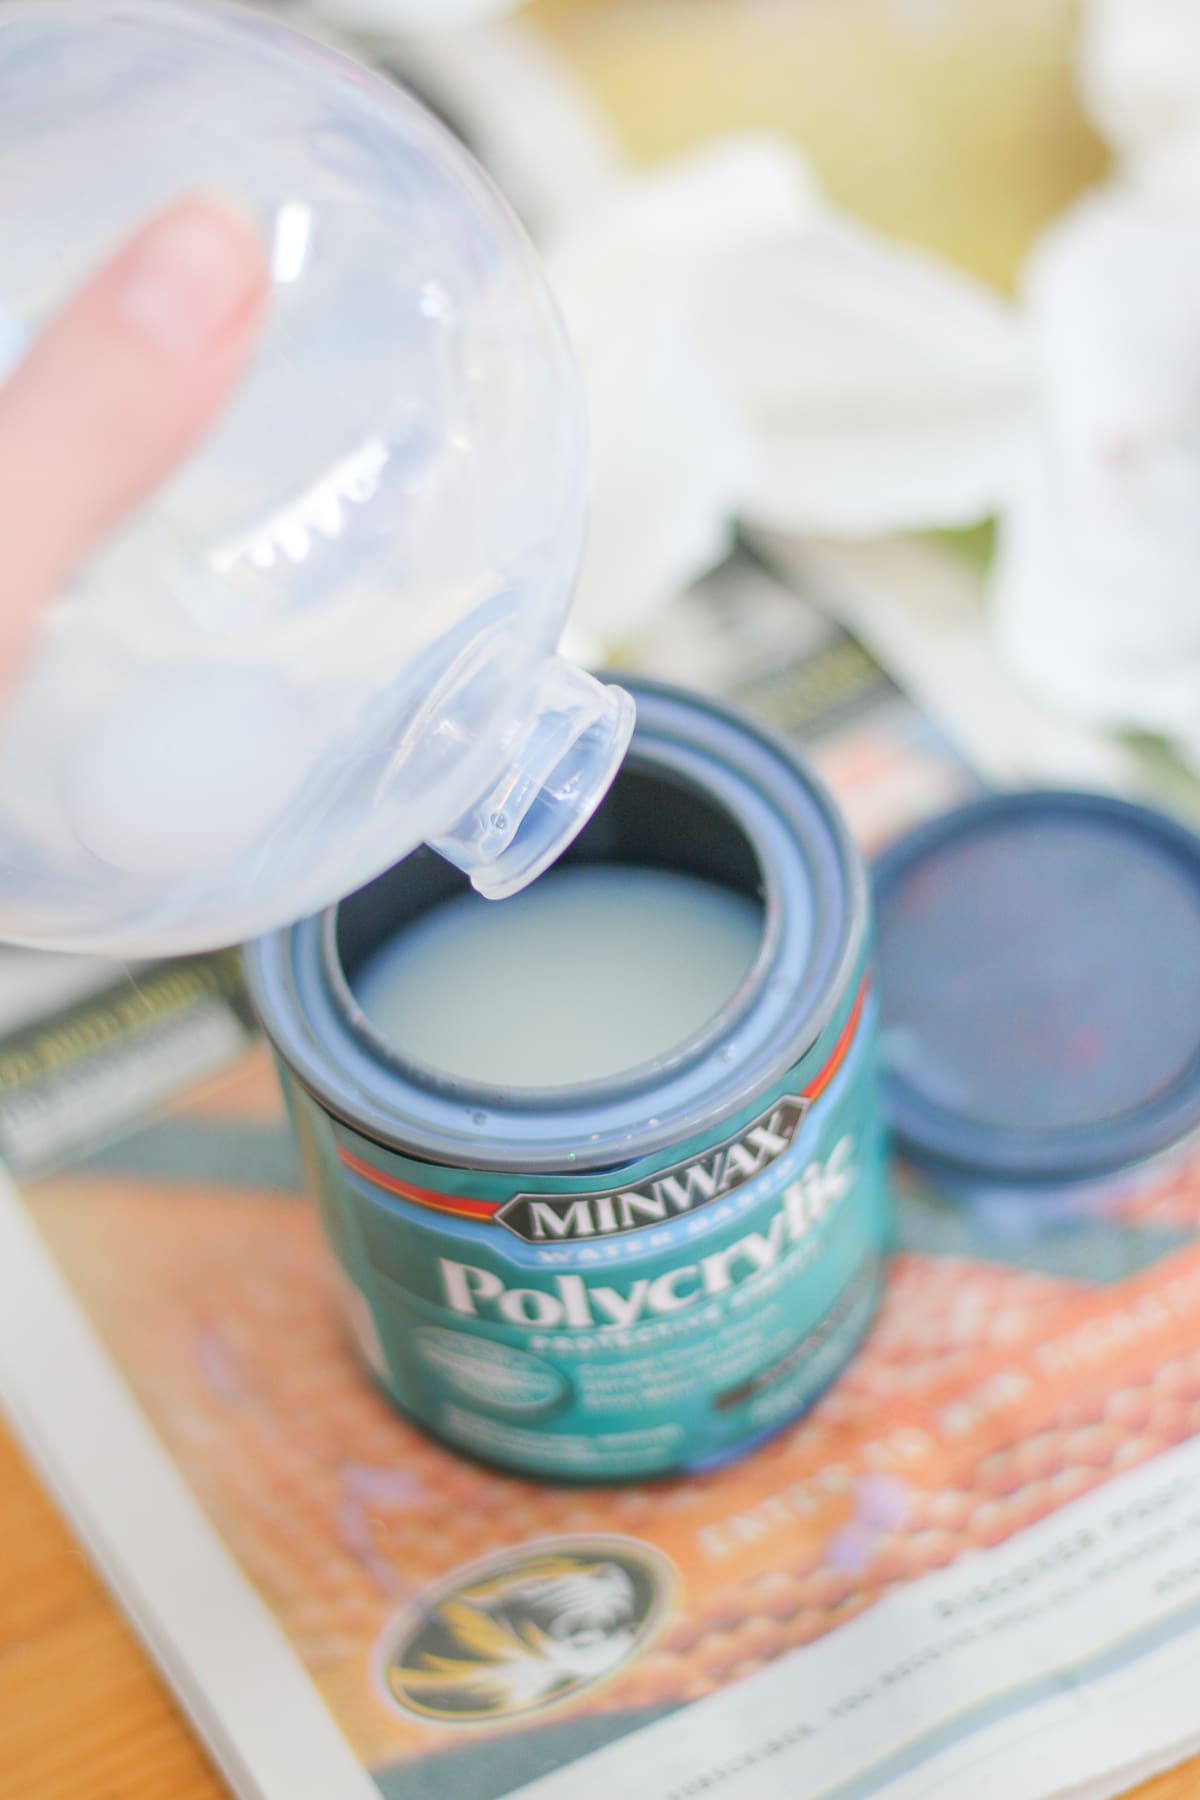
Step 2: Add glitter.
Grab your extra fine glitter and pour some into each polycrylic-coated ornament. I used a paper towel to block the opening and then shook the glitter around like crazy. If the coverage looks uneven, add more glitter as needed. Allow to dry for a bit before replacing the top.
Fun note— if you look in the photo below, you’ll see the two white ornaments I ruined by not draining the excess polycrylic. The glitter clumped in certain spots and created what looked like unsightly stretch marks on the glass.
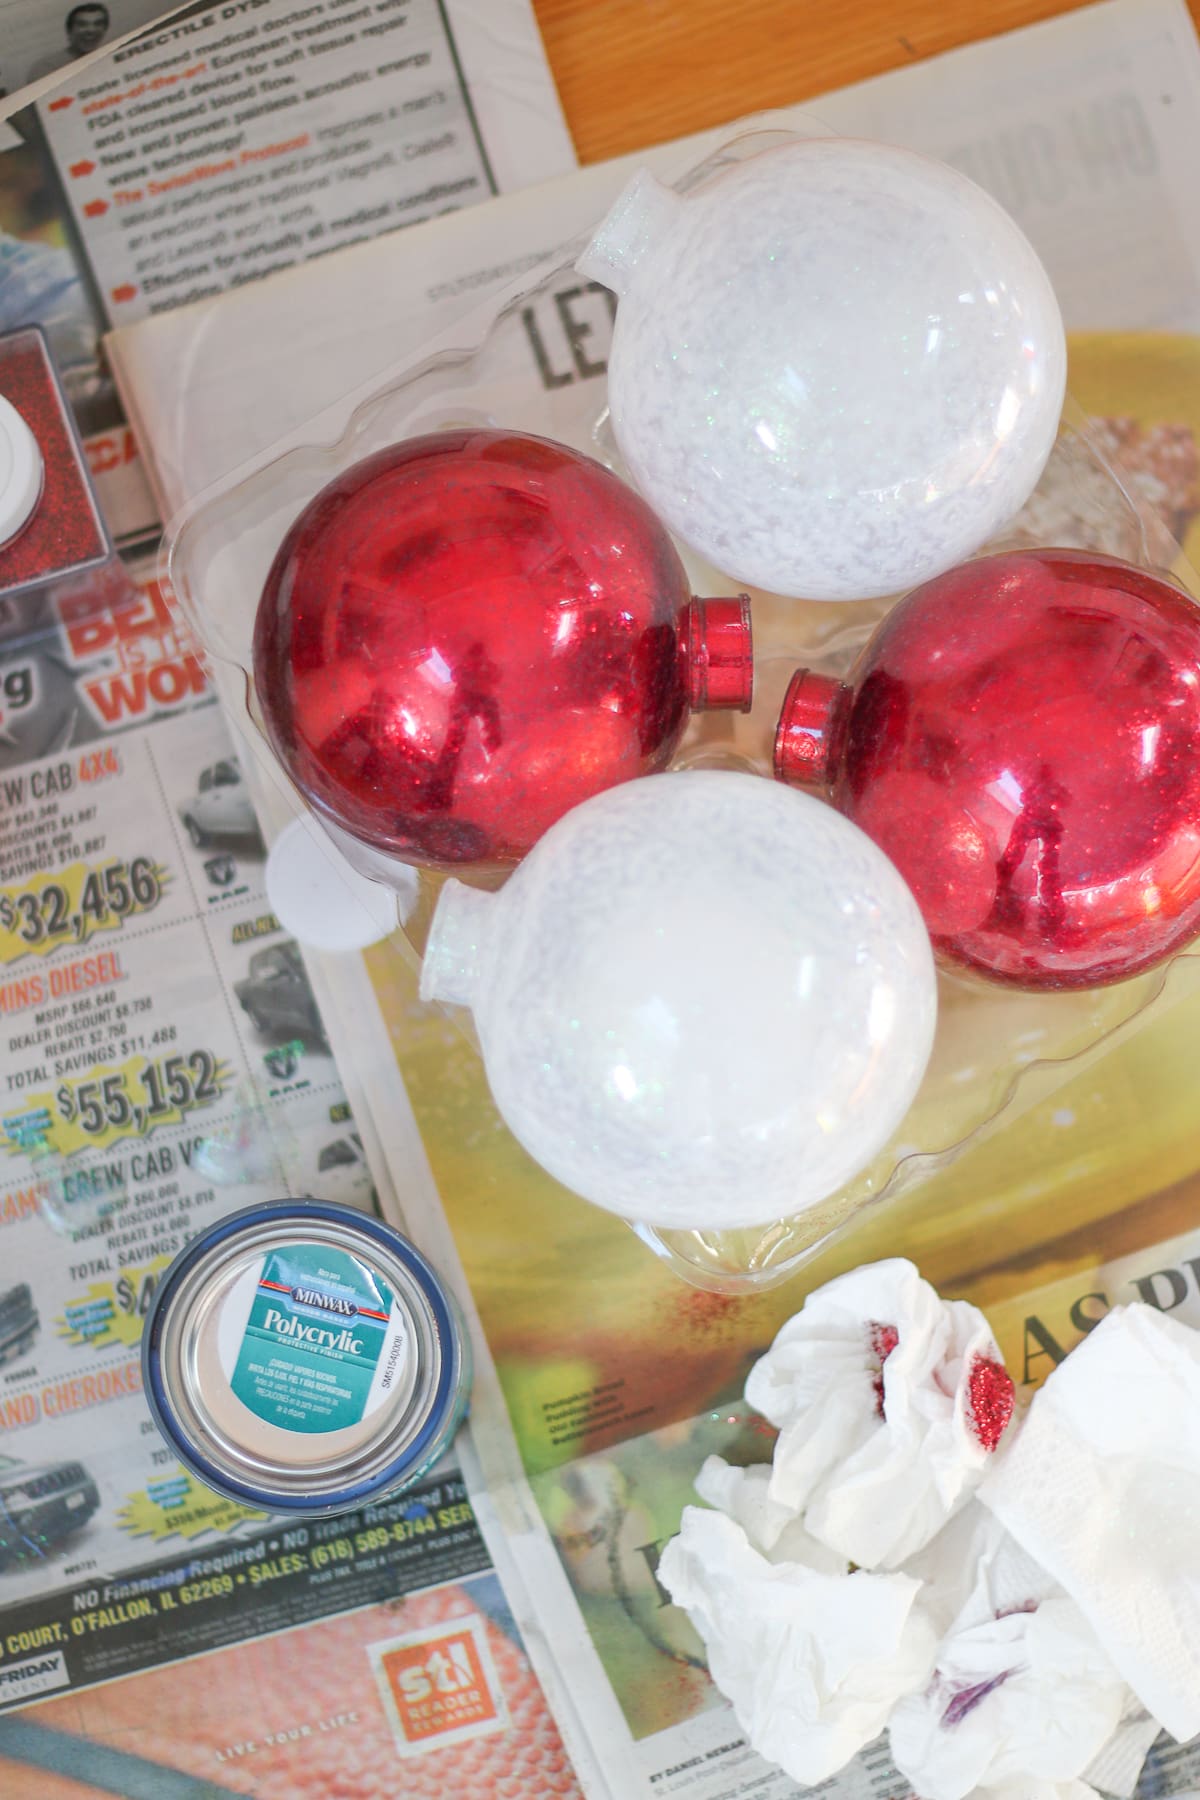
Step 3: Create your vinyl monograms.
While your DIY glitter ornaments are drying, create your vinyl monograms. Open up Design Space, choose your fonts, and resize to fit your ornaments. Keep in mind that there are a few different formats and styles for monograms. I like the more formal ornate look, so I used a font called Monogram KK. I typed each monogram in the first initial/last initial/middle initial format, un-grouped the letters, and then re-sized and rearranged the letters so that they overlapped evenly. Then, I welded the result together and clicked “Make It” in Design Space. So easy!
For more tips on how to make monograms on the Cricut Explore Air 2, check out my guide to creating Cricut monograms! It shows how to create different styles of monograms (circle monograms, heart-shaped monograms, block monograms, etc) in Cricut Design Space.

If you’re cutting a full page of monograms, give your machine a minute or two to cut them all out. Since my designs were so ornate, it took my Cricut Explore Air 2 about ten minutes to finish. Then, carefully weed out the vinyl monograms. These monograms are very delicate, so I used this handy weeding tool to minimize the chance of ripping.
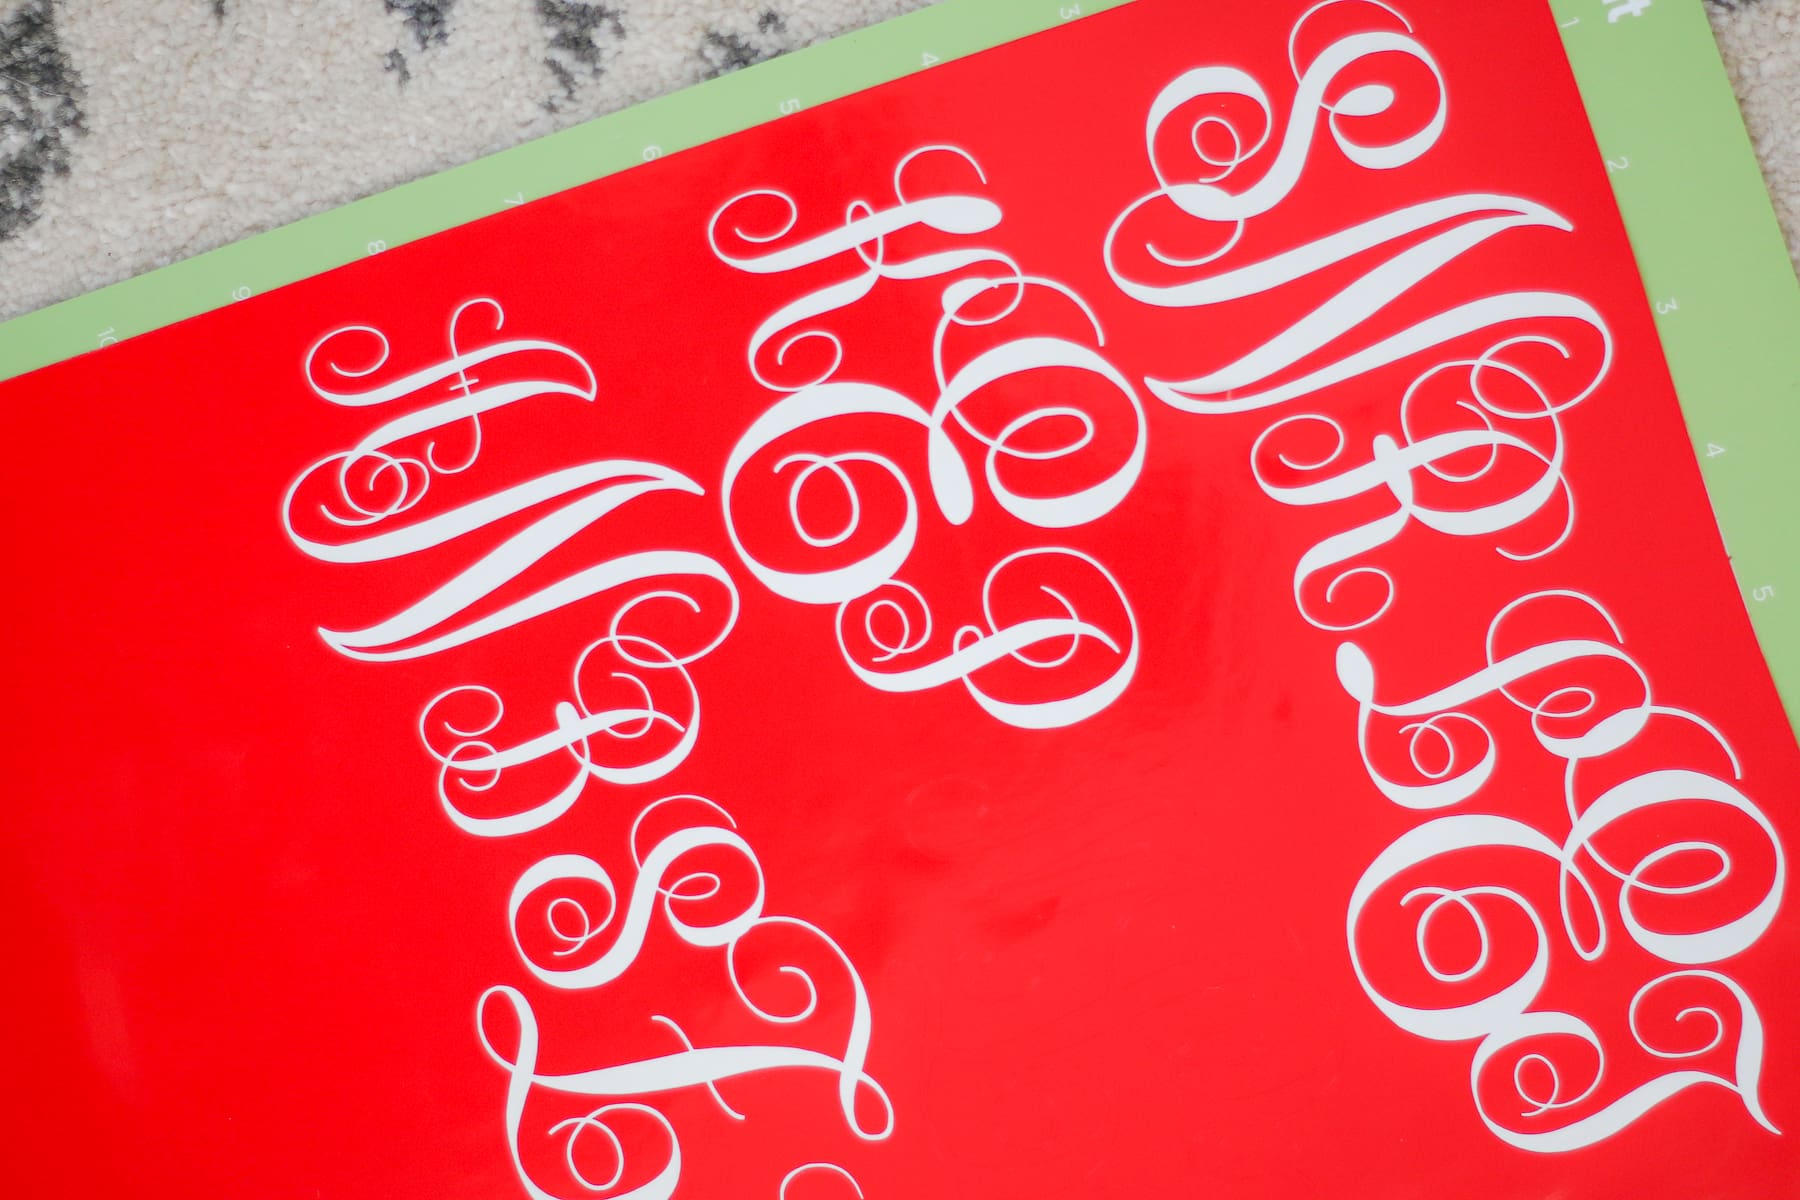
Step 4: Monogram it!
After you’ve carefully weeded each monogram, you’ll notice how ridiculously difficult it is to keep the letters from sticking to each other. So, either use transfer tape or be extremely patient. I highly recommend using transfer tape (if budget’s a factor, you can find some at DollarTree actually!), especially for more intricate monograms. Either way, focus on gently placing the large middle letter in the center of each glitter ornament. Do not apply pressure, since you’ll probably need to reposition it at some point. Once you’re happy with the placement, push the letters down to lock the monogram in place.
It’s also worth noting that less ornate monograms don’t present this problem, so you can always choose an easier font (like Monogramos on Cinzel) from the get-go.
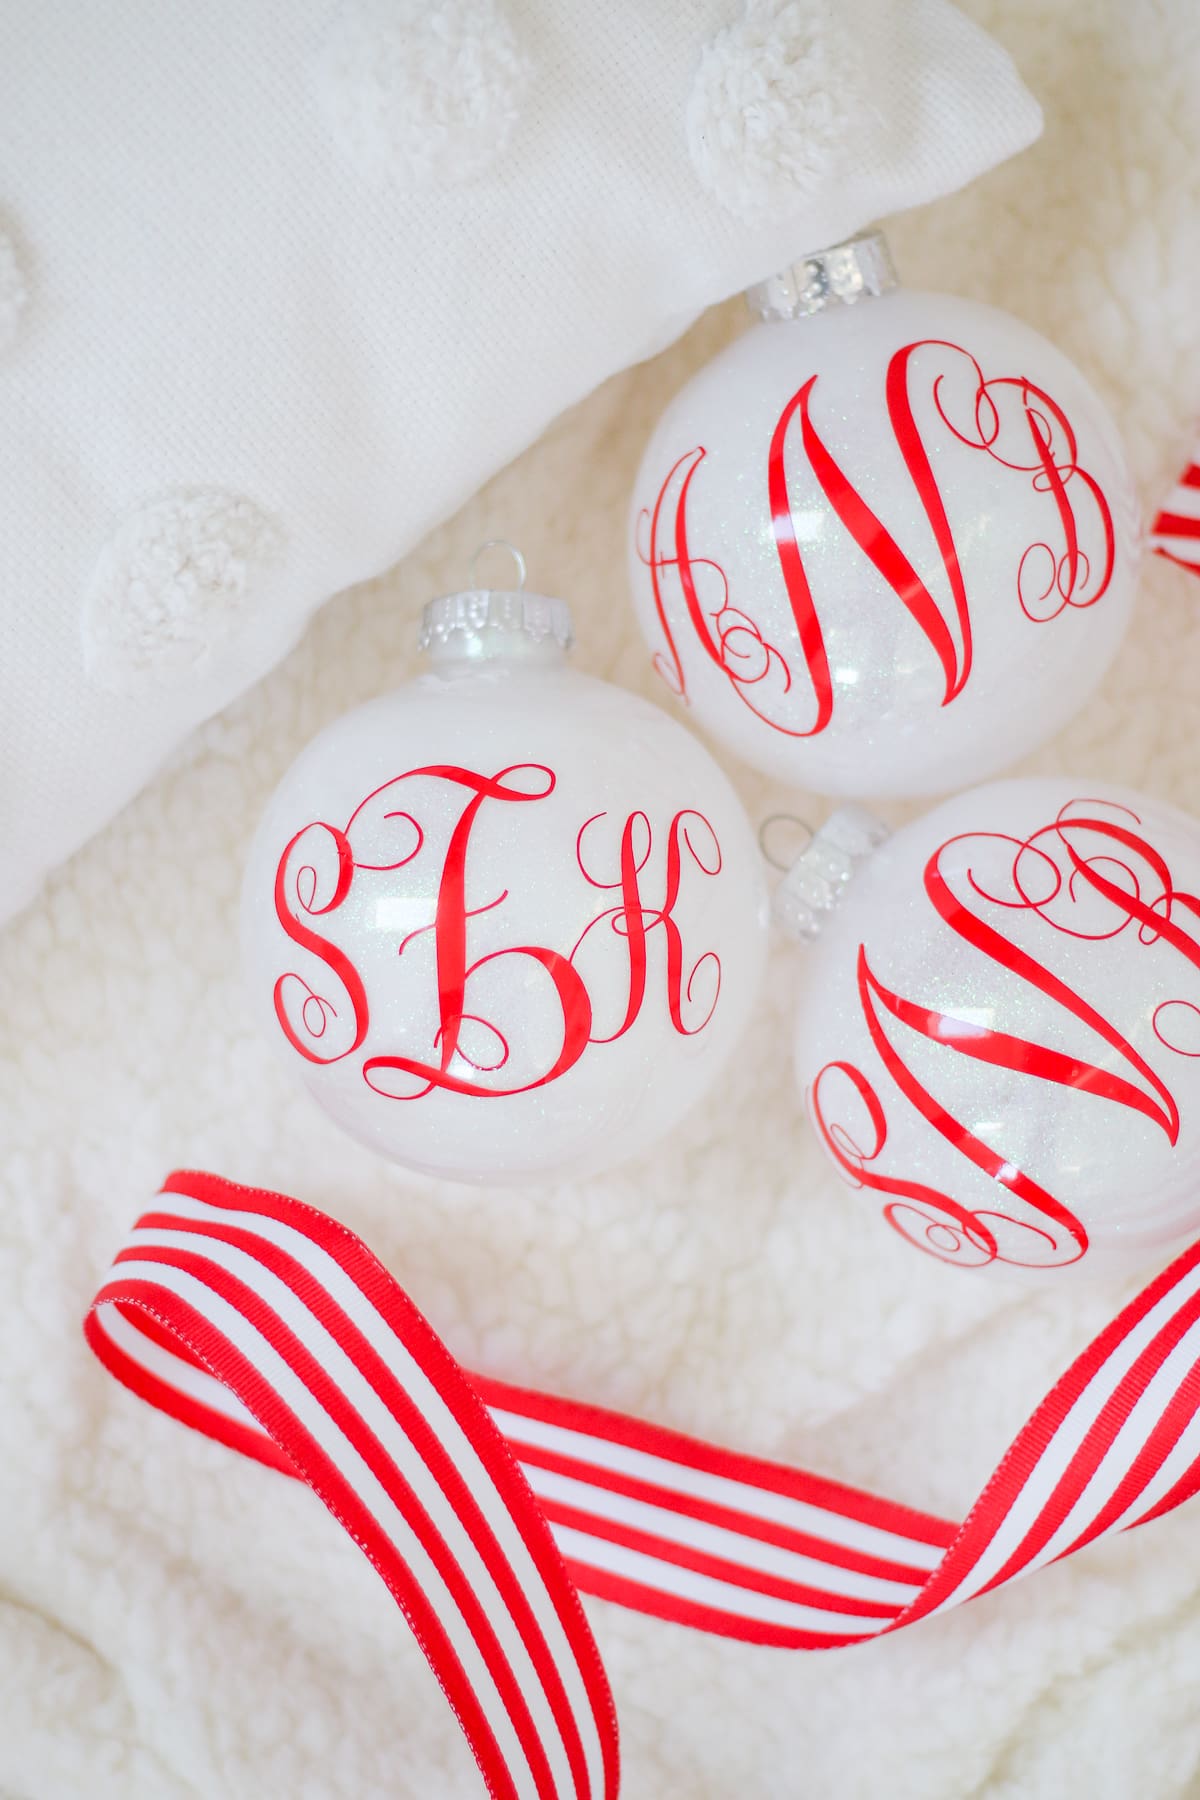
Step 5: Add a bow.
For the pièce de résistance, add some fun bows to your DIY personalized Christmas ornaments! Any ribbon will do, but I used this striped ribbon and this tutorial from BHG to create classic medium-sized bows. Then, I used hot glue to secure them on the top of each ornament.
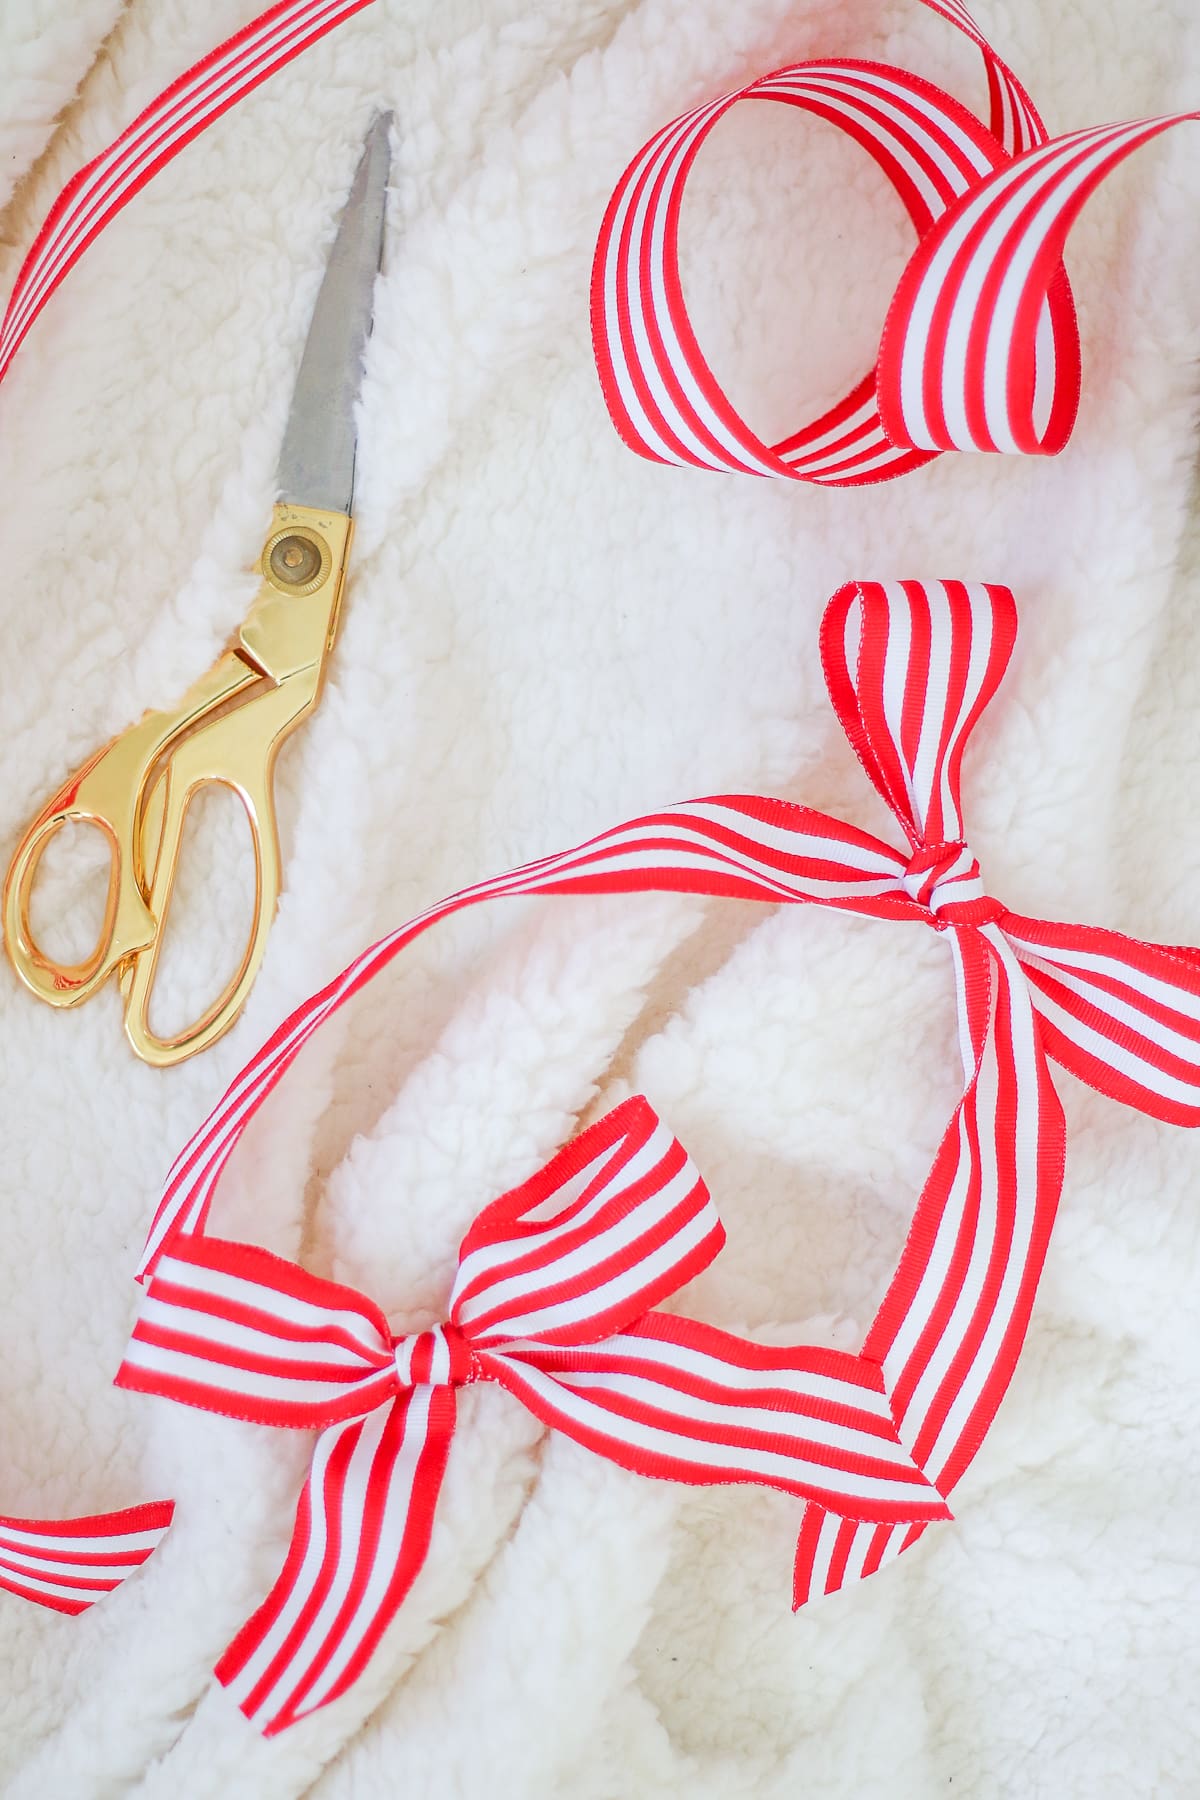
And viola– you’re done!
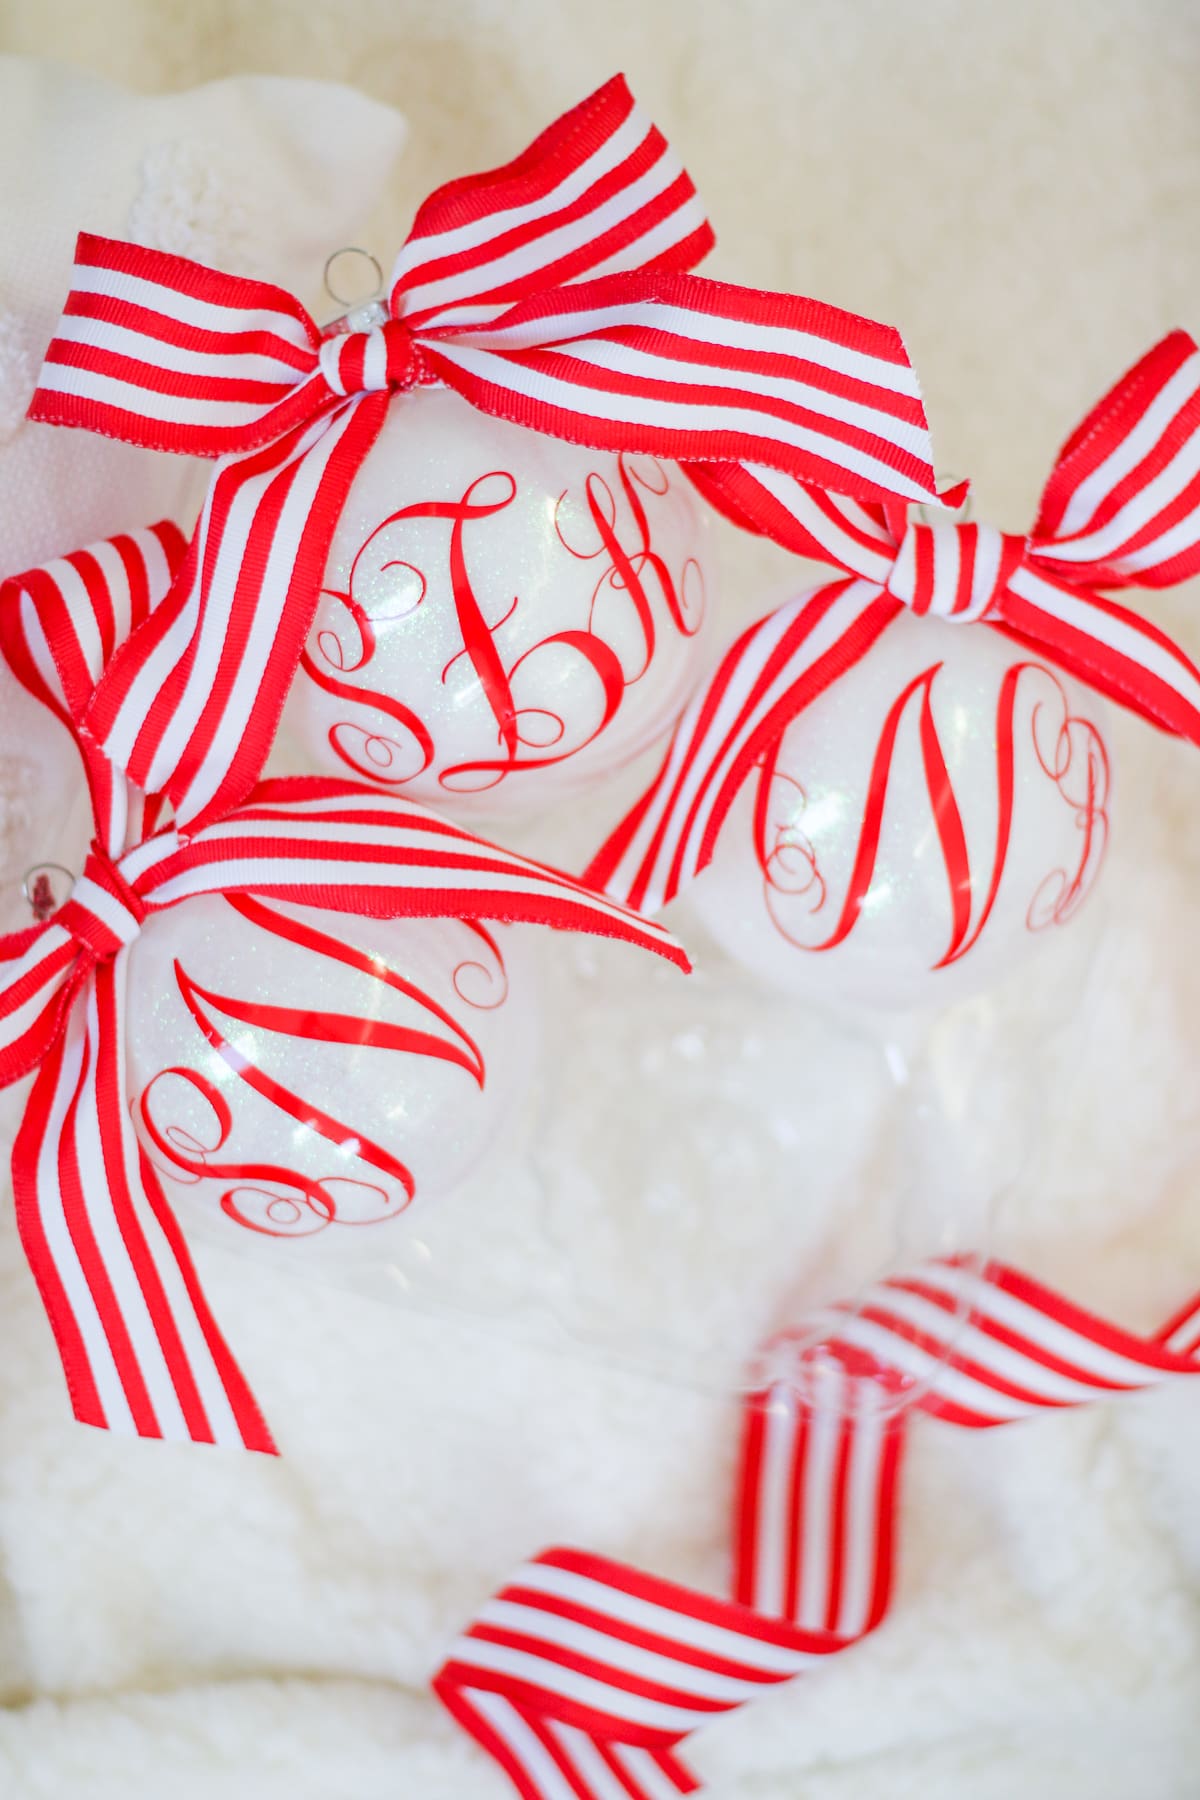
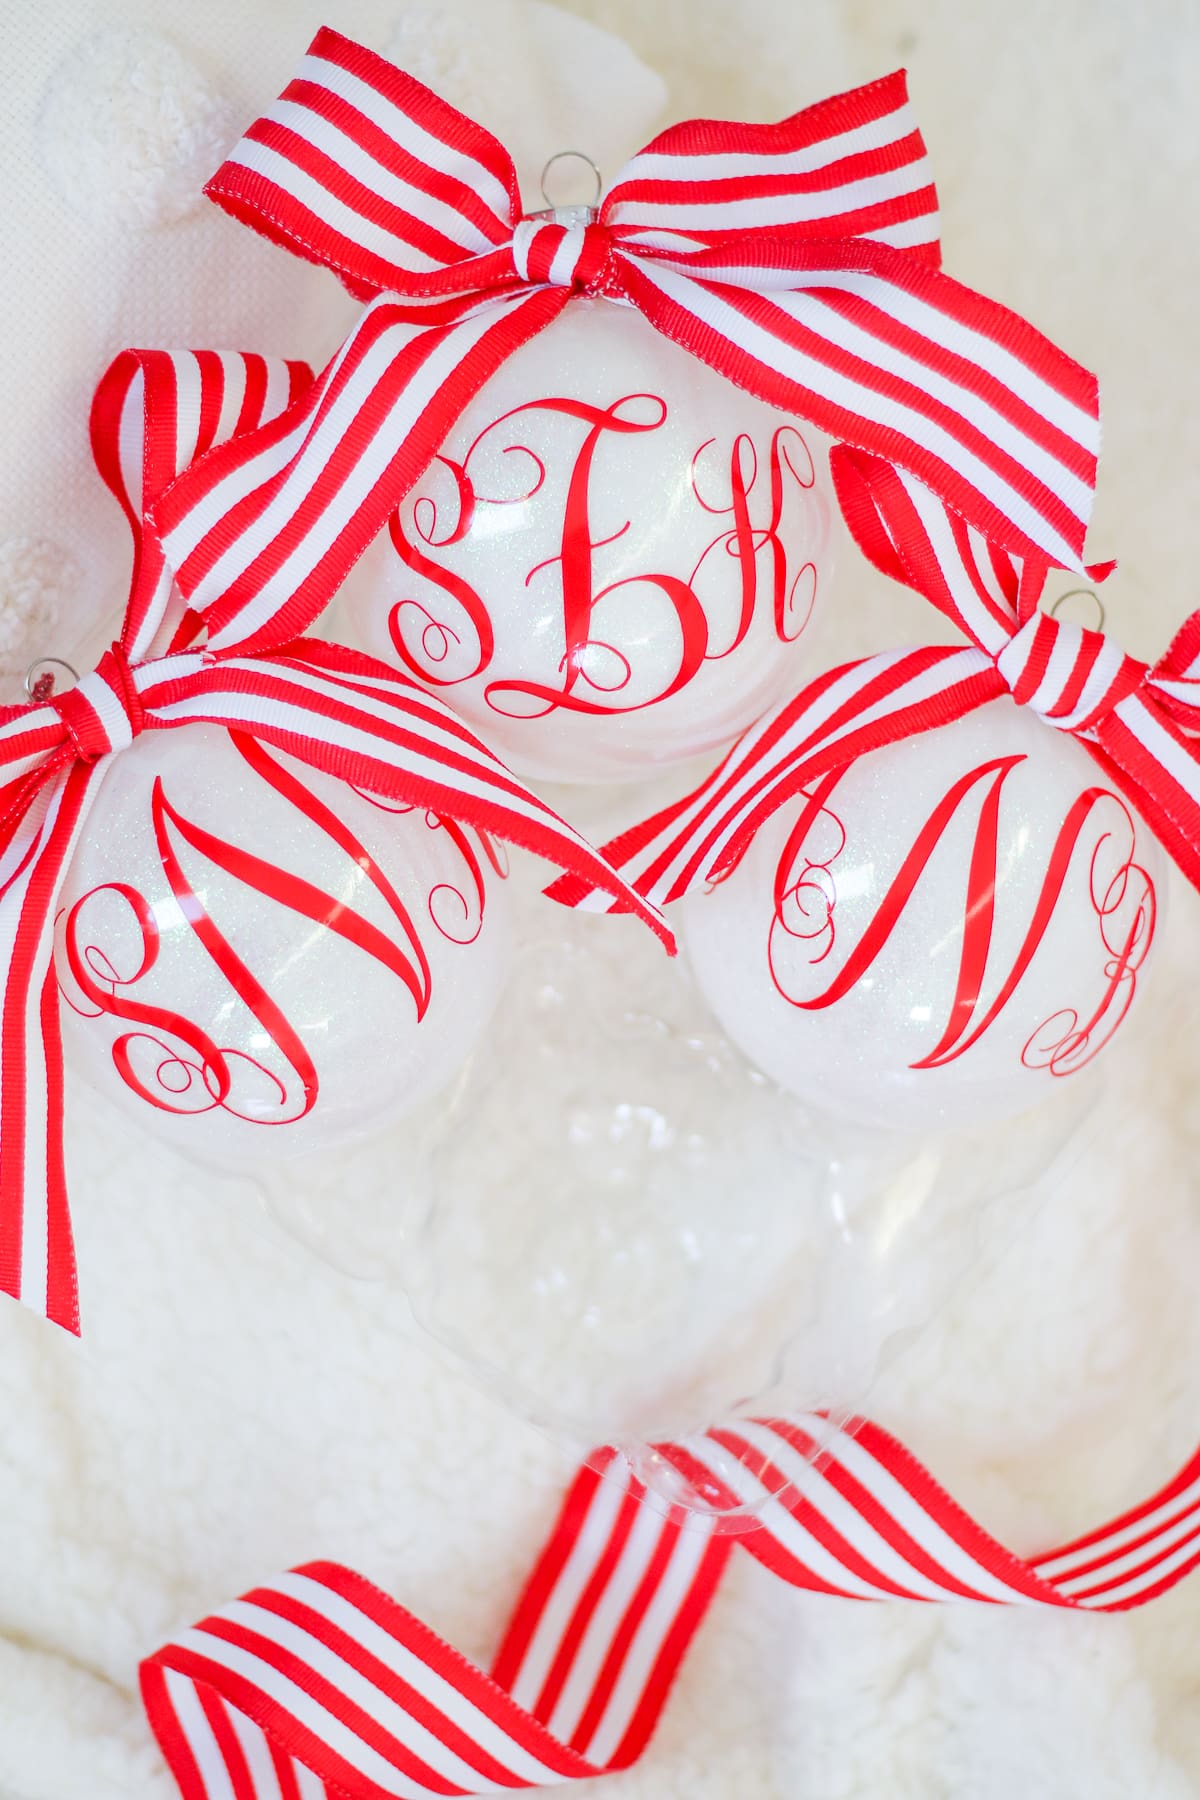
Not only are these perfect for your own tree, they make amazing Christmas gifts, too! Seriously, who knew making glitter ornaments with polycrylic could be so easy?! I’m a big fan, and I see a holiday tradition in the making!



I hope you enjoy making these DIY personalized Christmas ornaments as much as I did! If you have any questions, feel free to shoot me an email or leave me a comment. I’m happy to help! Oh, and for more DIY holiday inspiration, check out another one of my favorite DIY Christmas decor projects– this fun Merry Christmas Ya Filthy Animal doormat. Merry Christmas and Happy Crafting!
Photography by Catherine Rhodes.


They turned out so incredibly well – great job!
Rebecca | http://www.peppermintdolly.com
Thanks so much, Rebecca! I’m not particularly crafty (well, I try– that’s what counts, right?), so it definitely helps that these are SUPER easy to make! :)
xo,
Steph
Sooo cute Stephanie! I’m obsessed with these!
xoxo A
http://www.southernbelleintraining.com
Thanks so much, Annaliese! Hope you have the Merriest Christmas– and CONGRATS on the morning show! So excited for you! :)
xo,
Steph
Great tutorial! I have to ask though, why do you place each initial individually instead of welding the monogram and placing it all at once? I’ve found welding it sooooooo much easier
Thanks so much, Michelle! I actually do weld my monograms. Truthfully, this was one of my first Cricut projects, so I was still a bit of a newbie with transfer paper. I couldn’t transfer the monogram without it ripping somewhere– probably because of the font’s intricacy and ornateness, so I decided to do it in pieces instead. Totally agree with you now, though– placing the monogram all at once is the way to go!
This was a great article. Thank you for providing so much detail. I can’t wait to get started on my Christmas projects. Happy holidays!
Lisa