*This post may contain affiliate links, which means I may receive a commission (at no additional cost to you!) if you make a purchase using any of these links.*
This shop has been compensated by Collective Bias, Inc. and its advertiser. All opinions are mine alone. #Light2ClearSkin #CollectiveBias

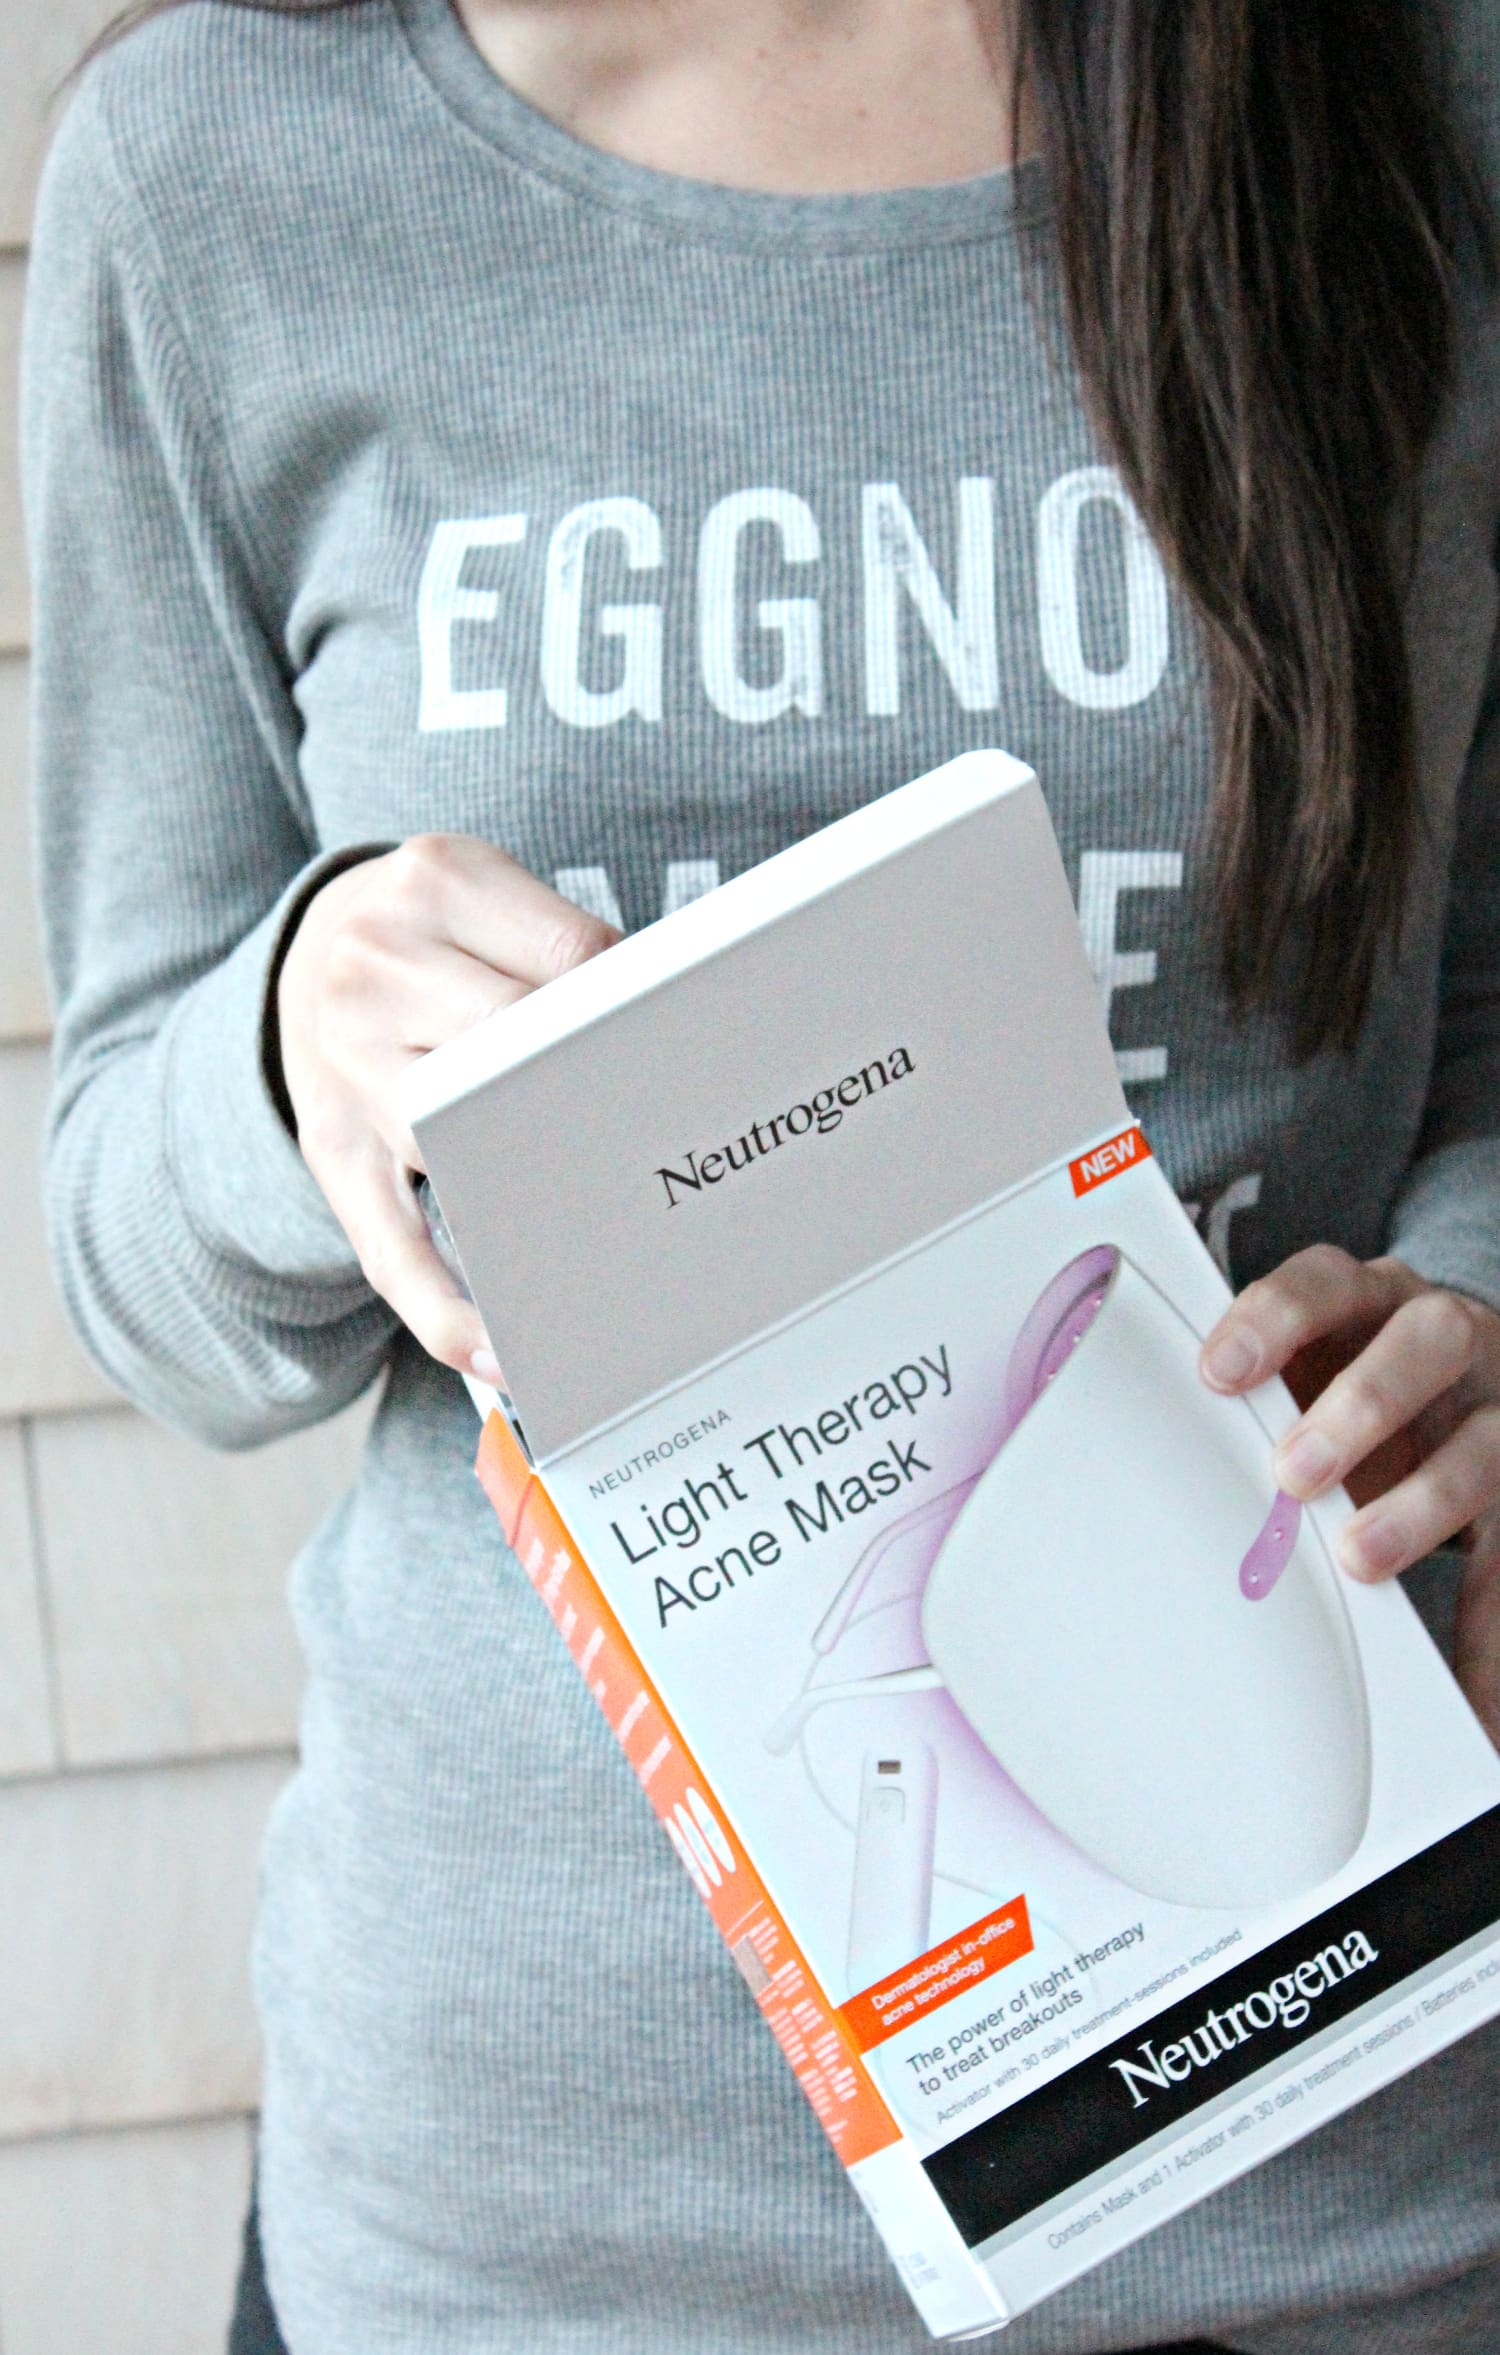
Ever since I was a teenager, my skin has been a nightmare. After hundreds of pre and post adolescent attempts to tame its oily Italian heritage, I’ve tried just about every acne treatment under the sun (within my price range) over the past ten years. One of the treatments I chose to forego due to cost was light therapy. Light therapy has been known to smooth overall skin tone, build collagen, reduce the appearance of wrinkles and blemishes, repair sun damage, and create a overall healthy glow around your face. And, while it was once only available in Dermatologists’ offices for around $500 per treatment, clinically proven light therapy is now available at home with the new Neutrogena® Light Therapy Acne Mask.
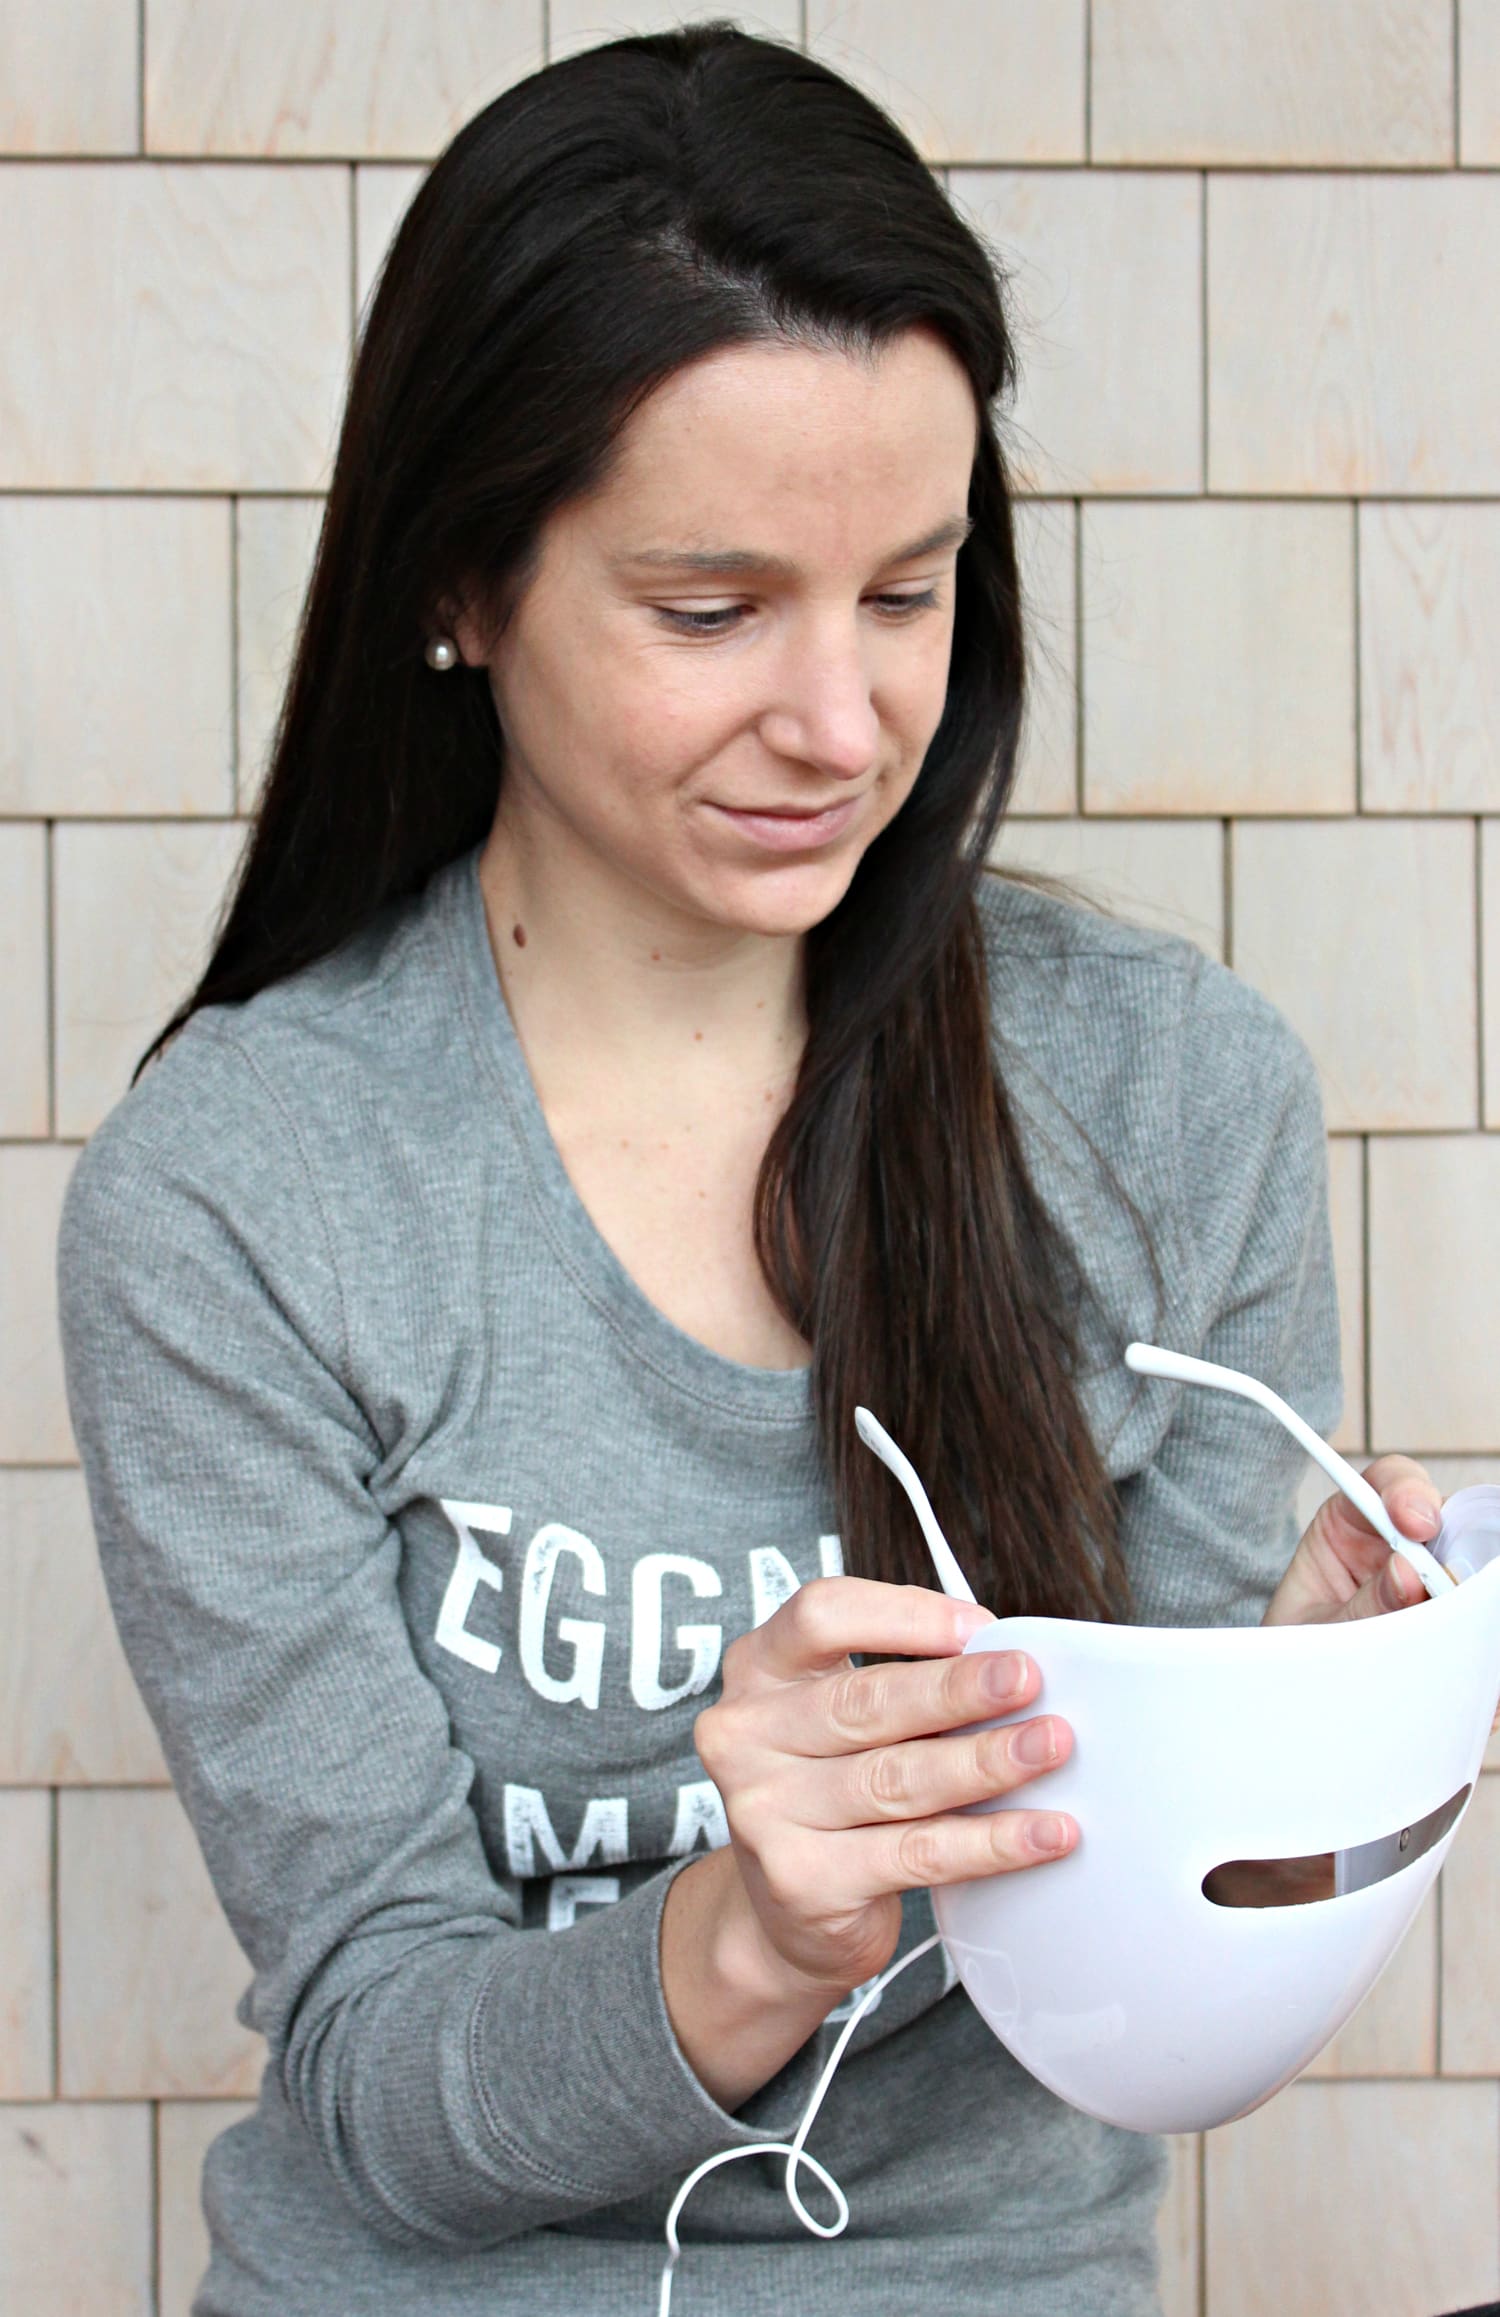
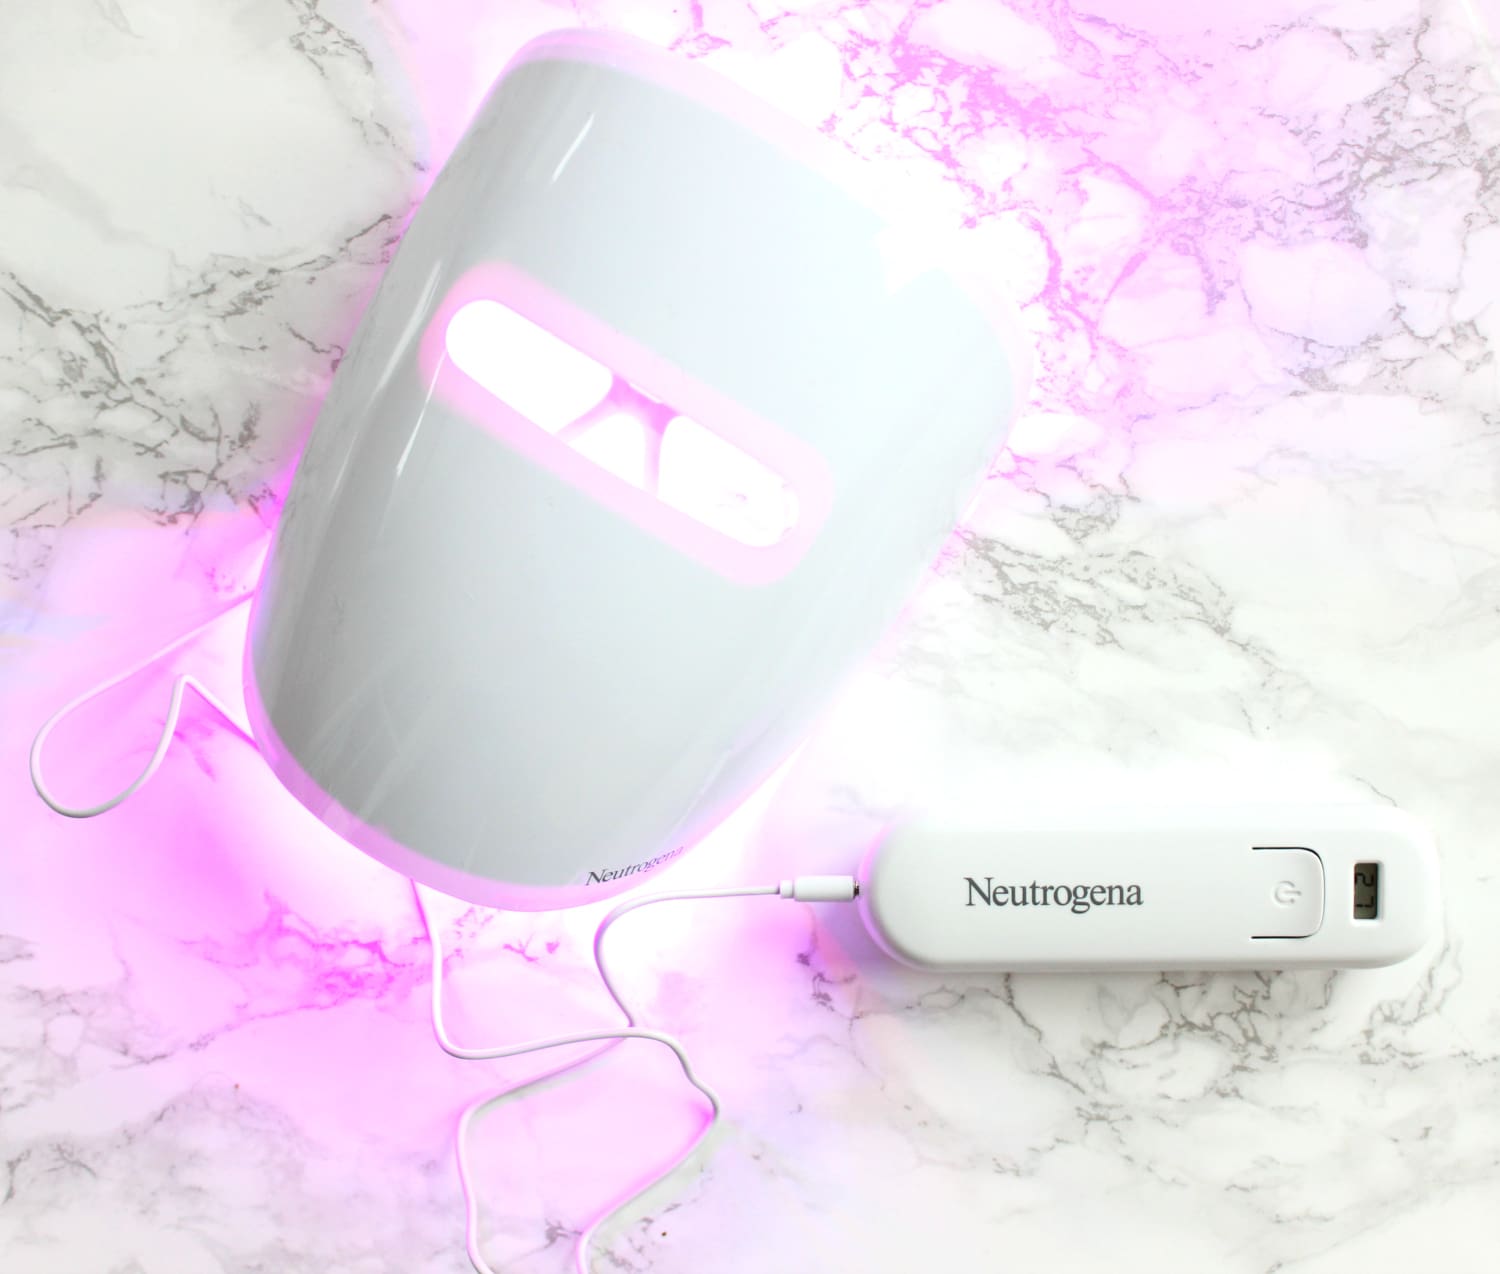
Although the product itself looks a little intimidating, I’ve been using my Neutrogena Light Therapy Acne Mask for the past few weeks, and I, as a resident skeptic of most facial products, can assure you that it’s lightweight, comfortable, and not at all scary to use. This light therapy acne mask is chemical-free, FDA cleared, UVA/UVB-free, and doesn’t get hot at any point during treatment. Just sit tight while light comfortably targets acne-causing bacteria without the use of harsh chemicals, allowing the blue and red lights to reduce the size and redness of breakouts while simultaneously allowing skin to heal. Keep reading for a full tutorial on how to effectively use the mask. Oh, and stay tuned for a 30-day recap after all my daily treatments are over! Here’s all you’ll need to use the light therapy acne mask:
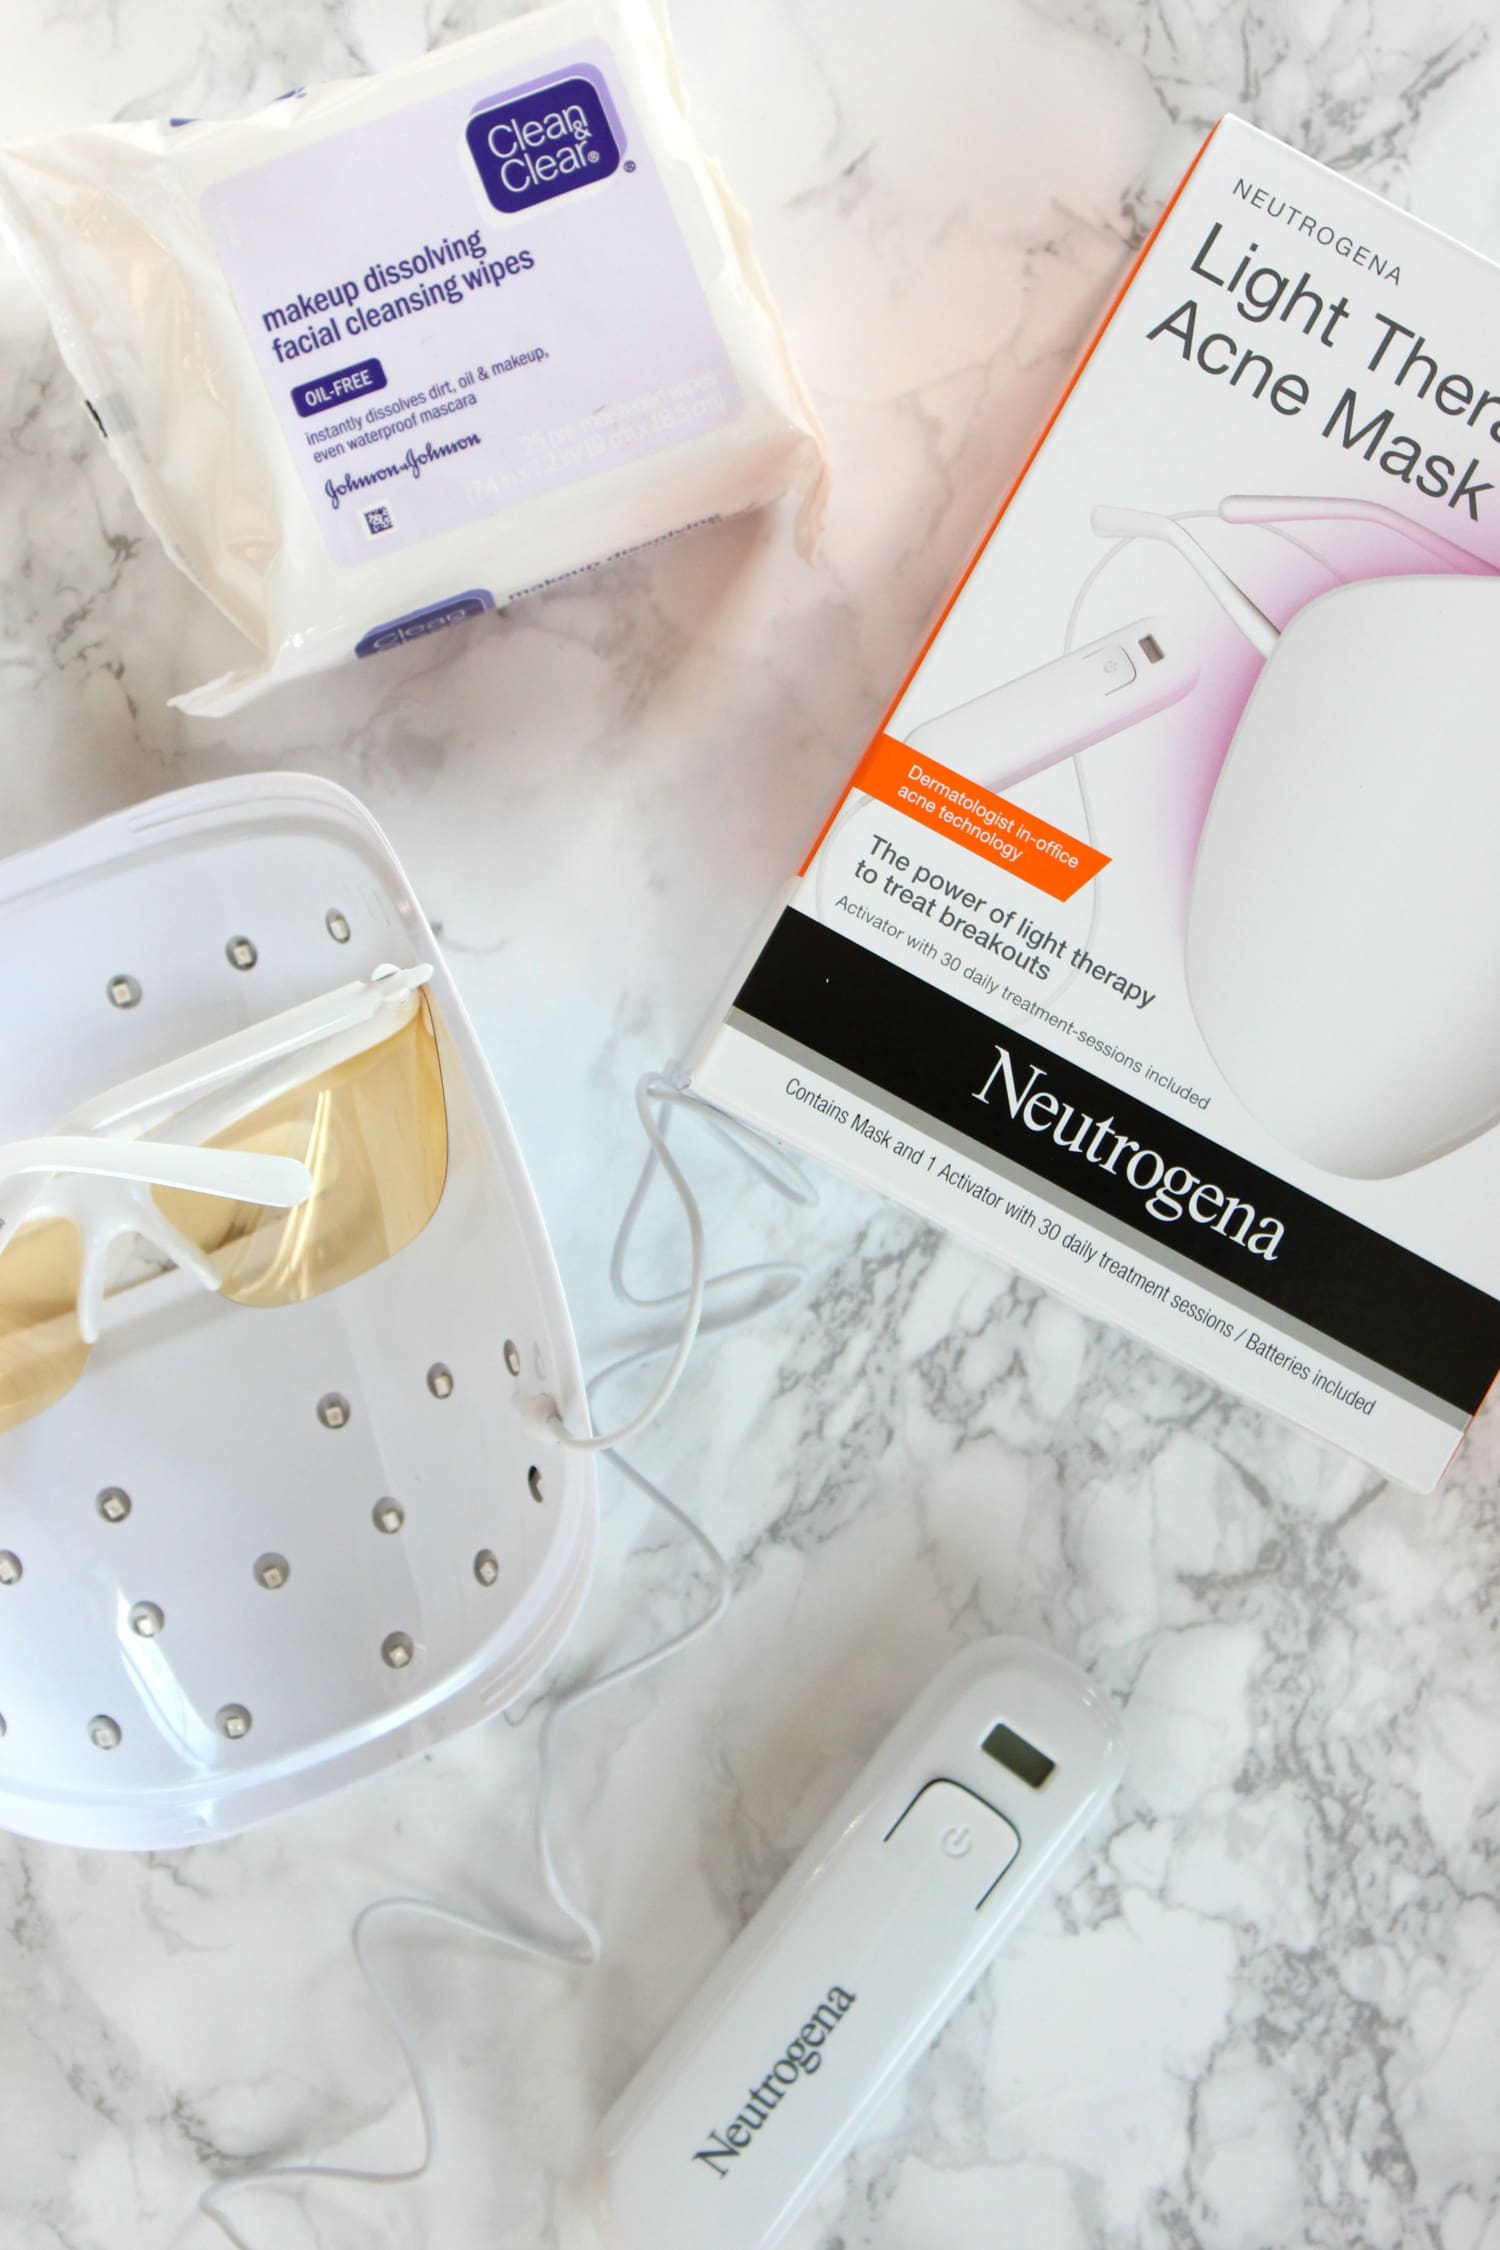
Step 1: Cleanse Thoroughly
First and foremost, cleanse your face. I’ve been using Clean & Clear® Makeup Dissolving Wipes, and they work like a dream to instantly lift away all traces of oil, dirt, and even waterproof mascara– all without over-drying your skin. In one easy step, your skin is left perfectly clean and refreshed with no oily residue. No rinsing required.
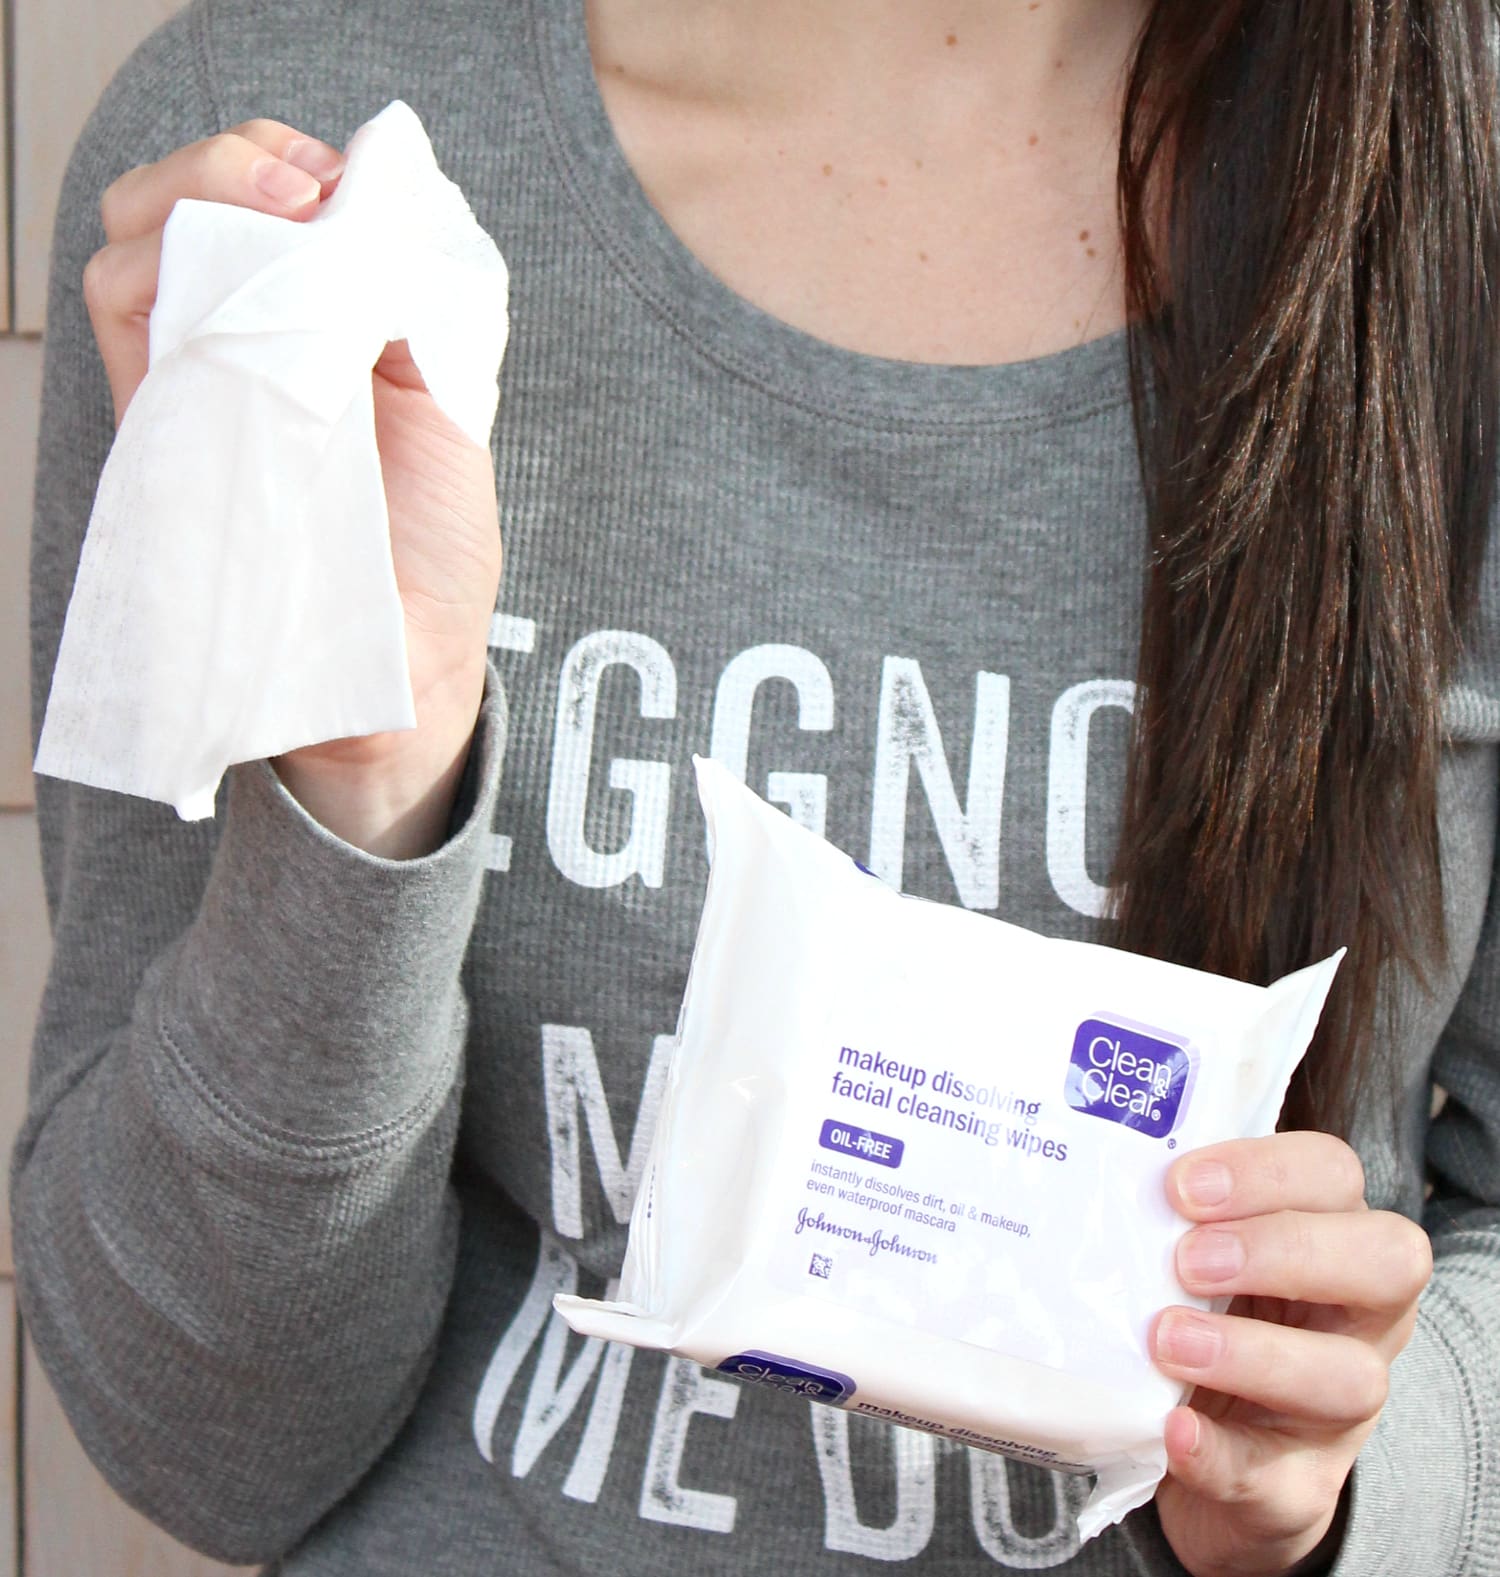
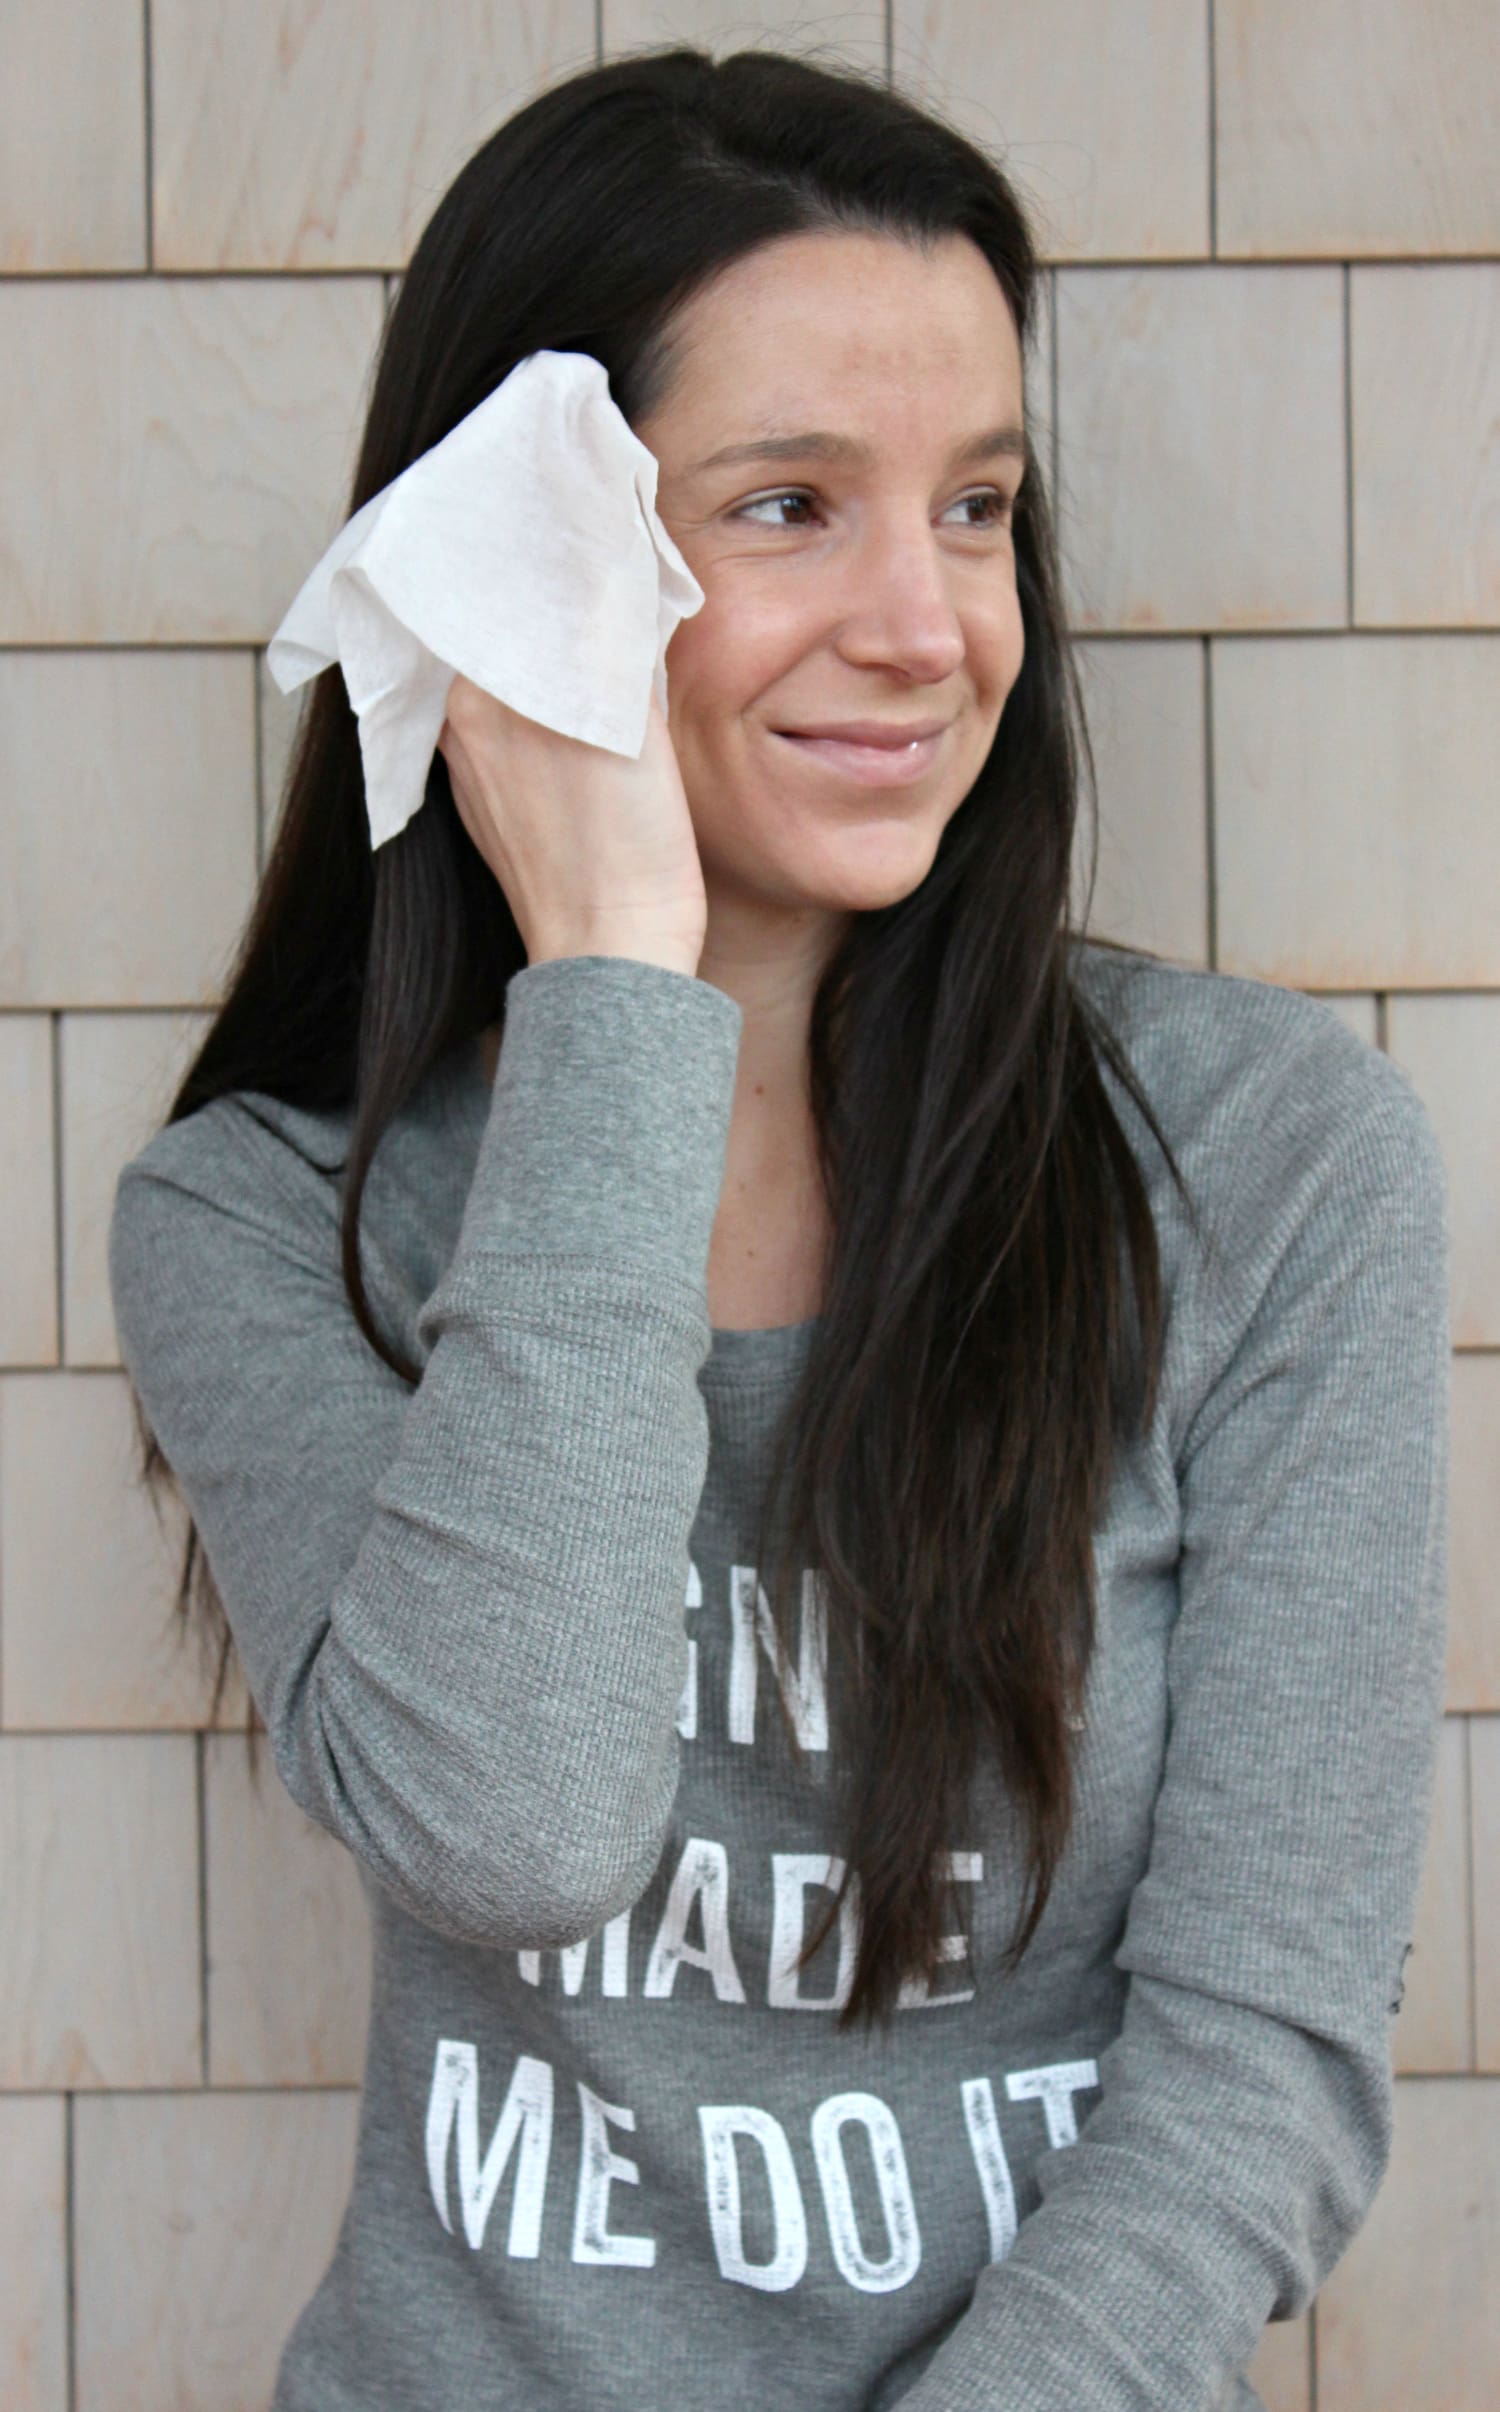
Step 2: Put on Light Therapy Acne Mask
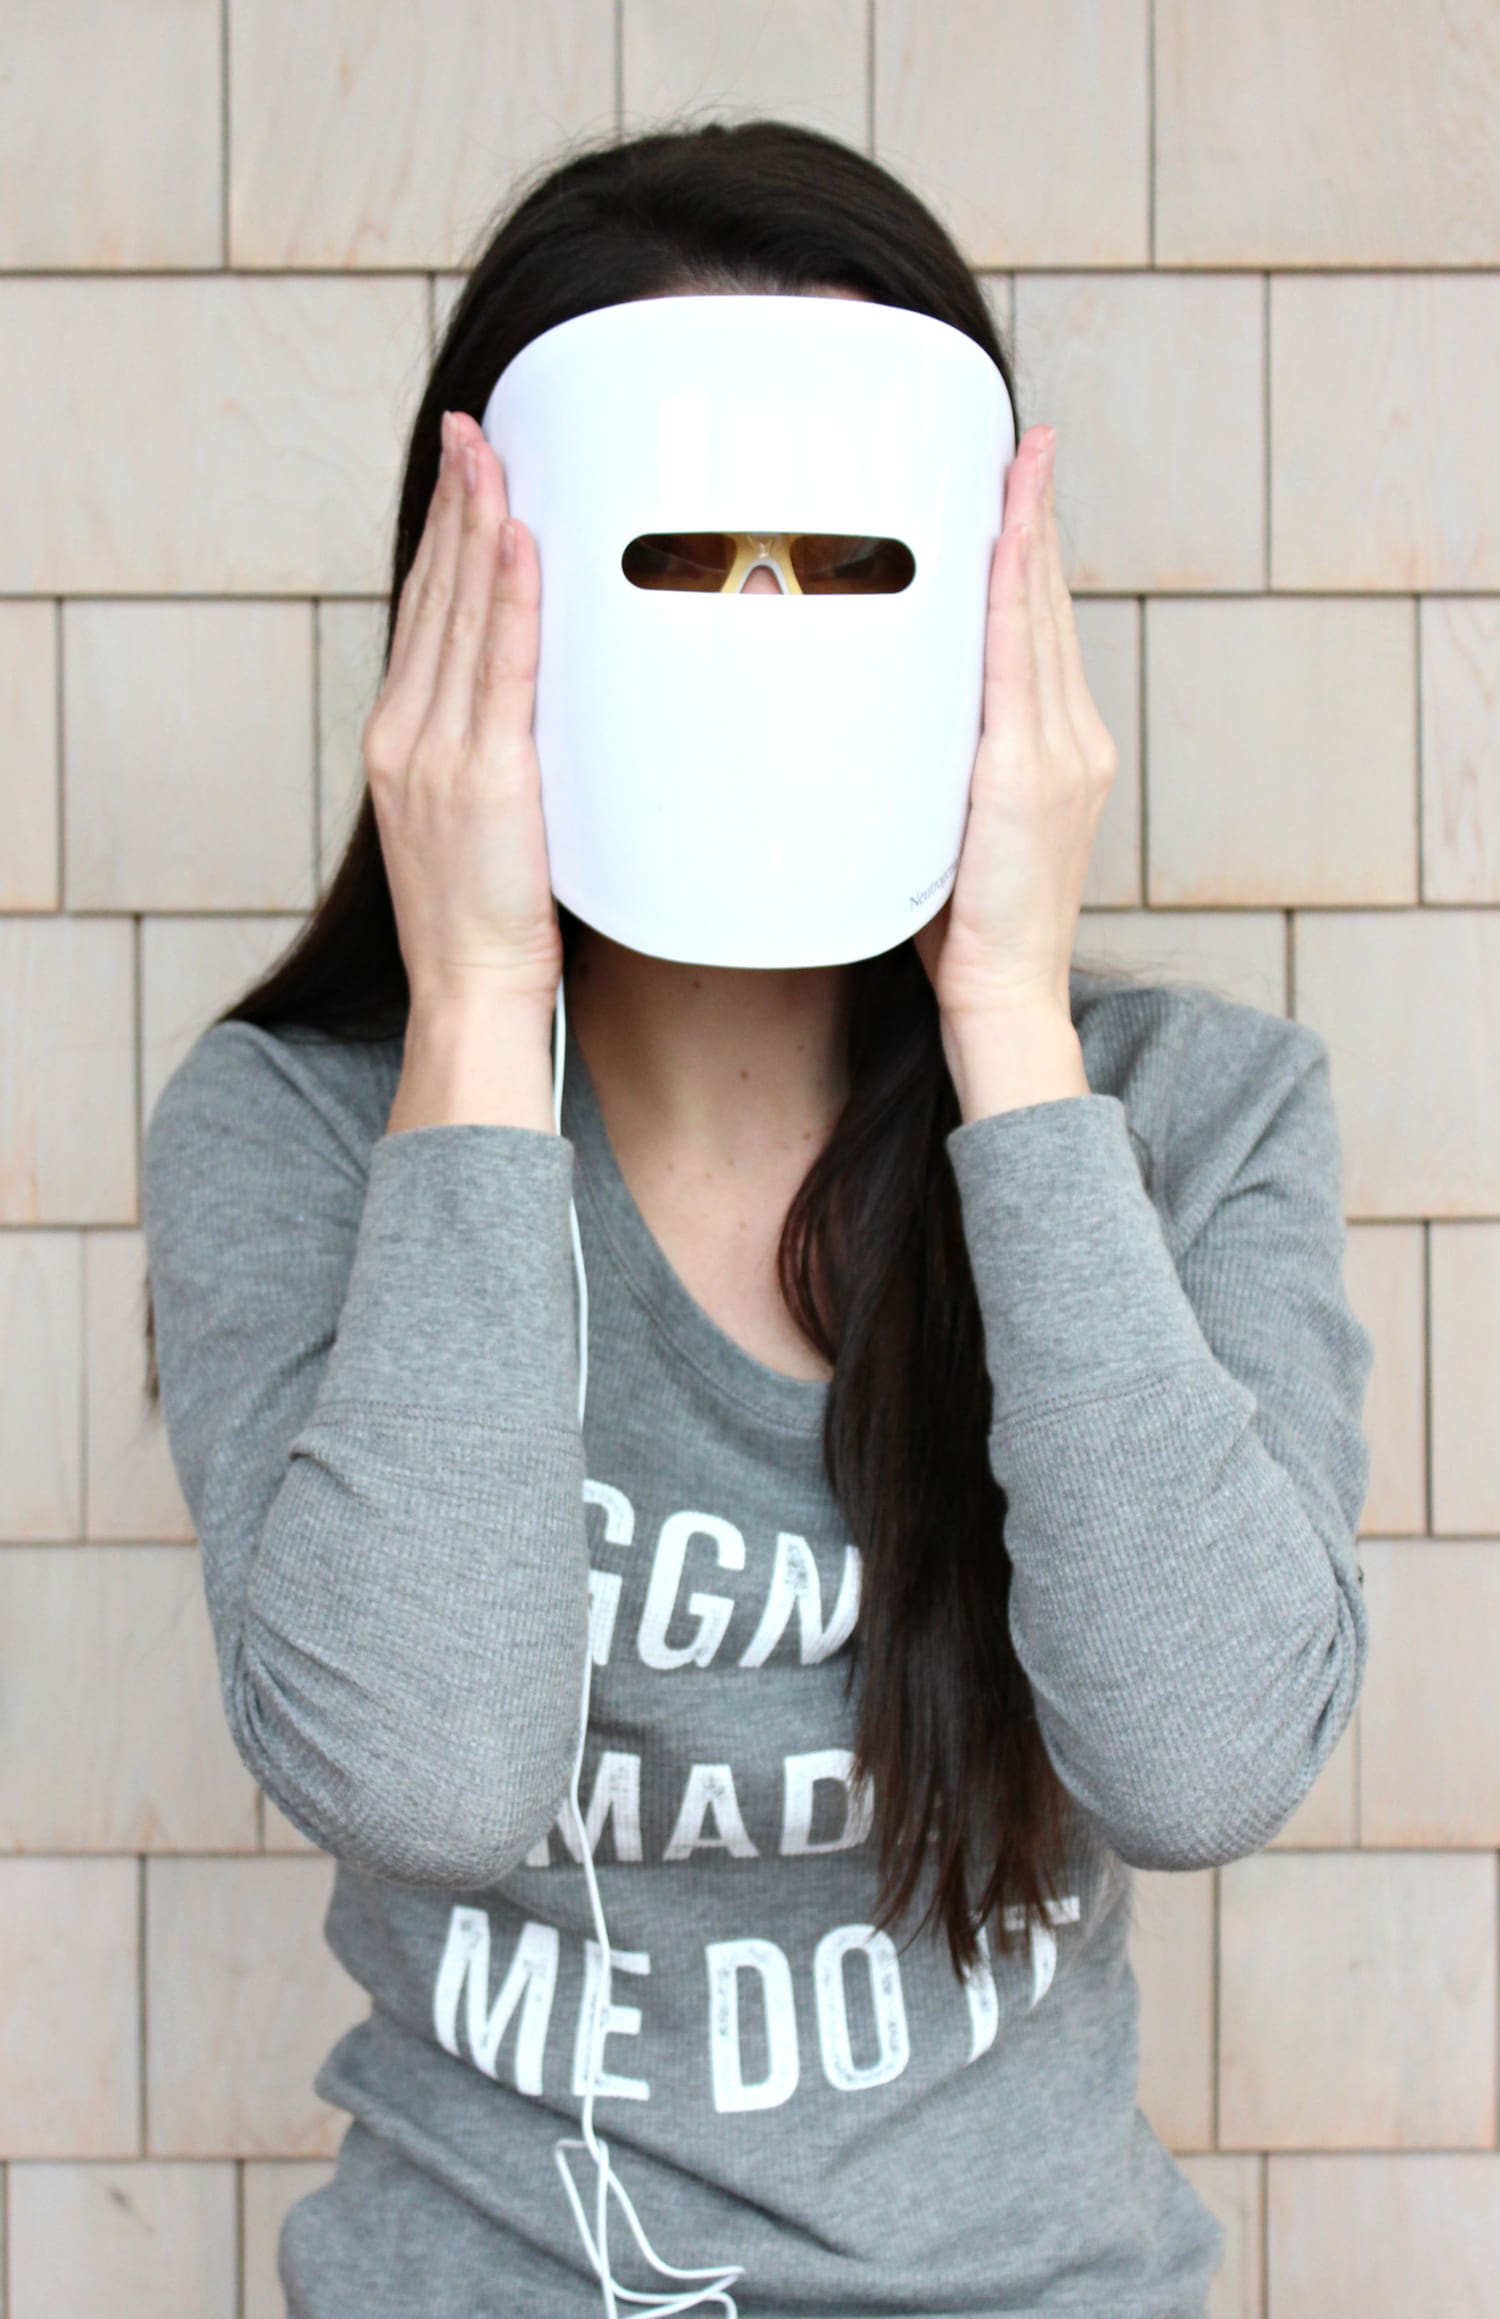
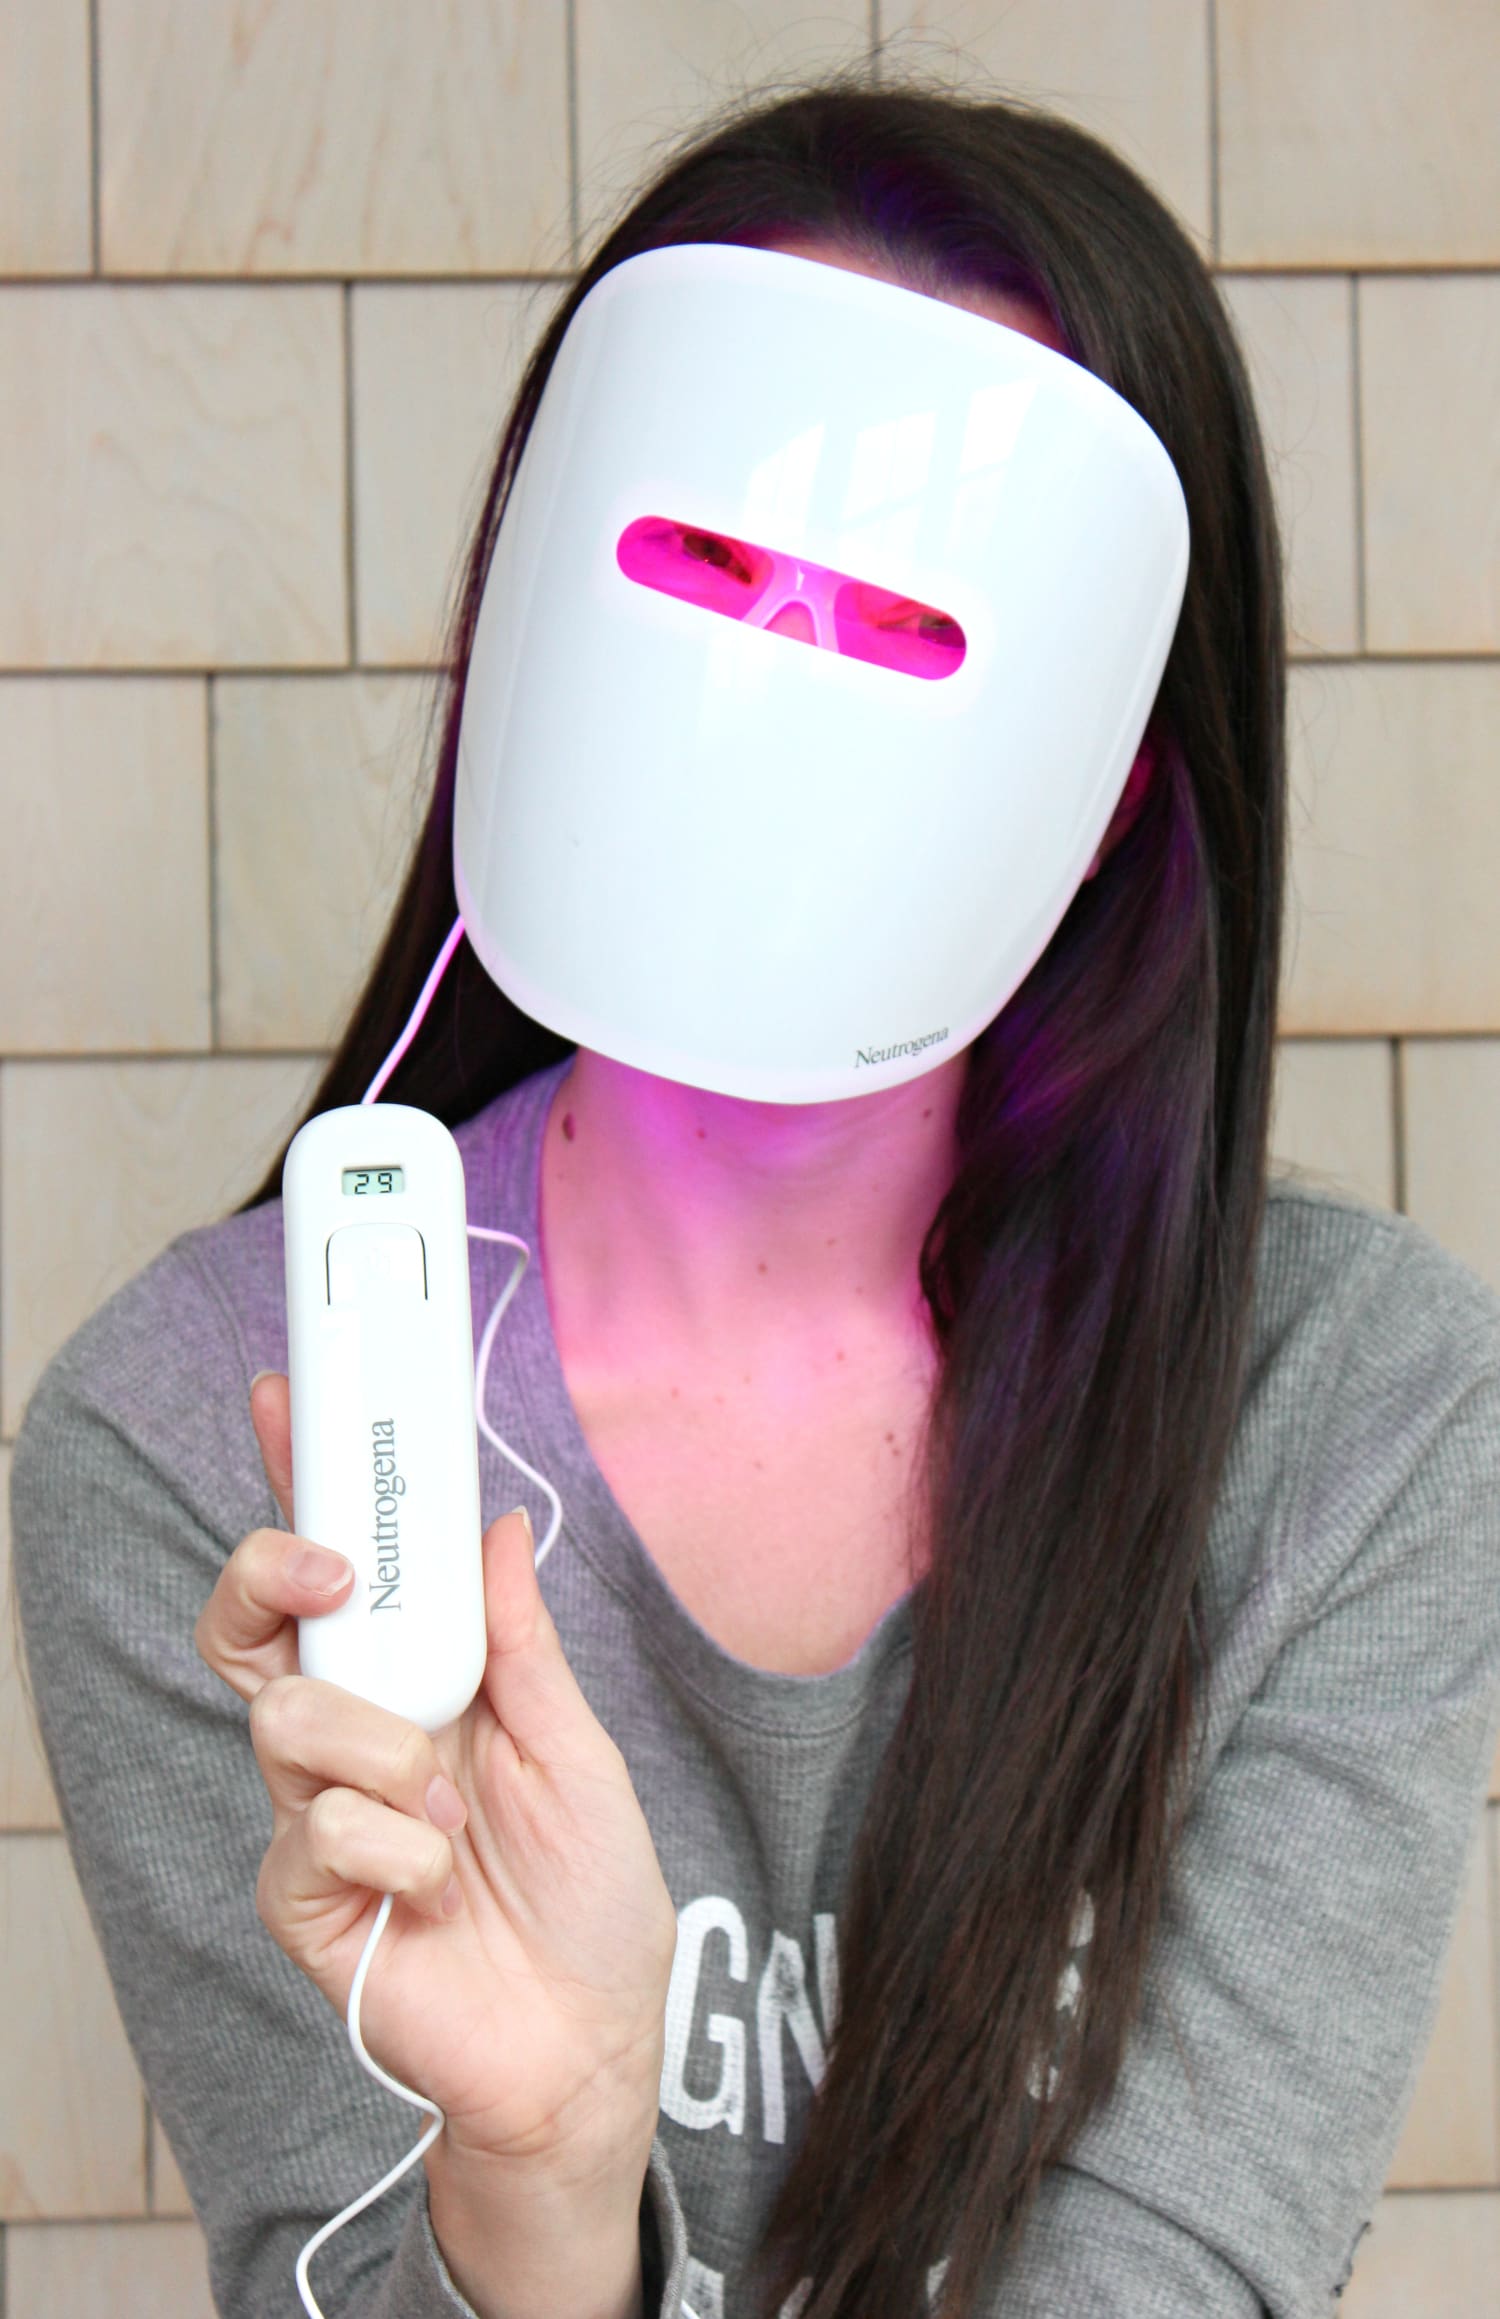
Next, put on your mask. Its unique form covers your face to treat acne-prone areas in one simple step.
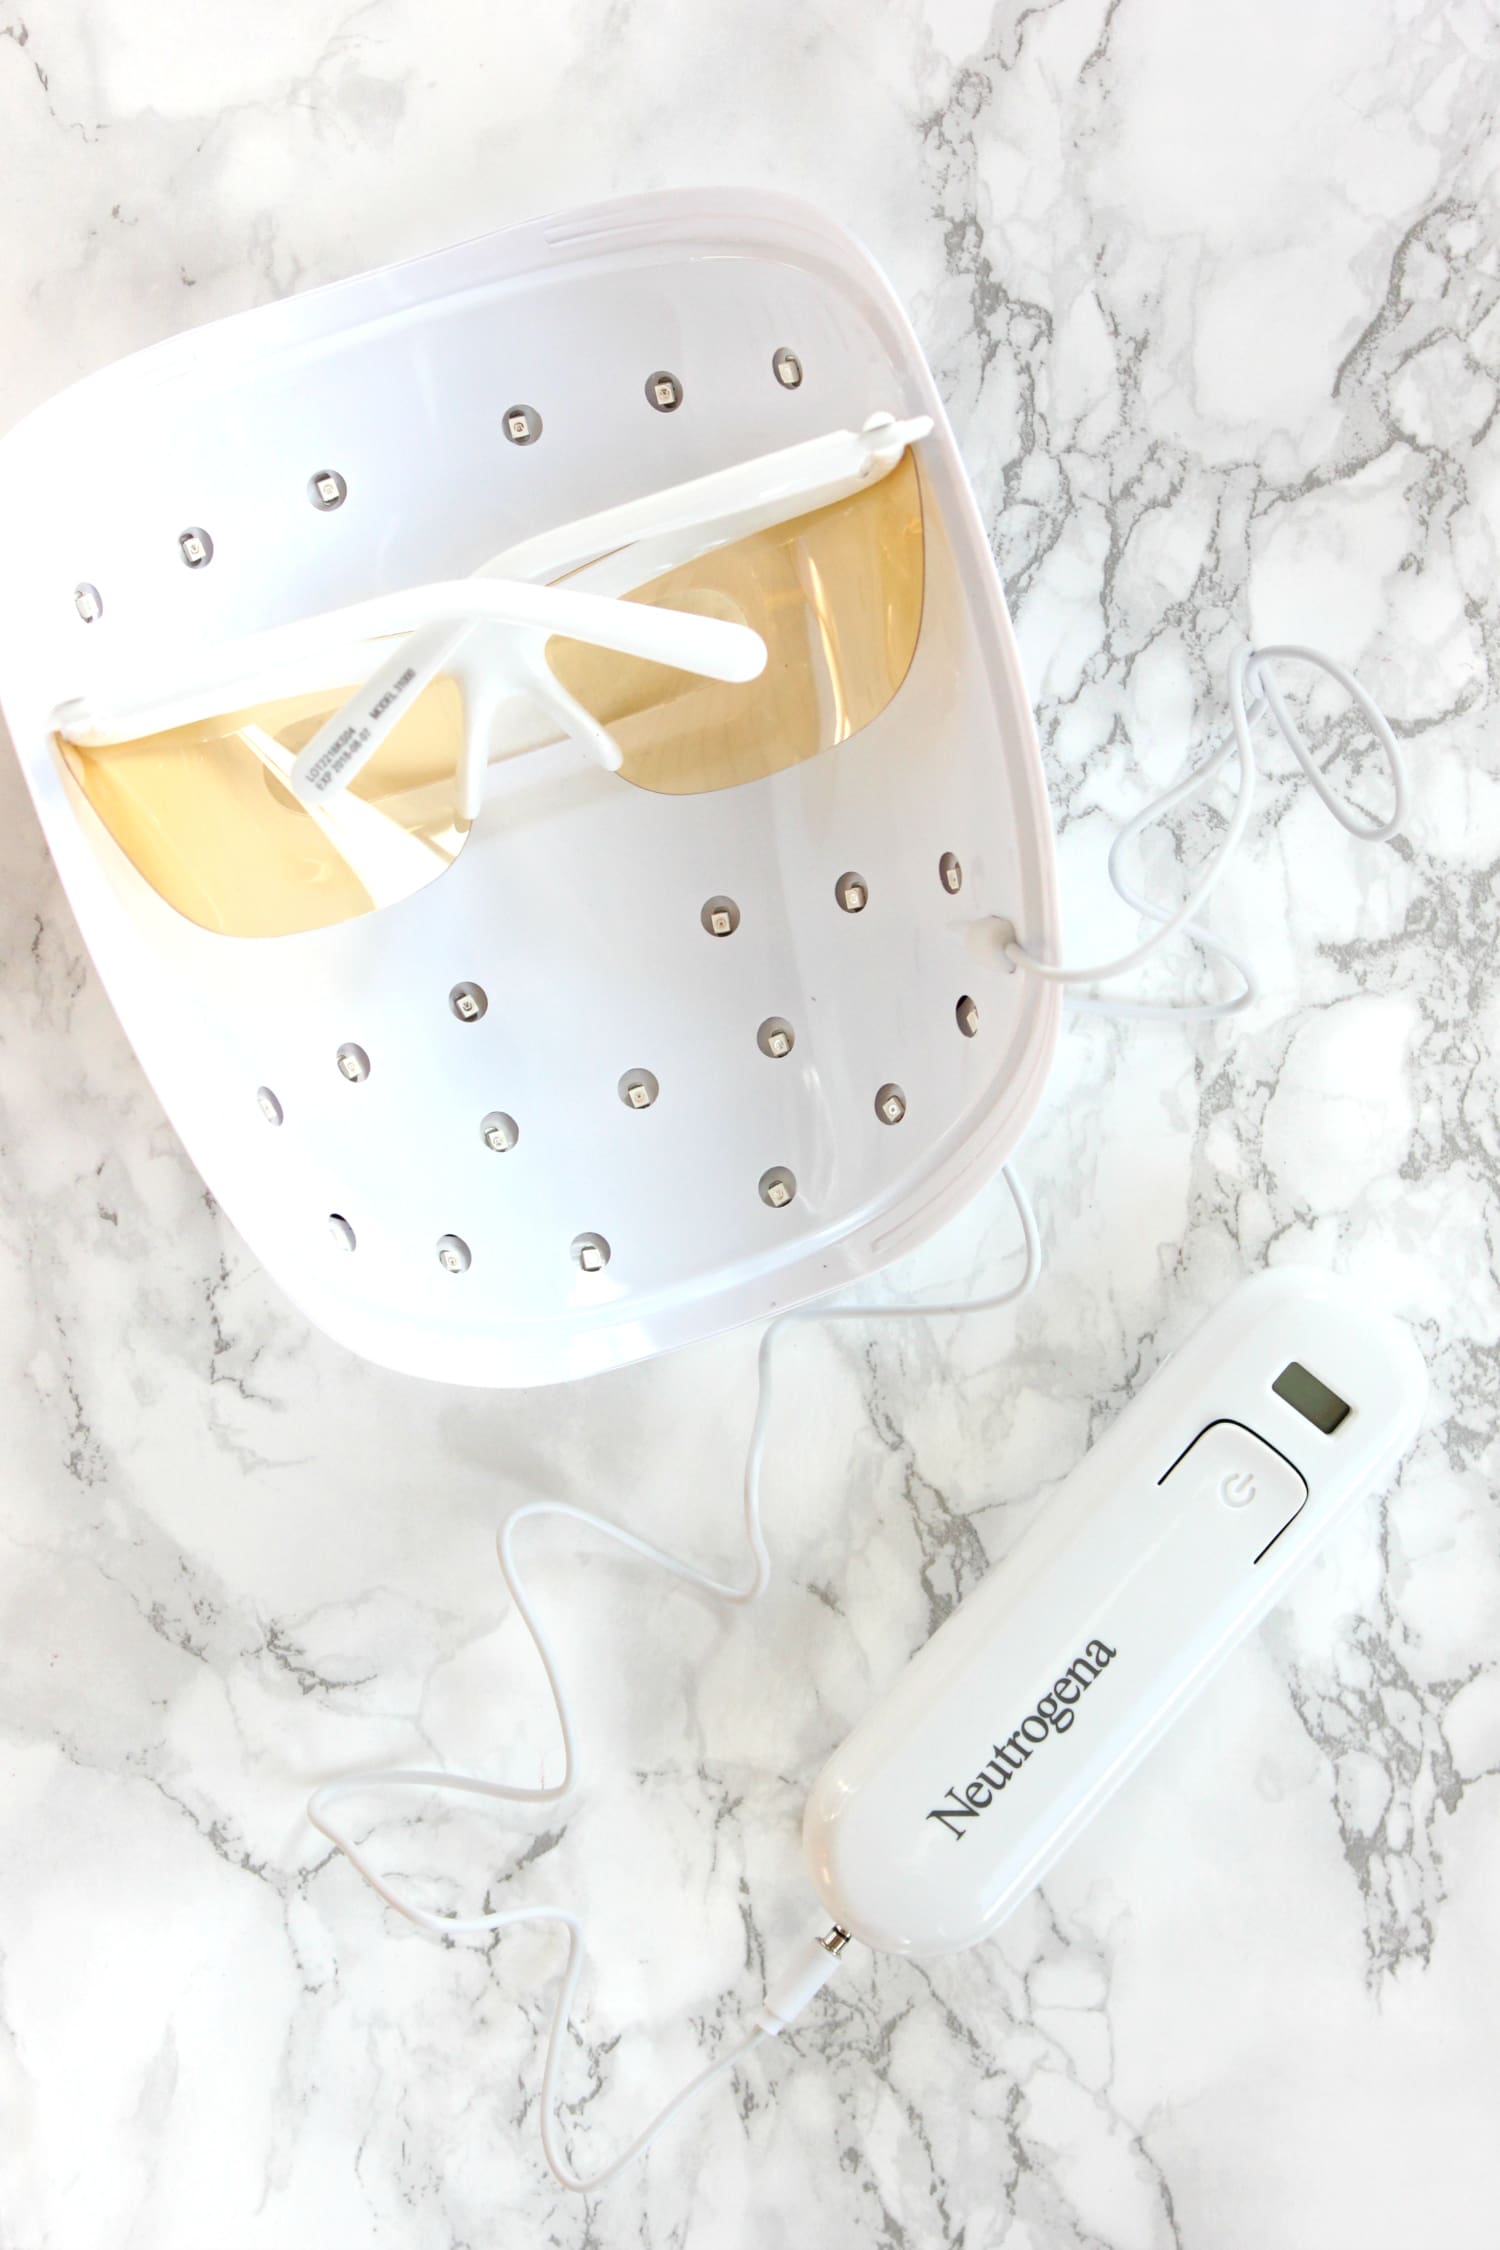
Step 3: Activate Light Therapy Acne Mask
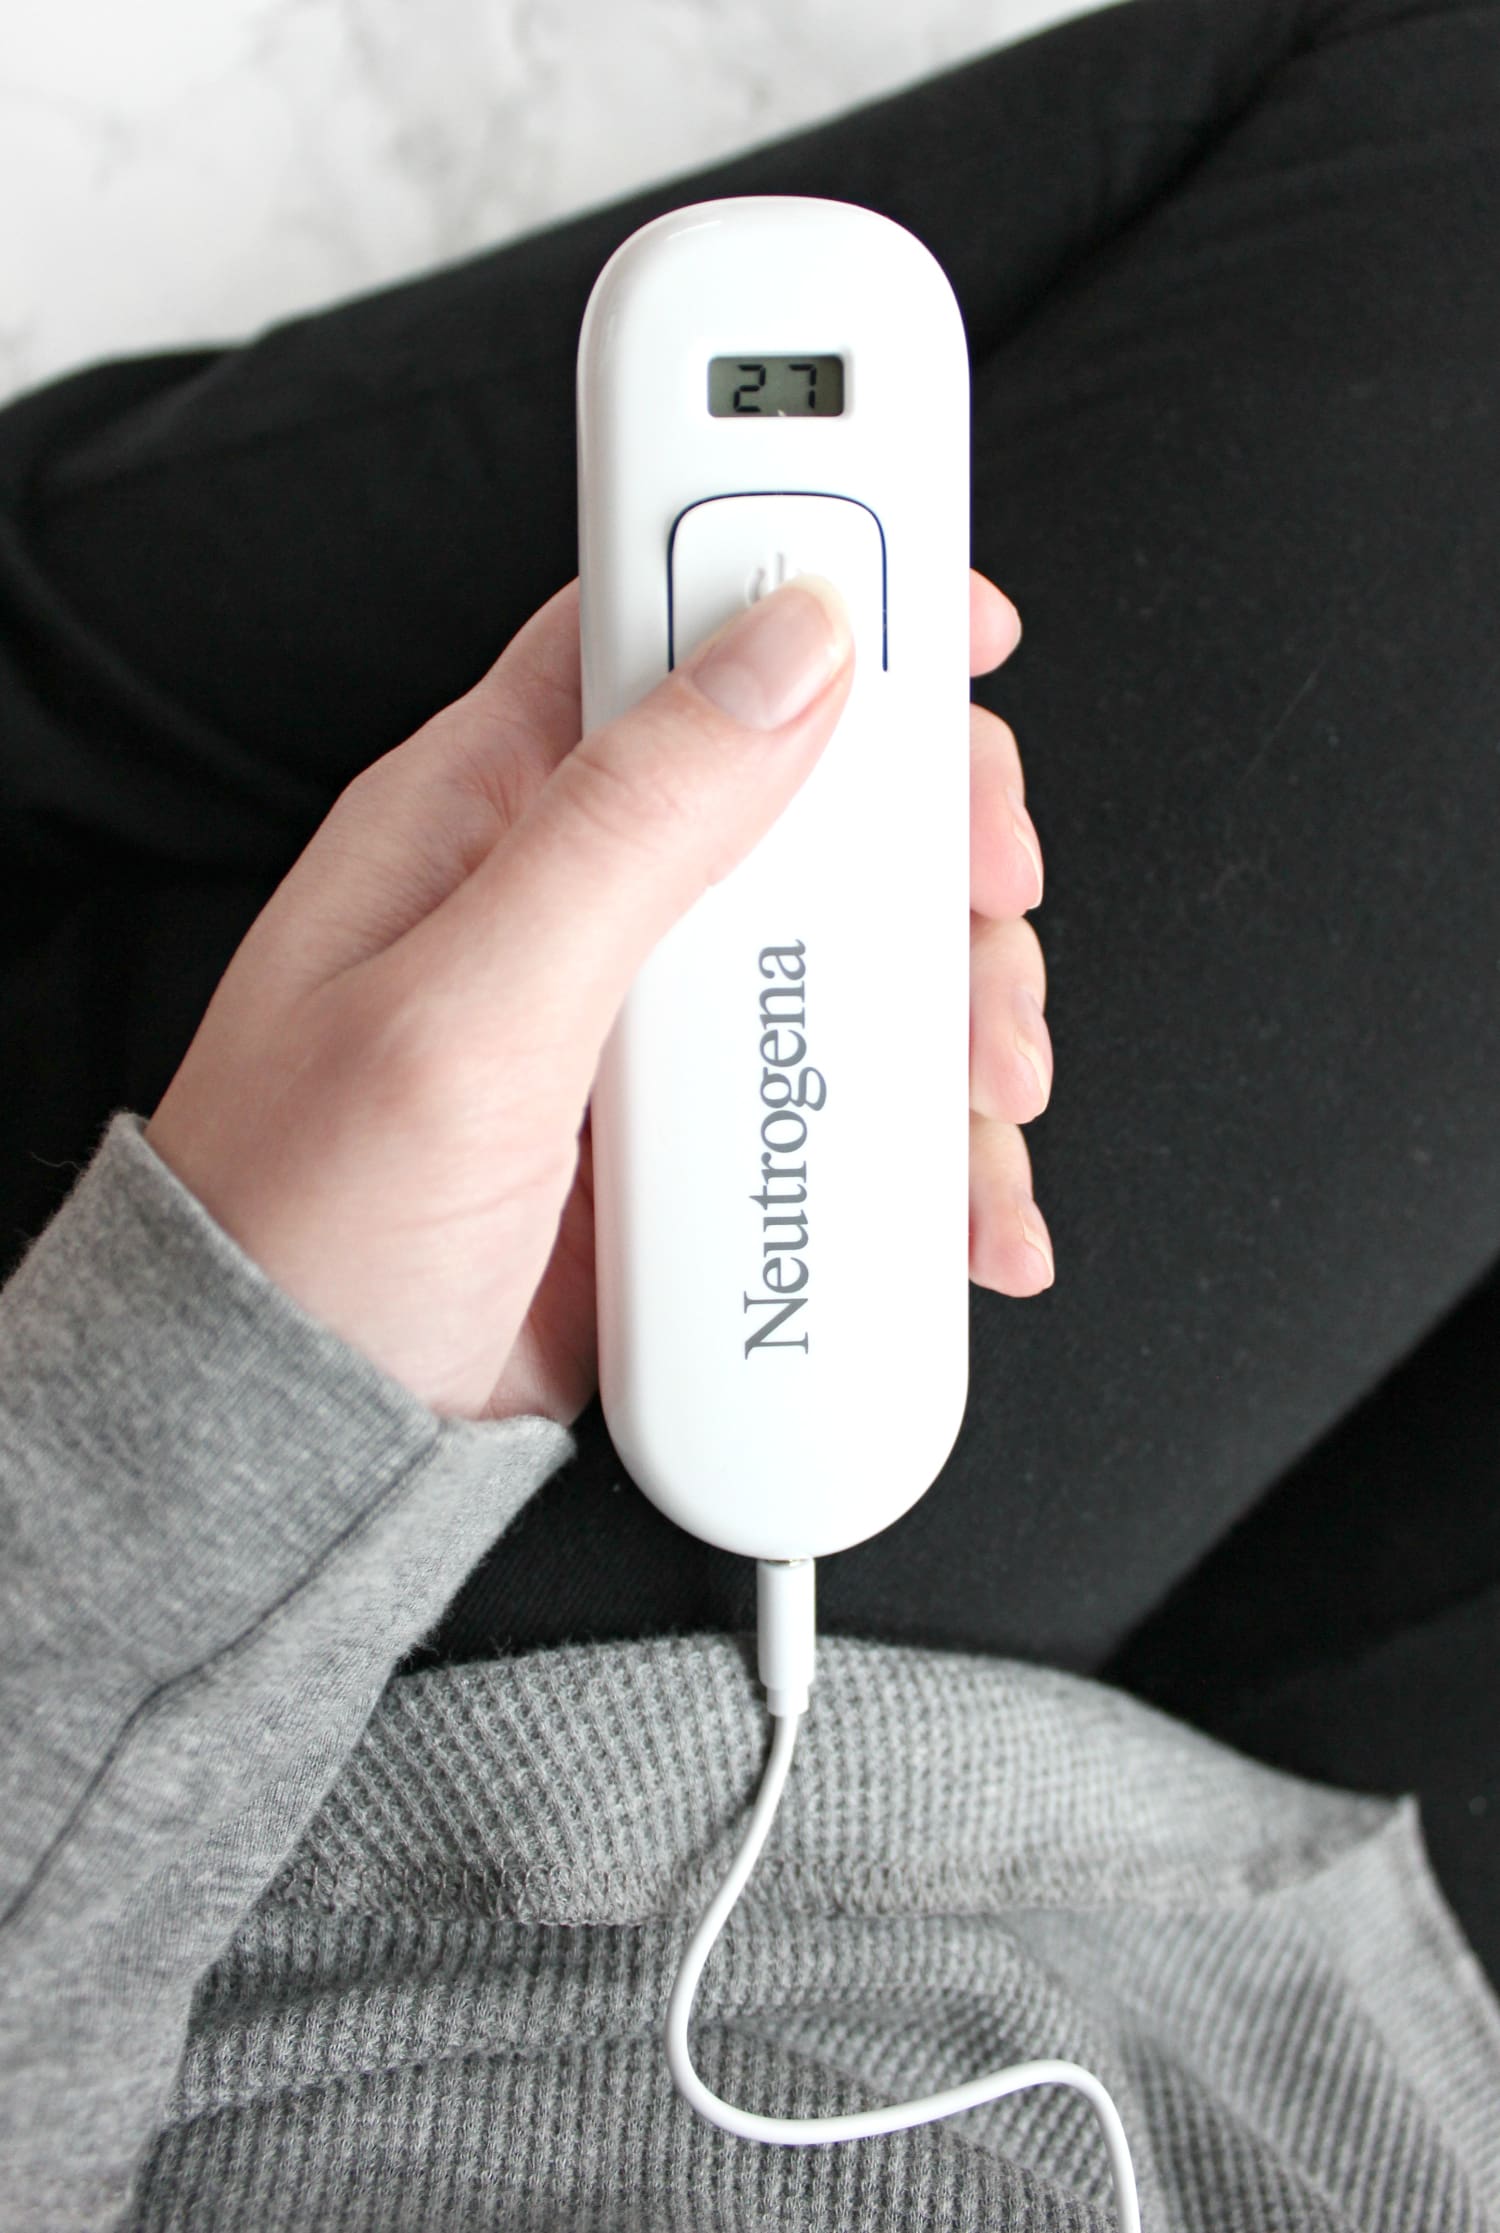
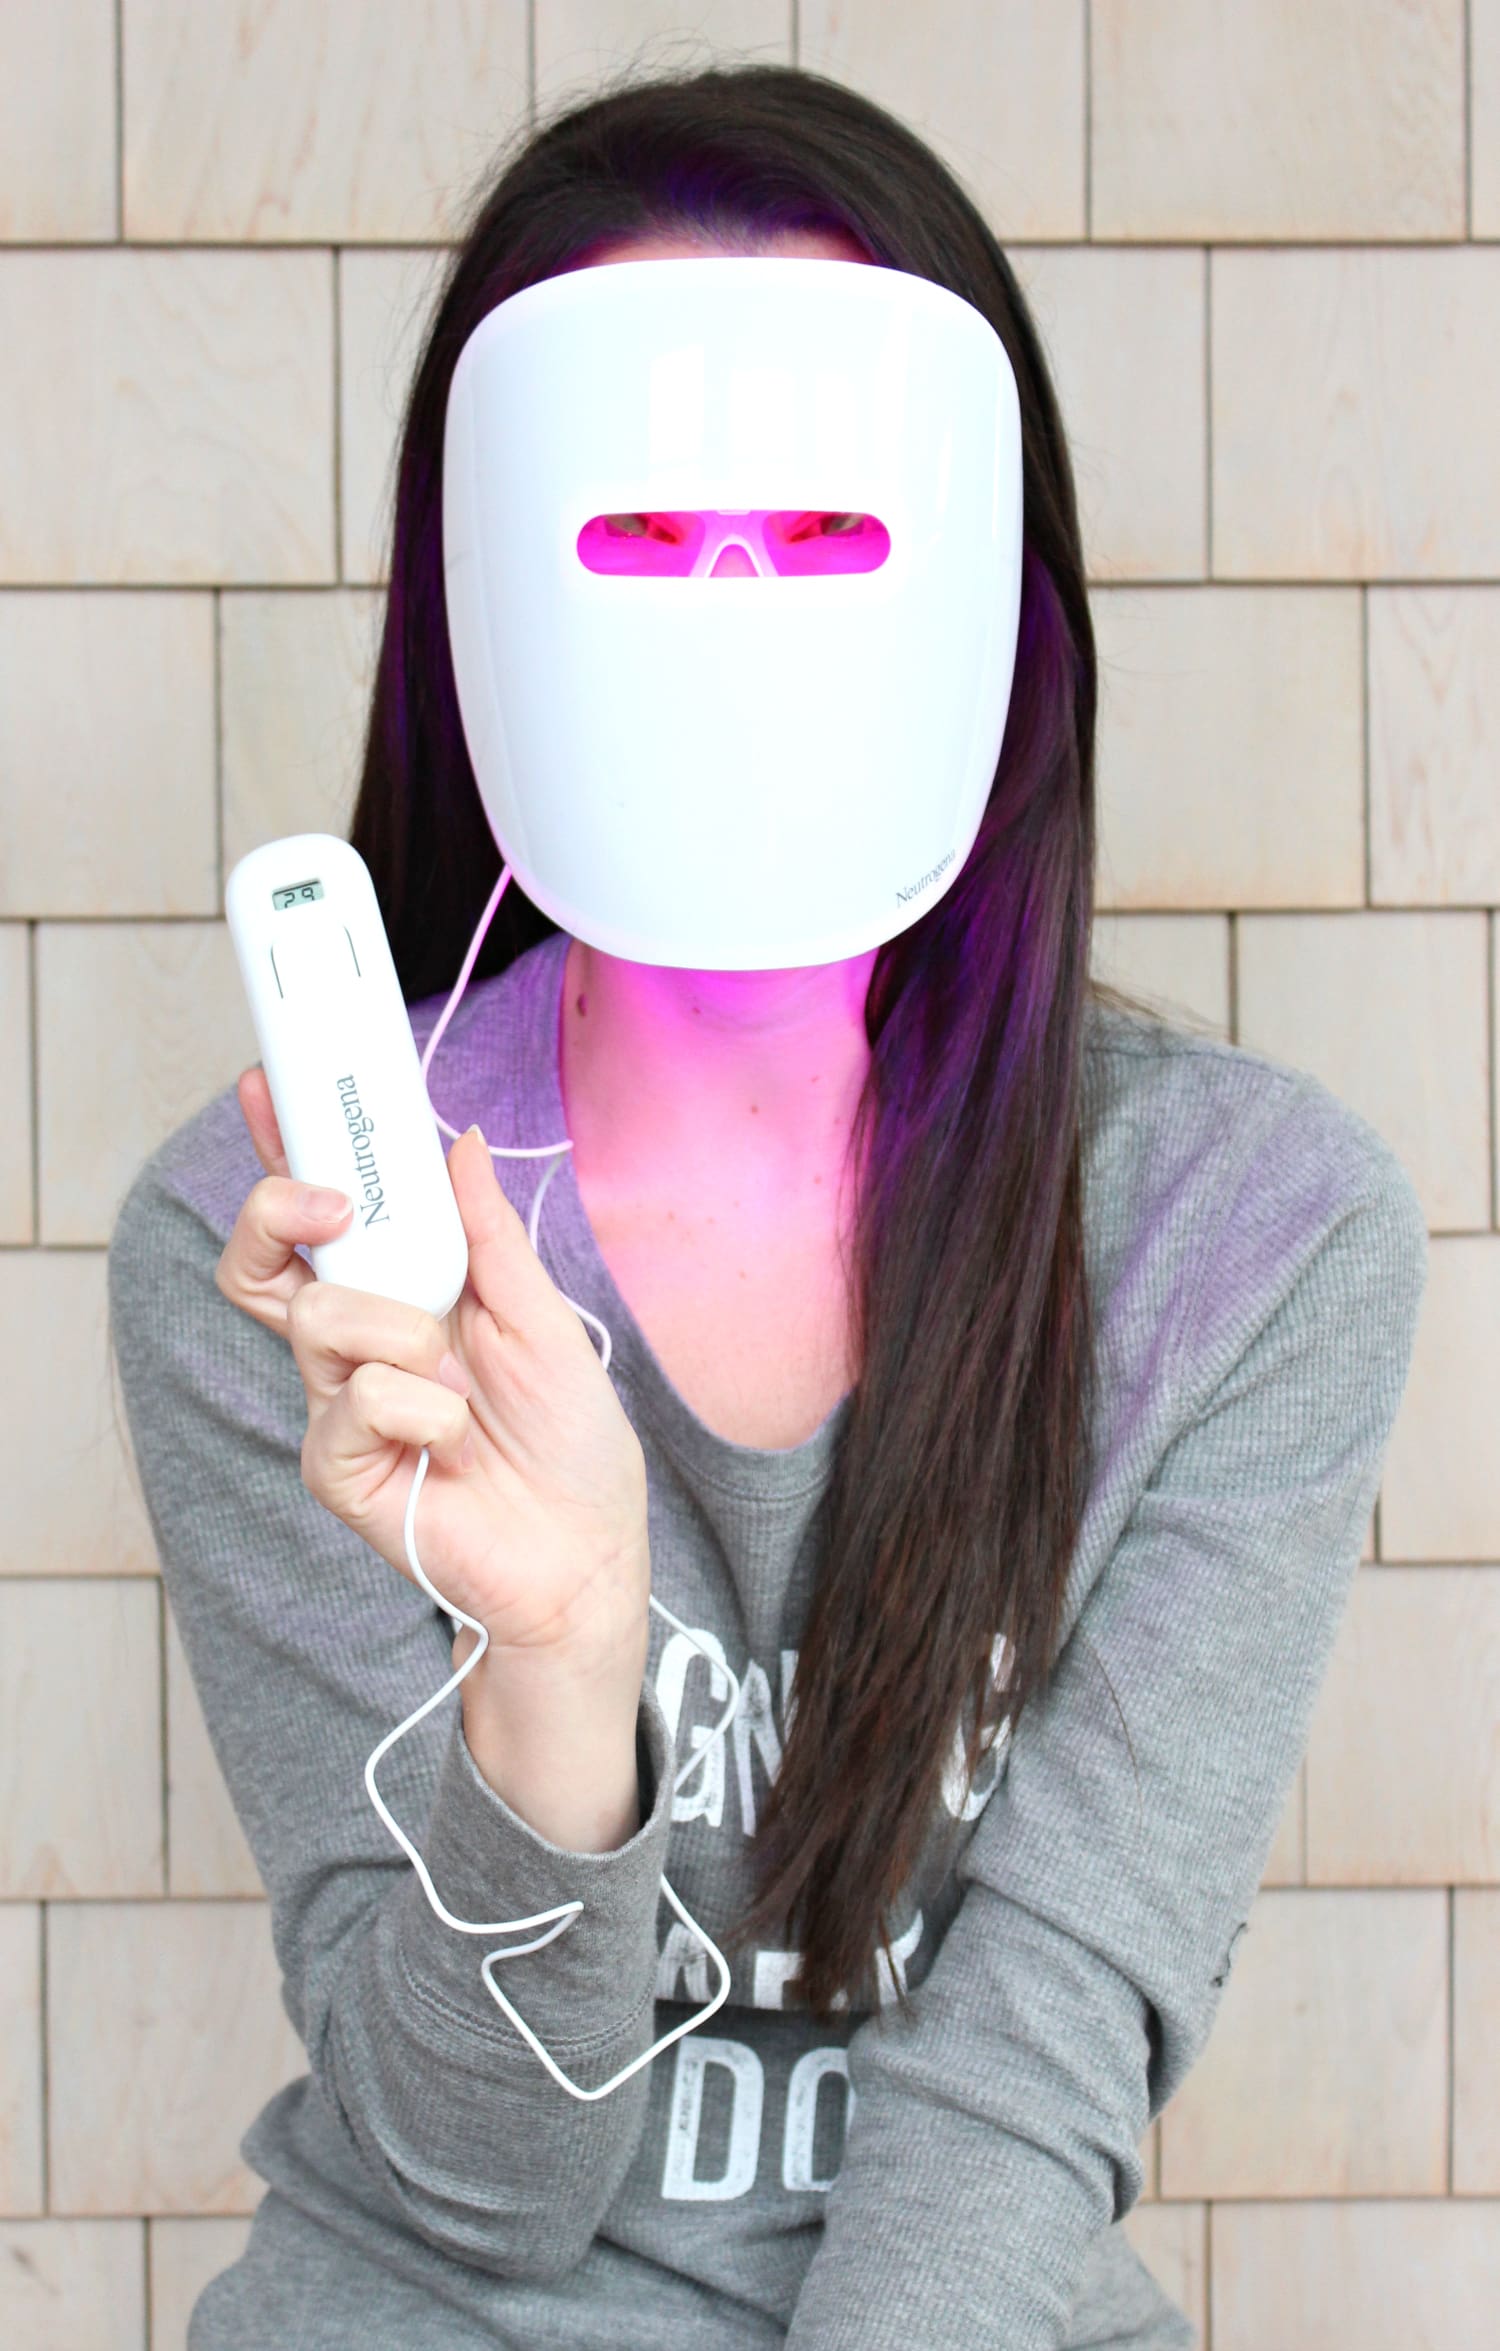
Activate your mask using the Activator remote, which also counts the number of treatment sessions remaining for you.
Step 4: Wear Light Therapy Acne Mask for Ten Minutes
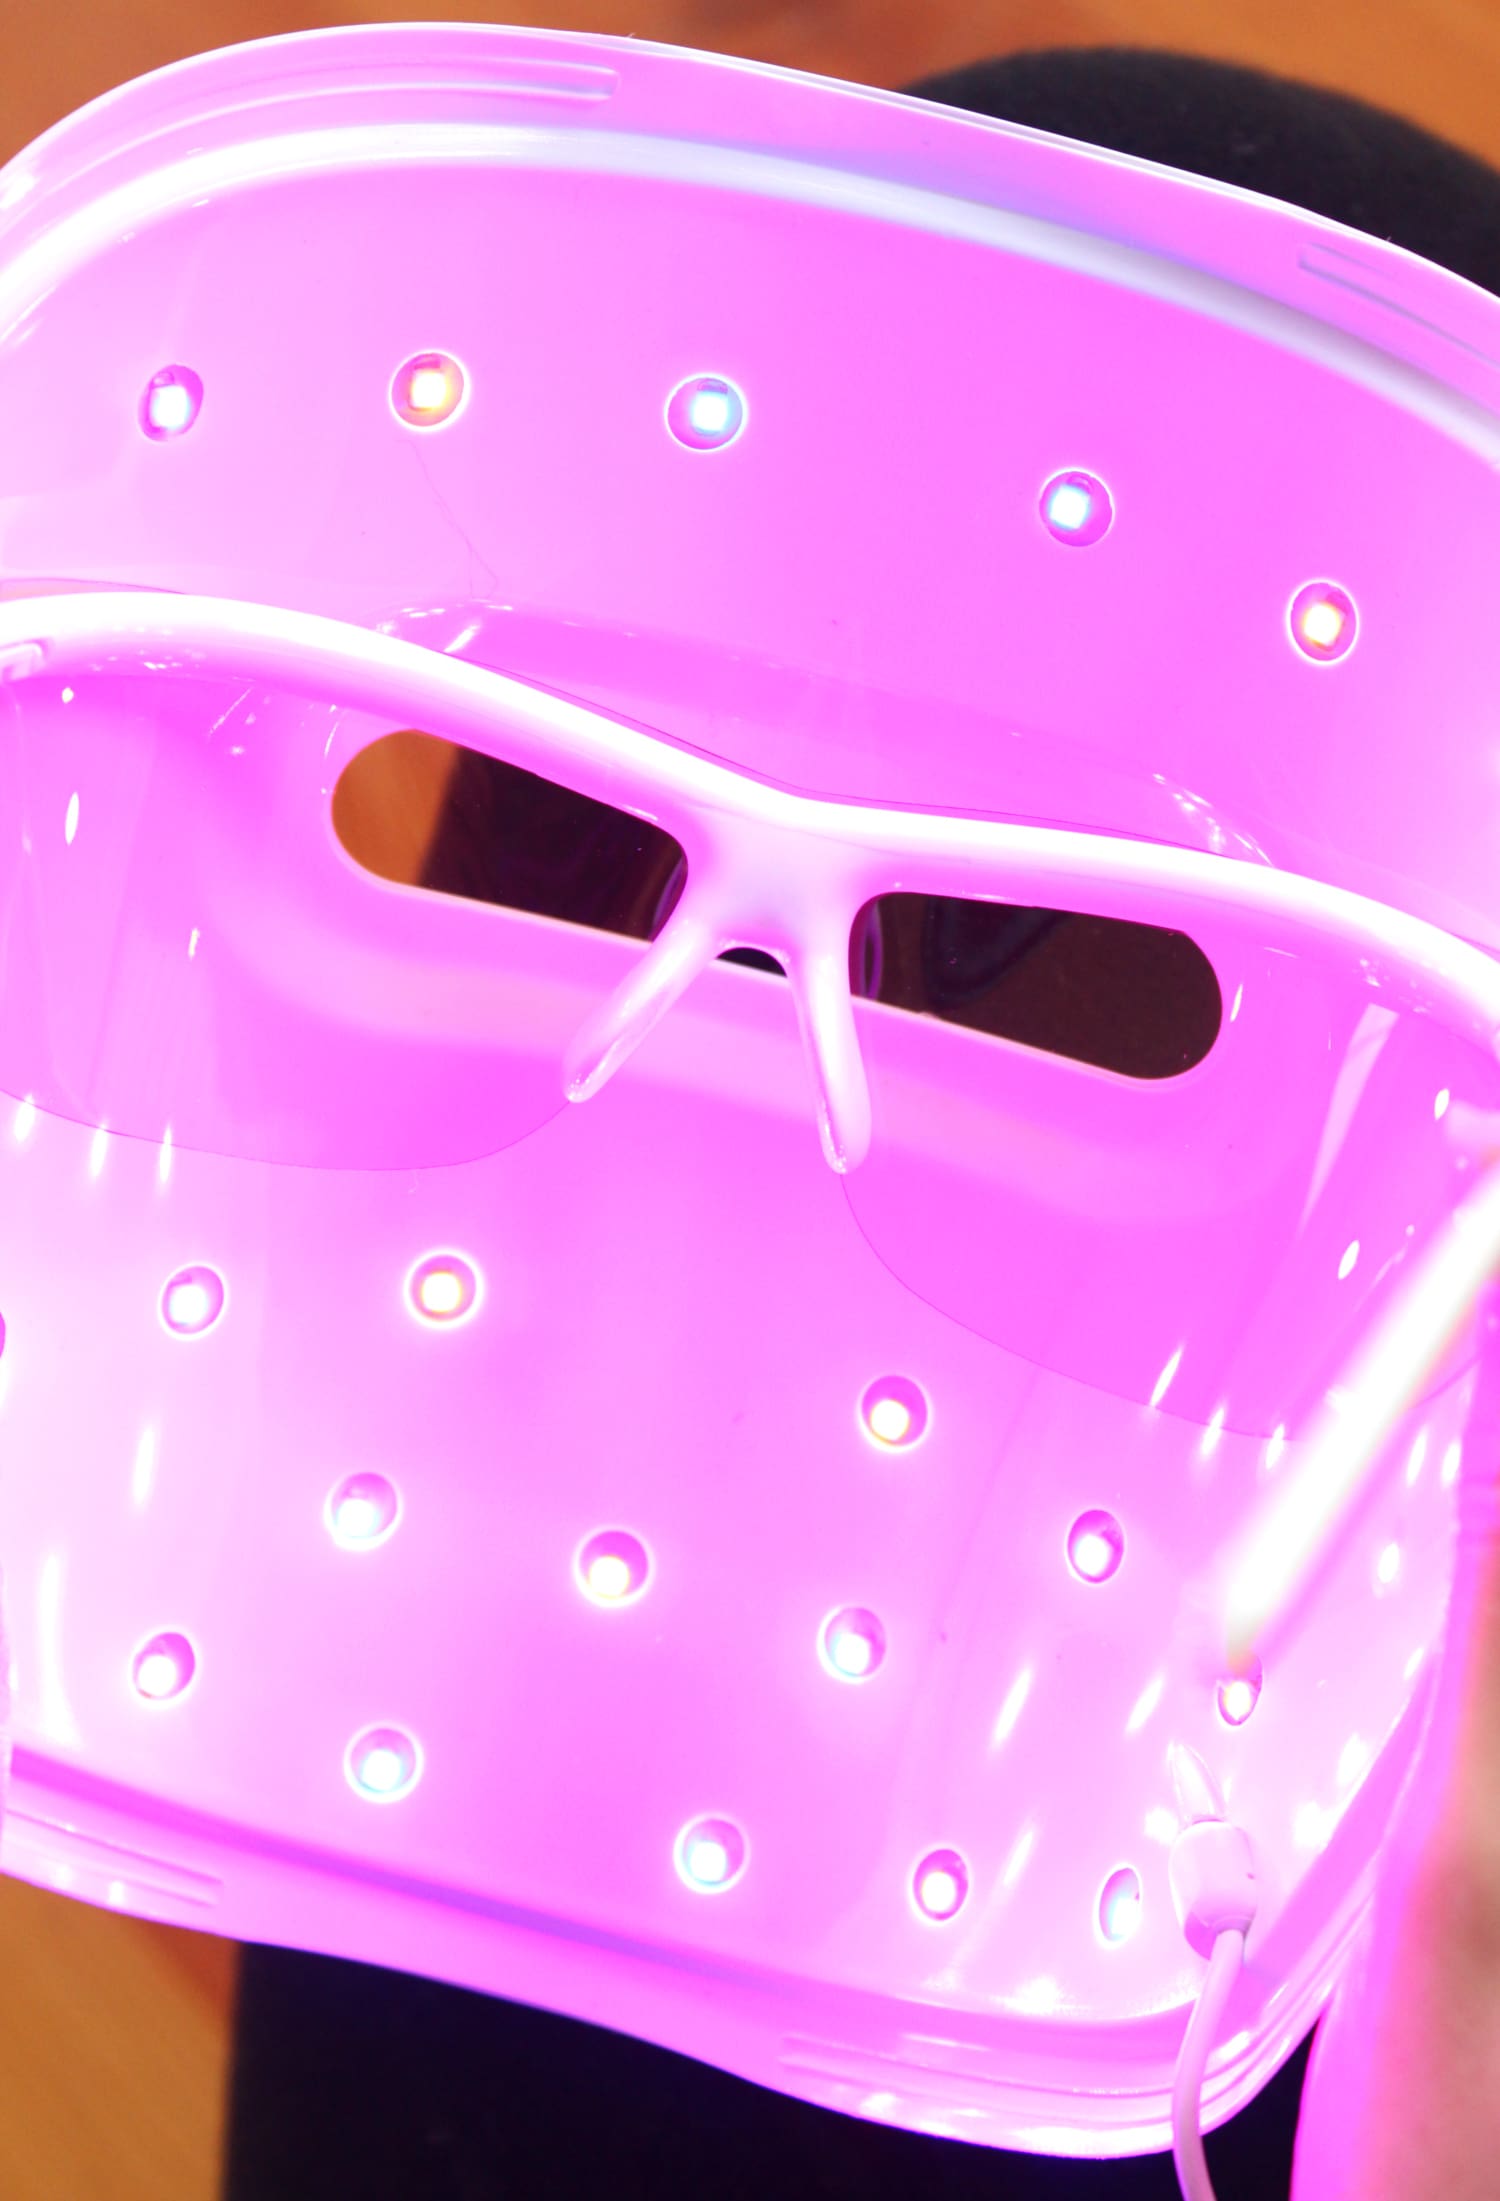
Lastly, wear the Light Therapy Acne Mask for ten minutes while blue lights kill 99% of acne-causing bacteria and red lights reduce acne inflammation. There’s a relatively large viewing slot, so you can do whatever else you need to do while the mask works its magic.
Step 5: Continue Usage for 30 Days
The light turns off automatically at the end of each session, so there’s no need to set your own timer. Just repeat, repeat, repeat this sequence every day for 30 days.
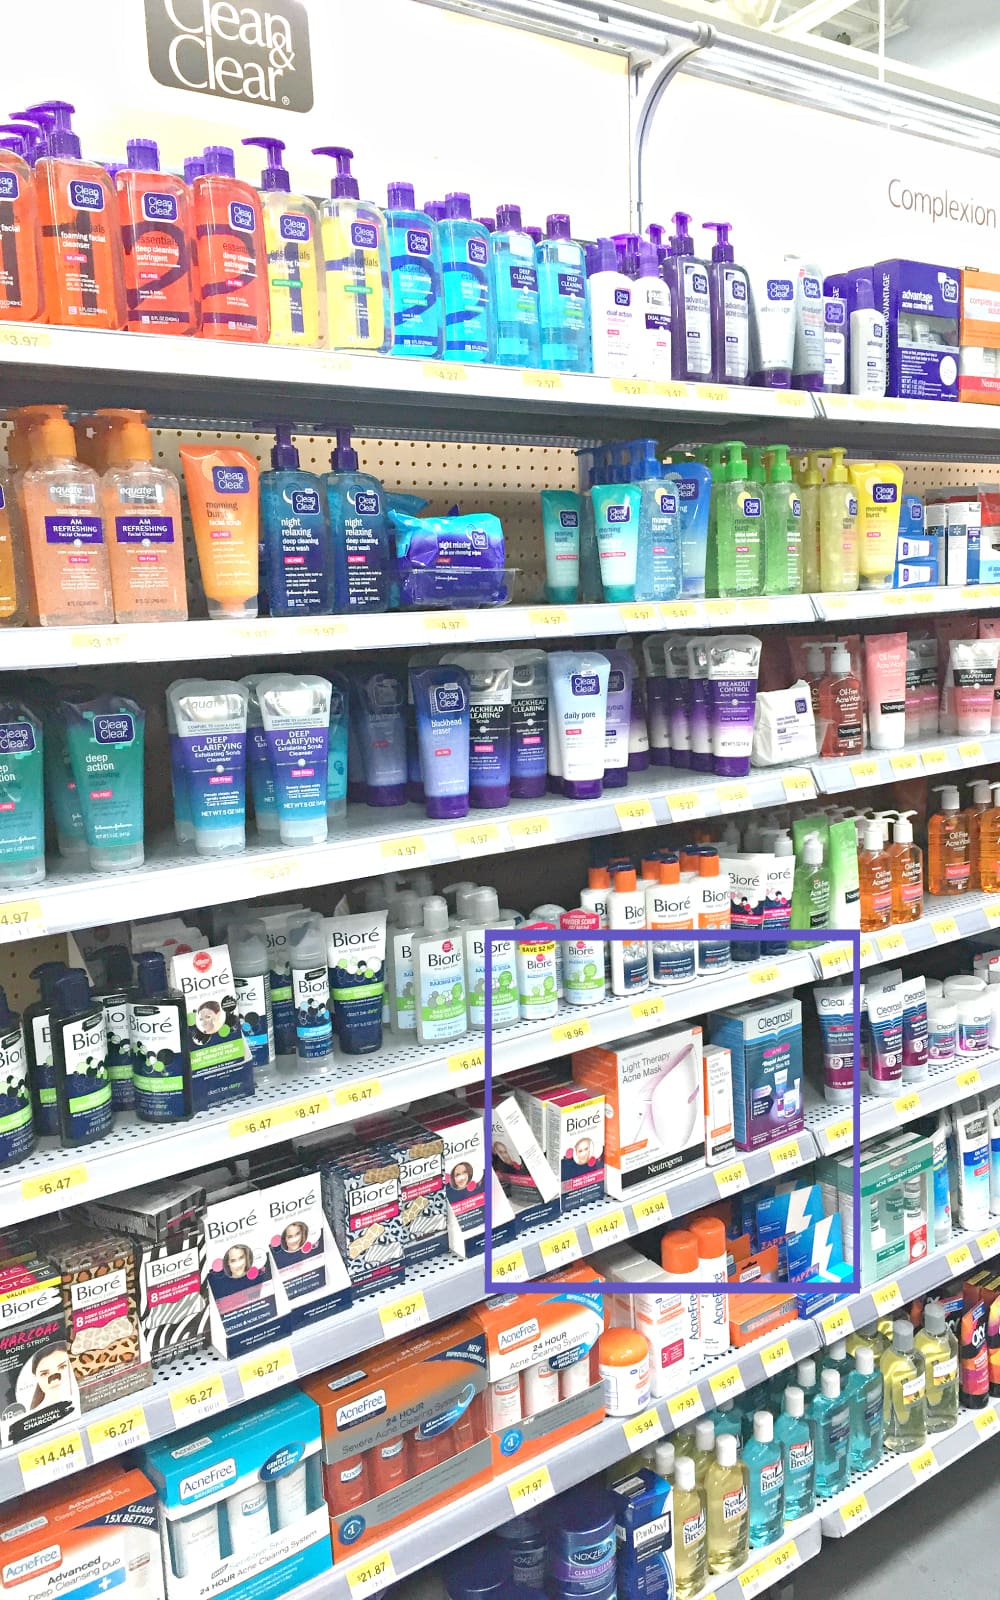
My interest in this light therapy technology peaked after I read about a clinical study that showed results beginning in as little as one week with continual improvement over time. The best results were seen after twelve weeks of use with 98% of users showed fewer breakouts. Consequently, it’s encouraged to use your light therapy acne mask daily for optimal benefits. If you fall in love with your light therapy acne mask and want to keep using it after your initial 30 treatments, you can purchase a new Activator remote at Walmart for $14.97 or $0.50/day. I actually found all the items used in this tutorial, including the Neutrogena® Light Therapy Acne Mask and Clean & Clear® Makeup Dissolving Wipes, in Walmart’s beauty aisle.
I’ll be posting again in a few weeks with a full 30-day recap, so be on the lookout! Have you ever wanted to try a light therapy, whether it be clinically administered or at-home? Share in the comments below!


