*This post may contain affiliate links, which means I may receive a commission (at no additional cost to you!) if you make a purchase using any of these links.*
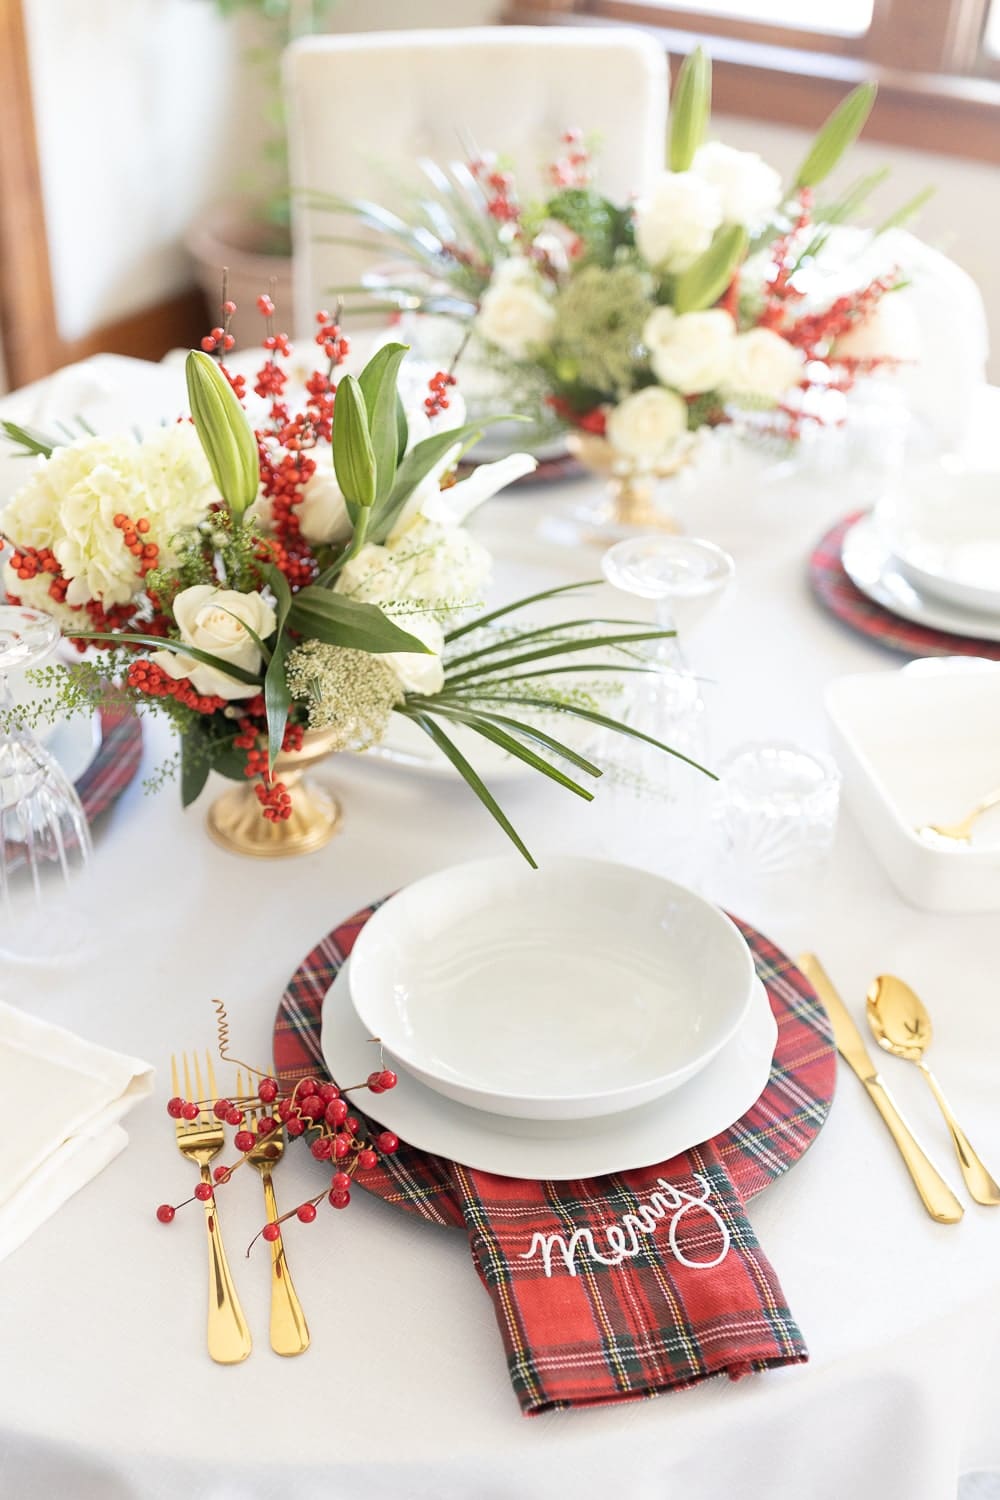
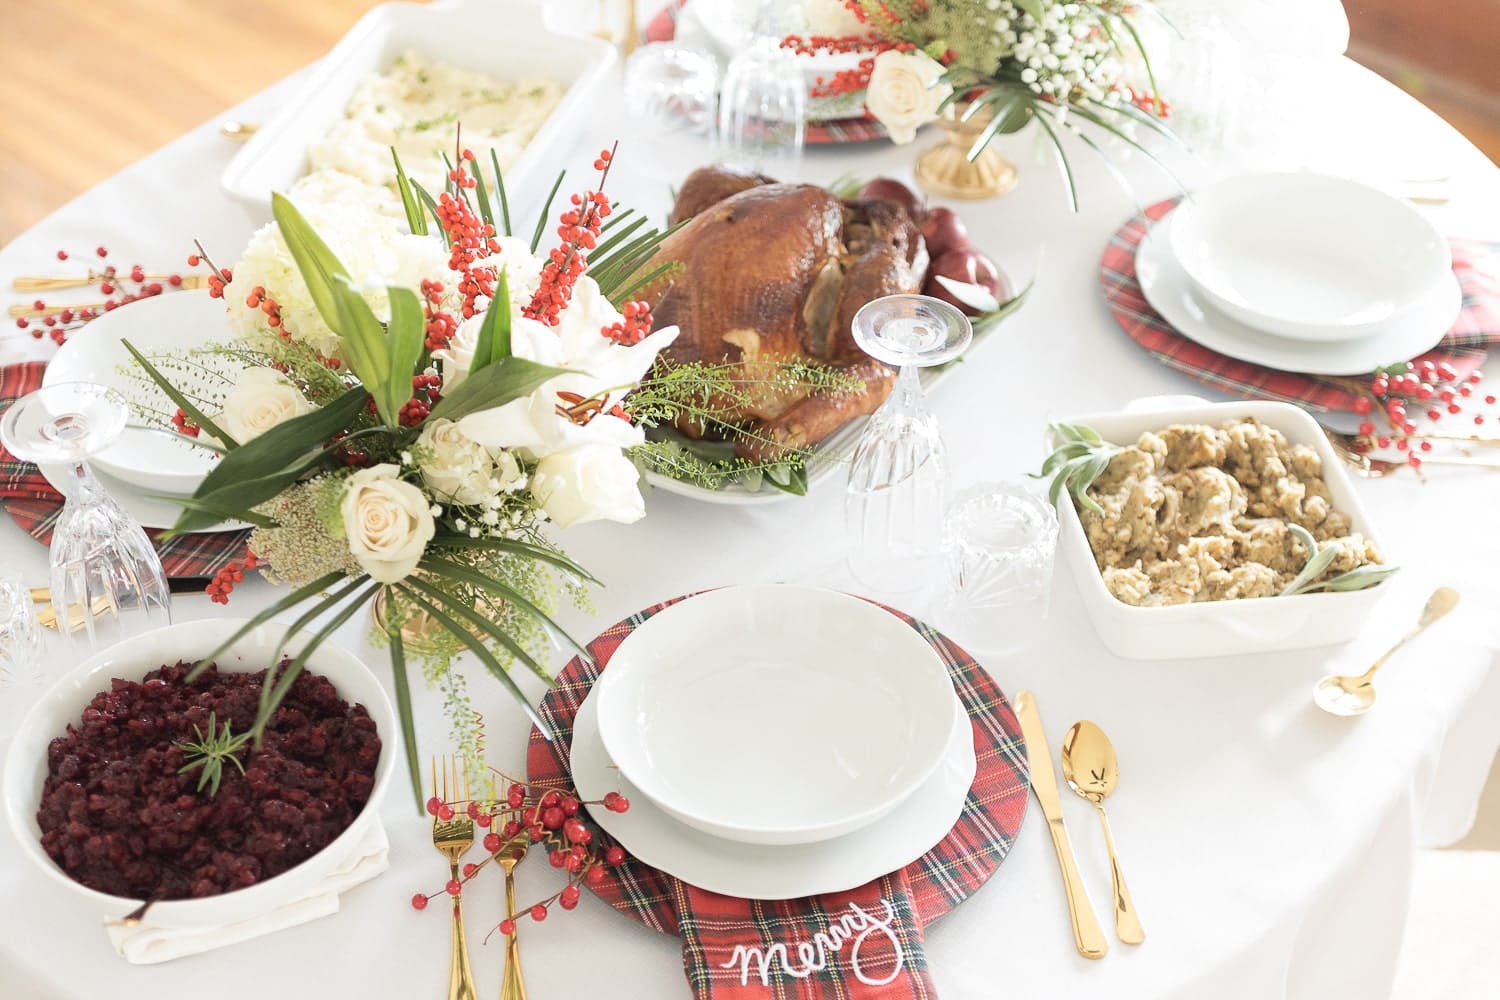
You guys… this super simple tartan Christmas tablescape is so easy that anyone can recreate it (matching flower arrangements included)! Keep reading Christmas tablescape details, including an easy Christmas centerpiece tutorial!
Easy Christmas Centerpiece Tutorial
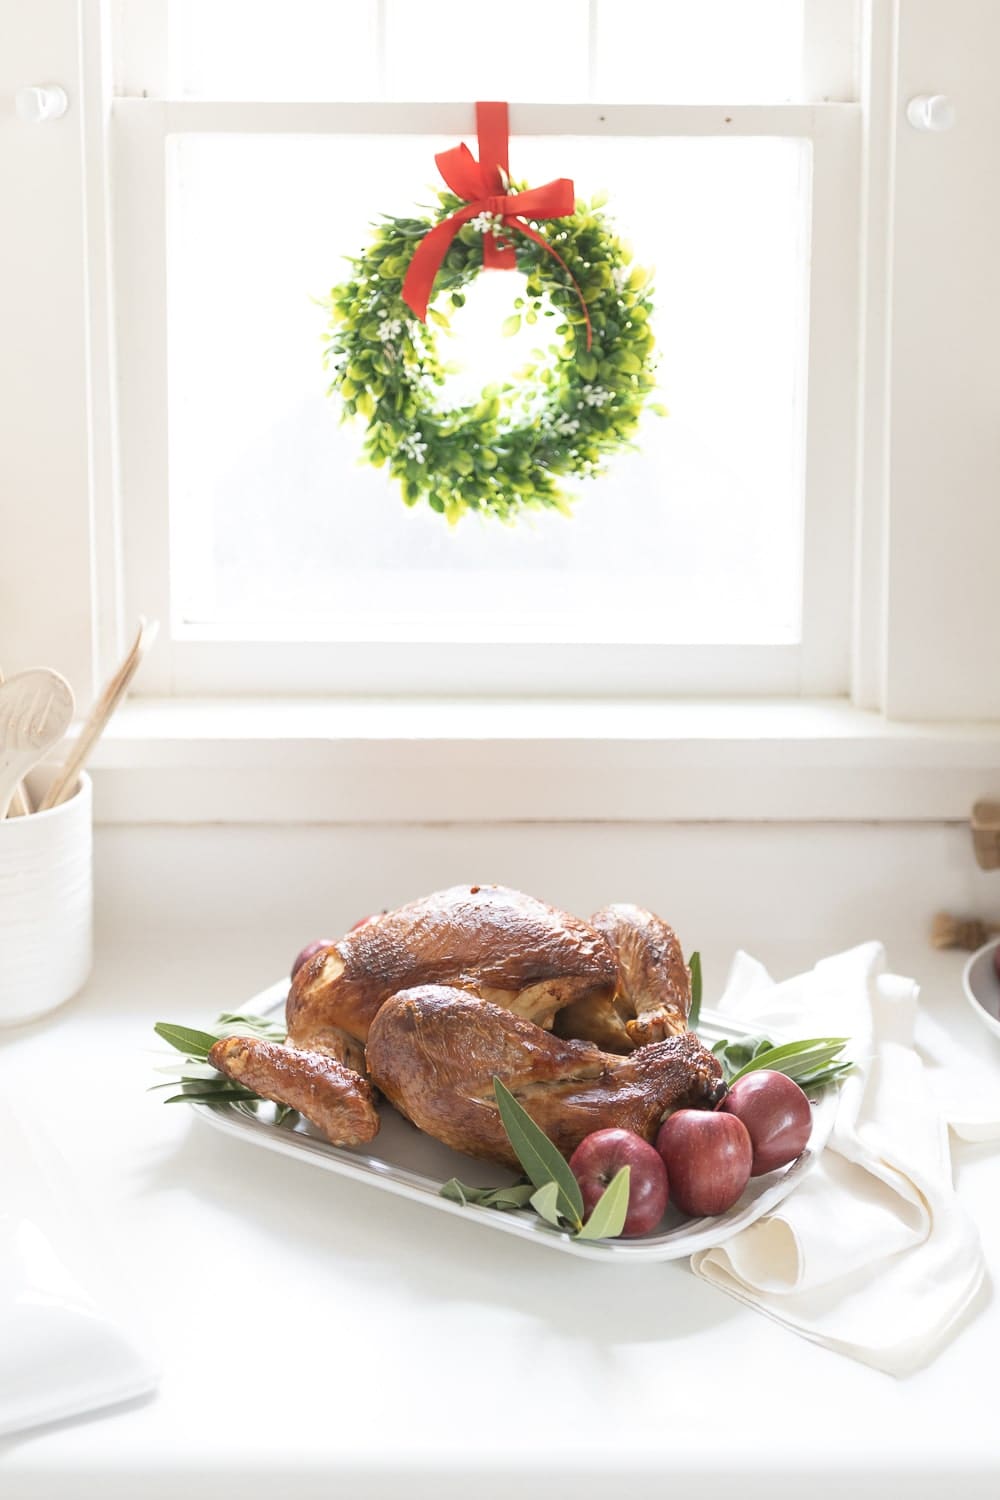
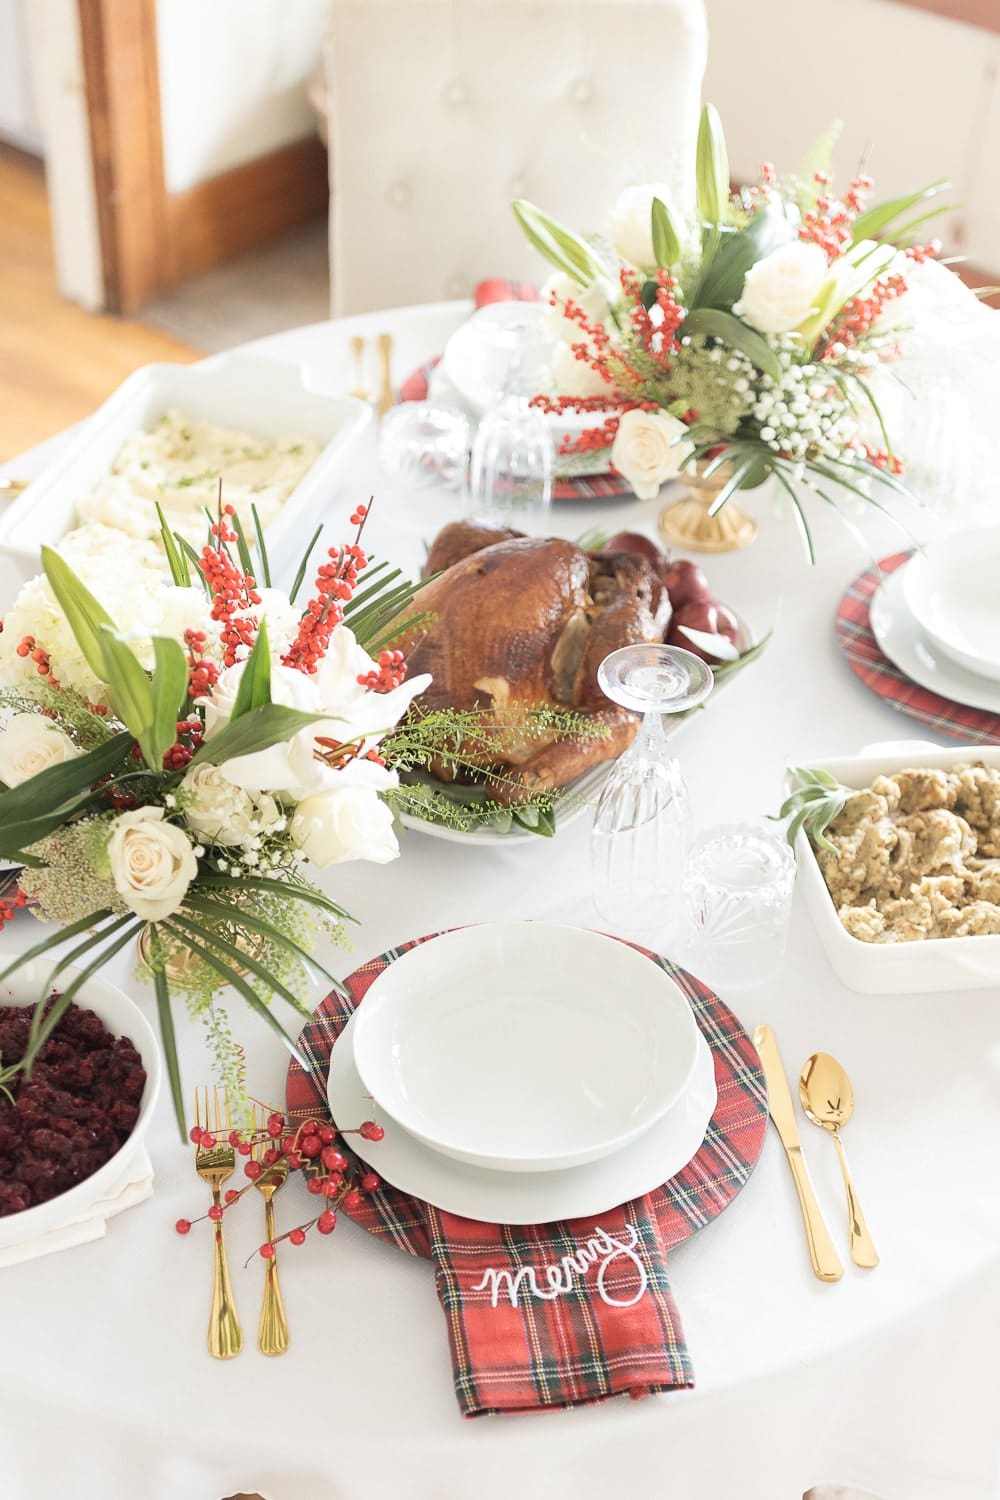
Wooden and/or hyacinth box centerpieces are typically my default (see two of my favorite here and here!), but this year we ordered a Hy-Vee Holiday Meal Pack with quite a few sides (plus a huge turkey that needed a place at the table, too). Needless to say, we didn’t have much extra room on the table. So, I thought it’d be best to make the turkey the unofficial centerpiece and then add two smaller arrangements on each side.
Christmas Centerpiece Materials
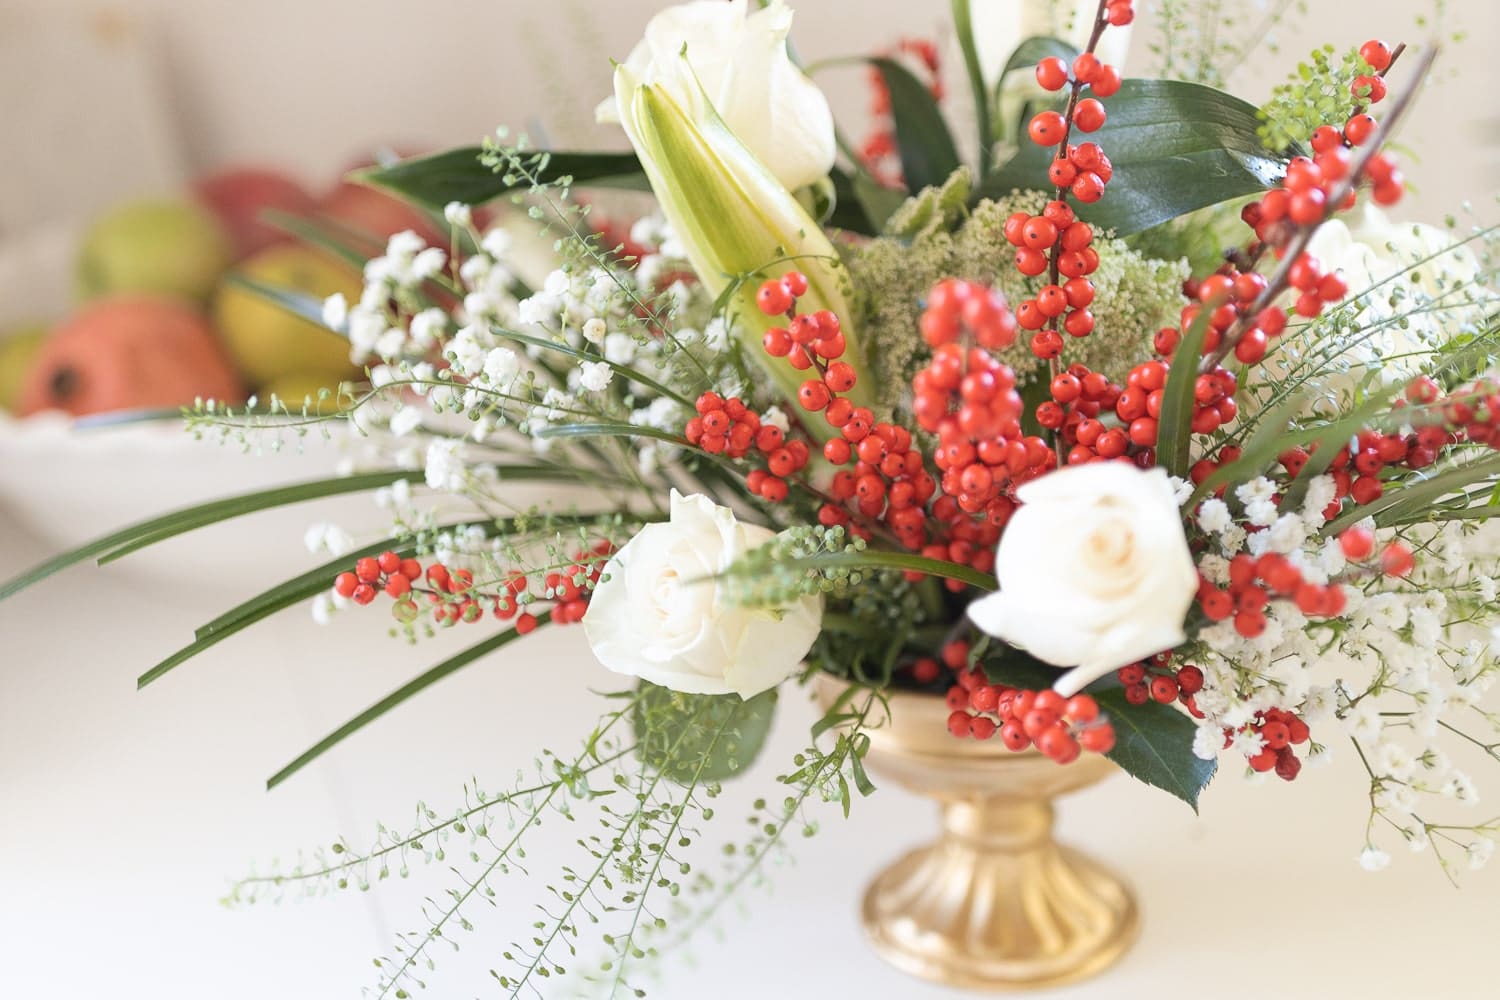
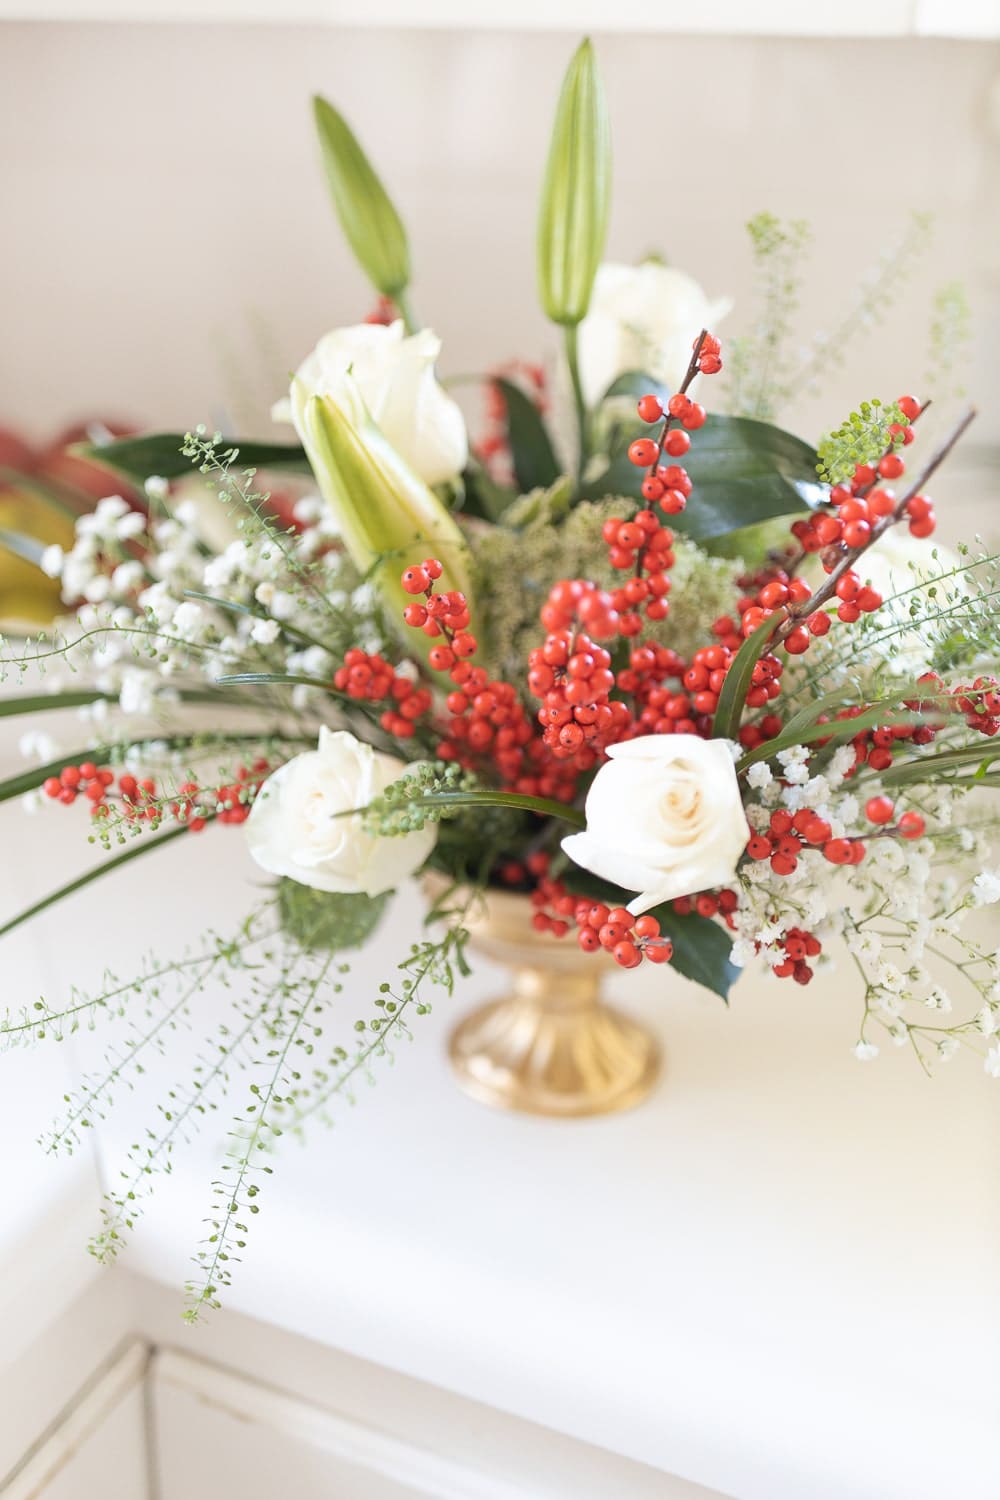
To make these matching Christmas flower centerpieces, I grabbed two gold compote vases, which I found on Amazon, and a bunch of different flowers from Hy-Vee to make two of these affordable holiday flower arrangements! Here are all the different flowers and greenery I used–
• White roses
• White lilies
• Berry branches
• Queen Anne’s lace
• Baby’s breath
• Lepidium Green Dragon
• Palm fronds
This easy Christmas centerpiece also calls for floral foam, Chikamasa curved scissors (to maximize water intake), and Crowning Glory floral spray to make sure each arrangement stays fresh and hydrated.
Easy Christmas Centerpiece Tutorial
FYI– I made two of these Christmas centerpieces for our table. So, if you’d like to do the same, be sure to double everything by two when you’re picking up flowers.
To start, cut a piece of floral foam to fit inside the compote vase. For reference, the top of the floral foam should be half an inch (or so) below the opening on the vase. Once you have the right piece of floral foam, soak it in water for about 90 seconds.
Next, insert the wet floral foam into the vase and tape it down with green floral tape. If you don’t have green floral tape, regular tape will work, too. I prefer green floral tape, though, since it’s easier to camouflage.
Using curved scissors to maximize water intake, trim the Lepidium Green Dragon (or whatever other greenery you have) to the desired length and insert the stems around the edges of the floral foam. As a general rule, I always like to start and end with greenery to make sure all the floral foam is completely hidden.
Next, trim the statement flowers (which, in this case, are white roses and lilies) to their desired lengths and insert them in and around the center of the floral foam. Always go conservative with your cuts– remember you can cut them shorter later.
Using the same curved scissors (or yard clippers if the branches are particularly thick), trim the red berry branches and Queen Anne’s lace and fill in larger gaps in the arrangement. Since I only used two red berry branches, I made sure to put them on opposite sides of the Christmas arrangement.
Next, grab and trim your baby’s breath, palm fronds, and any remaining Lepidium Green Dragon and fill in any remaining visible spots. Make sure to look at the arrangement straight-on, preferably at eye level with the top of the vase, to make sure all the floral foam and tape is completely camouflaged.
Finally, spray your Christmas centerpiece with Crowning Glory floral spray every few hours to keep it fresh, healthy, and vibrant.
Also, just an FYI– floral foam isn’t meant to be keep flowers fresh for days on end. Once you’re done with your Christmas centerpiece, I recommend removing all the flowers from the foam, giving them a fresh cut, and putting them in water with flower food.
Click play on my Instagram Reel below or scroll down to the how-to card for an easy Christmas centerpiece video tutorial!
Easy Christmas Centerpiece
Need Christmas centerpiece ideas? Blogger and amateur florist Stephanie Ziajka shows how to make an easy Christmas centerpiece with a gold compote vase, floral foam, and a variety of red, green, and white flowers in today's video tutorial! She also shares a few of her floral design must-haves in today's video, as well.
Materials
- 6-8 large white roses
- 1 stem white lilies
- 2 berry branches
- 3 stems Queen Anne’s lace
- 3-4 stems baby’s breath
- 6 stems Lepidium Green Dragon
- 2 small palm fronds
- Gold compote vase
Tools
- Floral foam
- Green floral tape
- Chikamasa curved scissors
- Crowning Glory floral spray
Instructions
- Cut a piece of floral foam to fit inside the compote vase. For reference, the top of the floral foam should be half an inch (or so) below the opening on the vase. Once you have the right piece of floral foam, soak it in water for about 90 seconds.
- Insert the wet floral foam into the vase and tape it down with green floral tape. If you don't have green floral tape, regular tape will work, too. I prefer green floral tape, though, since it's easier to camouflage.
- Using curved scissors to maximize water intake, trim the Lepidium Green Dragon to the desired length and insert the stems around the edges of the floral foam. As a general rule, I always like to start and end with greenery to make sure all the floral foam is completely hidden.
- Trim the statement flowers (which, in this case, are white roses and lilies) to the desired length and insert them in and around the center of the floral foam. Always go conservative with your cuts-- you can cut them shorter later.
- Using curved scissors (or yard clippers if the branches are particularly thick), trim the red berry branches and Queen Anne's lace and fill in larger gaps in the arrangement. Since I only used two red berry branches, I made sure to put them on opposite sides of the Christmas arrangement.
- Grab and trim your baby's breath, palm fronds, and any remaining Lepidium Green Dragon and fill in any remaining visible spots. Make sure to look at the arrangement straight-on, preferably at eye level with the top of the vase, to make sure all the floral foam and tape is completely camouflaged.
- Spray your Christmas centerpiece with Crowning Glory floral spray every few hours to keep it fresh, healthy, and vibrant.
Notes
Floral foam isn't meant to be keep flowers fresh for days on end. Once you're done with your Christmas centerpiece, I recommend removing all the flowers from the foam, giving them a fresh cut, and putting them in water with flower food.
Click below to shop easy Christmas centerpiece materials!
Simple Christmas Tablescape Details
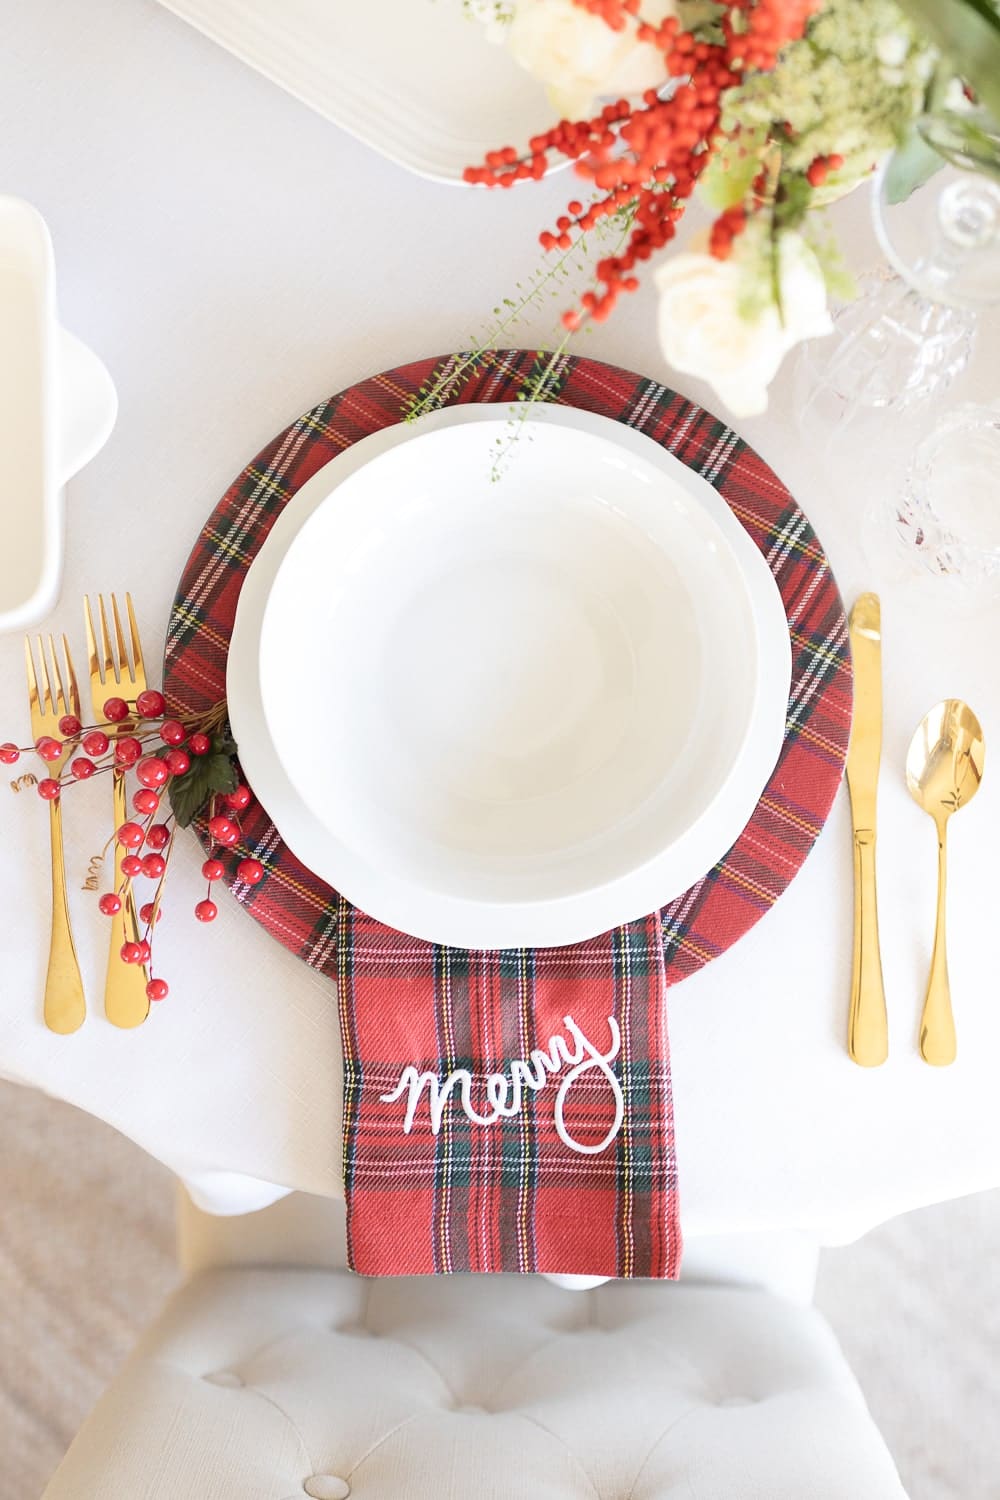
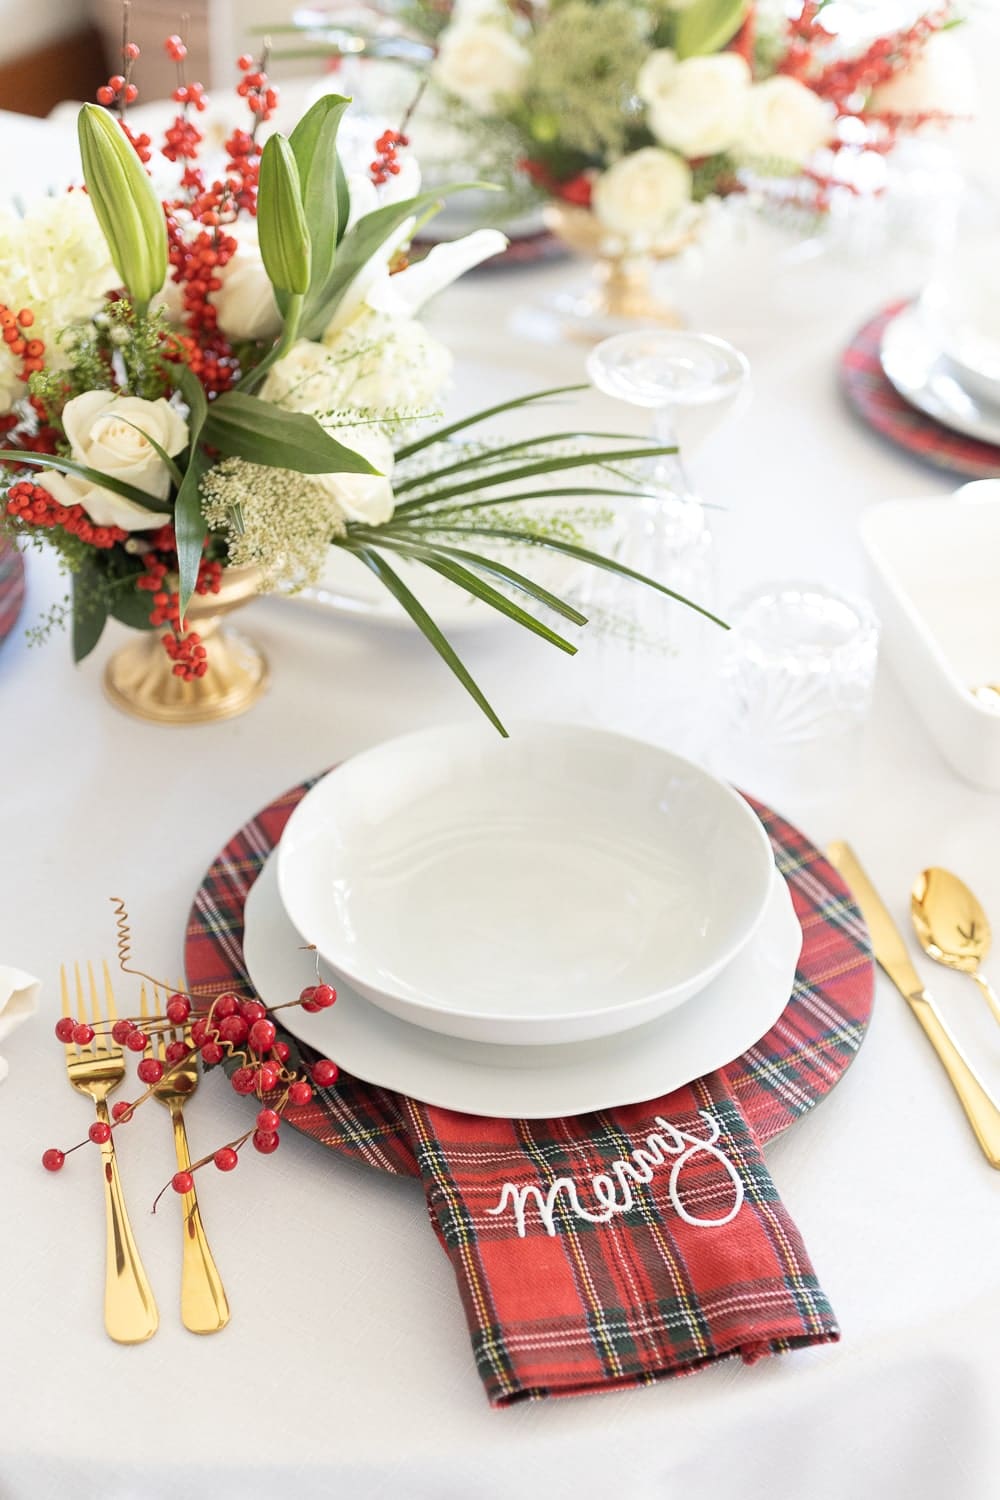
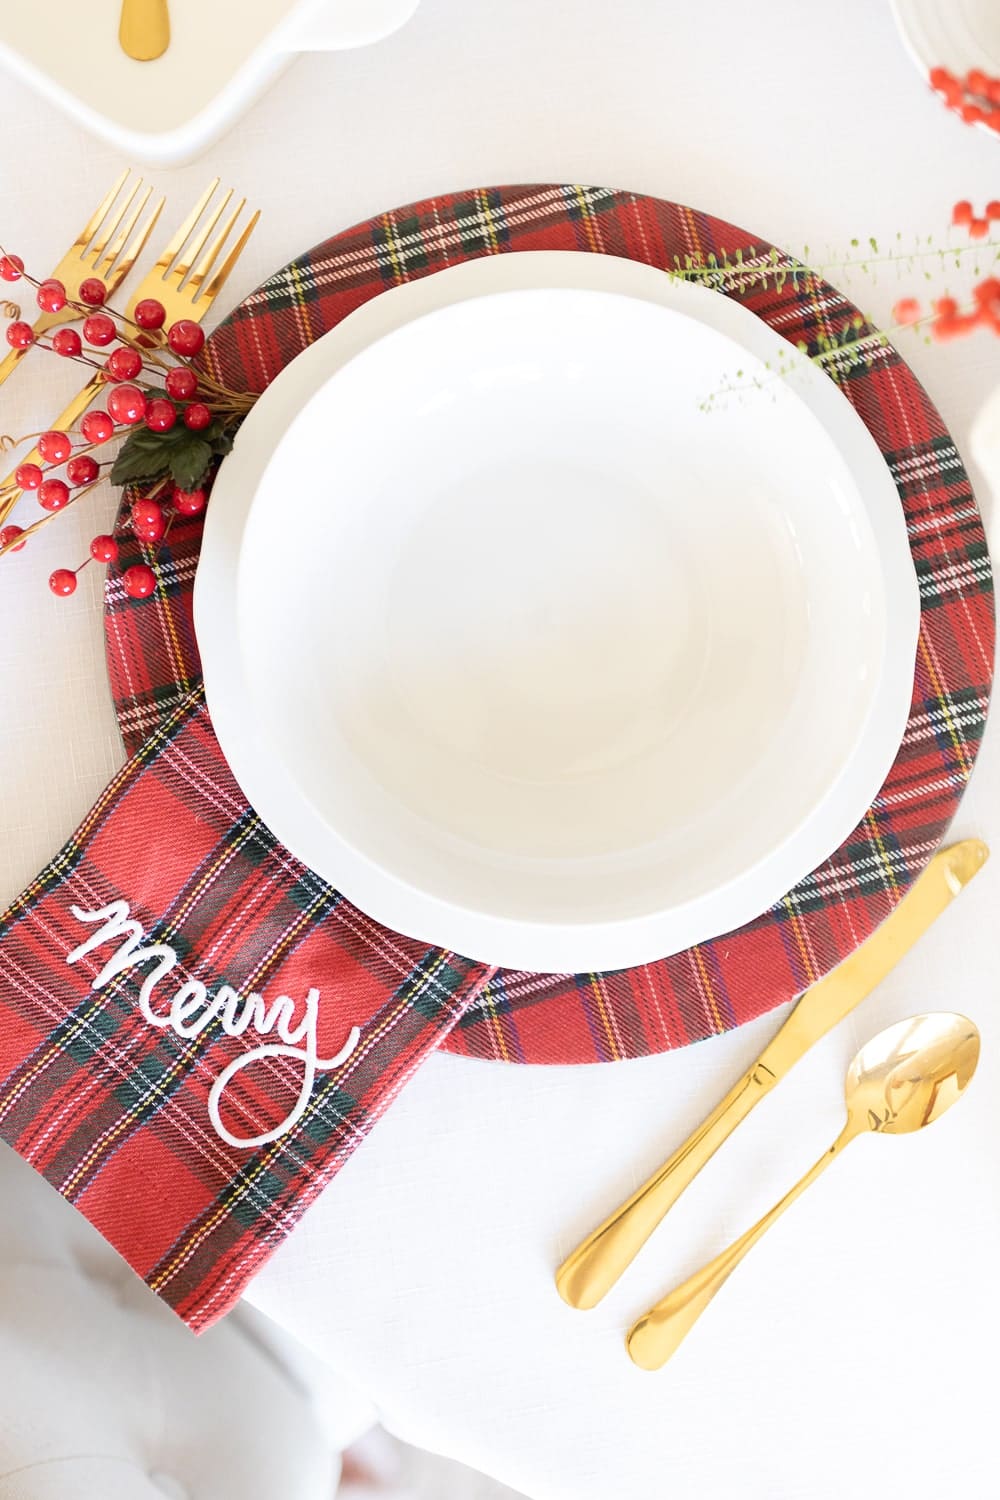
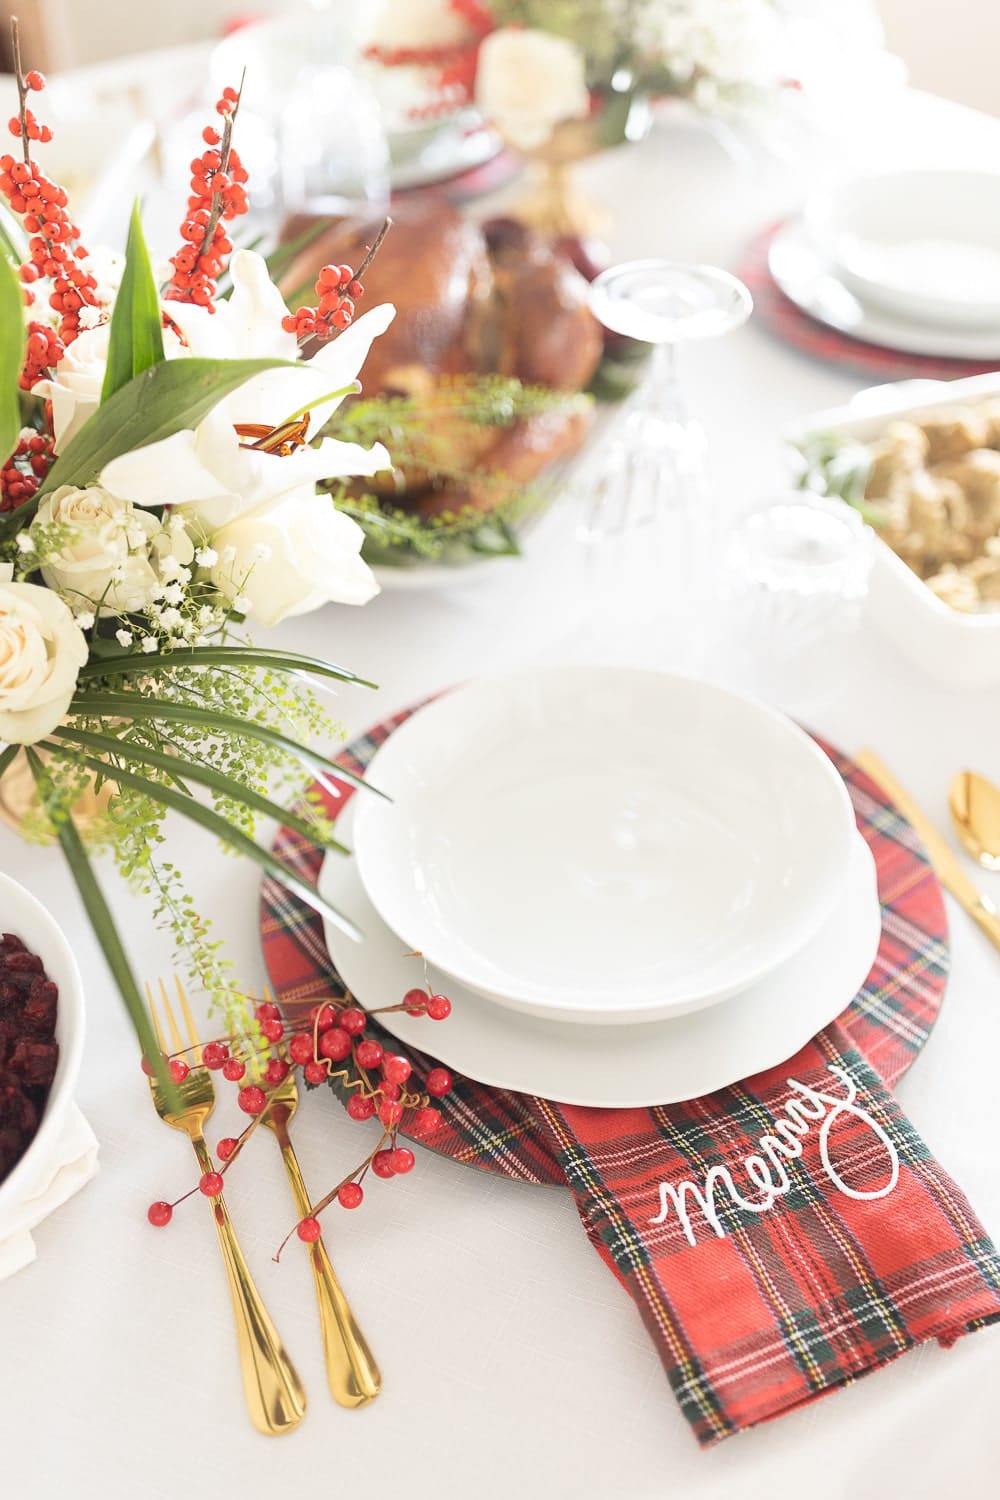
Christmas tablescapes are my favorite, and I look forward to styling them every year. I bought these matching napkins and chargers last year and have been waiting for SO long to get to use them. They definitely don’t need any dressing up, but I also threw a red berry pick into each Christmas place setting for an extra festive touch. Here’s everything else I used to design this simple Christmas tablescape–
- Tartan “Merry” napkins– These napkins come in a set of four and are uber washer-friendly. I do recommend ironing them when they’re fresh out of the dryer, though.
- Tartan chargers– These tartan chargers are SO perfect for Christmas! They’re made with fabric, too, so they feel very unique and premium.
- Red berry picks– I grabbed these at Michael’s, but any red berry picks will work.
- Scalloped dinner plates– The scalloped edges make these white ceramic dinner plates feel so fun and festive.
- White salad bowls
- Gold flatware– This whole set is under $30!
- White spill-proof tablecloth
- Etched water goblets
- Etched Old Fashioned glasses
I’m much more of a tablescape styler than a chef, so I ordered a Hy-Vee Holiday Meal Pack to simplify dinner. Y’all… Kyle and I were blown away by how delicious everything was. If you’re not sure about which sides to choose, we highly recommend the cranberry chutney, sage stuffing, and mashed potatoes (and the turkey, of course).
Here’s how the table looked once it was completely full of food. A little crowded, yes, but at least no one left hungry, right?!
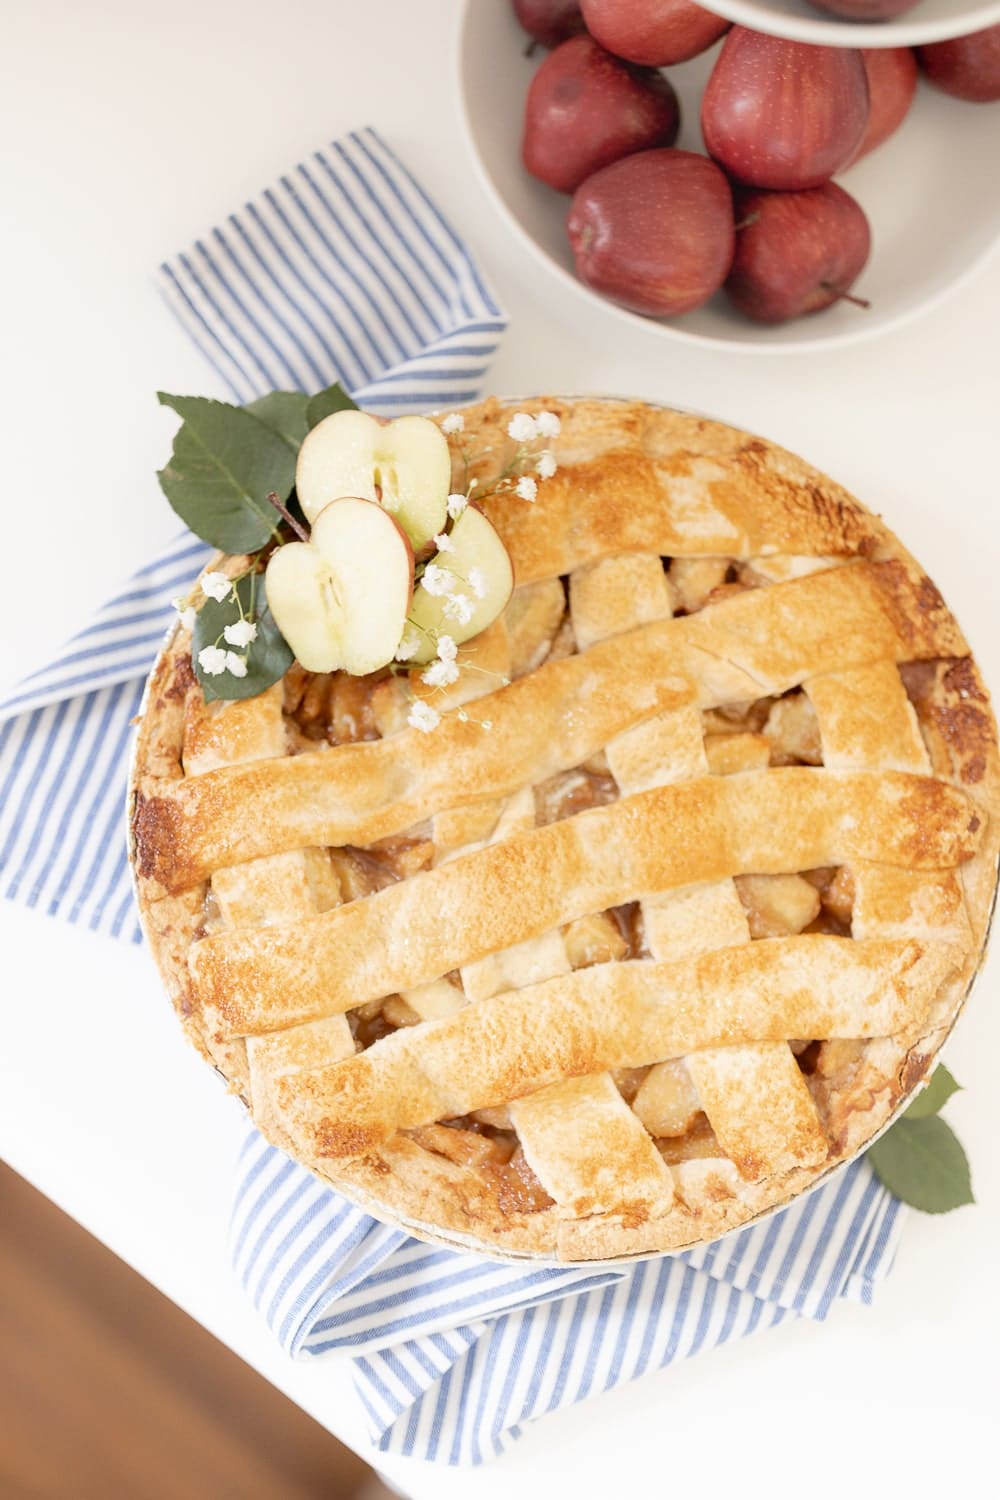
I also ordered an apple pie from Hy-Vee’s bakery for dessert, and it was gone in approximately sixty seconds. Holy cow was that pie delicious– and it was super easy to prepare, too. All I had to do was reheat it, and then I added some apple slices, leaves, and filler flowers to the top for decoration. Just a tip– use a fresh fruit produce protector to keep the apple slices (or any sliced fruit) from browning. Ball’s is my favorite!
Thanks so much for reading, y’all– and please let me know if you have any questions about this Christmas tablescape or easy Christmas centerpiece. I love hearing from you guys, and I’m happy to help!
Also, if you need any fun, kid-friendly Christmas desserts, give this donut hole Christmas tree a try! I made it for the first time this year and can already see it becoming an annual tradition. It’s a must-try for families with kiddos!
Click below to shop the post!
Just so you know, I was reimbursed for the cost of these products as part of a sponsored social campaign with Hy-Vee. I loved this Christmas flower arrangement and holiday tablescape so much that I decided to feature them on my blog, as well, although I had no obligation to do so. As always, all thoughts and opinions are my own.

