*This post may contain affiliate links, which means I may receive a commission (at no additional cost to you!) if you make a purchase using any of these links.*
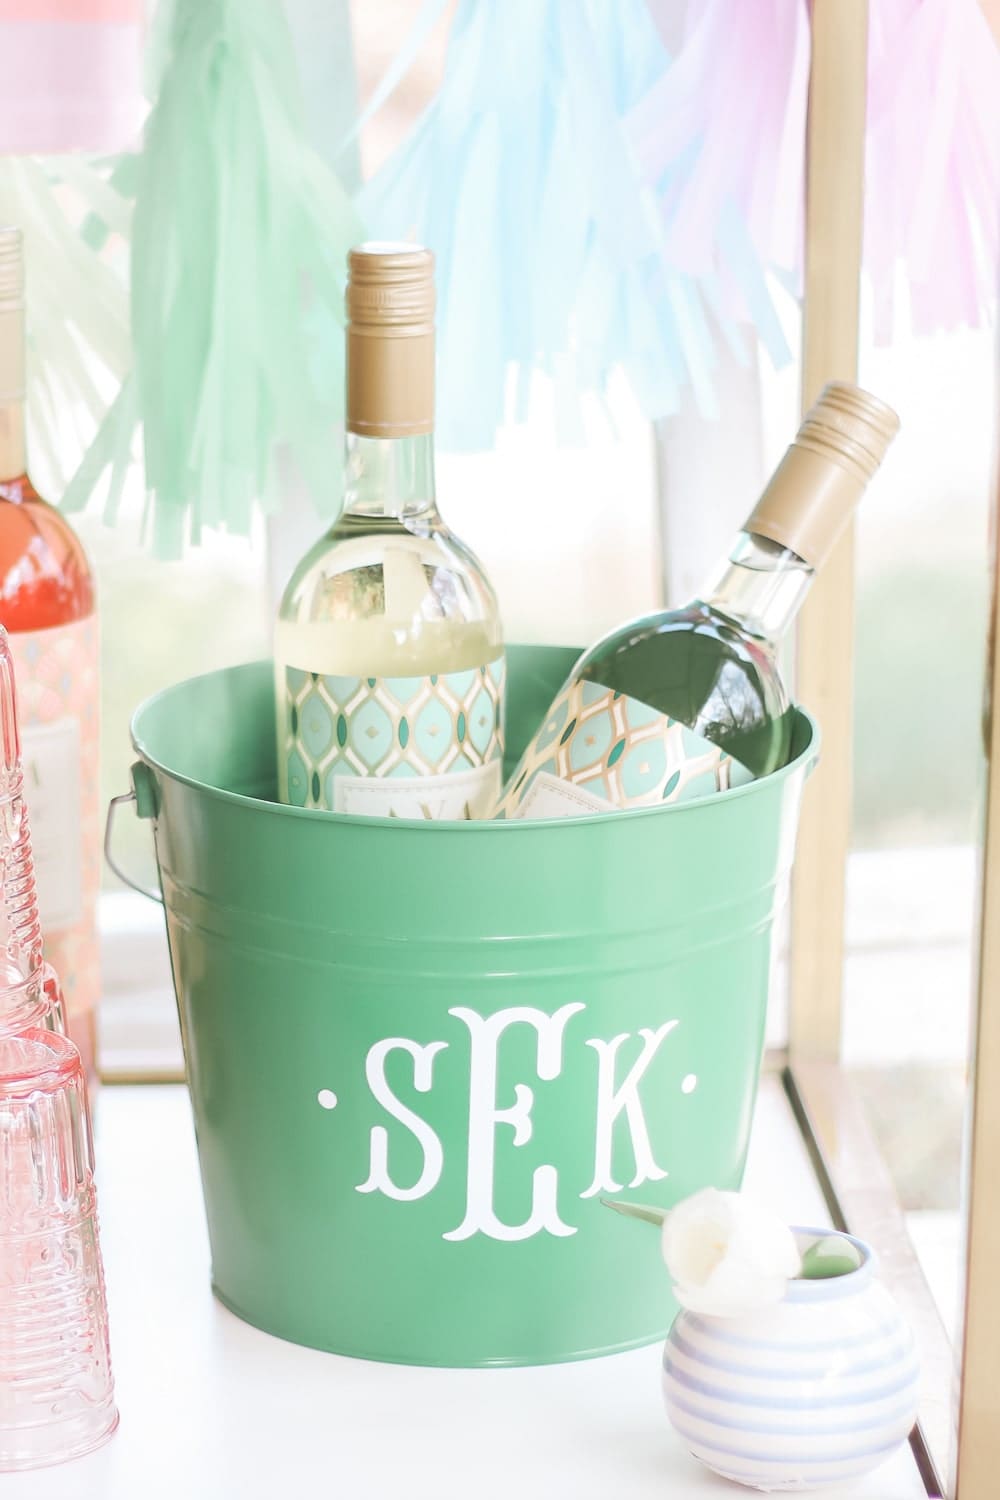
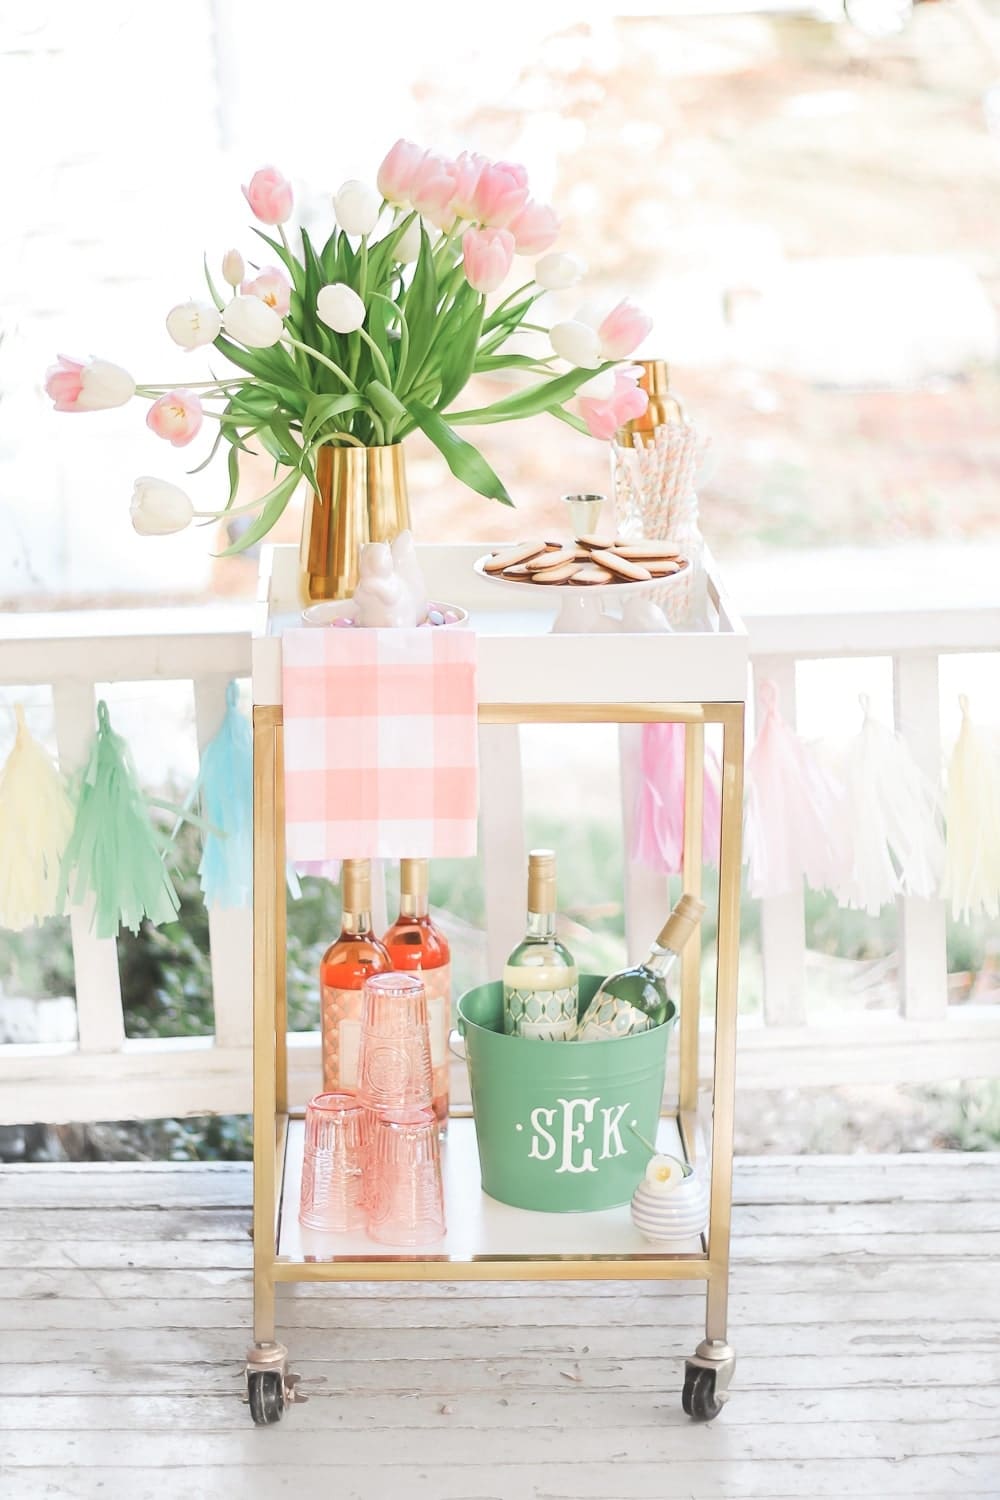
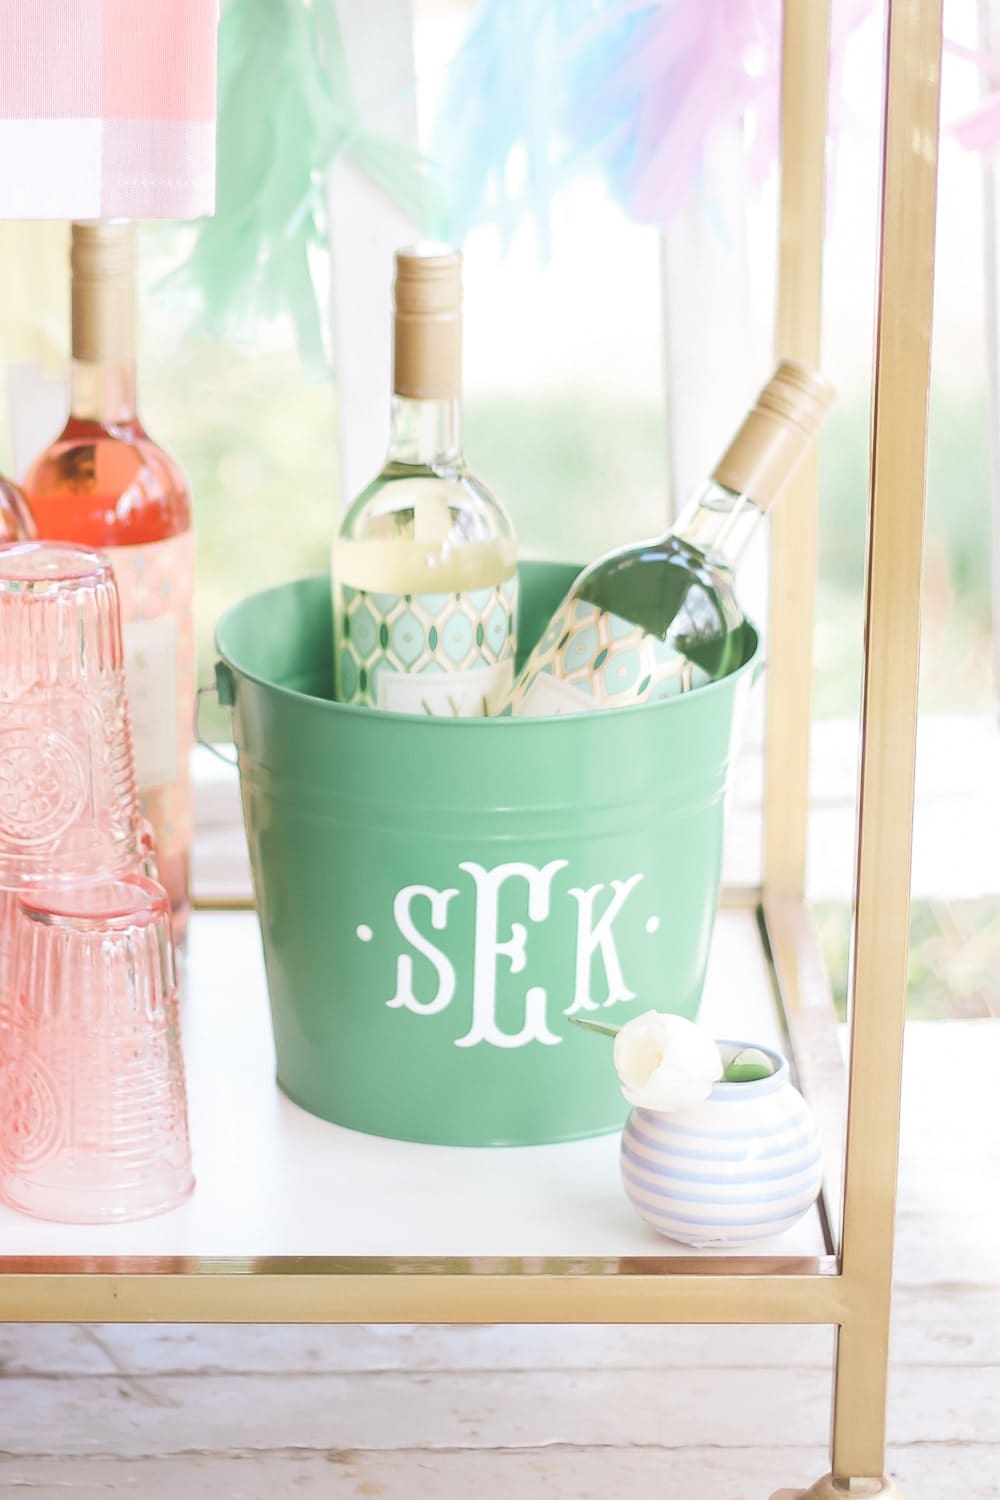
Warning– quarantine and Cricut are a dangerous combo. With all this extra time on my hands (thanks, COVID), I’ve been drinking lots of wine and monogramming practically everything I own. Case in point, one of my most recent projects was this DIY monogram ice bucket. Not only was it insanely easy to make, I love that it doubles as a super cute personalized Easter basket, too. Keep reading for a step-by-step DIY ice bucket tutorial, along with a guide on how to create your own fishtail monogram in Cricut Design Space.
In the meantime, though, here’s what I used to make my DIY personalized ice bucket–
- Metal Bucket– I found a handful in the Target Dollar Section for $5 each. They’re not available online, though, but you can find a similar item on Amazon here. Hobby Lobby also carries colored metal buckets, too, but they’re significantly smaller.
- Permanent White Vinyl– You can’t go wrong with Cricut vinyl, but this Amazon brand is an amazing budget-friendly alternative. Either way, make sure you buy permanent vinyl– and be sure the recipient knows it can’t weather the dishwasher.
- Fishtail Monogram Font– I’m sure you can find a free version, but just in case I ever decide to sell any of the crafts I make, I bought this font off Etsy for $5. For more Cricut monogram fonts, click here.
- Cricut Explore Air 2– If you don’t have one yet, you’ll thank me once you do! They’re so much fun. Check out some of my favorite easy Cricut projects here, here, and here!
- Cricut Standard Cutting Mat– I found a 2-pack on Amazon for around $12– such a steal!
- Weeding Tool– You don’t technically need them, but these budget-friendly Amazon tools make weeding intricate Cricut monograms quick and easy. They’re also a fraction of the cost of official Cricut tools, too.
- Contact Paper– I use and recommend this contact paper! It’s super easy to use and costs much less than name brands.
How to Create Your Own Monogram
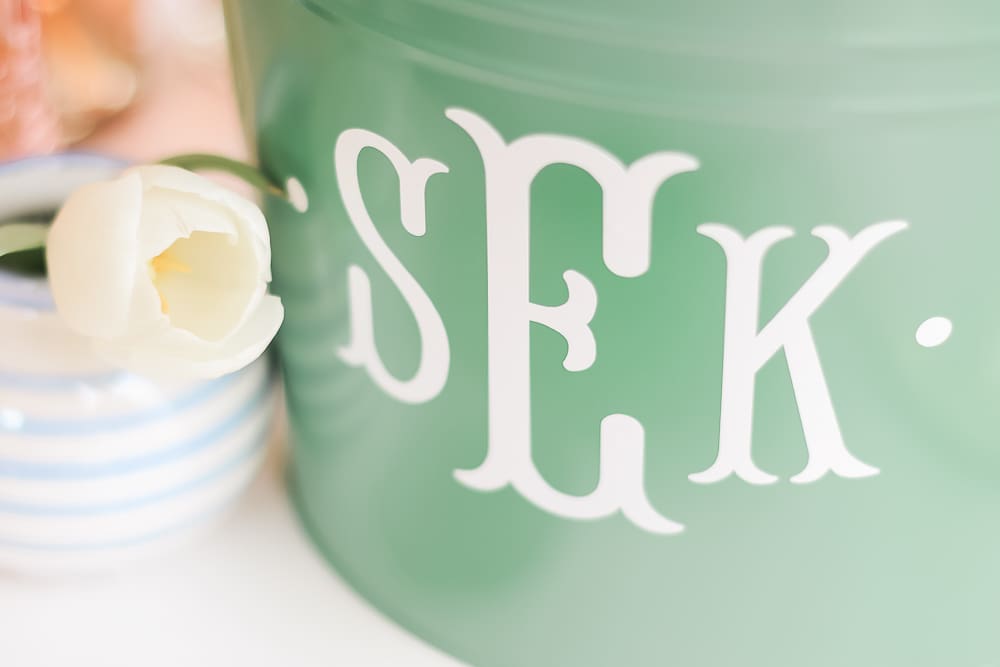
I used this fishtail font to create my monogram, but there are dozens of fonts and styles to choose from. For a full guide on how to create Cricut monograms, click here. If you like the fishtail look, here’s how I made mine–
Start by opening Cricut Design Space and typing in your initials (first, last, middle). Select the text and update the font to whichever fishtail monogram font you’ve chosen. While your text is selected, click Ungroup in the top right hand corner. You’ll notice you can now move each letter individually.
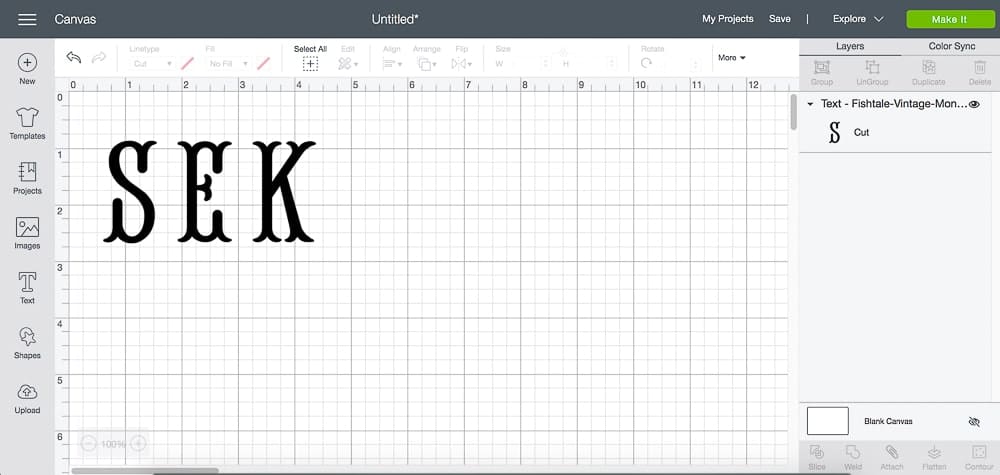
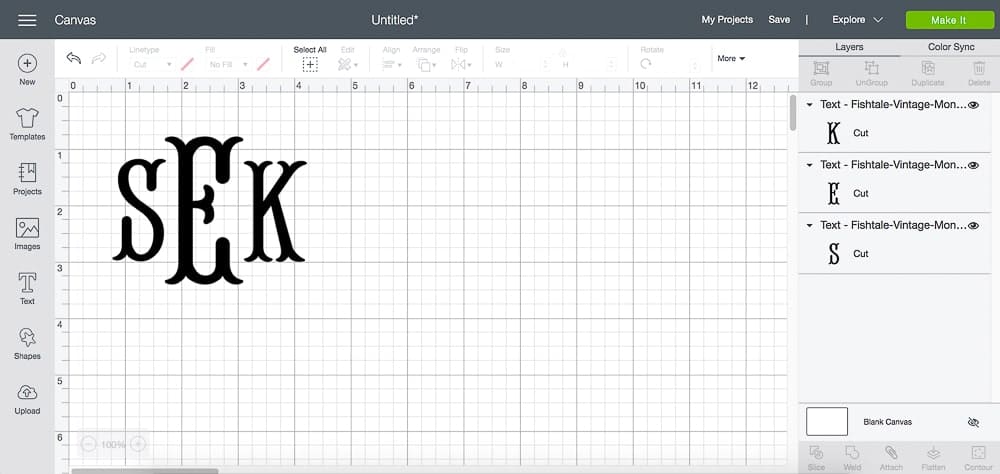
Keeping your first and middle initial the same size, increase the size of your last initial (middle letter) and adjust the letters on each side. Use the graph lines in Design Space to make sure your first and middle initial line up evenly.
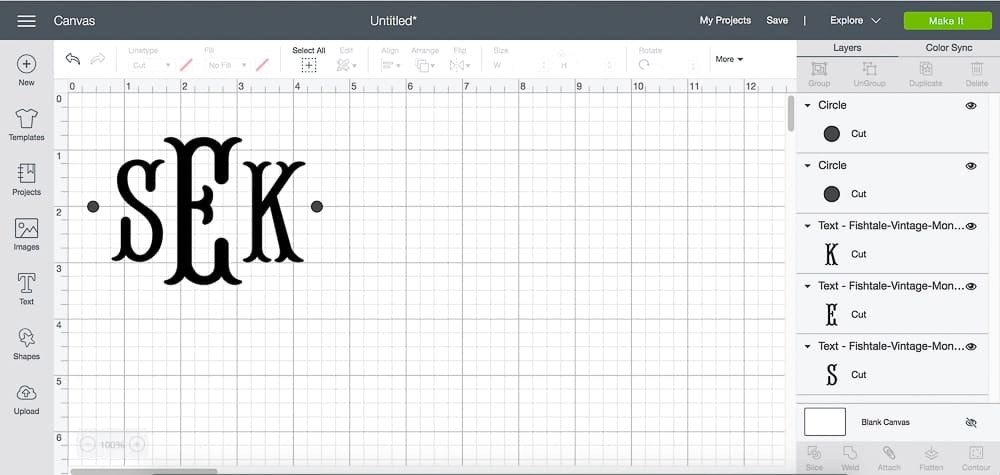
If you want to add a little something extra, create a small circle with the Shape tool (on the left toolbar). Once you’ve found the right size, right click and select duplicate to mirror the circle on the other side.
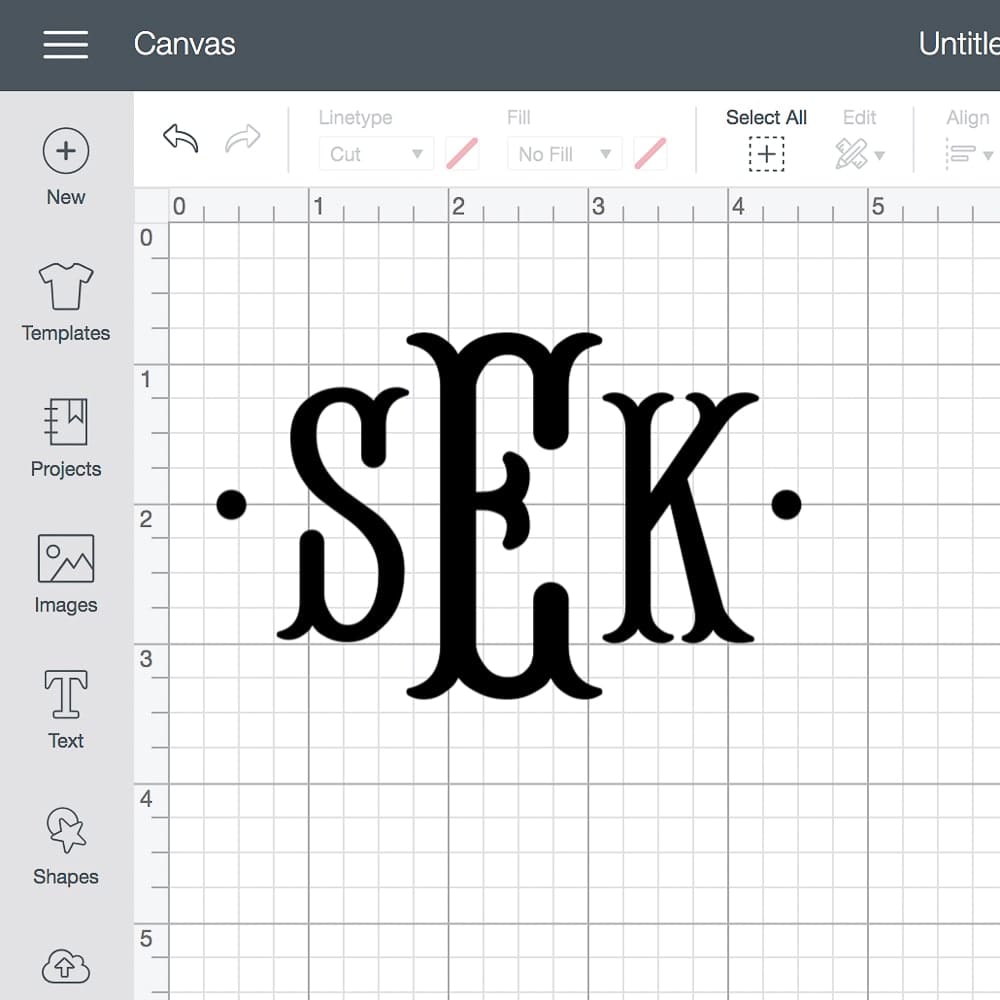
Once you’re happy with the way your fishtail monogram looks, select all 3 letters/shapes and click attach in the bottom right. Don’t hit “Weld” or else you won’t be able to detach the letters later.
DIY Monogram Ice Bucket Tutorial
Once you’ve created your Cricut monogram (and you’ve got your vinyl/cutting mat ready to go), click Make It in the top right corner. When the machine’s done cutting, weed out the monogram (if you don’t have a weeding tool, your fingers will work fine for less intricate monograms). Then, firmly apply contact paper. Use your scraper tool if you have trouble getting the vinyl to stick to the contact paper. Then, transfer the vinyl monogram from the cutting mat to your metal bucket (click here for photos of all the steps), and… viola! You’ve got a super cute personalized ice bucket ready to go!
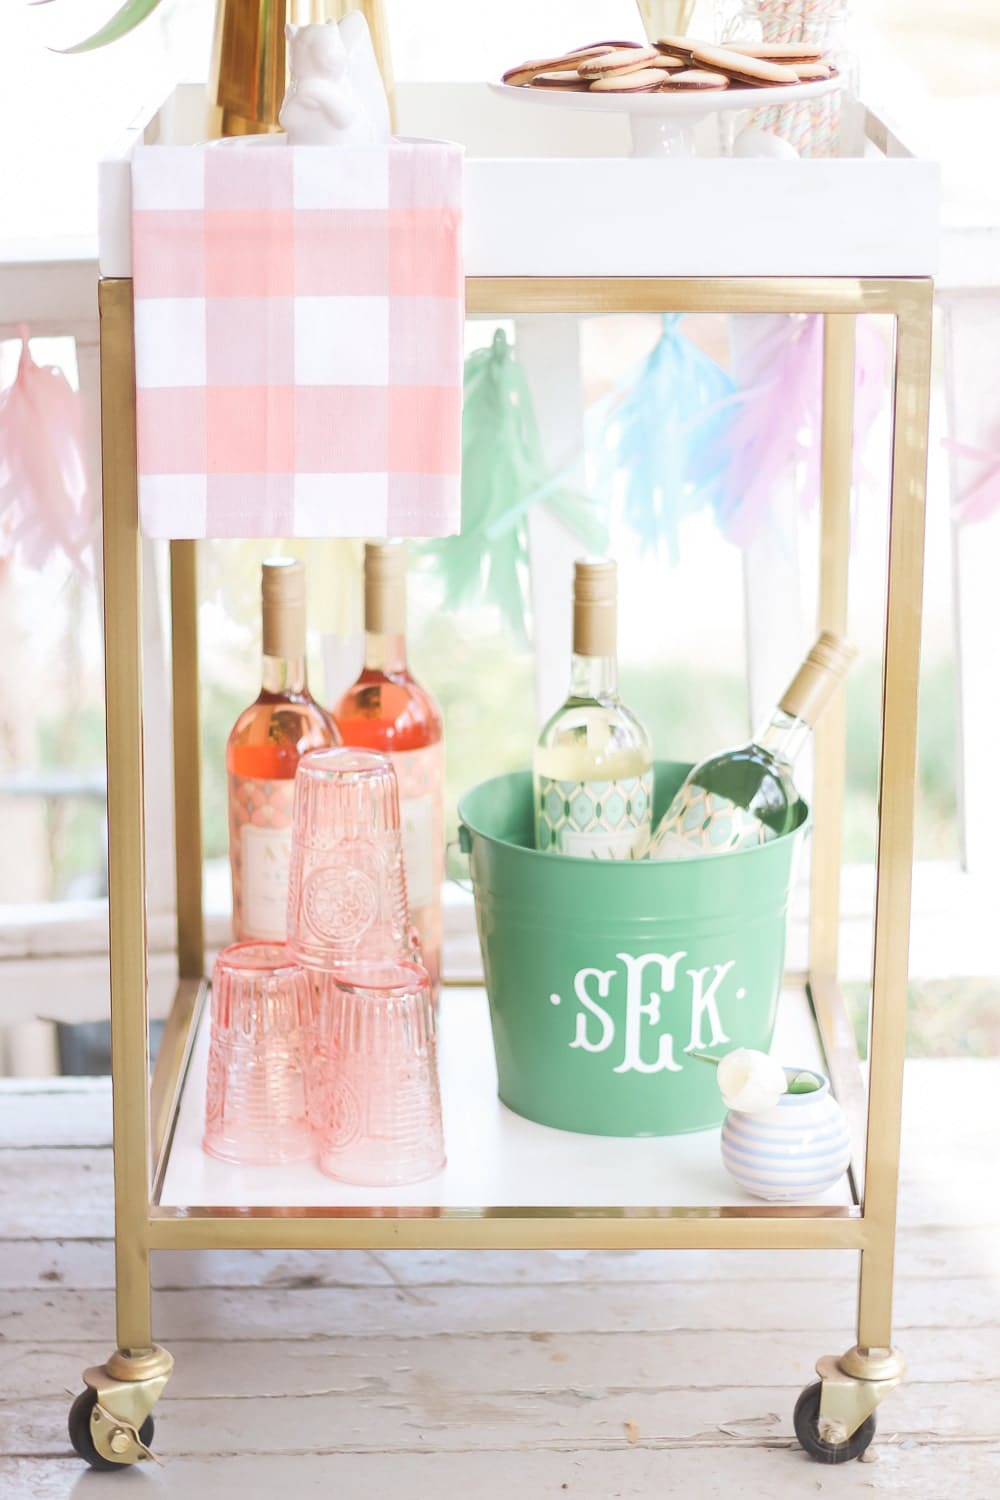
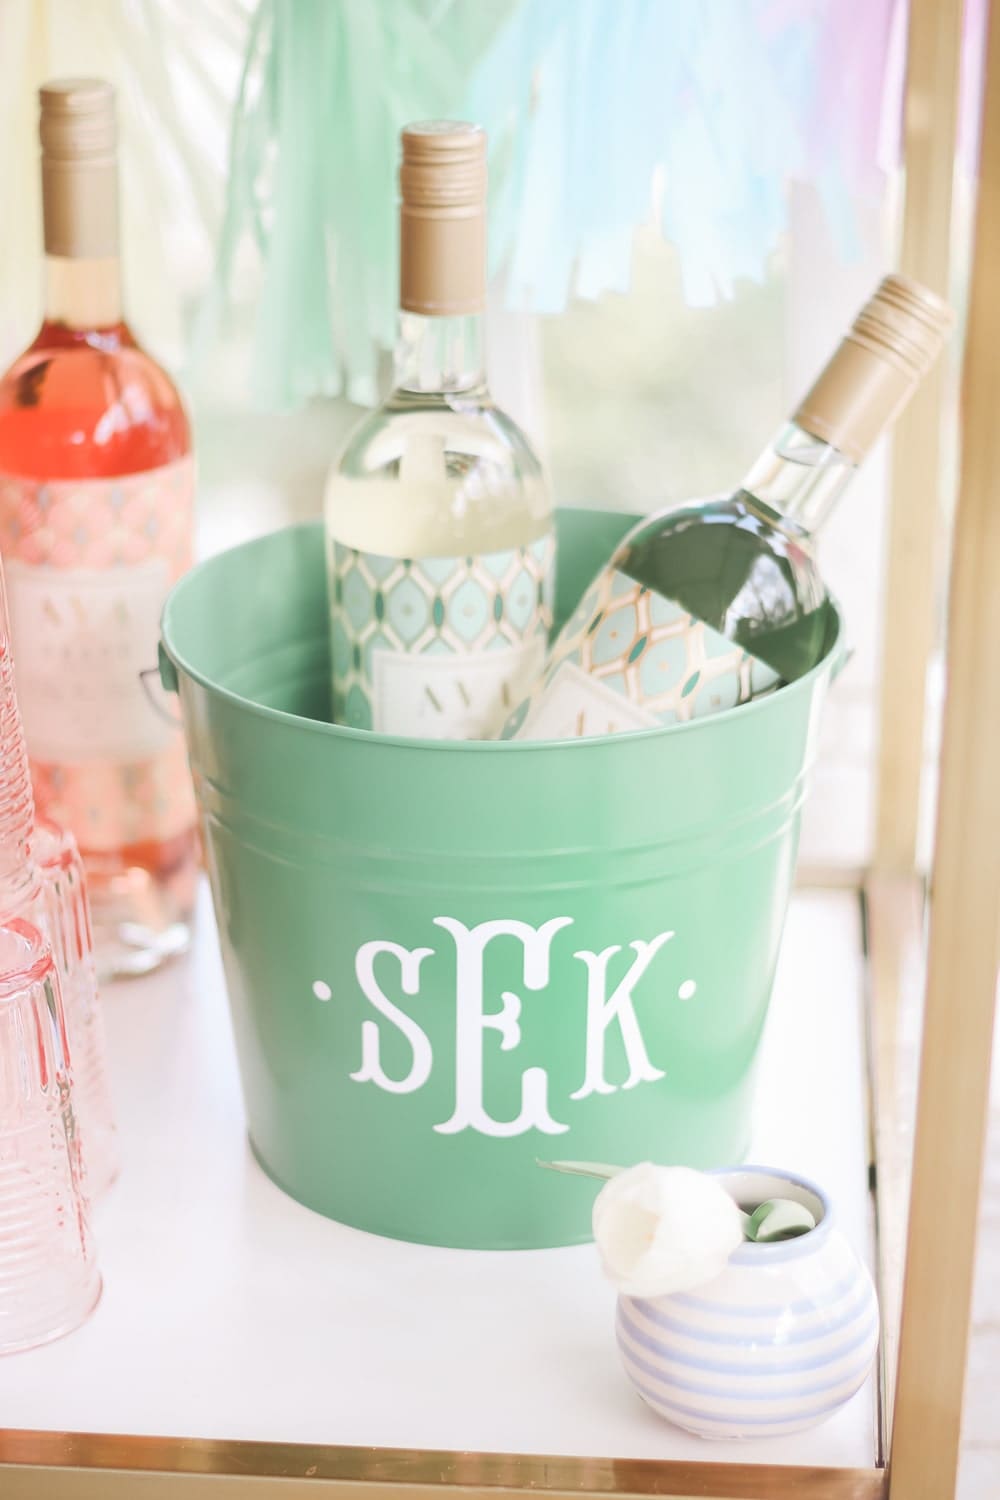
Super cute, right?! I’ve been trying to brighten up the house a bit more lately, so stay tuned for even more fun DIY home projects! Also, in case you missed it, this ridiculously easy DIY tissue tassel garland tutorial went up on the blog last week. Thanks so much for reading, y’all!


