*This post may contain affiliate links, which means I may receive a commission (at no additional cost to you!) if you make a purchase using any of these links.*

Want to learn how to etch glass with Cricut? Well, you’ve come to the right place! Cricut glass etching has a bit of a learning curve, but once you get the hang of it, you’ll want to etch all the glassware you own! I learned how last Christmas (and it’s apparently taken me over a year to create this tutorial– ha!), and now etched monogram champagne flutes are some of my favorite gifts to give! They look amazing and are insanely budget-friendly, especially compared to store-bought etched glassware. Seriously, a set of four DIY etched monogram champagne flutes costs less than $5 (compared to… what? $80?), and nobody will ever know the difference. Keep reading for my Cricut glass etching guide, along with a step-by-step etched monogram champagne flute tutorial!
Guide to Cricut Glass Etching
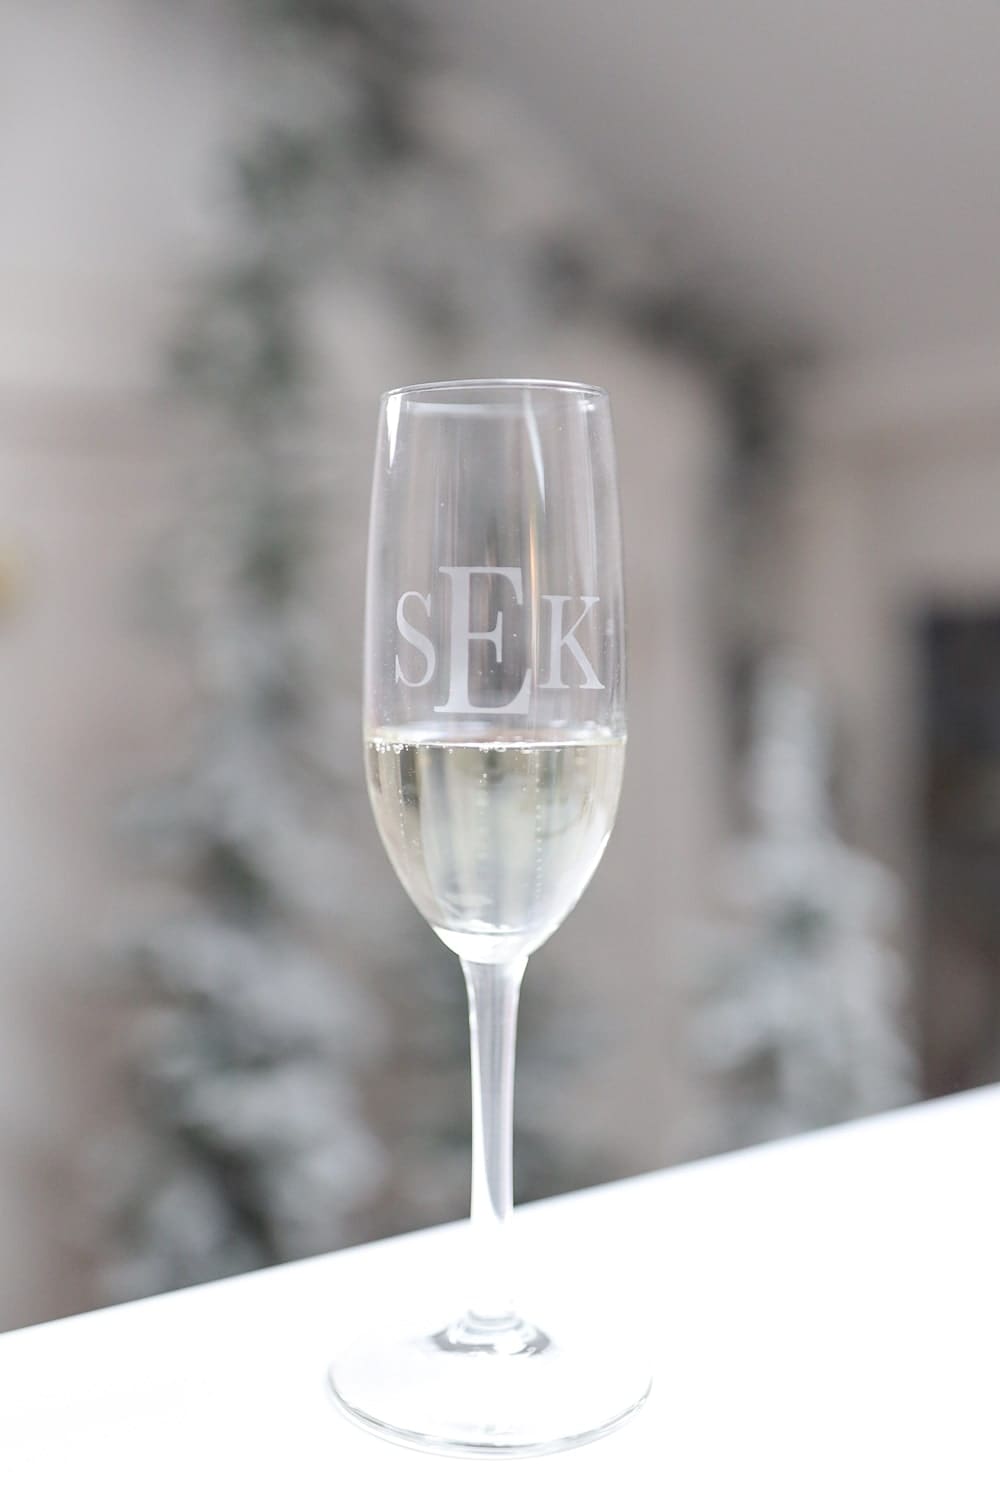
As much as I love Cricut crafts, I’m the kind of girl who ruins her project two or three times before getting it right. Hopefully, that works out well for y’all, since I’m aware of virtually every mistake you can make. So, without further ado, here are my five very official fundamentals of Cricut glass etching–
1. Safety
First thing’s first– safety. Armor Etch is an acid, so the last you want is to get it on your skin or in your eyes. I recommend wearing protective eyewear and gloves.
2. Prep
As far as project prep goes, be sure to clean the glass surface you’ll be etching with alcohol. I use an alcohol swab to quickly remove all the oils, dust, and whatever else could be dirtying up the glass and potentially affecting the quality of the etch.
You may also want to put newspaper down on the surface you’ll be working on before applying the etching cream. I have a designated craft table, so I skip this step. Still, I’d hate for any of y’all to ruin any of your nice tables or surfaces.
3. Vinyl Stencil Application
You can’t etch (at least not cleanly) without a vinyl stencil. I created a monogram stencil for this particular project, but the process is the same for any design you create.
After cutting your stencil, use contact paper to adhere the vinyl to the glass, taking care to avoid tearing and/or air pockets. If the surface you’re working on is flat, you’ll have a pretty easy time positioning your stencil. Rounded objects are a little tougher, though. To create as few air bubbles as possible, I hold both ends of the decal taught and bend it convexly at the center. Then, I position the center of the decal (which, in my case, was the E) where I want it first and then slowly push down the sides. Apply lots of pressure (you can use your scraper tool or your fingers) and, again, be sure to check that all of the text is completely flat on the surface.
I want to clarify that air pockets and vinyl creases on the non-stencil part of the decal are fine. If you’re working on a rounded surface and create ceases or zero air pockets when you transfer your stencil, you’re amazing and deserve a medal. Air pockets touching the stenciled text are what you need to avoid. Think about it– Armour Etch is an acid, and it’ll seep through wherever it can. Keeping my monogram (sEk) in mind, if there’s even the smallest little air bubble on the top of the E, it’s going to be adorned with a tiny (albeit very visible) hat that will not, under any circumstances, come off.
I’m stressing the air pocket thing so much because that’s how I essentially ruined three flutes before figuring out how important it is that the stencil lay completely flat on the glass. So, I guess what I’m trying to say is that until you’re completely confident in your etching skills, only etch on cheap glassware. Dollar Tree, anyone?!
4. DIY Glass Etching Technique
Once your vinyl decal’s in place and all the stenciled text is completely flat, put on your gloves and protective eyewear. While the cap’s still on, give the Armour Etch a good shake. Then, dip a small paintbrush into the cream and lightly paint over the stencil. Trust me when I say that you don’t need very much etching cream– a little goes a long way. Just be sure to cover the entire stencil.
Once the Armour Etch is on the glass, keep your brush moving for at least two minutes. I like to paint up and down, diagonally, right to left, left to right, and then repeat the cycle until the two minutes are up. This probably goes without saying, but I’ve made this mistake before so I want to give a shoutout– keep your brush on the vinyl at all times. If your hand spasms and the acid accidentally touches the glass above or below the stencil, it’ll show up, no matter how quickly you try and wash it off. So, if you’re worried about it, add a thick border of painter’s tape around the decal. It protects the glass and comes off super easily.
5. Clean-Up
After the two minutes is up, place the glass under cold running water. Use the small paintbrush to lightly scrub off any excess etching cream (this is the multi-tasking approach I stole from Jennifer Maker— it cleans the glass and your brush simultaneously).
Just FYI– while the water runs over the stencil, it may look like the etching cream didn’t take. Don’t worry, it did. Once you’re confident the etching cream’s safely washed away, dry the surface with a paper towel and peel off the vinyl decal and any painter’s tape you used. Annnd just like that— voila! You just created a perfectly-etched glass masterpiece!
DIY Etched Monogram Champagne Flutes

Tools and Materials
Here’s everything I used for this DIY glass etching project–
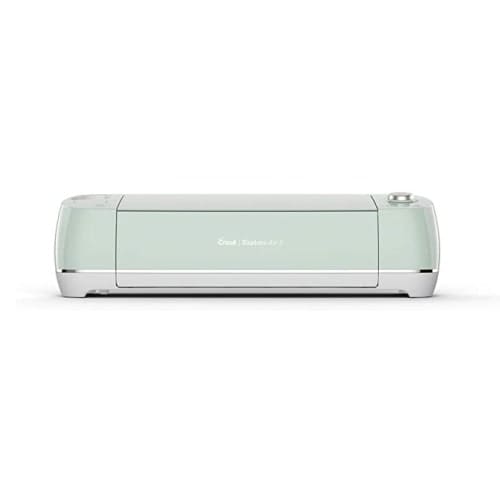
- Cricut Explore Air 2– I love my Cricut Explore Air 2, but any smart cutting machine will work just fine.
- Vinyl monogram decal– I created mine using a basic cut in Cricut Design Space. For reference, my stencil’s 2″ wide, and I use this brand of vinyl!
- Contact paper– I use this brand!
- Armour Etch– If you’ve never heard of it before, Armour Etch is a fast-acting glass etching compound that lets you create permanent (and dishwasher-safe!) etched designs on glassware.
- Champagne flute– Cricut glass etching definitely has a learning curve. Please please please don’t use expensive champagne flutes, at least not on your first go-around. I used Libbey flutes, which I found in a four-pack for $5 at Walmart. They’re not available online right now (I buy Libbey Everglass Champagne Flute Glass Set if they ever come back in stock), so Dollar Tree is a great alternative!
- Alcohol swab– To make sure the flutes are totally clean, prep the glass by cleaning it with an alcohol swab.
- Painter’s tape– If you’re worried about essentially coloring outside of the lines with Armour Etch, painter’s tape is a great way to create a safety buffer.
- Protective eyewear and gloves– I have two older brothers who’ll definitely make fun of me for telling you to suit up for crafting. Still, acid’s no joke, and you really don’t want it to get in your eyes or on your skin.
- Small paintbrush– Another great thing about this project is that the Armour Etch washes off the brush pretty easily, so you don’t have to worry about ruining any of your favorite paintbrushes!
DIY Glass Etching Tutorial

First thing’s first– make your vinyl monogram stencil! You can check out mine in Design Space here. For reference, I made mine 2″ wide, which will fit about any standard-sized champagne flutes. If you need help designing your own, check out my Cricut monogram tutorial for tips on creating different styles of vinyl monograms. Just bear in mind that the more ornate or detailed the font, the more difficulty you could have with the Armour Etch.
Next, cut and weed out your vinyl monogram stencil. Leave a little extra vinyl around the perimeter– it’ll come in handy when you etch.
Before positioning your decal, remove any oils or dirt from the surface of the champagne flute with an alcohol swab. Then, use contact paper to transfer the decal from its backing to the clean champagne flute. I recommend folding and applying the decal convexly (think of a folded piece of bread), making sure to position and center the largest initial first, and then applying firm pressure on the sides of the decal from there. The important thing here is to avoid vinyl tearing and/or any air pockets around the edges of the stencil. If any part of the stencil is bubbling up (even just a tiny bit), the etching cream will seep underneath and create funky little unwanted flourishes.
Similarly, if you aren’t sure you can keep the etching cream on the surface of the vinyl decal itself, use painter’s tape to create an extra buffer. Remember that Armour Etch will create an etching effect wherever the brush makes contact with the glass, so be careful to keep it on the vinyl stencil only (hence why it’s beneficial to leave a little extra vinyl around the monogram).
Now comes the fun part! And you know what’s fun? Safety. Just kidding, but seriously– not burning yourself with acid is pretty nice. So, please put on your safety goggles and gloves! It feels like overkill, but trust me.. you don’t want this stuff getting in your eyes or on your skin.
Once you’re suited up and protected– and while the cap’s still on, give the Armour Etch a good shake. Dip a small paintbrush into the etching cream and use it to cover the vinyl stencil. You don’t need very much– a light layer goes a long way with this stuff! Just remember to keep your brush moving consistently for at least two minutes. I like to go up and down, diagonally, right to left, left to right, and then repeat the cycle until the time’s up.
After the two minutes have passed, place the flute under cold running water. Use the small paintbrush to lightly scrub off any excess etching cream (again, this is the multi-tasking approach I stole from Jennifer Maker— it cleans the glass and your brush simultaneously!).
Keep in mind that while the water runs over the stencil, it may look like the etching cream didn’t work. Trust me, though, it did. Just be patient and have faith. Once you’re confident the etching cream’s safely washed away, dry the champagne flute with a paper towel and carefully peel the vinyl off the glass.
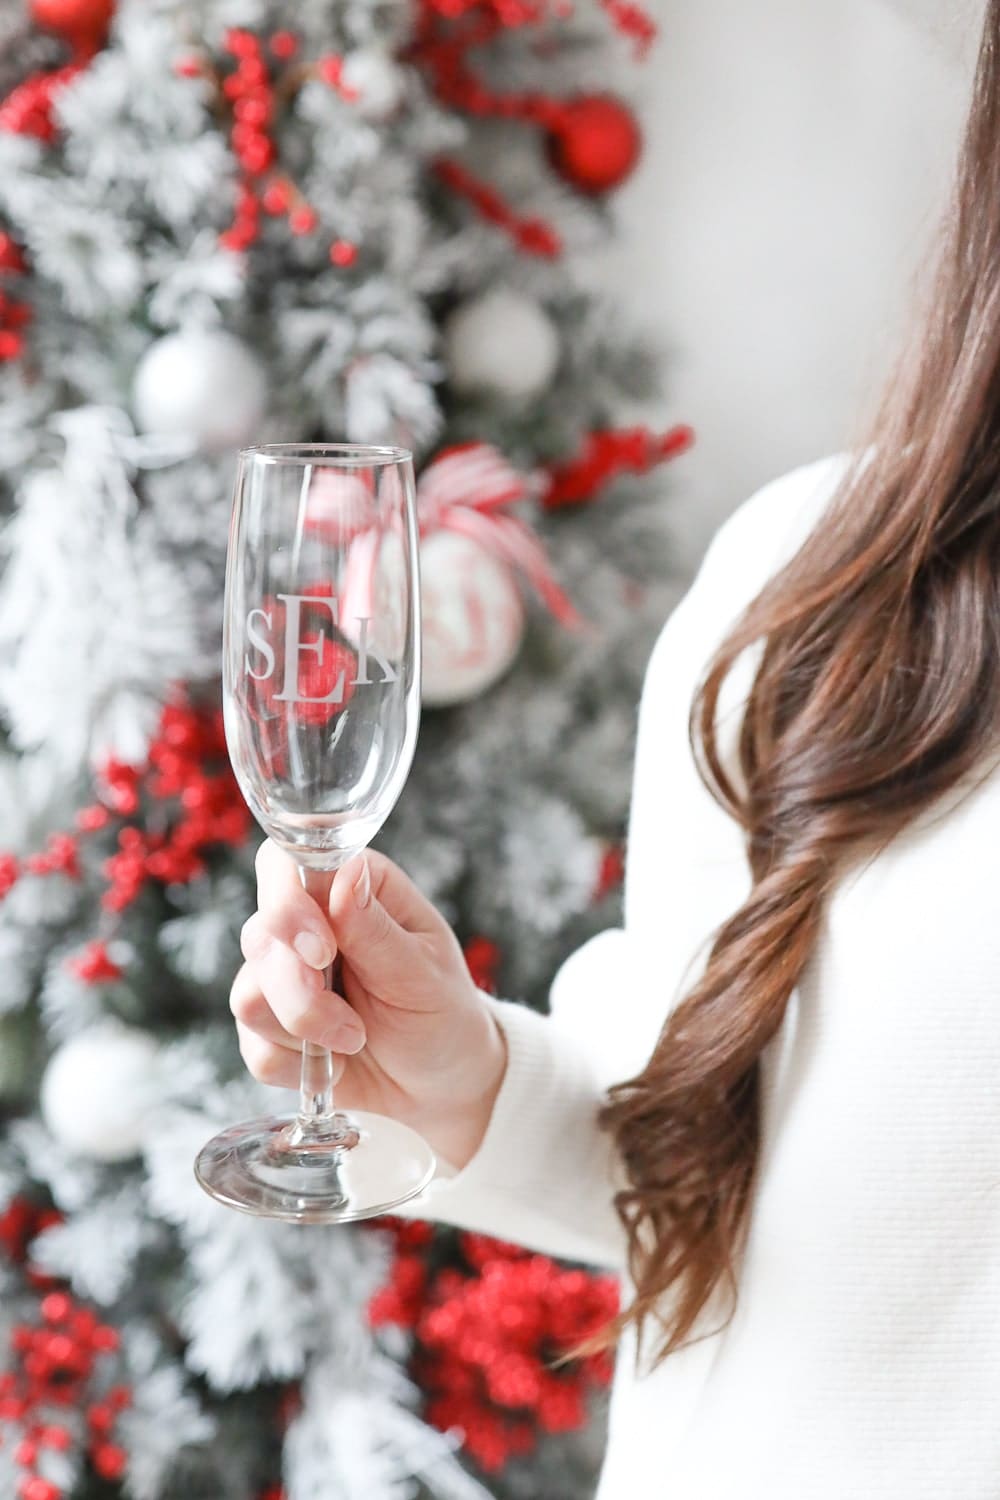
Finally, behold your perfectly-etched monogram champagne flute– and enjoy!



Etched Monogram Champagne Flutes
Curious how to etch glass with your Cricut? Blogger Stephanie Ziajka shows how to create your own etched monogram champagne flutes with a vinyl stencil and Armour Etch etching cream in today's step-by-step Cricut glass etching tutorial!
Materials
- Vinyl monogram decal
- Armour Etch
- Champagne flute
- Alcohol swab
- Painter’s tape (optional)
- Protective eyewear and gloves
- Small paintbrush
Tools
- Cricut Explore Air 2
Instructions
- Design, cut, and weed out your vinyl monogram stencil. Leave a little extra vinyl around the perimeter of the monogram to create a buffer for the etching cream.
- Remove any oils or dirt from the surface of the champagne flute with an alcohol swab.
- Use contact paper to transfer the decal from its backing and position it on the clean champagne flute. Make sure that the stencil itself lies completely flat on the glass, meaning there should be no tears or air pockets directly touching the stenciled text.
- Put on your protective eyewear and gloves. While the cap’s still on, give the Armour Etch a good shake. Dip a small paintbrush into the etching cream and use it to paint over the vinyl stencil. Keep your brush moving in different directions (up and down, diagonally, left to right, right to left, etc) for at least two minutes.
- After the two minutes has passed, place the flute under cold running water. Use the small paintbrush to lightly scrub off any excess etching cream.
- Dry the champagne flute with a paper towel and carefully peel the vinyl off the glass.
Notes
To clarify-- air pockets and vinyl creases on the non-stencil part of the decal are fine. Air pockets touching the stenciled text are what you need to avoid. Remember that Armour Etch is an acid, and it’ll seep through whatever nooks and crannies it can.
If you're worried that your decal is too small and/or that you may get etching cream on the glass (the equivalent of painting outside the lines), use painter's tape to create an additional buffer. It protects the glass and comes off super easily.
While you're rinsing off the etching cream and running water over the stencil, it may look like the etching cream didn’t take. Don’t worry, it did. Just be patient and wait until you dry off the glass.
Recommended Products
As an Amazon Associate and member of other affiliate programs, I earn from qualifying purchases.
More Cricut Monogram Projects
If you love monograms as much as I do, here are some other Cricut monogram projects you might enjoy–
- Personalized glitter ornaments– If you need a DIY Christmas gift ideas, these personalized glitter ornaments are perfect!
- Heart-shaped monogram mugs– I gave these heart-shaped monogram mugs to my girlfriends on Galentine’s Day last year, and they were perfect. They can be made dishwasher-safe with Modge Podge, too!
- Monogrammed ice bucket– Not only do these monogrammed ice buckets make perfect housewarming gifts, they make pretty adorable personalized Easter baskets, too.
- Personalized wooden cheese board– All you need is an unfinished board and some food-safe paint to make these pretty pink cheese boards!
If you tried out my DIY glass etching tutorial, I’d love to know how your champagne flutes turned out! Also, please let me know if you have any questions or concerns about how to etch glass with Cricut. I love hearing from you guys, and I’m happy to help!

